>
Showing posts with label Ultrafine Glitter. Show all posts

Monday, February 11, 2019

Winter ......


Made a set of 3 ATC's in the theme of Winter for a swap over on UK Stampers Forum ....

I used recycled cereal box packaging as the bases which was made by stencilling with moulding paste and sprinkling liberally with blue sparkle glitter whilst wet. Not easy to see in the photo but very glittery !

The two vintage girls were stamped in black Memento ink and just the faces and hands coloured with pink Copic as I wanted to try and keep them monochrome.  Parts of the girls clothing was treated with silver microballs adhered with Glossy Accents.  These were trimmed out and applied over the base with more Glossy Accents.

The word 'Winter' was stamped, trimmed and adhered as shown. The ATC's were edged in black and some pearls added to frame & finish.

If you would like to join in papercraft swaps click HERE to go join the Forum.... it's free, friendly & fun .....

Sid xx

Pin It

Tuesday, December 11, 2018

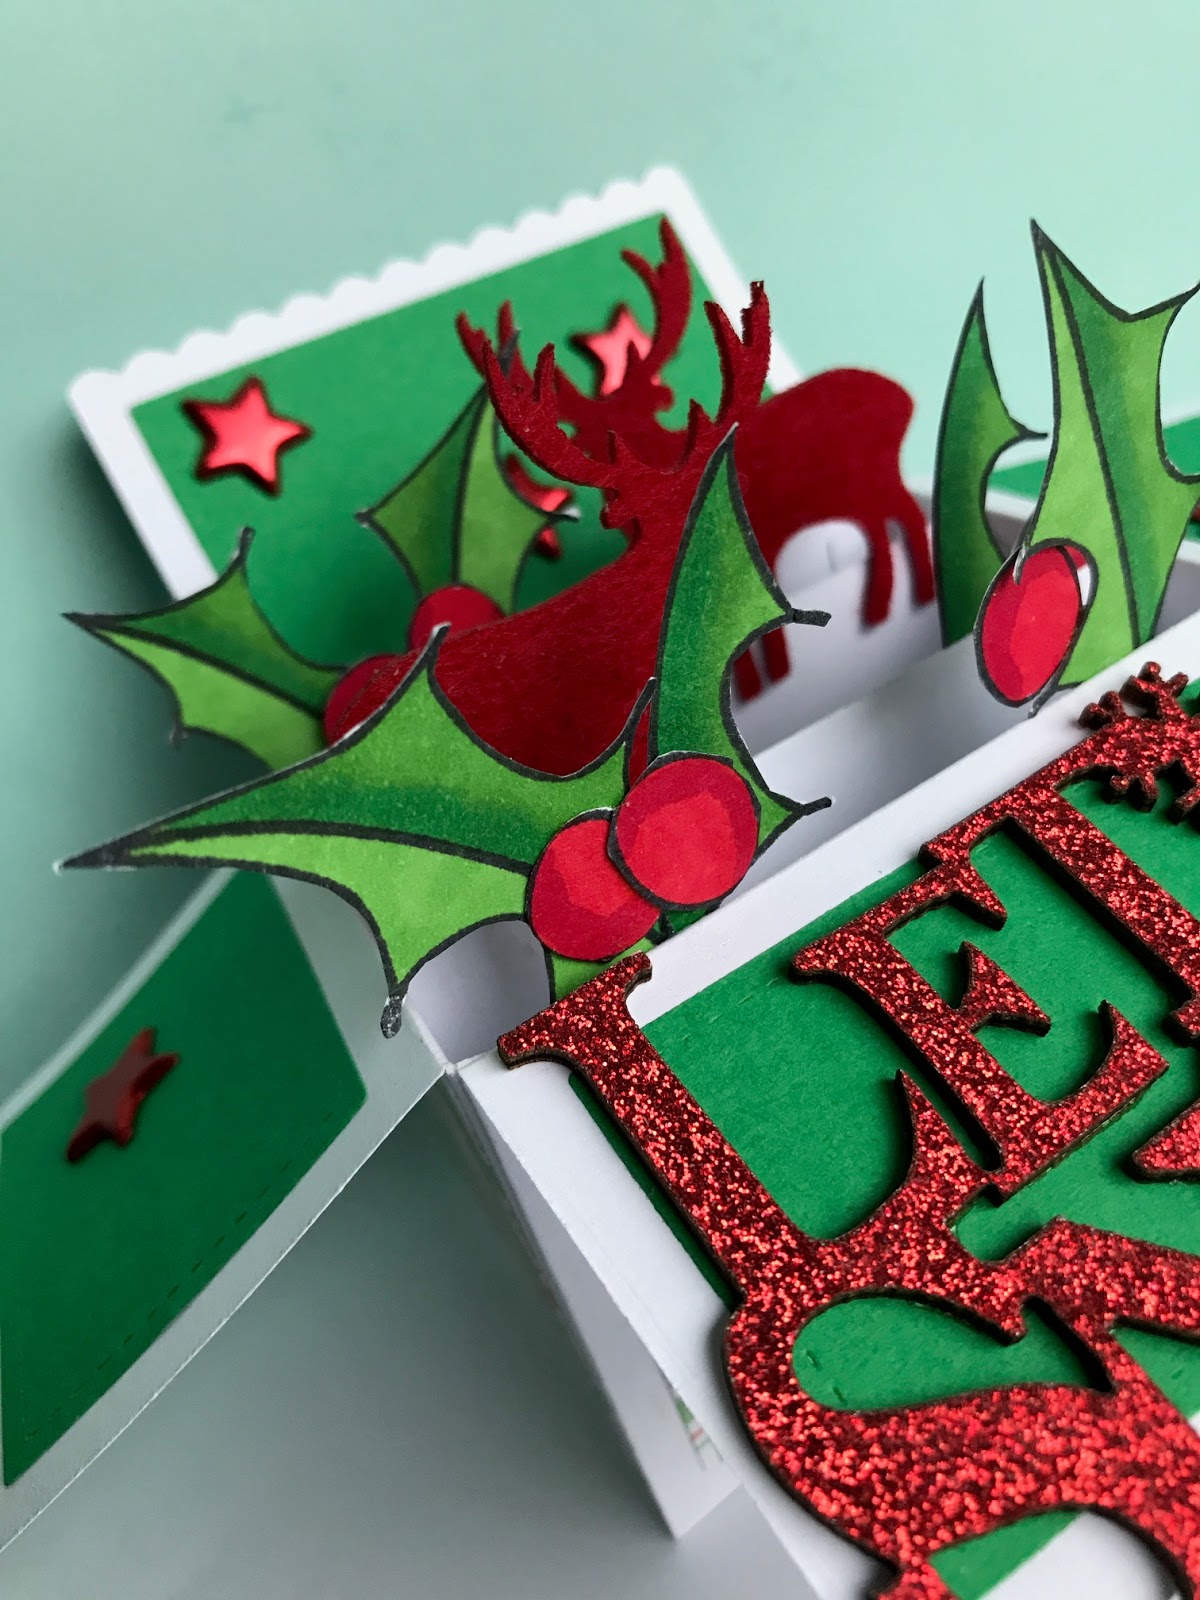
Holly Deer .....


Here is another handmade pop-up Christmas card for sale in my Etsy Shop ..... click HERE to go there .....


The box folds flat to go in an envelope for sending ...... this one is decorated with holly sprigs with berries and red felt diecut deer.


Finished with shiny red stars and a red glitter covered 'Let It Snow' greeting ....

Sid xx

Pin It

Sunday, December 09, 2018

Bunnies .....


Made a cute Christmas Bunnies folding pop-up Boxcard, can be folded flat to go in an envelope ...


There are a couple of cute bunnies, one offering a Christmas gift to the other & there is a pile of presents at the front ...


There are also glittery trees & a star decorating the box. It's for sale in my Etsy Shop - Harpies Crafty Corner .... click HERE to go there ....

Sid xx

Pin It
Wednesday, August 02, 2017

More ATC's .....


Here are a set of three 'Anything Goes' ATC's made for a monthly Swap over on UK Stampers Forum Facebook Group.

I used various techniques including collage (on the Numbers ATC) and Mica Sprays (on the Secret Garden ATC).

If you fancy joining in on the Swap click HERE to join the Forum and to join in !

Sid xx


Pin It

Friday, December 12, 2014

Frosty !


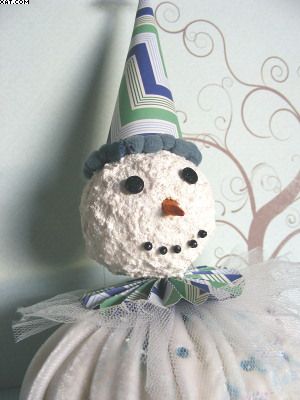
Ta daa !!  Let me introduce 'Frosty' the snowman  !

My good friend Effie, at a recent craft weekend, gave us a project class to make one of these fab snowman decorations, thanks a lot for the tuition and this is my resultant creation.

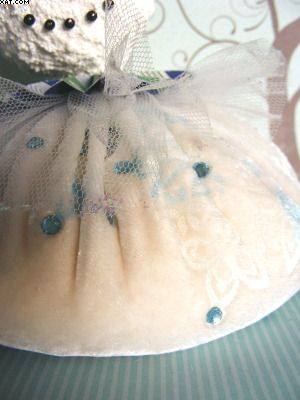
His body is filled with rice and is both squigy and weighty and made from cream velvet which has been embellished with Brilliance pearlescent inks and a rubber icicle stamp which has been heat embossed into the pile side of the velvet by ironing onto the inked stamp.  Some pale blue heat set jems have been added randomly.  The body was cut from a circle and gathered with strong thread after filling with the rice.


His head was made from a polystyrene ball coated with Snowtex and glittered whilst still wet.  His eyes are black sparkly brads, his nose a whittled piece of wood coloured orange with an alcohol marker and his mouth is 5 black glass headed pins.  His neck is a piece of thin dowel pushed into the base of the ball.

His ruffs are made from patterned paper and tulle netting.  His hat is made from the same patterned paper made into a cone and embellished with some pompom ribbon and a crystal snowflake stuck in place with hot melt glue.


Once complete his head was stuck on the body with hot melt glue.  I have also added some extra Stickles glitter glue on the ruff and hat to finish.

I love him and Doesn't he look great ?

Sid xx

Pin It

Tuesday, December 09, 2014

Glittering Snowflakes !


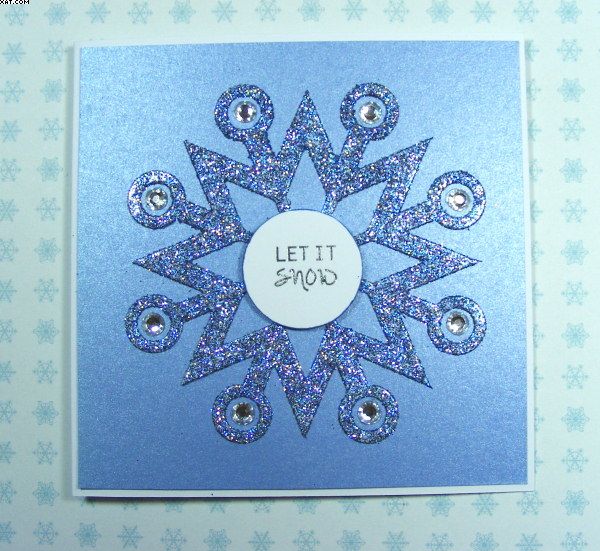
This Christmas card meets the requirements for the City Crafter Challenge blog week 241 whose theme is 'Glittering Snowflakes'.

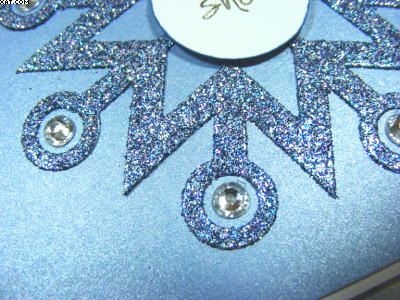
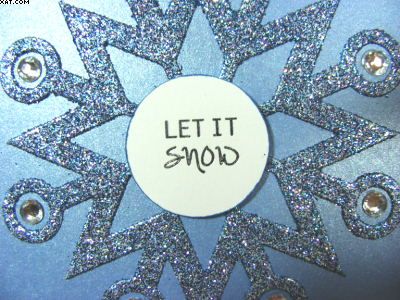
I trimmed a piece of blue pearlescent card and matted this onto a white card blank.


The snowflake was diecut and treated to a coat of ice blue glitter.  This was positioned and stuck in place centrally.


Some faux gems were added around the edge and a silver embossed plate added on foam pads in the middle. Very glittery !!

Sid xx

Pin It

Tuesday, November 04, 2014

My Deer .........


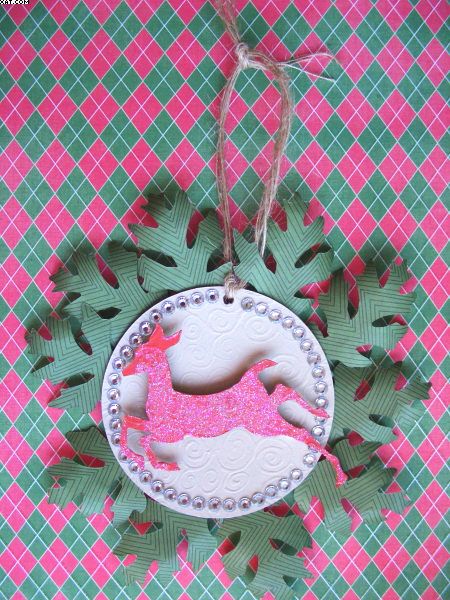
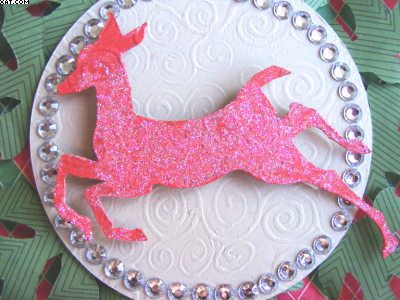
More on a Christmas theme in this post.  The City Stamper Challenge Blog for week 236 is asking us to make a craft project featuring a deer so I made this.


I decided to make a little simple Christmassy hanging after having pulled out a load of embossed Grungeboard which has sat there in my stash, unused for ages.  I diecut a circle from the swirly Grungeboard and painted it with some beige acrylic paint. as the centre background.

The leaves were next diecut from a Tim Holtz tattered leaves Sizzix die from some green striped paper.  These were stuck in place behind the grungeboard centre as shown.


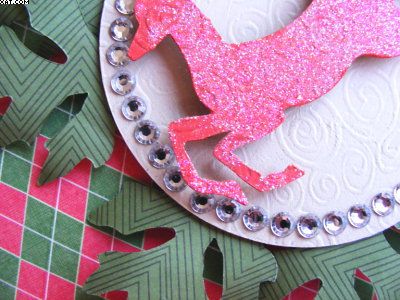
The deer again was diecut (TH Sizzix) from more of the same grungeboard, which this time was painted red.  A layer of dries clear glue was spread over the painted surface and some glamour dust glitter adhered for a bit of glitz. It was mounted on double foam pads to raise it off the surface.

Next I added a circle of faux clear gems and mounted the deer on foam pads.  I cut a hole with a crop-a-dile at the top and added a few strands of jute twine tied through to form a hanger to finish.

I was going to add a sentiment but thought that it looked better without.  What do you think?

Sid xx


Pin It

Monday, October 20, 2014

In the Pink


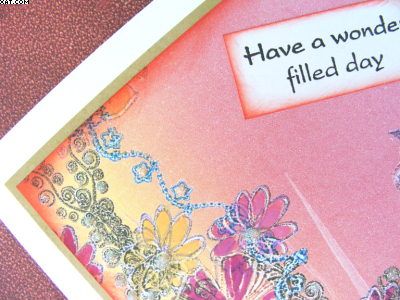
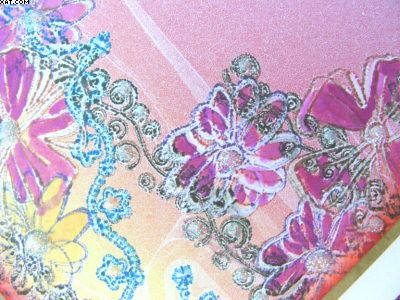
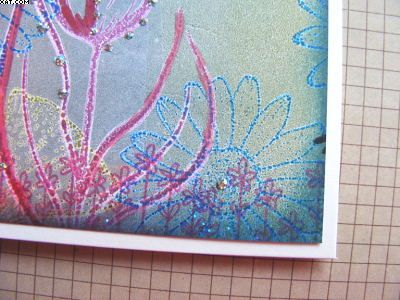
This card was made using a Gelli Plate background made with Adirondak dye inks and a brayer.  The stamping has been done with Versafine ink directly onto the plate after brayering.  Most of the stamps used were outline stamps.


The colouring was done with more Adirondak inks applied with a waterbrush to fill in the petals to the desired colour depth.


I have then applied iridescent glitter over dots of dried clear glue to highlight the images.


The card was trimmed and edged with barn door Distress Ink applied with cut'n'dry foam and matted onto a piece of moss green coloured card.

Sid xx

Pin It
Sunday, October 05, 2014

A Sprinkling of Fun


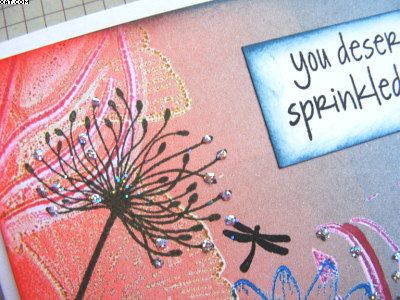
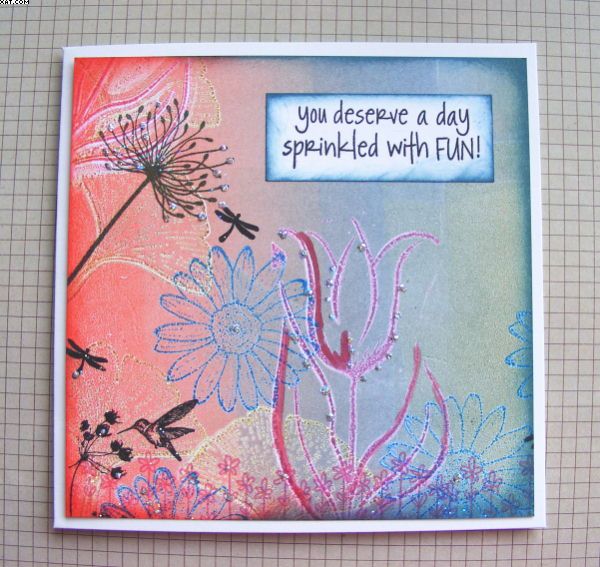
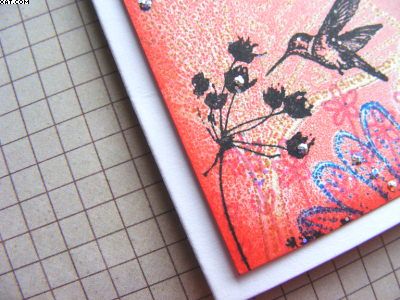
I have made this card today.  I have used a Gelli Plate background made with stamps & brayer and Adirondak/Versafine inks.


Some overstamping was done in Versafine onyx black ink.  The edges were finished with Distress inks in barn door and faded jeans, applied with Cut'n'dry foam.


The words were stamped on heavy paper in black Versafine, edged with faded jeans Distress ink and stuck in place.


Finishing touch was to add some pva glue in dots and apply holographic glitter to finish.

Sid xx

Pin It
Wednesday, April 17, 2013

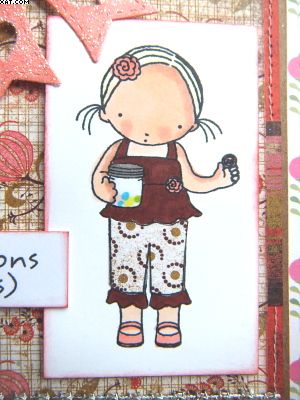
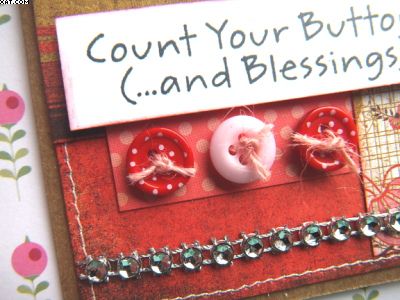
Counting in Buttons


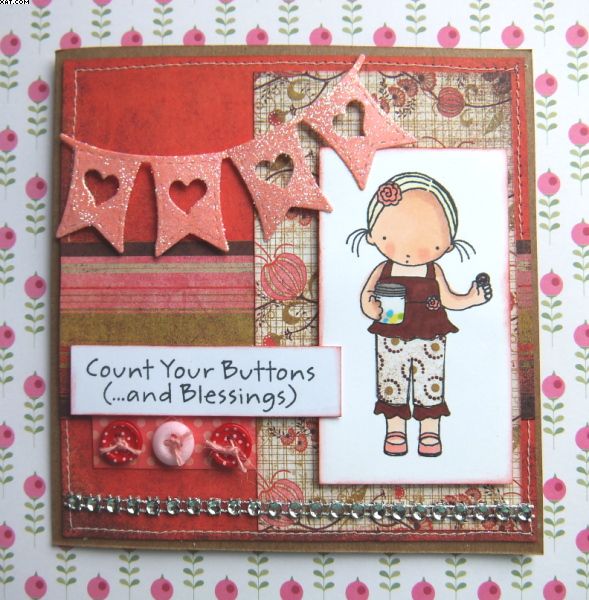
Here is another card made on a Kraft Card Base and cut to make a square card measuring 13.5 cm.  This time I have used printed papers in brick red, pink and olive to compliment the Kraft base.


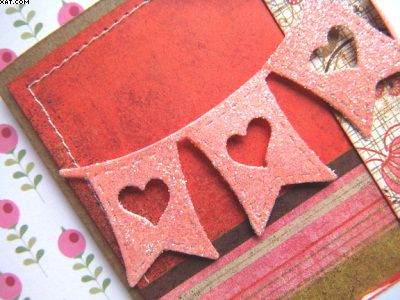
The base layer was machine stitched as a contrast with other pieces layered on top to build the design. The flag bunting is die cut from thin white card and coloured with pink Copic marker with a finishing coat of fine clear glitter added for a bit of bling.  This was mounted on foam pads as shown.


The main image of button girl was stamped with Memento black ink and paper pieced with more decorative paper for her pants.  The image was coloured with Copics and trimmed and attached on more foam pads.  The sentiment was also stamped, trimmed and applied on pads.


Three buttons were tied through with pink jute string and stuck in place with Glossy Accents whilst the blingy faux diamantes were added at the base of the card to finish.

Sid xx

Pin It
Monday, April 16, 2012

Making Waves


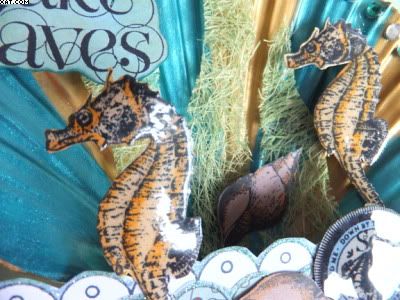
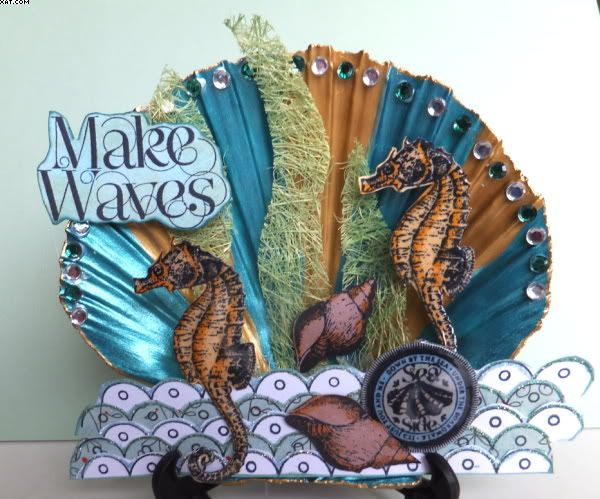
This has been in the making for a long, long time. The real scallop shell was decorated months ago and has sat around since then waiting for attention.  Because of the shells links with the sea I wanted to do some craft related to that environment so did this 3D scape.  All contained in its own shell home.

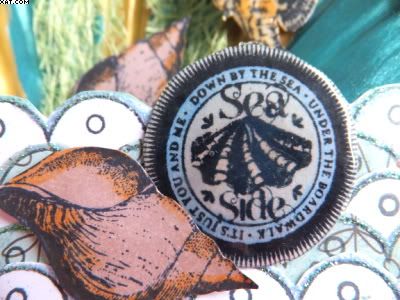
The shell was thoroughly washed and then painted with stripes in Viva precious metal colour in gold and turquoise.  It took a couple of coats to cover properly. The edges of the shell were then gone over with gold Krylon pen to neaten.  Some acrylic gems were adhered around the edge of the shell with more Glossy Accents and alternate gems coloured with the brush pen in green.


All stamped elements (apart from the waves) came from a plate of polymer stamps by Pink Paislee (Nantucket).  The shell, seahorse, word seal and words were all stamped on white card with Memento tuxedo black ink which were then coloured with Marvey alcohol brush pens before trimming out and edging with AI to cover white card edges.  A word seal and two seahorses were glazed with Glossy Accents.

The sea was made up from a border stamped multiple times on printed paper, trimmed and layered and edged with a Quickie glue pen and glittered with transparent blue water Art Glitter.


Some fused green sizal was cut into frond shapes before assembling and layering all elements as shown with hot melt glue to make a 3d seaside scene.

The shell has been supported for display using a plate holder.

It turned out just as I had envisaged it and it was great to use up that shell !!  You know what they say ......... 'Better Late Than Never'

It will also fit the challenge over on the Happy Daze Design Team blog this month which is 'April Showers' and the Simon Says Stamp & Show challenge which is 'Anything Goes'

Sid xx

Pin It
Sunday, November 27, 2011

Festive Shadow Box


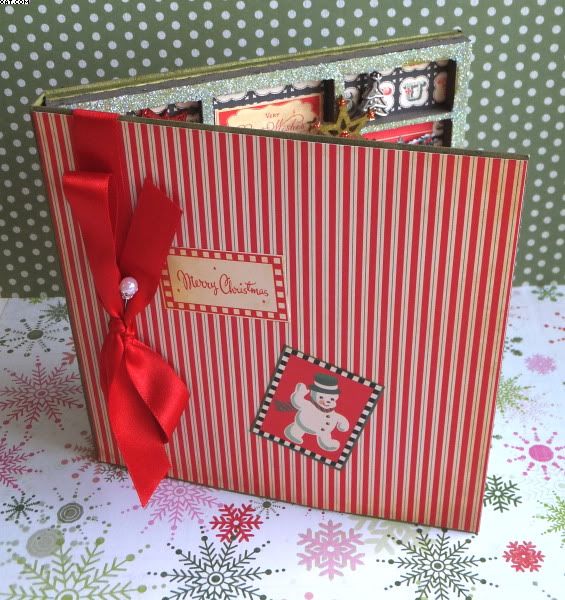
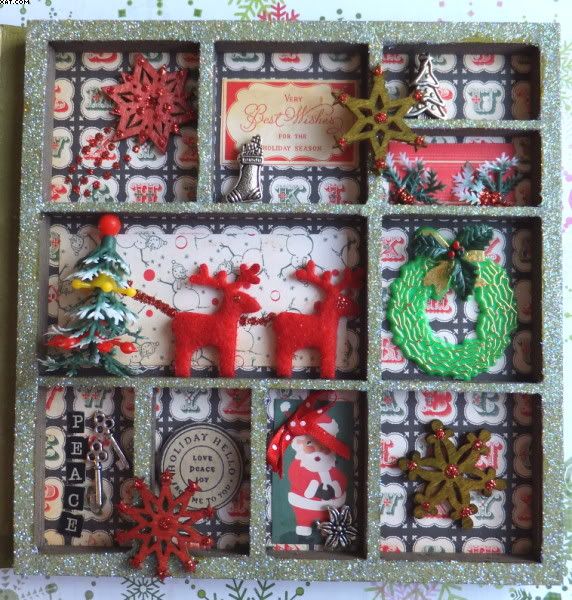
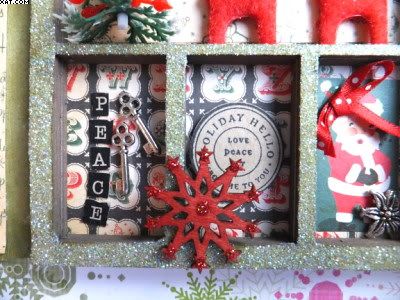
In the same theme as my last post and using the same papers here is a mini shadow box book which I have decorated in a festive way. All papers used are from Cosmo Cricket 'Dear Mr. Claus' 6 x 6 inch paper pad (3d Jean).


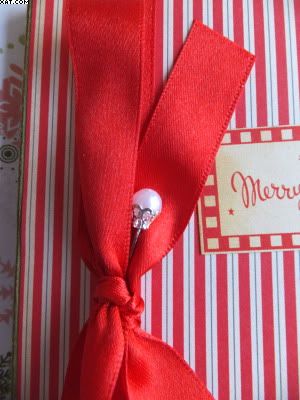
The outside of the box has been embellished with some elements cut from the paper along with a red satin bow and hat pin (The Ribbon Girl)


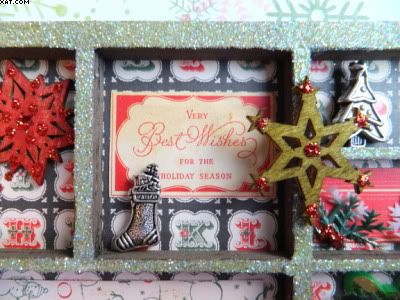
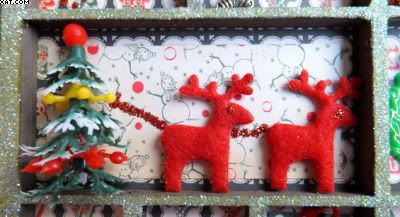
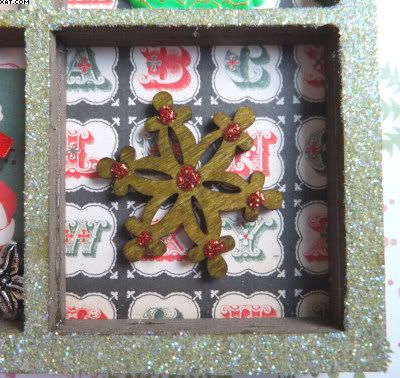
The inside boxes have a variety of papers, wooden snowflakes, ribbon, metal charms, felt shapes etc.  Yes, the little Christmas tree is from my cake featured in the last post so it's 'waste not want not' recycling in action !!


The internal frame was given a generous coating of pale green transparent glitter applied with PVA glue.


I have used Distress Stain in forest moss and barn door along with the corresponding Distress Inks to colour edges and raw chipboard surfaces.


Really enjoyed making it !

Sid xx

Pin It
Sunday, February 20, 2011

'Asian' Inchies


I have organised a 'Continents' inchie swap on UK Stampers Forum.  These are my 9 inchies for the Asia Theme.  I took a piece of cherry blossom printed paper and stuck this to some stout card.  I then cut out the inchies with a 1 inch square punch (a must have for making inchies).


I picked out the blossoms with a Quickie glue pen and glittered with a bronze iridescent fine glitter.  Once dry I applied a small brass charm onto each inchie with Glossy Accents.


Finishing touch was to add a printed word & edge each of the inchies with gold Krylon pen.

Sid xx

Pin It
Tuesday, December 29, 2009

Kind Thoughts Card


Christmas has now passed and the New Year is just around the corner so I decided a change was as good as a rest. One of my friends has not been too good over the break and I wanted to do a card to cheer her up.

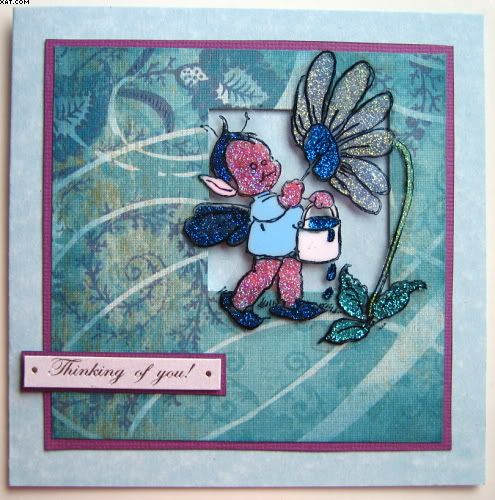
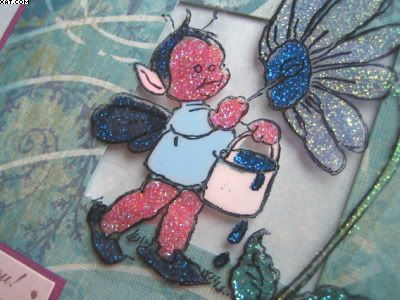
I used a stamp called 'Natures Little Helper' from The Artistic Stamper which I won from the very kind Jennie. I used acetate, glitter and souffle pens to colour in the image (attributed to Mabel Lucie Attwell).

I took a mottled pale blue cardstock and trimmed/scored to make a 4 x 4 inch square card as the base.


I took a piece of acetate and stamped the image with black Stazon. I then used dries clear art glue and applied a number of colours of ultrafine glitters on the reverse of the acetate, allowing them to dry between colours. The body, ear and paint tin were coloured with Sakura Souffle pens and allowed to dry. I then trimmed out the image to leave around a 1/4 inch border.

Next I took a piece of K&Co printed cardstock trimmed as shown and cut an aperture top right with a large square punch. This was rubbed over with broken china Distress ink applied with cut'n'dry foam. This was then matted over some dark plum coloured card and the same aperture cut again with the punch.

The matt was applied centrally with DS tape, the acetate applied over the aperture with glue applied behind the glitter and the card finished off with a 'Thinking of you' sentiment mounted on foam tape and matted onto the same dark plum card.

Hope she likes it !

Sid xx

Pin It
Related Posts Plugin for WordPress, Blogger...