>

Sunday, December 25, 2011

Happy Christmas 2011


Here is wishing you all a magical Christmas.  Have a fabulous time !!

Sid xx

Pin It

Monday, December 19, 2011

Tim's Tag No.6


Still battling on with the 12 tags of Christmas and I am determined to get them all done before Christmas.  This is my version of Tag No.6.  I have used a sizzix embossing folder on a piece of silver mirri board cut to the size of the tag as the base.


This has then been selectively inked with a variety of colours of Alcohol Inks over the embossing.


A Noel stamped plate and a Merry Christmas plate  were then 'hung' on pieces of golden fancy braid adhered with double sided tape.  The plates were raised on foam pads.


Another piece of braid was added at the base of the tag. The tag was then finished with a gold eyelet applied with the crop'a'dile, a green ribbon bow and some red/gold mesh ribbon tied through.

Sid xx

Pin It

Sunday, December 18, 2011

Happy Holidays


Here is a little matted plate I made using a base of Kraft card. I have stamped, used Distress Inks, stencils & Glossy Accents.  Loving the warm colours more so when it's so cold outside.


I have used a squares and a numbers stencil along with Distress Inks in spiced marmalade, mustard seed and vintage photo to produce the background by gradually building up layers through the stencils until happy.  All stamping was done with Archival black ink using stamps from Papermania Urban plates to produce the keyplate, key, music plate, background seedheads and sentiment.


The key and keyplate were covered with Versamark ink and heat embossed with stardust embossing powder which add a transparent iridescent finish and these were mounted on foam pads. Some of the coloured background squares were treated with Glossy Accents to add more dimension.


Finally the greetings plate was backed with a piece of orange grosgrain ribbon and mounted on foam pads.

Sid xx

Pin It

Tuesday, December 13, 2011

Tims Tag No.5


Next one done ! This is my version of Tag No.5.  I first cut a white card tag and then cut a matching piece of acetate.  I coloured the acetate on one side with red pepper Alcohol ink applied on a piece of felt, building up the layers to gain the desired colour intensity.  Then I inked up a small text stamp with Archival Black ink and stamped several times to cover the acetate.  I dabbed off the excess black ink with a wipe and then rubbed gently to remove the excess ink.  This dissolves the alcohol ink and leaves a see-through area where the ink previously was.  Once complete the acetate was adhered (inked side down) to the white tag blank with Glossy Accents around the edge of the acetate.


Next I coloured some grungepaper with picket fence Distress Stain followed with some weathered wood.  This was then dried with the heat gun and die cut with a TH die to make the leafy fronds.  Once cut these were cut in two and shaped with my fingers to add dimension.  These were adhered with Glossy Accents at the top but left free at the bottom.  Some half pearls were added to embellish and a white ribbon bow tied and applied with foam pads.


Because the words were not necessarily Christmassy I added a circular seal stamped in Archival black, coloured with red pepper Adirondack ink and heat embossed with clear embossing powder.  The seal was stuck in place on more foam pads.


A hole was cut with the crop'a'dile at the top of the tag and threaded through with a piece of open mesh silver ribbon to finish.


Sid xx

Pin It

Monday, December 12, 2011

Tims Tag No.4


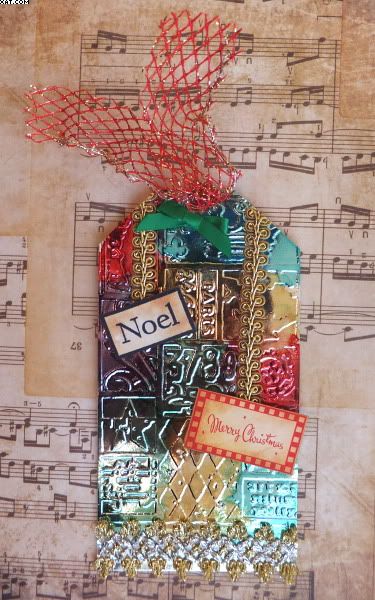
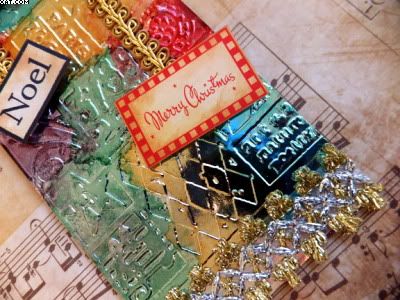
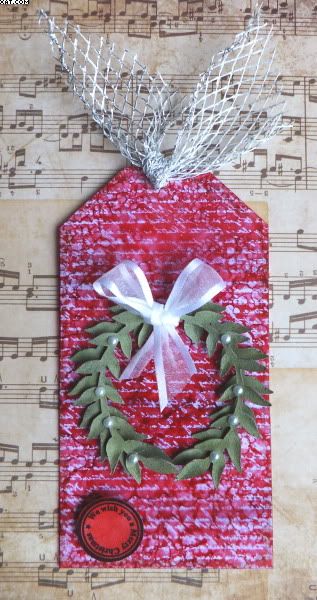
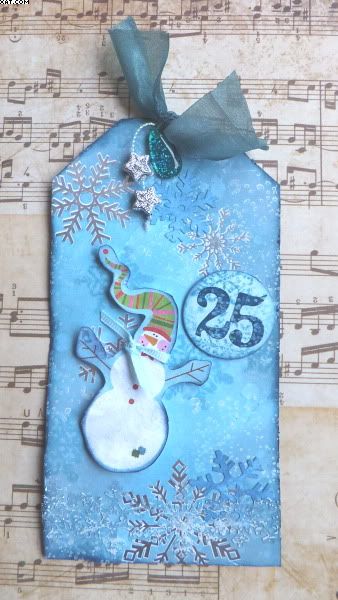
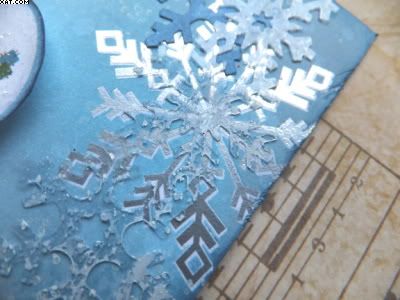
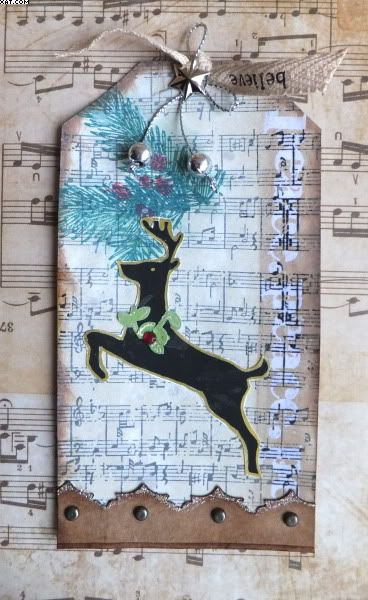
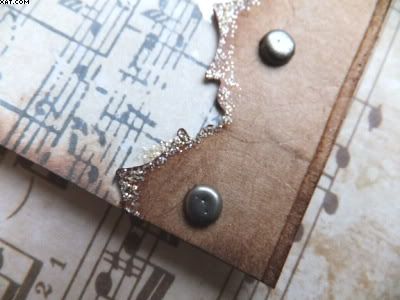
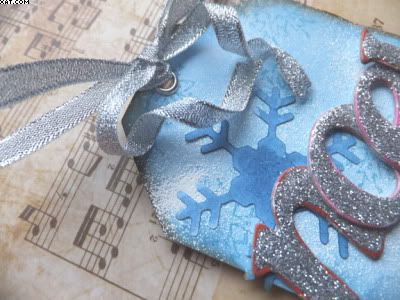
Here is tag No.4 in the Christmas series.  The white card base was cut to size and some silver snowflake rub-ons were added.  The whole tag was then coloured with weathered wood, faded jeans and broken china Distress Inks.  The rub-ons resist the colour.  Some water splats added a bit of contrast.  A snowflake stamp was inked with more faded jeans ink and stamped randomly.  A couple of punched snowflaked were also added and a punched out acetate snowflake border was coloured with picket fence Distress Stain and added with glossy accents at the bottom.  The tag was then stamped with a dotty stamp and Brilliance moonlight white ink to add some snow effects.


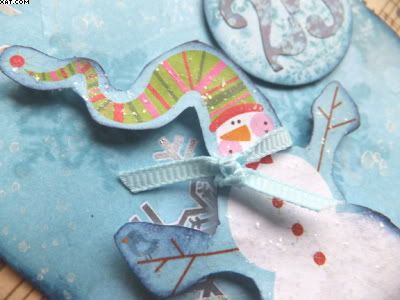
The snowman was cut out of printed paper and edged with broken china Distress, treated with rock candy Stickles and applied on foam pads.  A blue grosgrain ribbon scarf was added round the snowmans neck.

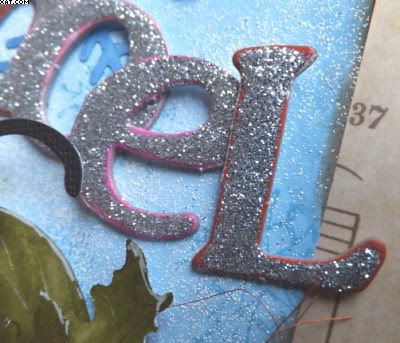
The numbers are self adhesive and coloured with an alcohol marker before sticking onto a circle of blue card.  More snowflake stamping and Brilliance on this too before sticking in place on shallower pads.


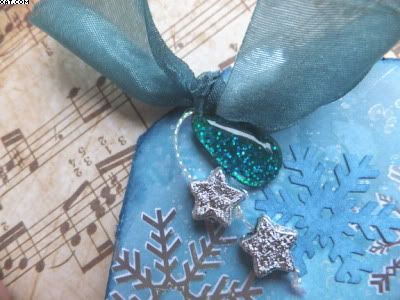
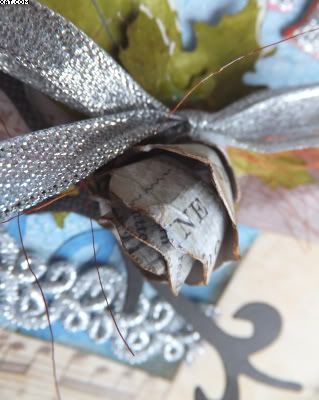
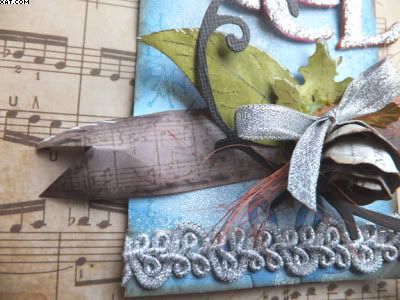
A silver eyelet was added with the crop'a'dile and some silk ribbon, two silver stars and a sparkly drop were attached through and around the eyelet.

Finally the tag edges were distressed with sandpaper and given a rub over with more broken china Distress Ink.


Used some of the recommended items on this tag but not many again.

Sid xx


Pin It

Sunday, December 11, 2011

Tims Tag No.2


Yes I know my tags are out of sync. !  But this one is my effort for tag number 2.  The base is a white card cut to size and stamped with a music stamp in Archival Black.  This was toned down with picket fence Distress stain and dried.  I then stamped the word Peace down the right hand side of the tag with Versamark and heat embossed with clear embossing powder.  The words were swiped with vintage photo Distress ink and this was rubbed over with a cloth to remove the ink from the embossing.


Next I stamped a fir tree in pine needles Distress ink and used some barn door and a circle stamp to add some berries.  This was over coloured with more pine needled on cut'n'dry foam.


The reindeer is a digi image, printed on the printer, cut out and edged with gold Posca pen.  The garland round the reindeers neck is made from diecut foliage and a faux gem.  He was stuck in place as shown.  The base trim was cut using a Sizzix on the edge die and was attached with 4 pewter brads and edged with some frosted ice Stickles.


A pewter eyelet was added with the crop'a'dile and a small piece of woven braid tied through.  A little bow and two silver balls were then attached with a star brad as shown.  The whole tag was then edged in more vintage photo ink.

Sid xx

Pin It

Monday, December 05, 2011

Tims Tag No.3


Here is Tag No.3.  Once again not exactly like Tims and using what I had rather than what I needed to buy !!  I used festive words printed paper to cover the blank tag and then using a Versamark pen highlighted certain words and heat embossed with fine detail clear embossing powder.  I then also coloured some white 'snow' on the letters of the words with a white Posca pen.

The tag edge was then distressed with a piece of coarse sandpaper and edged with vintage photo Distress Ink.


Next I die-cut all of the embellishments using Sizzix dies and the Big Shot and various coloured cardstocks.  These were bent to shape and coloured also with some more of the vintage photo ink.

These were then stuck in place as shown using Glossy Accents and foam pads and the berries were added (self adhesive gems).


The tag was finished with a silver eyelet cut and fixed with the crop'a'dile.  The angel charm was attached with a brad through the eyelet and some sparkly gold star & swirl ribbon to finish.

Sid xx

Pin It

Sunday, December 04, 2011

Tims Tag No.1


In the best traditions of following Tim Holtz '12 Tags of Christmas' for 2011 this is my first offering. Not quite using all of the Ranger materials but certainly using some of the techniques.


I Started with a blank tag and covered with a piece of printed paper (snowflakes).  Gave it a coat of picket fence Distress Stains and dried with the heat gun.  Then used a couple of small snowflake stamps and stamped randomly with faded jeans Distress Ink.  Finally applying a sprinkling of seafoam white embossing powder and heating from below until melted.  The tag was then edged with vintage photo Distress Ink.

Then I prepared the diecut letters to spell out 'Noel'.  These were coated with fine silver glitter after a liberal coat of pva glue and allowed to dry.


The embellishmnents were all cut using Sizzix dies (Non-Ranger) and the pine cone made by hand by cutting a spiral with a wavy edge. The  leaves were cut from card coloured with shabby shutters Distress Stain. and the banner was made by hand and stamped with a music stamp in vintage sepia Versafine ink.  Other additions were some strands of brown sisal and a little silver bow along with a die cut stem from another Sizzix die.  All were assembled using various foam pads and glues at the bottom of the tag.


Some more large snowflakes were diecut out from blue paper coloured with faded denim Distress Stain and these were stuck onto the background.  A piece of silver braid was applied at the base of the tag.


Finishing touches were to add a silver eyelet with the crop'a'dile and to tie through with some more of the silver ribbon.

Sid xx

Pin It

Saturday, December 03, 2011

Loopy Scarf


I recently bought a ball of 'Loopy' wool from a craft shop and have knitted this scarf using the multi coloured yarn.  The scarf was really easy to make and the yarn really works well in scarves.  This one is actually 57 inches long (the pic shows it knotted).

Only seven stitches on 8mm needles, plain knit.

Will be giving this as a Christmas gift.

Sid xx

Pin It
Related Posts Plugin for WordPress, Blogger...