>
Showing posts with label Faux Gems. Show all posts

Monday, April 03, 2017

Sparkle & Shine ......


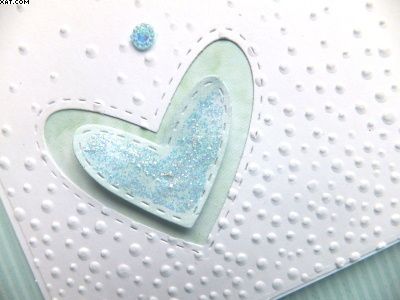
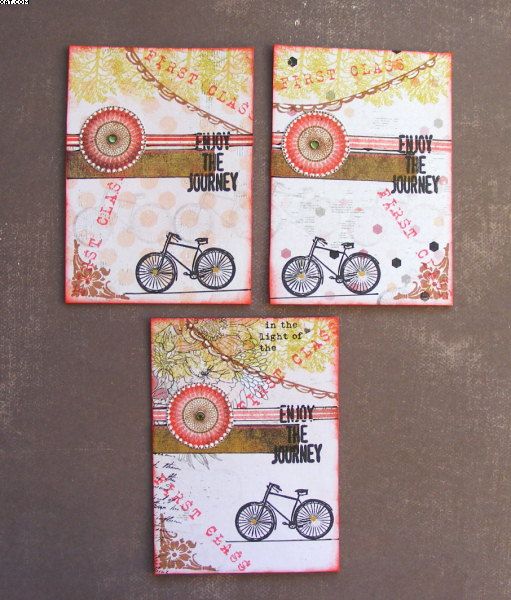
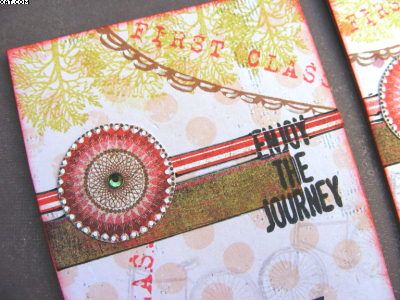
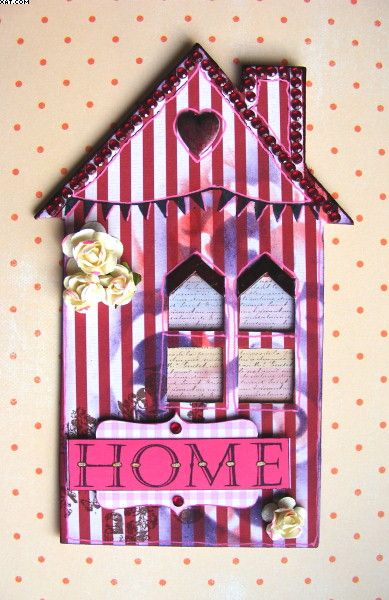
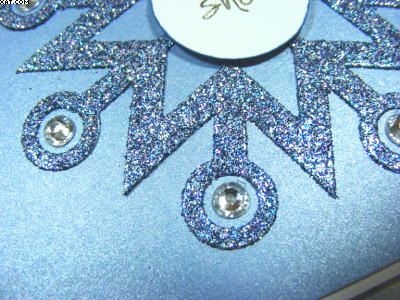
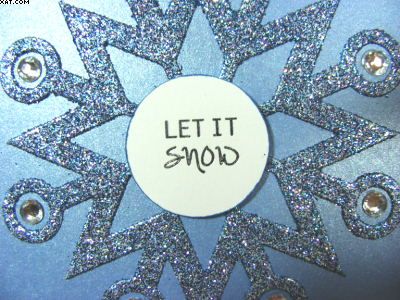
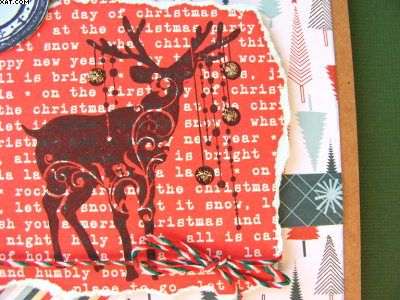
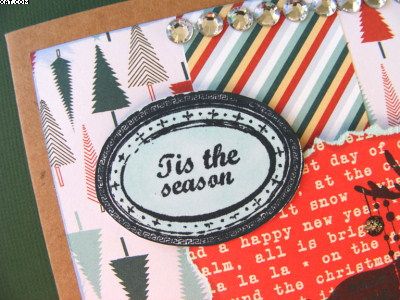
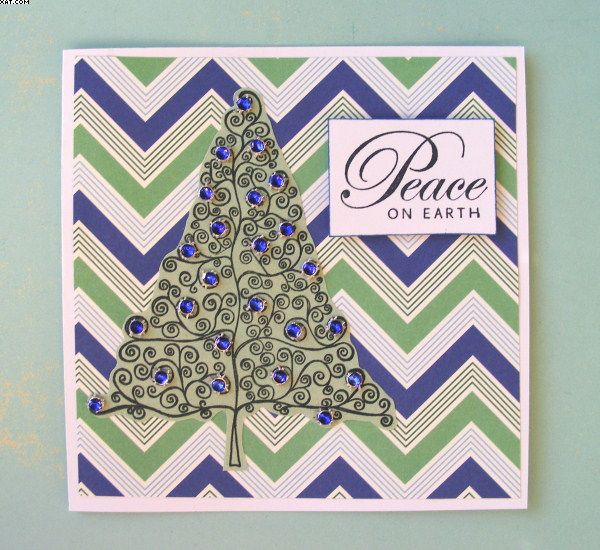
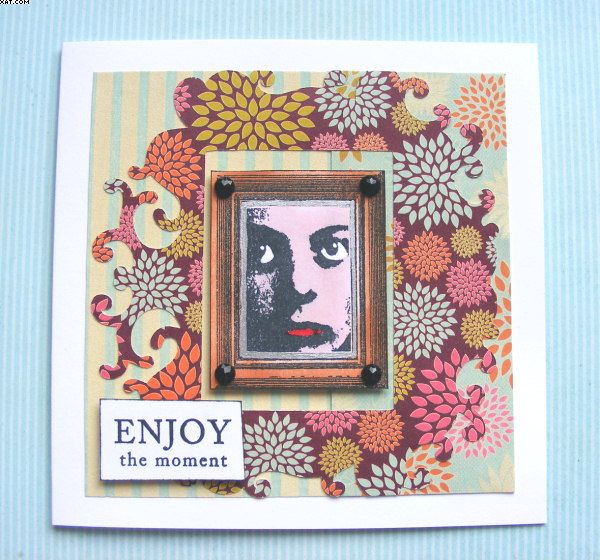
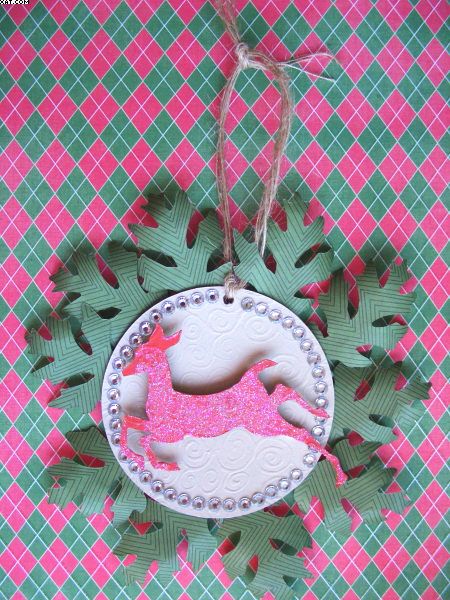
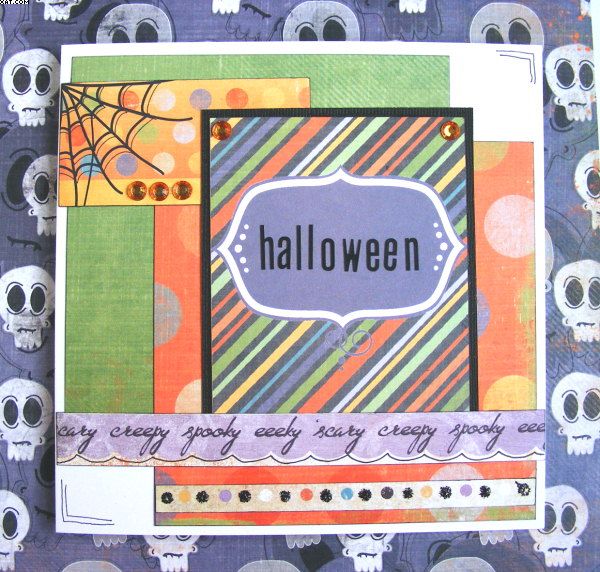
This set of Inchies was made for a Swap over at UK Stampers Forum, whose theme this Month is 'Sparkle & Shine'

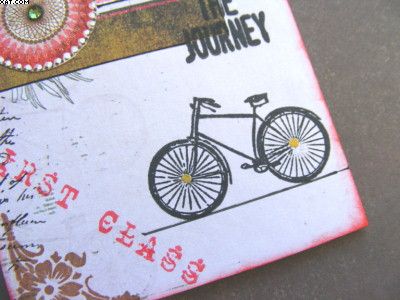
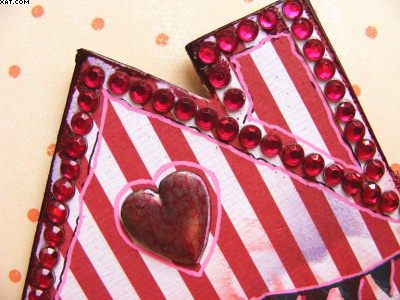
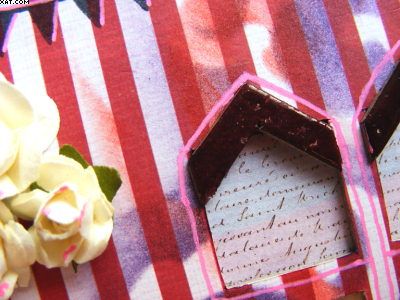
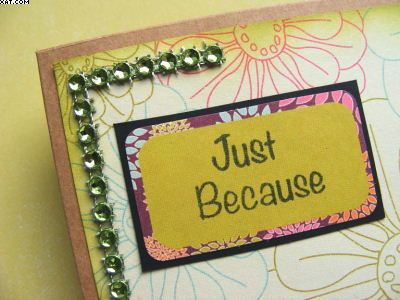
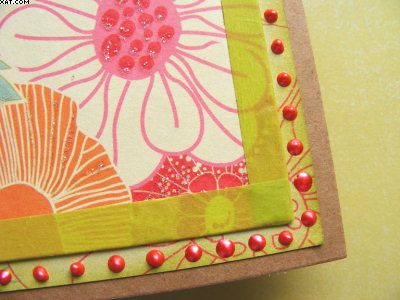
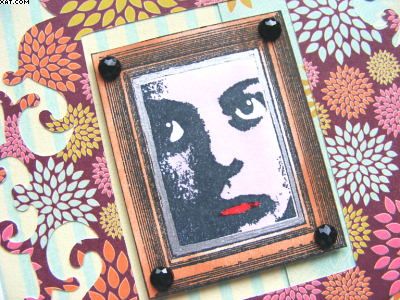
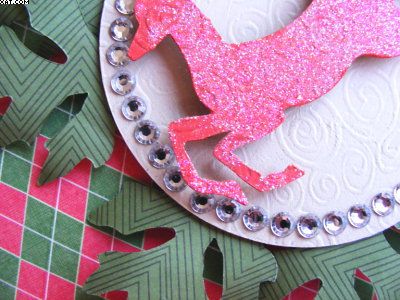
I have used embossed glitter card as the base, stamping with Versamark & heat embossing with metallic EP's, collaged elements, glass chips, gems and I dug out my trusty old Gold Krylon Pen to do the edging.  Might say it took a while to get it primed but it still did the trick !  They have been mounted onto mountboard to give them some rigidity.

If you fancy making some Inchies and joining in the Swap visit us by clicking HERE, where you can join the Forum and join in this and other Swaps that are running this Month.

Sid xx

Pin It

Monday, March 28, 2016

Easter Bunny Box


Happy Easter Monday to you all !!

Here is a little Easter ornament I made with crafty friends at a weekend retreat in Skipton. Great for displaying eggs and the like in a box suspended between two Easter Bunnies with fluffy tails.  It measures 19 x 13 x 7 cms and is made from very heavy greyboard using Sizzix XL dies for the bunny and the box between.


I used papers from the Lawn Fawn double sided 'Fruit Punch' range which have a zingy bright look to them.  The pieces of greyboard were first covered both sides with the selected papers and then diecut.

Next the box was diecut out of greyboard, folded and covered with more papers from the range.


The box was stuck in place to support the two bunnies to complete the construction.  Decorations were then added ...... a ribbon collar was tied in place and a daisy flower with leaves was applied both sides with hot melt glue.  A shiny acrylic 'Eye' was stuck in place and a fluffy bunny tail pom-pom added at the rear.


The decoration was filled with mini chocolate eggs and foiled chocolate treats to finish.

Bright, decorative and tasty all at the same time !!

Sid xx

Pin It

Friday, March 25, 2016

Wedded Bliss


Happy Easter everyone and especially for those getting married at this time.

Here is a wedding card I made on this Good Friday.  I used a white card blank as a base and I cut a smaller matt in more white card in which I diecut a stitched heart aperture.  This matt was then embossed with a Stampin' Up embossing folder through the Sizzix Bigshot.


The aperture was backed in a cloudy blue printed paper before sticking onto the front of the card.


Another smaller stitched heart was diecut from more of the printed paper, glittered with crystal Stickles glitter glue and mounted on foam pads in the aperture.

Finishing touch was to stamp the sentiment on more blue printed paper in blue dye ink, trim out and mount on more foam pads. Finally some blue acrylic gems were added as shown.

Sid xx


Pin It

Friday, February 13, 2015

Pink & Grey


This first card is just in time for Valentines day and is in a theme of pink & grey, fitting the requirements for the Less Is More Challenge Blog for this week and also the City Crafter Challenge Blog whose theme is 'You Matter'.

I have painted 5 chipboard hearts in different sizes with satin acrylic paints in pink and grey.  When dry these have been overstamped with a cross stamp in dye inks applying grey on pink and vice versa.


I have then added a single faux gem to each heart and stuck them in place in a cascade on a 5 x 5 inch white card blank as shown.

The LOVE stamp is from Papertrey Ink and was stamped in Versafine black ink.  I finished the edge of the card with a freehand wavy line in pink alcohol ink.


My next card in the same theme features a single cupcake stamped in Memento black ink and filled with colour from alcohol brush markers.  The white card blank is 4 x 4 inches.  The sentiment is also stamped in Memento black ink.


Sid xx

Pin It

Friday, February 06, 2015

2 - Wheeled Race ......


Here are three ATC's I have made for a monthly swap over on UK Stampers Forum.  This months them is 'Bicycle Race'.

I have used chipboard as the base for these 2.5 x 3.5 inch cards which I first covered with printed papers to make the base.


I have used a number of stamps, (tree, bicycle, first class, enjoy the journey, corner & garland) with Memento inks and collaged items to form the design. The bike was grounded by drawing a black line with a 0.2 black Micron pen. I then added a green faux gem in the trimmed paper circle and Posca pen in white and gold.


Final touch was to edge with barn door Distress ink applied on cut'n'dry foam.

Sid xx

Pin It

Saturday, January 24, 2015

Think Homely Pink ............


Here is a little hanging plaque I have crafted.

I started with a chipboard diecut of a house which I covered in stripey paper.  I then used a stamp and Memento bamboo ink and stamped a collage stamp.

I used a swirl mask and Distress inks in barn door and dusty concorde applied through the mask with cut'n'dry foam.


I then stamped some bunting across the roof area in Memento onyx black ink. I heat embossed the edge of the roof with magenta embossing powder as I did with two chipboard chevrons which became the window tops.


The wordplate was made from stamped letters on pink cardstock matted over a pink gingham diecut.  This was placed as shown on foam pads and embellished with a couple of red faux gems.  I then used the same gems and outlined the roof edge and chimney.  I stuck some printed paper behind the window apertures.


I coloured a metal heart with alcohol ink and placed on the roof, applied a few cream paper roses as shown and outlined lots of areas with a pink and gold Posca pens to finish.

This could also be displayed with a chipboard stand at the back.

Sid xx

Pin It

Friday, December 19, 2014

Christmas Wreath


Christmas is always time for door decorations and festive makes.  This paper wreath was inspired by my dear friend Jean and this is my take on it.

All made from printed and pearlescent papers and is around 12 inches diameter.


It sits on a round base and each of the double cones is made from an oval of the paper.


The decorations inside the cones are diecut from pearlescent paper as is the central poinsettia.


The centre is decorated with some faux gem mesh coloured green with an alcohol marker.

It now languishes on my inner porch door.

Sid xx

Pin It

Thursday, December 11, 2014

Pink Emporium .........


Bit of a different colourway for Christmas on this card.  I have used a 5 inch square white card as the base and layered 3 contrasting papers onto this.


I next added some thin black velvet ribbon on double sided tape across the card.


The sentiment is one from Graphic 45 and was stamped in Versafine black in onto a piece of pink textured card and trimmed out.  This was edged in black ink and mounted over the ribbon on foam pads.

I then added some pink faux gems as shown to finish the card.

Definitely very non-traditional !

Pin It

Tuesday, December 09, 2014

Glittering Snowflakes !


This Christmas card meets the requirements for the City Crafter Challenge blog week 241 whose theme is 'Glittering Snowflakes'.

I trimmed a piece of blue pearlescent card and matted this onto a white card blank.


The snowflake was diecut and treated to a coat of ice blue glitter.  This was positioned and stuck in place centrally.


Some faux gems were added around the edge and a silver embossed plate added on foam pads in the middle. Very glittery !!

Sid xx

Pin It

Monday, December 08, 2014

'Tis The Season


Another Christmas creation from me.  This card started life as a 5 x 5 inch Kraft card base.  Onto this I have layered a few pieces of matching decorative paper from some 12 x 12 inch sheets.


The central red matt has been stamped with a deer stamp in black Archival ink before tearing out. Some blobs of Stickles glitter glue have been added on the baubles and the base tied with some festive coloured bakers twine before mounting on foam pads.


The word plate was stamped in black Memento ink on white card, trimmed out and coloured with a pale blue alcohol ink marker.  This was also mounted on foam pads.

The faux gems were added last as shown to finish the card.

Sid xx

Pin It

Wednesday, December 03, 2014

Peace on Earth


On this run-up to Christmas I have decided to make all my own cards this year.  This is one of them. I started with a 6 x 6 inch square white card blank.

I then chose some patterned paper to make a matt for the background.


The tree (PaperArtsy) was stamped in black Versafine ink on some plain green paper and this was trimmed out as shown.


I then coloured some faux gem mesh with a blue alcohol ink marker and trimmed out individual gems and applied these onto the image.

The tree was adhered onto the base matt.

The sentiment was stamped onto white card, edged in blue ink and applied on foam pads.

Only 23 days left !

Sid xx


Pin It

Friday, November 28, 2014

Just Because .......


As a little light relief from Christmas cards here is a little card I made on a 4.5 x 4.5 inch Kraft card base.

I have used Teresa Collins papers and collaged all elements as shown. Some were trimmed out and edged with a Micron pen.


I have embellished with some green coloured bling & edged with some lime Washi tape.


I have used red Liquid Pearls to add some further relief also. The plate was matted and stamped with the sentiment in Archival black ink. Some Stickles glitter glue was applied to add some more sparkle.

Sid xx

Pin It

Sunday, November 23, 2014

Enjoy the Moment !


Perhaps her moody face would not encourage you to 'Enjoy The Moment' but she is a Zetti stamp after all and you know what they are like.

The card was made from a 5 x 5 inch plain white card blank.  I have covered the card with a couple of pieces of printed paper.  The striped bit on the left has a flock finish.


Onto this I have stuck some paper which has been diecut with a frame in the middle, made from more patterned paper.


The central plate was stamped in black Memento ink and selectively coloured with Marvey alcohol ink pens.  Black faux gems were adhered to the corners of the frame and it was mounted on foam pads in the middle.

Last but not least was the sentiment which again was stamped in Memento ink on white card, edged and trimmed out before mounting on more foam pads.

Sid xx

Pin It

Tuesday, November 04, 2014

My Deer .........


More on a Christmas theme in this post.  The City Stamper Challenge Blog for week 236 is asking us to make a craft project featuring a deer so I made this.


I decided to make a little simple Christmassy hanging after having pulled out a load of embossed Grungeboard which has sat there in my stash, unused for ages.  I diecut a circle from the swirly Grungeboard and painted it with some beige acrylic paint. as the centre background.

The leaves were next diecut from a Tim Holtz tattered leaves Sizzix die from some green striped paper.  These were stuck in place behind the grungeboard centre as shown.


The deer again was diecut (TH Sizzix) from more of the same grungeboard, which this time was painted red.  A layer of dries clear glue was spread over the painted surface and some glamour dust glitter adhered for a bit of glitz. It was mounted on double foam pads to raise it off the surface.

Next I added a circle of faux clear gems and mounted the deer on foam pads.  I cut a hole with a crop-a-dile at the top and added a few strands of jute twine tied through to form a hanger to finish.

I was going to add a sentiment but thought that it looked better without.  What do you think?

Sid xx


Pin It

Friday, October 31, 2014

The Spook


Another Halloween card here ! Once more in a not-too-scary manner ! Don't want to frighten the kids.


Again collage has been used by trimming out some 12 x 12 inch printed papers and mounting on a 6 x 6 inch white card blank.


I have applied some coloured fine velvet ribbon on double sided tape in purple, black, orange, and glazed the 'Spook' word with Glossy Accents.


I have added some black faux jewels.


And mounted some of the collage items on foam pads to add dimension.

Happy Halloween everyone !

Sid xx

Pin It

Thursday, October 30, 2014

Eeeky Spooky !


Another card made to celebrate Halloween !  I have collaged the elements which have been cut from 12 x 12 inch papers.


I have used a 6 x 6 inch white card blank as the base.  The 'Halloween' word is put together with self adhesive stickers.


Some orange faux gems and Distress Stickles in black soot with some corners added with a fine Micron Pen finish the card.

Hope everyone has an Eeeky Spooky night on 31st October !

Sid xx

Pin It
Related Posts Plugin for WordPress, Blogger...