>
Showing posts with label Pearlescent Card. Show all posts

Tuesday, October 03, 2017

My Heart Has Wings ......


Made this mini card .....

I started with a 3 x 3 inch white card blank.  I diecut a stitched edge heart and stamped a heart with wings on paper with Archival ink.  This was trimmed out and coloured with Copic markers before applying to the heart matt.  The sentiment (PaperteryInk) was stamped on white card in Versafine ink onto white card.  This was trimmed and applied as shown.  The matt was applied to the card on foam pads.

Sid xx

Pin It

Monday, October 02, 2017

Hearty Wedding ......


A wedding card made for a recent wedding ....

I started with a 6 x 6 inch white card base.  I then diecut a white matt and a slightly smaller pearlescent cream matt.  I then diecut the scribbly hearts and the sentiment in more white card and applied as shown.  I finished the card with a cream satin bow and 3 adhesive pearls.

The matts were applied on foam pads onto the card front.

Sid xx

Pin It

Tuesday, December 09, 2014

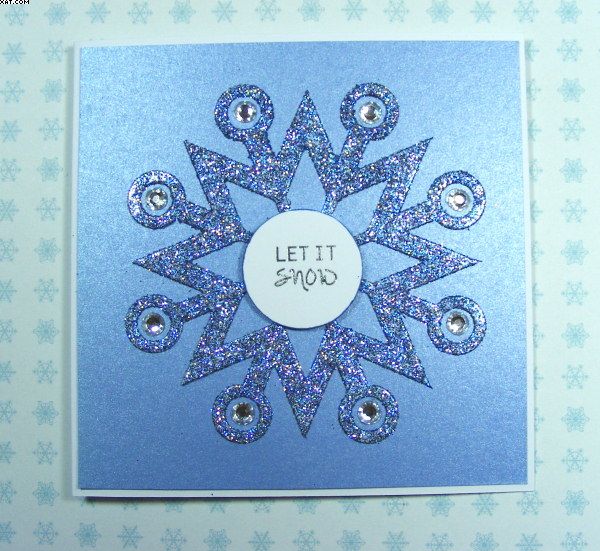
Glittering Snowflakes !


This Christmas card meets the requirements for the City Crafter Challenge blog week 241 whose theme is 'Glittering Snowflakes'.

I trimmed a piece of blue pearlescent card and matted this onto a white card blank.


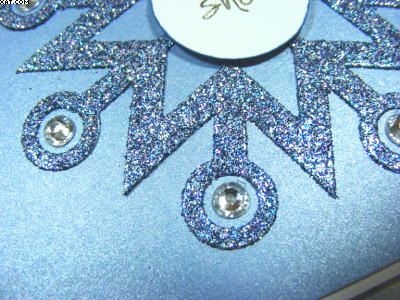
The snowflake was diecut and treated to a coat of ice blue glitter.  This was positioned and stuck in place centrally.


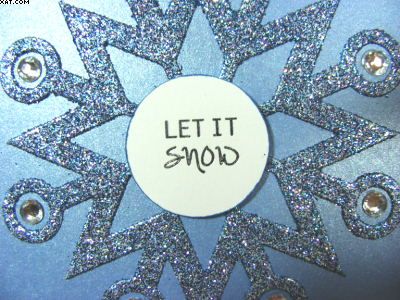
Some faux gems were added around the edge and a silver embossed plate added on foam pads in the middle. Very glittery !!

Sid xx

Pin It

Sunday, November 02, 2014

Christmas is coming ........


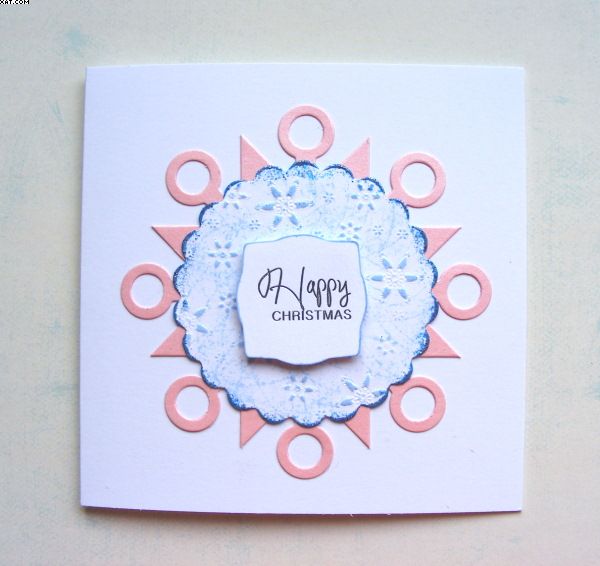
Yes I know it's only the 2nd November but .......... we have been asked to do some Christmas cards using non-traditional colours by the Less Is More Challenge Blog for week 196.

My first card uses diecuts and embossing but no stamping.  I loved the pink and blue theme where I have emphasized the embossed snowflakes with some blue dye ink (Memento).  I have edged the embossed plate with blue glitter embossing powder applied with Versamark and heat embossed with a heat gun.  The underlying diecut is made from pink pearlised card.

The word plate is gold embossed and mounted on foam pads.


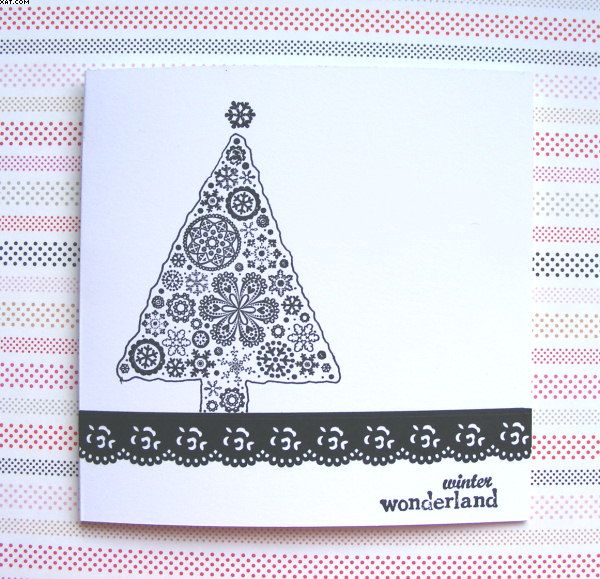
My second card is entirely stamped (apart from a little bit of black paper lace) with Versafine onyx black ink.

I have kept it monochrome for simplicity.

Sid xx

Pin It

Tuesday, July 27, 2010

B is for Bird Tags


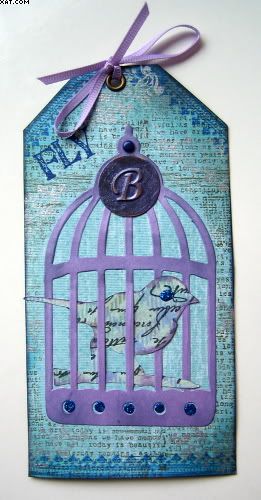
Recently there have been some fab swaps over on UK Stampers Forum and this or these (there are actually six all the same) were made to meet the challenge of using the Tim Holtz Sizzix alterations birdcage die in either a 6 x 6 inch piece or a tag.  I chose to do tags and this is how I made them.

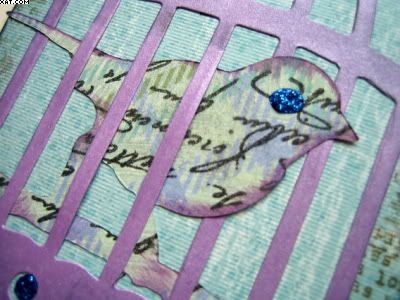
The colour choices for the theme came about as I looked through my papers.  I had some fab pearlescent lavender card and I diecut 6 birdcages with the Big Shot.  I then chose some plaid K&Co printed card in lavender, green and blue and diecut the 6 birds.  Each bird was overstamped with a text stamp from PaperArtsy in onyx black Versafine ink and edged with wisteria chalk ink.  An eye was applied with blue glitter glue and allowed to dry.  I then started the tags with a piece of K&Co background card in mottled turquoise as the base and cut this to shape.

Next I used one of the birdcages and cut a mask to fit.  The mask was placed and the tag background was stamped with moss green Chalk ink with a distressed text background stamp (Limited Edition) to cover.


The bird and cage was applied to the masked area with glossy accents next and some blue glitter glue applied in the holes at the bottom of the cage.  Once dry some tumbled glass Distress ink was worked around the edges of the tags.

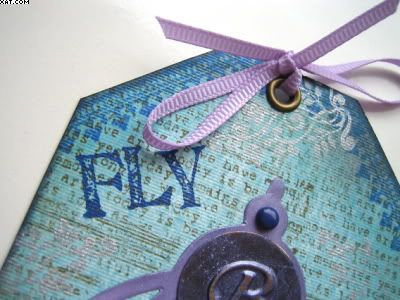
I then painted some metal letter B's with metallic sapphire acrylic paint to be used as an embellishment. Once the paint was dry I sanded away the paint from the raised letter.  I used aquamarine Stazon and a stamp from PaperArtsy to stamp the word FLY top left.  The border stamp (Green Pepper Press)  was inked with dark blue Whispers dye ink and stamped top and bottom as seen.  The background was further embellished with a leaf motif (Elusive Images) with starlight silver Brilliance ink in several places.


The metal B's were applied with Glossy Accents at the top of the cages and a purple brad added at the cage hanger. A hole was cut with the crop-a-dile and a brass eyelet applied which was then tied through with lavender narrow grosgrain ribbon in a bow.

These will be in the post tomorrow.

Sid xx

Pin It

Sunday, February 14, 2010

Hearty Valentines Card

Happy Valentines Day !!


Here is one of the cards I made for Valentines Day this year. I wanted to make a card using opulent colours so I chose black, red & gold. I started with some black opalescent cardstock cut and folded on a score board to A6 size.


Once again I have used a single damask heart stamp from Elusive Images which was inked with versafine ink and stamped four times down the right hand side of the front of the card. I have reversed the stamp so as to interlock the stamp. These hearts were then heat embossed with gold embossing powder using the heat gun.


Next I positioned a piece of double sided tape on the left from top to bottom and used this to adhere two strips of luscious red narrow velvet ribbon as shown.


The heart embellishment was stamped onto gold mirri card with Versamark and this time heat embossed with red embossing powder. This heart was trimmed out, embellished with a piece of the same velvet ribbon and a gold swirly clip before applying foam pads and placing as shown.

Sid xx

Pin It

Saturday, February 14, 2009

Happy Valentines Day !

Wishing all you lovers out there a Happy Valentines Day ! Here is a card I made for mine. I wanted to make a slightly different overall effect and used a couple of the Elusive Images stamps that I thought fitted the day.

What I used:

  • Pearlescent Card (Pastel Pink cut to 8.25 x 3.25 inches)
  • Card (Petrol Blue for mat & sentiment)
  • Pearl paper (blue/pink for second mat)
  • Moonglow Glitz Spritz ( Desert Moon Endless Sky, Royal Crimson Fire)
  • Moonglow Embossing Powders ( Cosmic Pink Blue, Midnight Ruby Obsidian)
  • Mylar stencil (flower shape)
  • Stamps (Filigree Heart and 'With Love' - Elusive Images)
  • Versamark Inkpad
  • Brilliance Inkpad (Pearlescent Sky Blue)
  • Double sided tape
  • Foam pads

The card was cut and folded using a bone folder. The heart stamp was inked up with Brilliance Pearlescent Sky Blue ink and randomly stamped over the front of the card, this was heat set with the heat gun.

The first mat was cut out of petrol blue card and sprayed liberally with the Desert Moon Endless Sky Glitz Spritz and allowed to dry naturally. The stencil was placed over the card in two places and this was heavily sprayed with the Royal Crimson Fire Glitz Spritz. The stencil was carefully removed and the spray was allowed to dry.

The heart stamp was inked with Versamark Ink and stamped as shown on the mat then heat embossed with the Cosmic Pink Shimmer Moonglow EP. The sentiment was stamped using Versamark onto a scrap of the petrol blue card and this time heat embossed with Midnight Ruby Obsidian Moonglow EP. This was trimmed with scissors and foam pads were applied to the reverse.

A second mat was cut to allow 1/8th inch border and the first mat applied over this. The card was then assembled and finally finished with the sentiment applied as shown.


Hope you like it :-)

Pin It
Related Posts Plugin for WordPress, Blogger...