>
Showing posts with label Distress Stains. Show all posts

Tuesday, May 21, 2019

Love you ....


Made a 4 x 6 'Love You' card from a selection of desktop items that were close to hand ....

Started with a blue Distress Stain stencilled background which I stamped with some birds in Versafine black ink.  I also added some silver marks with a pen.  This was trimmed and matted onto black card and stuck in place on a white card blank.

The figures were stamped on watercolour paper previously coloured with watercolour brushmarkers, trimmed out and applied on foam pads.

The 'Love' was die-cut from pink paper and the 'YOU' stamped in Versafine black ink.

I added a blue paper flower and three flat metallic pink sequins to finish.

Sid xx

Pin It

Wednesday, April 03, 2019

Clowning .....


A mailart postcard made for a swap in UK Stampers Forum - it travels 'naked' through the post to the recipient !

I cut a piece of stout white card to 6 x 4 inches and then splatted a variety of colours of Distress Stains onto it to make a background.  I then stamped the clown and the words in Versafine black ink.

The clown was infilled with Posca pens and the edges scribbled in with a black Micron pen to finish. I gave it a spray with acrylic sealer to protect it in transit.

If you would like to join in this swap, click HERE to join the Forum and take part ... it's friendly, free & fun .....

Sid xx

Pin It

Monday, June 25, 2018

Best Butter Tag ......


Made this tag as  part of a Challenge on The Enchanted Place Blog by Jannet Blay. The challenge centres around 'Alice Day' where in celebration of the book 'Alice in Wonderland' by Lewis Carroll we are to make an Alice related piece. I have designed and made this tag as my entry. It depicts the March Hare holding up the pocket watch at the Mad Hatters Tea Party and declaring 'But it was the BEST Butter' before dipping the whole thing in his tea !

The tag is a manilla tag coated liberally in mustard seed Distress Stain, dried with a heat gun and heat embossed with diamonds through a mask with Versamark ink and detail clear embossing powder. The tag was then swiped over with picket fence Distress stain and wiped with a baby wipe to remove the white stain from the clear embossed diamonds.

Some of the unglazed diamonds were then filled in with a water brush filled with orange dye ink.
I next stamped the top of the tag with a squares and dots border stamp inked with black Archival Ink. Some black dots were added with fine black Posca pen.

The base of the tag was decorated in layers with some pale orange lace, lemon Rik-Rak ribbon and a silver buckle, black & white striped ribbon and spotty paper held in place with two gold staples.

The March Hare (IndigoBlu) was stamped on white card in black Archival Ink and coloured in with Marvey alcohol ink brush pens before cutting out and adhering as shown. The words are maroon self adhesive letters edged with black Posca.

Final touch was to edge the tag in tangerine Versamagic chalk ink and apply a piece of pale gold silk ribbon, tying in place and finishing with two more gold staples.

Sid xx


Pin It

Thursday, June 29, 2017

'Mingo Tag .....


It's been a while since I posted, or crafted even !  This tag was made for a monthly decorated tag swap over on the UK Stampers Forum Facebook Group.

I used mainly diecuts to make it.  I started with white card and cut two stitched edge matts.  Onto the first matt I applied Distress Stains in tattered rose as splats direct from the stain.  I dried these splats with the heat gun.

I then stamped the word 'Joy' in black Versafine ink as shown.

The Mingo was diec ut from pink card with its wing from some spotty paper.  The wing was applied and the spots centred with white Posca pen.  The bird was then stuck in place over to the right of the matt.

I used a Cropadile to punch a hole in the larger matt and apply a silver eyelet through wich I tied some pink fibres and pale pink spotty organza ribbon.

I then added three pink pearl cabochons as shown to finish the Tag !

If you would like to join the Group just click on the link above.

Sid xx

Pin It

Saturday, March 30, 2013

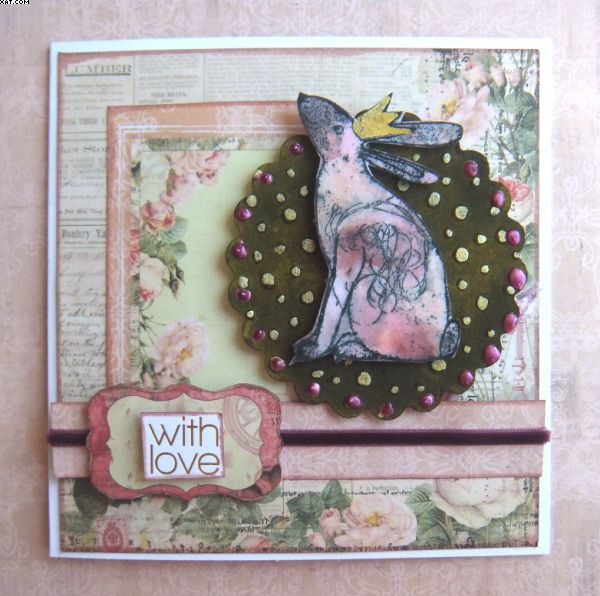
Bunny Love


Still thinking about Easter with this card I made.  This time I have used a white 12 cm square card blank as the base. Printed 6 x 6 inch papers from the Prima tea-thyme collection are used throughout to make the layers.  I really like this collection with its subtle blend of pinks and greens.


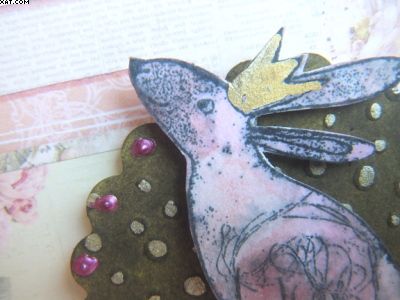
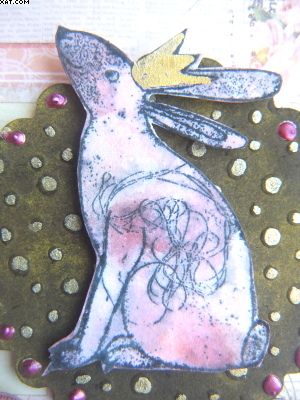
The cute bunny stamp is by Alice Palace and is available at Crafty Individuals.  This was stamped in Memento tuxedo black ink on some more white cardstock and coloured with Distress Stains in milled lavender, spun sugar & tattered rose before trimming out and adding some gold Posca pen on the crown.


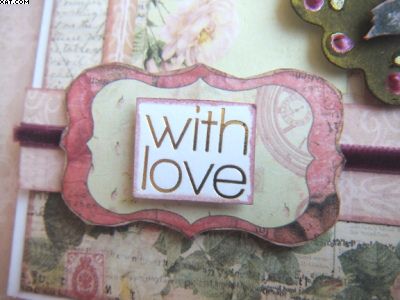
The sentiment plate was trimmed out from the papers and adorned with a gold embossed 'with love' plate.  Some fine velvet ribbon was added over a strip of paper to display the plate.


The green plate behind the bunny was die-cut and embossed through my Big Shot and coloured with a mixture of peeled paint and shabby shutters Distress Stain.  The embossed spots were treated to some more Posca gold.  All mats and components were then assembled (some on foam pads) and some dots of wild plum Adirondack dimensional acrylic added to finish.

Sid xx

Pin It

Thursday, April 26, 2012

Flower Box


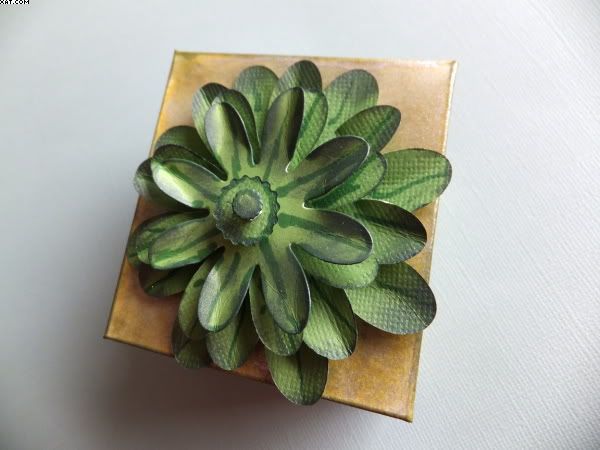
Here is a little box I made a while back during a green phase of mine.  The box is made from plain white card and is coloured with shabby shutters Distress Stains oversprayed with silver mica spray.  The sides are stamped with a swirl stamp and the same Distress Ink and embellished with flat backed gems in dark green and crystal. 


The top of the box was embellished with a series of die-cut flower layers cut from green card and coloured with markers and edged with darker green ink.  The layers were assembled with foam pads to add dimension.

Simple project and suitable as an entry into the Pan Pastels Challenge Blog which this time is 'add a flower'.

Sid xx

Pin It

Tuesday, December 13, 2011

Tims Tag No.5


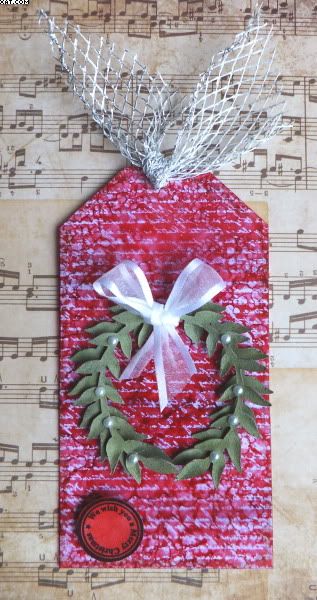
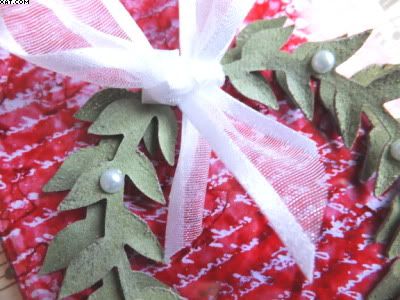
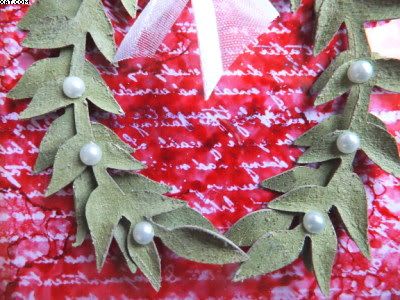
Next one done ! This is my version of Tag No.5.  I first cut a white card tag and then cut a matching piece of acetate.  I coloured the acetate on one side with red pepper Alcohol ink applied on a piece of felt, building up the layers to gain the desired colour intensity.  Then I inked up a small text stamp with Archival Black ink and stamped several times to cover the acetate.  I dabbed off the excess black ink with a wipe and then rubbed gently to remove the excess ink.  This dissolves the alcohol ink and leaves a see-through area where the ink previously was.  Once complete the acetate was adhered (inked side down) to the white tag blank with Glossy Accents around the edge of the acetate.


Next I coloured some grungepaper with picket fence Distress Stain followed with some weathered wood.  This was then dried with the heat gun and die cut with a TH die to make the leafy fronds.  Once cut these were cut in two and shaped with my fingers to add dimension.  These were adhered with Glossy Accents at the top but left free at the bottom.  Some half pearls were added to embellish and a white ribbon bow tied and applied with foam pads.


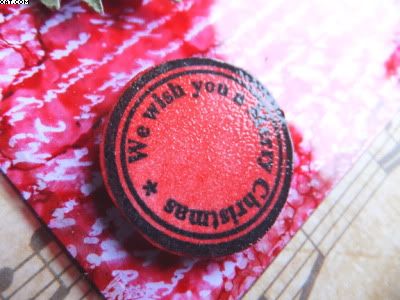
Because the words were not necessarily Christmassy I added a circular seal stamped in Archival black, coloured with red pepper Adirondack ink and heat embossed with clear embossing powder.  The seal was stuck in place on more foam pads.


A hole was cut with the crop'a'dile at the top of the tag and threaded through with a piece of open mesh silver ribbon to finish.


Sid xx

Pin It

Monday, December 12, 2011

Tims Tag No.4


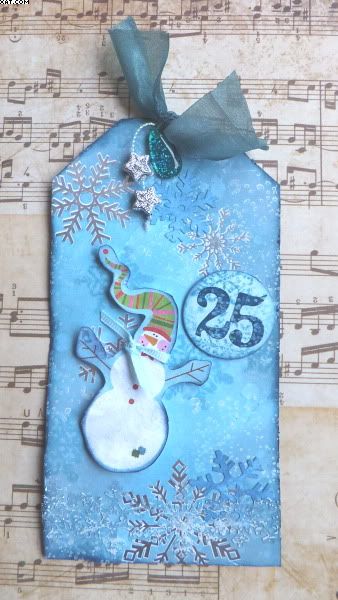
Here is tag No.4 in the Christmas series.  The white card base was cut to size and some silver snowflake rub-ons were added.  The whole tag was then coloured with weathered wood, faded jeans and broken china Distress Inks.  The rub-ons resist the colour.  Some water splats added a bit of contrast.  A snowflake stamp was inked with more faded jeans ink and stamped randomly.  A couple of punched snowflaked were also added and a punched out acetate snowflake border was coloured with picket fence Distress Stain and added with glossy accents at the bottom.  The tag was then stamped with a dotty stamp and Brilliance moonlight white ink to add some snow effects.


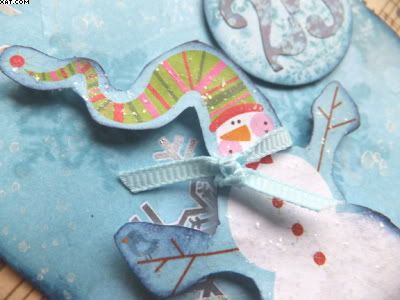
The snowman was cut out of printed paper and edged with broken china Distress, treated with rock candy Stickles and applied on foam pads.  A blue grosgrain ribbon scarf was added round the snowmans neck.

The numbers are self adhesive and coloured with an alcohol marker before sticking onto a circle of blue card.  More snowflake stamping and Brilliance on this too before sticking in place on shallower pads.


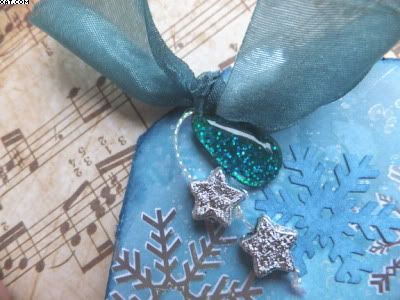
A silver eyelet was added with the crop'a'dile and some silk ribbon, two silver stars and a sparkly drop were attached through and around the eyelet.

Finally the tag edges were distressed with sandpaper and given a rub over with more broken china Distress Ink.


Used some of the recommended items on this tag but not many again.

Sid xx


Pin It

Sunday, December 11, 2011

Tims Tag No.2


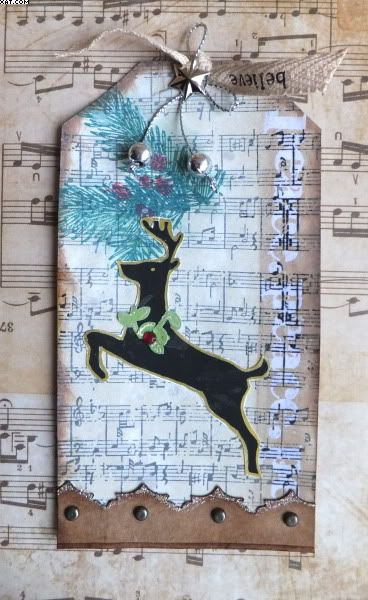
Yes I know my tags are out of sync. !  But this one is my effort for tag number 2.  The base is a white card cut to size and stamped with a music stamp in Archival Black.  This was toned down with picket fence Distress stain and dried.  I then stamped the word Peace down the right hand side of the tag with Versamark and heat embossed with clear embossing powder.  The words were swiped with vintage photo Distress ink and this was rubbed over with a cloth to remove the ink from the embossing.


Next I stamped a fir tree in pine needles Distress ink and used some barn door and a circle stamp to add some berries.  This was over coloured with more pine needled on cut'n'dry foam.


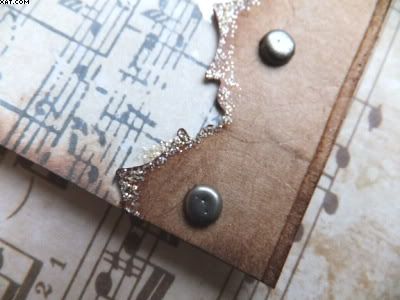
The reindeer is a digi image, printed on the printer, cut out and edged with gold Posca pen.  The garland round the reindeers neck is made from diecut foliage and a faux gem.  He was stuck in place as shown.  The base trim was cut using a Sizzix on the edge die and was attached with 4 pewter brads and edged with some frosted ice Stickles.


A pewter eyelet was added with the crop'a'dile and a small piece of woven braid tied through.  A little bow and two silver balls were then attached with a star brad as shown.  The whole tag was then edged in more vintage photo ink.

Sid xx

Pin It

Sunday, December 04, 2011

Tims Tag No.1


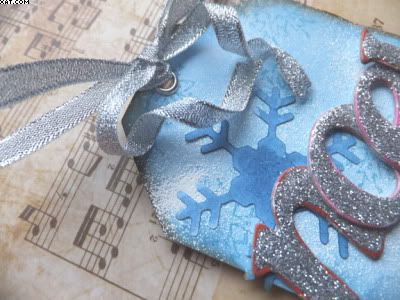
In the best traditions of following Tim Holtz '12 Tags of Christmas' for 2011 this is my first offering. Not quite using all of the Ranger materials but certainly using some of the techniques.


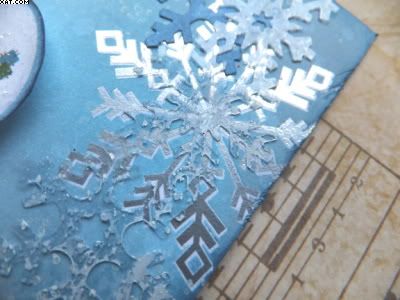
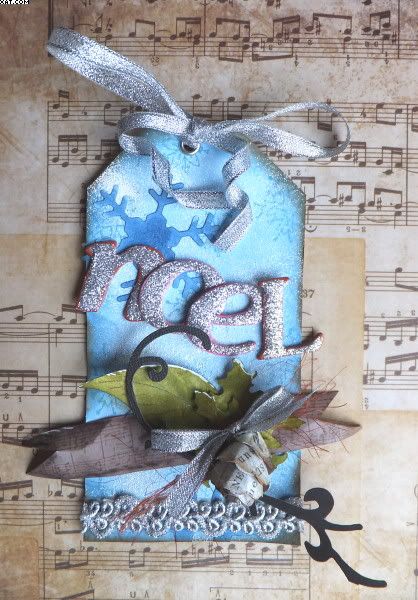
I Started with a blank tag and covered with a piece of printed paper (snowflakes).  Gave it a coat of picket fence Distress Stains and dried with the heat gun.  Then used a couple of small snowflake stamps and stamped randomly with faded jeans Distress Ink.  Finally applying a sprinkling of seafoam white embossing powder and heating from below until melted.  The tag was then edged with vintage photo Distress Ink.

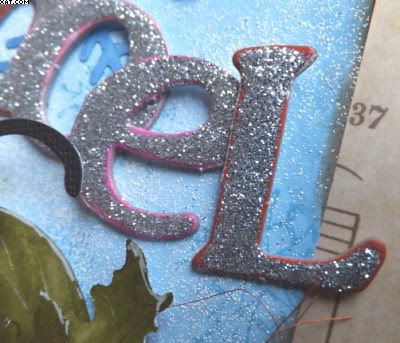
Then I prepared the diecut letters to spell out 'Noel'.  These were coated with fine silver glitter after a liberal coat of pva glue and allowed to dry.


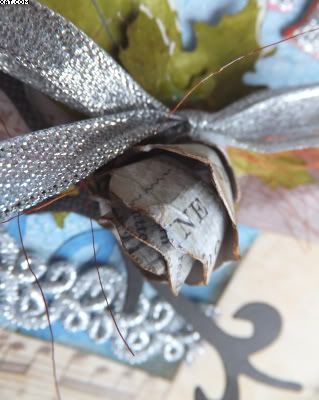
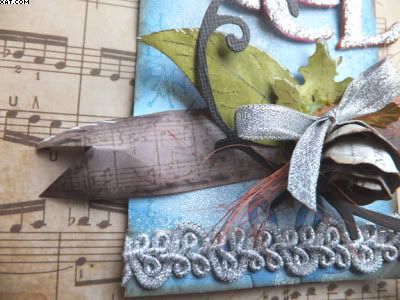
The embellishmnents were all cut using Sizzix dies (Non-Ranger) and the pine cone made by hand by cutting a spiral with a wavy edge. The  leaves were cut from card coloured with shabby shutters Distress Stain. and the banner was made by hand and stamped with a music stamp in vintage sepia Versafine ink.  Other additions were some strands of brown sisal and a little silver bow along with a die cut stem from another Sizzix die.  All were assembled using various foam pads and glues at the bottom of the tag.


Some more large snowflakes were diecut out from blue paper coloured with faded denim Distress Stain and these were stuck onto the background.  A piece of silver braid was applied at the base of the tag.


Finishing touches were to add a silver eyelet with the crop'a'dile and to tie through with some more of the silver ribbon.

Sid xx

Pin It

Monday, November 28, 2011

'NOEL' The Owl


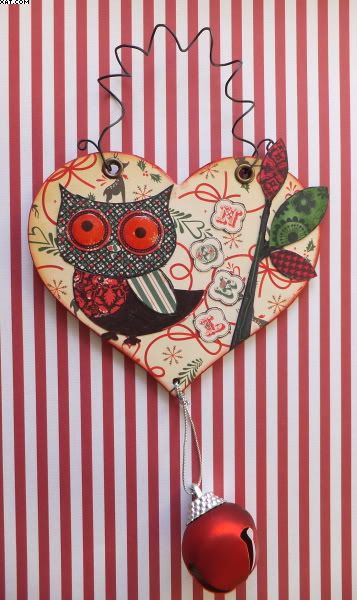
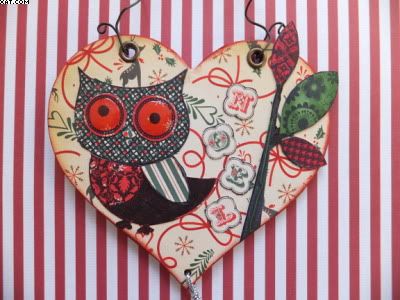
This little hanger completes my trio of Christmassy items all using the same Cosmo Cricket  6 x 6 inch printed papers.  The heart shape is another chipboard blank which has been covered back and front with papers as the base.


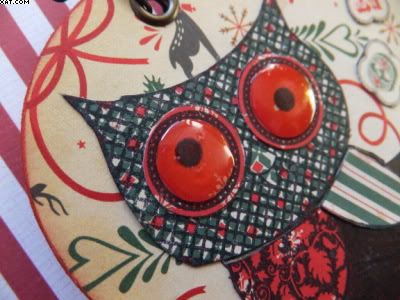
The owl and tree are rubber stamps from Hampton Arts.  I have stamped the full owl in black Archival Ink on four of the papers and then trimmed out elements which I have then reassembled to make the whole again.  Noels eyes have been covered in Glossy Accents to make them pop (looks a bit like he has been on the sherry !).


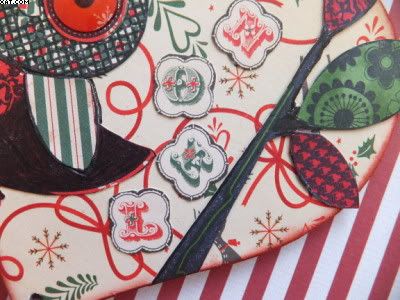
The tree has been stamped and trimmed out in the same way but this time coloured with Distress stains in forest moss and barn door. The letters have been cut out from another of the papers to spell out NOEL, hence his name.


Finishing touches were to add two eyelets with the crop-a-dile and to make a hanger with florists wire, bending it into shape. A large red jingle bell was added at the base of the heart.

Loved making it again.

Sid xx

Pin It

Sunday, November 27, 2011

Festive Shadow Box


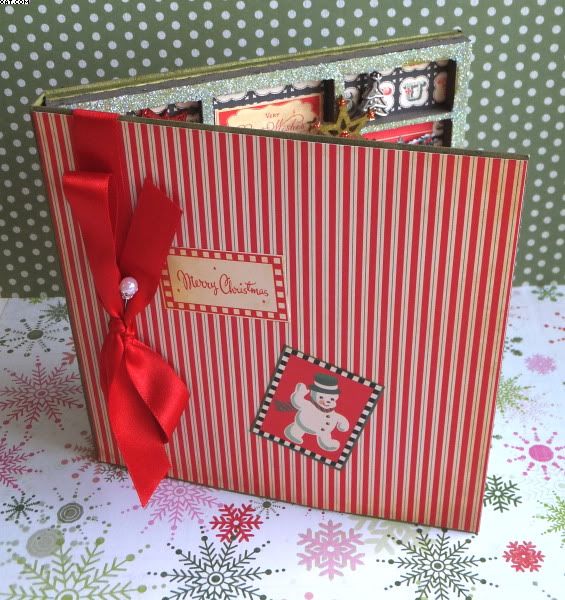
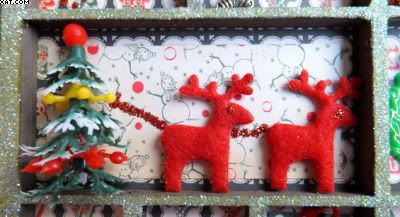
In the same theme as my last post and using the same papers here is a mini shadow box book which I have decorated in a festive way. All papers used are from Cosmo Cricket 'Dear Mr. Claus' 6 x 6 inch paper pad (3d Jean).


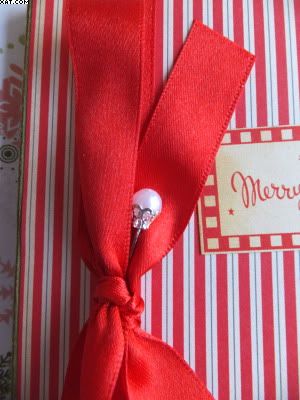
The outside of the box has been embellished with some elements cut from the paper along with a red satin bow and hat pin (The Ribbon Girl)


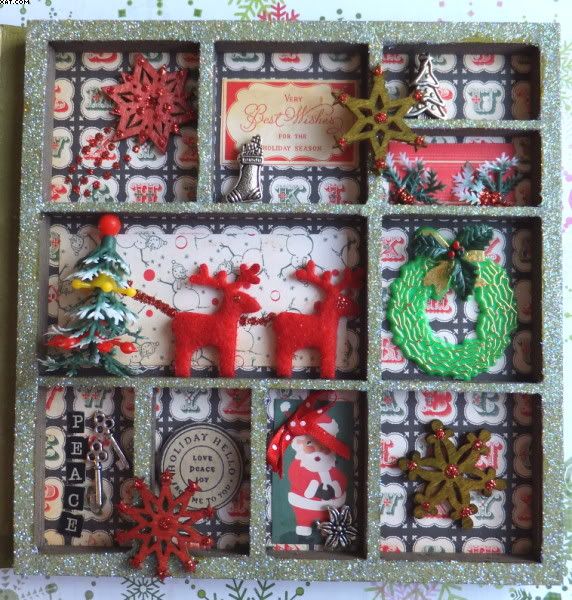
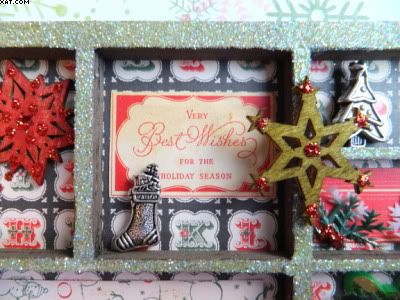
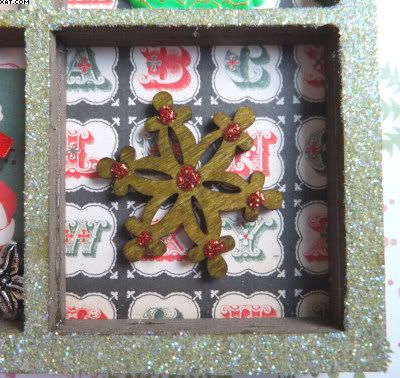
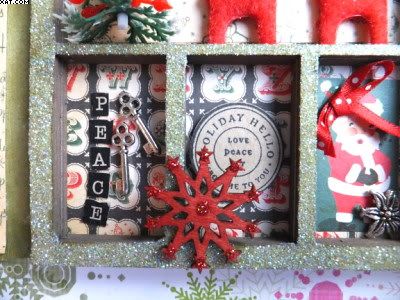
The inside boxes have a variety of papers, wooden snowflakes, ribbon, metal charms, felt shapes etc.  Yes, the little Christmas tree is from my cake featured in the last post so it's 'waste not want not' recycling in action !!


The internal frame was given a generous coating of pale green transparent glitter applied with PVA glue.


I have used Distress Stain in forest moss and barn door along with the corresponding Distress Inks to colour edges and raw chipboard surfaces.


Really enjoyed making it !

Sid xx

Pin It

Sunday, November 13, 2011

We're All Mad !!


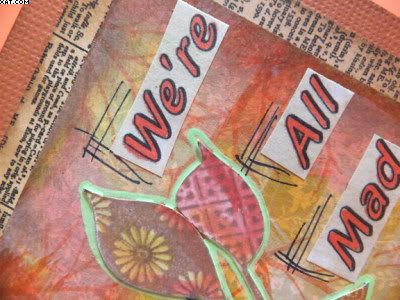
Here is a little 4.5 x 4.5 inch plate which I have made as my entry into 'The Altered Alice' challenge which is Falling Leaves and their true colours.


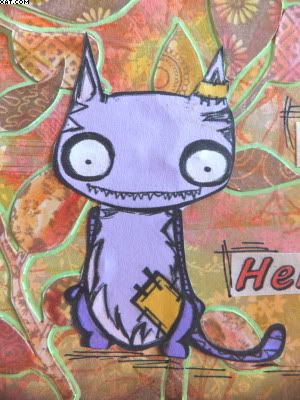
I have used a digi-image of the Cheshire Cat from The Octopode Factory printed and coloured with Marvey Le Plume alcohol brush markers as the central image.  The leaves (Crafty Individuals) are stamped in vintage sepia Versafine ink and coloured with a waterbrush and Distress inks in spiced marmalade, barn door and crushed olive.  All images have been trimmed out.  The words were printed on the computer on copier paper, coloured and cut out. 


The background is a piece of printed card sploshed with Distress staines in the same colours and taken back with a little picket fence Distress Stain.  I have used a skeleton leaf stamp (Lavinia) to stamp randomly ink spiced marmalade Distress Ink over the background.  All embellishments were then stuck in place as shown. 


The background was matted on some worded paper and some brown card after edging with vintage photo Distress Ink.  Finishing touches were to apply some green Souffle pen around the leaves and use a black fineliner to accent the shadow under the cat and around the words.

I have used a folding cardboard stand to display made from recycled card and cut out using a sizzix die.

Sid xx

Pin It

Sunday, October 30, 2011

The Elixir - of death !


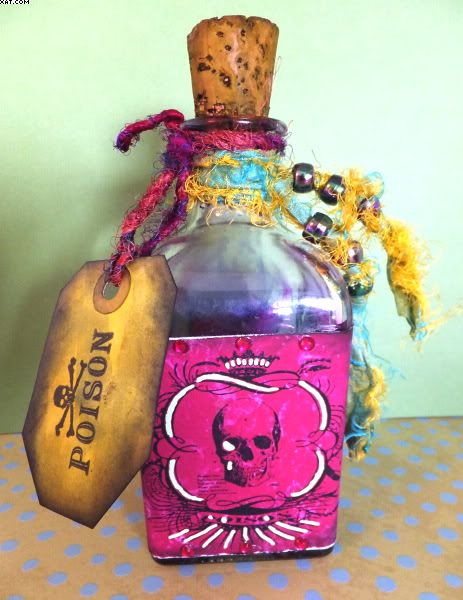
Here is an altered poison bottle just ready for Halloween. The bottle started life as one of those reed air fresheners and I liked the shape for this project.


I gave it a good wash and when completely dry liberally coated the inside with splashes of alcohol in in red pepper, denim & raisin added directly from the dispenser and moved around the bottle to mix and obtain a splashed and dripped finish in the bottle. Once happy with the effect I set about doing a spot of embellishing.


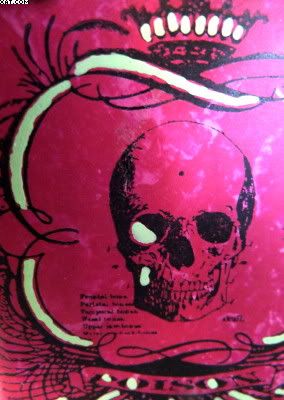
I stamped a clear stamp from PinkPaislee onto magenta printed paper with Archival black ink to make a label.  Trimmed this out and then distressed the edge with sandpaper and black soot Distress Ink applied on cut'n'dry foam.  This was further coloured with a lime green souffle pen before sticking in place on the bottle with Glossy Accents. Some magenta crystals were stuck onto the top and bottom of the label.


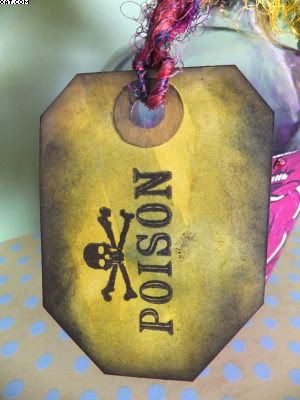
I then made a tag by cutting down a white tag into a sort of coffin shape and colouring with crushed olive and bundled sage Distress Stains.  The tag was dried, edged with black soot Distress ink and stamped with another of the PinkPaislee stamps in Archival black.  The tag was threaded through with some magenta silk woven thread and put aside.


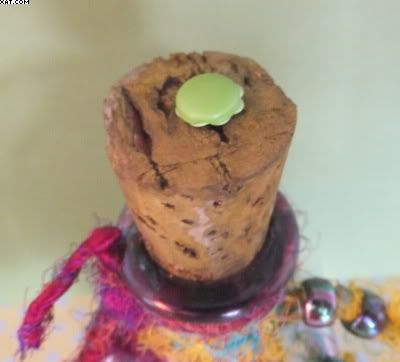
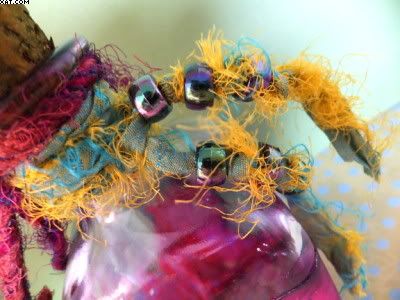
Next I did the cork which I coloured with a few coats of the crushed olive Distress Stain.  I topped this with a lime brad and eyelet stuck into the top of the cork. The fibres (made from silk sari ribbon in yellow and lime green) were threaded with black AB beads, separated by tied knots.  The bottle was then embellished with the tag and the fibres tied round the neck of the bottle.

This one also qualifies for the 'Just For Fun Challenge' !

Fancy a swig??

Sid xx

Pin It

Saturday, September 24, 2011

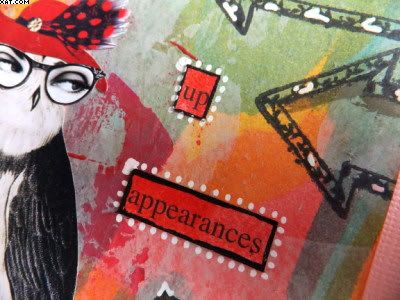
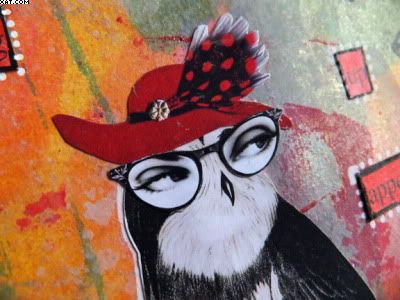
Keeping Up Appearances


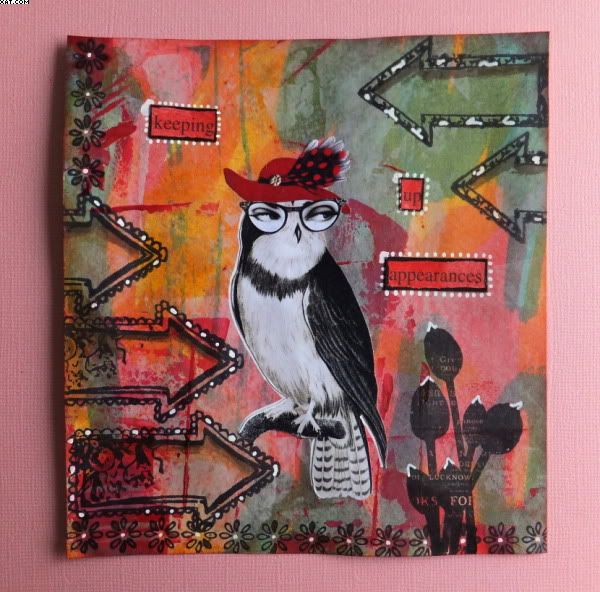
I have an owl fixation at the moment, especially these collage elements from ARTchix studio.  Whilst on my owl 'roll' I made an A4 background from stout white card.

The base was made with Distress Stains in scattered straw, spiced marmalade, barn door & pine needles applied directly from the bottles onto a water spritzed card.  These were then dried completely.

I then used a plastic scraper and applied a lightly spread coat of grey Dylusions paint - this knocked back the colours slightly and provided a nice matt surface.  Some more Dylusions paint in magenta was added and scraped selectively over parts of the background with some added using the edge of the scraper to form lines. 


I then used a filigree glimmer screen mask and sprayed with Moonglow Glitz Spritz in royal emerald fire and desert moon purple sage.  The mica effect is subtle and can't be seen easily in the pics.  This was completely dried again before stamping.  I used more Distress stains and a brush to add shadows in the arrows and colour some of the flower petals in walnut stain.


The arrows (Prima), flower border (Elusive Images) and the seedheads (PaperArtsy) were stamped as shown in Archival black ink. The owl, eyes and hat were stuck in place and the printed words coloured in barn door and edged with black Posca pen before adding and edging with white Posca pen.


More of the white Posca was added to highlight elements of the stamped images.  The whole piece was then edged with barn door distress ink added with cut'n'dry to finish. Hope Hyacinth Bucket is not offended !!

Sid xx

Pin It
Related Posts Plugin for WordPress, Blogger...