>
Showing posts with label Hot Melt Glue. Show all posts

Thursday, April 20, 2017

Soaring by ..........


This card was made on a 5 x 7 inch white card blank.  I cut a slightly smaller matt in teal coloured card and embossed this through a dotty embossing folder in the Sizzix Big Shot. This was glued to the front of the card.

I then diecut a square stitched matt in more white card and stamped this with hills & hot air balloons in Versafine black ink.  I then took some buttons coloured with dark teal Copic alcohol ink and tied these through with some glitter twine.  They were attached with hot glue.

The sentiment was stamped on white card and diecut with a stitched oblong die.  Both panels were attached as shown on foam pads and some adhesive pearls added to finish the card.

This meets the City Crafter Challenge blog challenge for this week which is to CASE a card by Stella. I have used spots, balloons and teal as my CASED elements.

Sid xx

Pin It

Wednesday, April 20, 2016

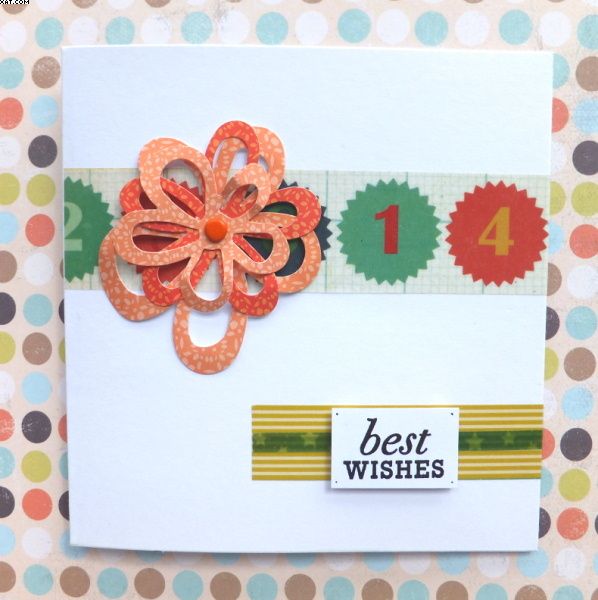
Wishes in Numbers


A best wishes card here, made using more Washi tape and die cuts.  The card base is a 5 x 5 inch white card blank.


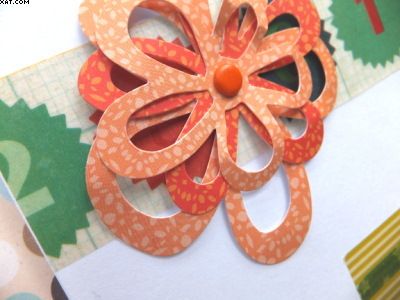
The Washi tape was strategically placed as shown and a diecut flower assembled with an orange brad at its centre.  This was stuck over the Washi tape as shown with hot glue.


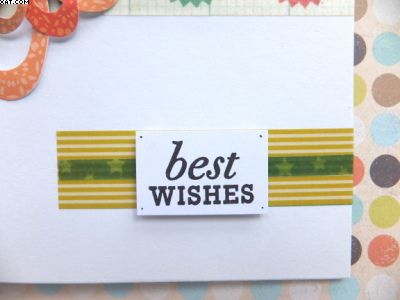
The sentiment (Papertrey Ink) was stamped in black Versafine on white card, trimmed and adhered on foam pads over the Washo tape to finish.

Sid xx

Pin It

Saturday, February 21, 2015

The world in a new light !


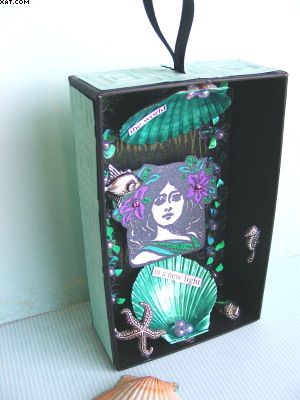
Here is a bit of arty upcycling.  The box had originally contained cosmetics and actually has an acetate cover which I have not used.  This one is very blingy and was so difficult to photograph too !

I decorated the outside of the box with embossed card cut to size and applied on the back, top & sides.


The inside back of the box was stamped with a wavy stamp in Versamark ink and this was then heat embossed with Blonde Moments spring tropic lustre embossing powder. The inside back was then covered with some flower sequins and more of the beads in two strips.

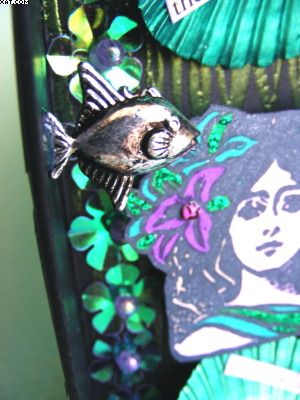
I had some small scallop shells which I transformed with a couple of coats of metallic green acrylic paint.  I then stuck some pearlescent green/violet beads in each with hot melt glue.  The shells were applied with more hot melt glue as shown.


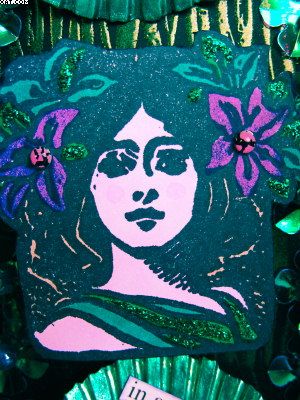
The image (don't know who from) was stamped in Memento black ink on white card, trimmed out and coloured with Alcohol ink markers.  I then applied some self adhesive cabochons and Stickles glitter glue.  this was mounted on some greyboard to raise the image.


The words were pre-printed and were coloured with AI's again and stuck into the shells.  Final touches were to add a few undersea metal charms at various levels with more hot glue which fits in with the challenge on City Crafter Challenge for this week which is 'Love Metal'.

Sid xx

Pin It

Friday, December 12, 2014

Frosty !


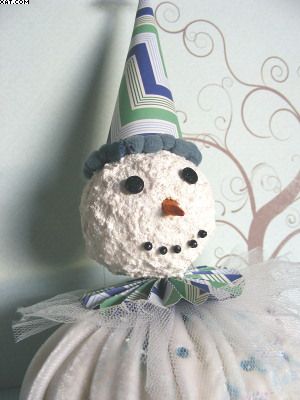
Ta daa !!  Let me introduce 'Frosty' the snowman  !

My good friend Effie, at a recent craft weekend, gave us a project class to make one of these fab snowman decorations, thanks a lot for the tuition and this is my resultant creation.

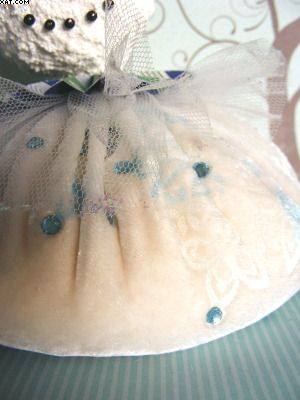
His body is filled with rice and is both squigy and weighty and made from cream velvet which has been embellished with Brilliance pearlescent inks and a rubber icicle stamp which has been heat embossed into the pile side of the velvet by ironing onto the inked stamp.  Some pale blue heat set jems have been added randomly.  The body was cut from a circle and gathered with strong thread after filling with the rice.


His head was made from a polystyrene ball coated with Snowtex and glittered whilst still wet.  His eyes are black sparkly brads, his nose a whittled piece of wood coloured orange with an alcohol marker and his mouth is 5 black glass headed pins.  His neck is a piece of thin dowel pushed into the base of the ball.

His ruffs are made from patterned paper and tulle netting.  His hat is made from the same patterned paper made into a cone and embellished with some pompom ribbon and a crystal snowflake stuck in place with hot melt glue.


Once complete his head was stuck on the body with hot melt glue.  I have also added some extra Stickles glitter glue on the ruff and hat to finish.

I love him and Doesn't he look great ?

Sid xx

Pin It

Friday, August 16, 2013

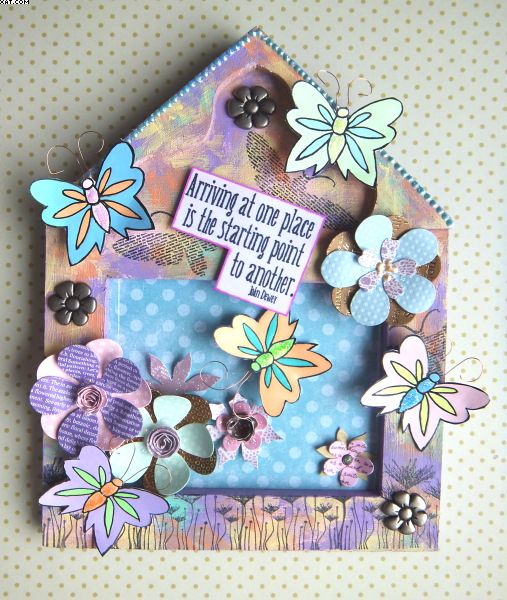
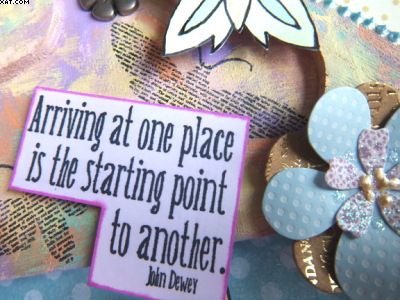
'The Arrival' Hanging Plaque


It's ages since I used my Sakura souffle pens so I dug them out and did a series of butterfly images using a dovecraft stamp.  These were stamped in Memento tuxedo black ink and then coloured using the souffle pens.  It was so long since I had used them that a couple of them had clogged and could not be resuscitated !  Any ideas on bringing them back to life?

Once done I wondered what I would do with my little creations which eventually were trimmed out with scissors (cutting off the antennae and replacing with brass wire ones attaching with a blob of hot melt glue.

I then found the plain wood hanging frame and that's what gave me the idea for this piece.


Thinking about the souffle pen colours which are very chalky and opaque I then remembered my Jacquard Sherril's Sorbet paints which resemble the souffle colours and finish very well.  They can be used on fabric and heat set but here I just chose blueberry, mint, melon, grape, watermelon and lemon and applied these in blobs directly to the raw wood and blended roughly with a brush until the desired effect was obtained.


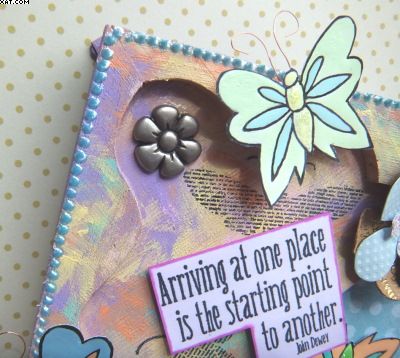
Once dry I lined the roof edge with blue dimensional pearls and once these were dry I then used stamps from PaperArtsy, and Docraft to stamp the base border and the wordy moths in more Memento tuxedo black ink.


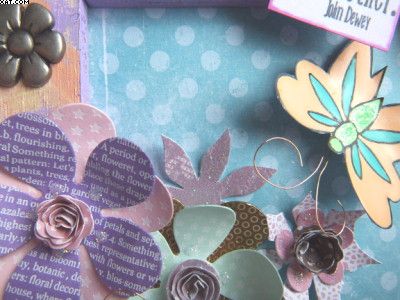
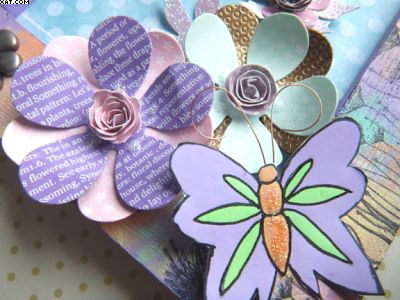
I lined the inner frame back with some dotty printed paper from a 6 x 6 pad and put this in place with the original glass at the back.  I then used a load of die-cuts to make the flowery background all stuck with either Glossy Accents or hot melt glue.  Some Stickles glitter glue and dimensional pearls were used to embellish them.


The butterflies were stuck in place with more hot melt glue and some metal flower embellishments were added as shown.


Not sure where the sentiment stamp came from but it was stamped on white card in Memento tuxedo black trimmed out and coloured with alcohol ink marker, edging with the same.  This was mounted in place on foam pads to raise it.

Sid xx

Pin It

Wednesday, April 18, 2012

B & B


No not Bed & Breakfast !!  .............. but Box & Brooch to be more precise.


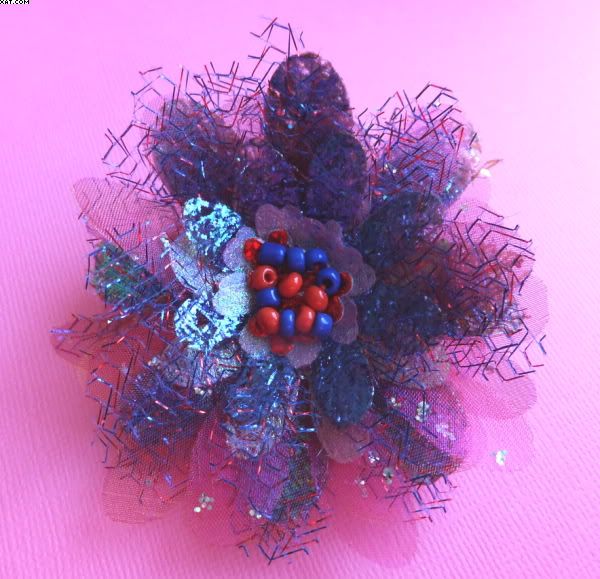
This brooch came about as my creation for Janet ........ one of our little band of crafters who meet up for long & crafty weekends 3 times a year.  This was made as my gift for her (we each have a crafty partner who we make a handmade item for at the weekends).

Unfortunately I forgot to take my gift (slapped wrists) to our March meet and have sent this to her instead.  Hope she likes it.


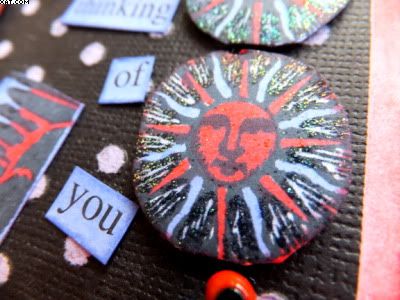
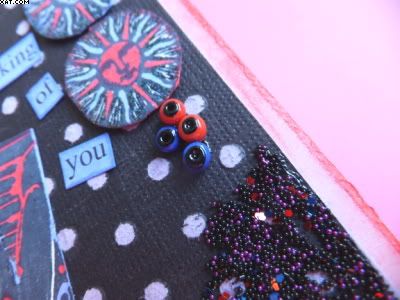
The box was made from heavy card which was subsequently decorated as shown in the same colourway as the brooch.  The box sides and top were coloured with fired brick Distress ink and panelled with black magic coredinations card with a mauve core after passing through a spots embossing folder.  The core was revealed by rubbing over the embossed spot with fine sandpaper.


The decorative elements are made from stamps from Lynne Parrella made by PaperArtsy, stamped on white card with Memento onyx black, trimmed and coloured with red and purple Marvey alcohol brush pens.  They were assembled after selectively heat embossing with kaleidascope embossing powder and a Versamark pen and mounting on foam pads. Some red and blue beads were adhered with Glossy Accents as was some Beadazzles as shown.

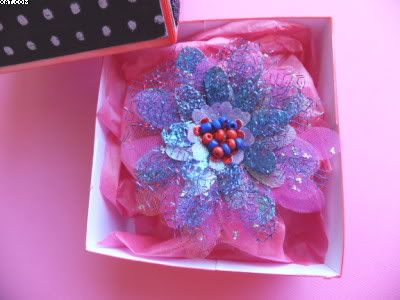
The box was filled with crumpled pink tissue paper to support the brooch


I used some flower dies from X-cut to cut  a variety of different sized petals from organza, sparkle fabric, fused fusible fibres and silk. These were assembled in layers on a card base with hot melt glue.


Some of the same beads used on the lid were added with red embroidery thread and a needle to decorate the centre of the brooch.


Finally a brooch back was added to finish the brooch.


Hope she likes it !

Sid xx

Pin It
Related Posts Plugin for WordPress, Blogger...