>
Showing posts with label Brilliance Ink Pad. Show all posts

Monday, May 18, 2020

Thanks ....


The Less is More CAS challenge #419 is 'White & Cream'  this time...... and this is my card for the Challenge .....

I used a 5 x 5 inch white cardblank s a base and die-cut a smaller square of white card. I stamped the word 'Thanks' (Inkadinkadoo) in pearlescent beige Brilliance Ink in the bottom right of this square.

I then die-cut a tree (Memorybox) in cream pearlescent paper and adhered as shown. The smaller panel was adhered to the card blank to finish ....

Sid xx

Pin It

Wednesday, April 22, 2020

Feathers .....


Wanted to make a tag so made this one ....

I took a white card tag base and rounded the corners with a punch. I then collaged some home-made torn paper and blue spotty tissue.

The feathers were stamped on a piece of old re-cycled dictionary paper in Archival black ink and tore these around the edges. They were coloured with contrasting watercolour brush pens before adhering as shown.

I stamped some chevrons in blue Brilliance ink and arrows in Versafine black ink. I edged the tag with the same blue Brilliance ink. The printed sentiment was added and a piece of blue sari silk was tied through the hole in the tag to finish.

Sid xx

Pin It

Tuesday, April 16, 2019

Amazing ......


Made a collaged mailart postcard for a swap over on UK Stampers Forum .....

I used re-cycled packaging for the base and covered this with a watercolour paper background made with Brushos ....

I have stamped on the background using Archival black & Brilliance inks and embellished with floral diecuts and leaves using handmade mulberry papers applied with Glossy Accents as the postcard will travel 'naked' through the post.

The sentiment is stamped and enhanced with white Posca pen.  The whole postcard is edged with green Versamagic ink and the whole thing sprayed with matte acrylic lacquer to protect.

Click HERE to join the UK Stampers Forum it's Free, Friendly & Fun !!!

Sid xx

Pin It

Saturday, April 22, 2017

Angelic Arch .....


Not seen many of these lately so I thought I might revive the idea by making a decorated Gothic Arch.

I started with a piece of white card trimmed to the shape of a Gothic Arch.  This was coloured using Starburst Stains spray in Delphinium Turquoise.  I added a few coats especially around the edges and as usual the Mica shimmer does not show very well on the photos.  Once dry I inked a heart stamp (Chocolate Baroque) with starlight silver Brilliance Ink and stamped stamped several times along the bottom of the card.


Next I took some sequin waste and applied moonlight white Brilliance Ink through it on the left and bottom edges.  This was dried thoroughly with the heat gun.  I then inked an angel stamp (Art Journey) with Versafine onyx black ink and stamped this centrally at an angle. The angel wings and hair were highlighted in places with a white Posca pen.


Next I took a piece or real lichen covered twig and attached this at the bottom of the angel image with hot glue.  To this I applied a little metal heart charm on a foam pad threaded through with silver ribbon round the twig as shown.


The whole arch was then matted onto silver mirri card which I stamped with a text stamp in black Stazon Ink.  This was then trimmed to leave a border around the coloured plate.  A small strip of card was trimmed with decorative scissors and coloured with blue ink and stuck in place at the bottom. Finally some pearl beads were used to embellish and were stuck in place with Glossy Accents as shown.

Let's have a revival of the Gothic Arch !!

I am also entering this piece into the April 'Take It Make It Challenge' over on the Craft Stamper Blog whose theme is 'Anything Goes'

Sid xx

Pin It

Saturday, March 19, 2016

Spring Colours PC


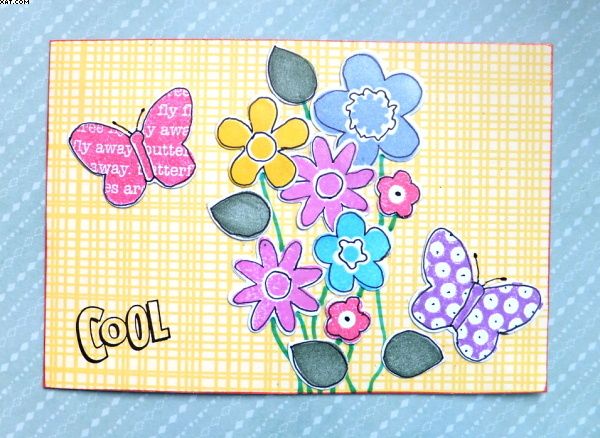
I used some Sizzix stamps paired with dies to produce this postcard.  Each month over on the UK Stampers Forum we have a postcard swap and this is mine for March.  The theme this time is Spring Colours.  It's free to join the forum and there are a number of swaps going on in which you may want to join in on.  It's a relatively small  and friendly community but you are all welcome to come onboard.

I used a hessian effect background paper to cover a white card blank measuring 6 x 4 inches.  Then set about stamping the images in various Brilliance inks which have an opalescent shimmer.  I then die-cut them through the Sizzix and used a Micron black pen to edge them.  I stuck them in place on the card base and added stems in green Sakura pen.  Final touches were to add the sentiment stamped directly in Memento black ink and then I sprayed the card with some matt acrylic sealer to protect it through the postal system as it goes 'naked', i.e without an envelope to it's recipient.

Sid xx

Pin It

Friday, December 12, 2014

Frosty !


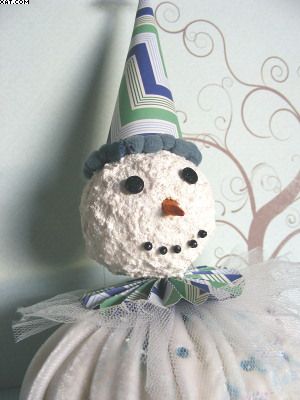
Ta daa !!  Let me introduce 'Frosty' the snowman  !

My good friend Effie, at a recent craft weekend, gave us a project class to make one of these fab snowman decorations, thanks a lot for the tuition and this is my resultant creation.

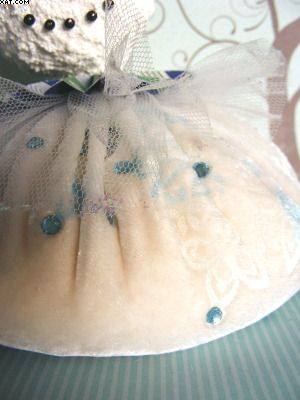
His body is filled with rice and is both squigy and weighty and made from cream velvet which has been embellished with Brilliance pearlescent inks and a rubber icicle stamp which has been heat embossed into the pile side of the velvet by ironing onto the inked stamp.  Some pale blue heat set jems have been added randomly.  The body was cut from a circle and gathered with strong thread after filling with the rice.


His head was made from a polystyrene ball coated with Snowtex and glittered whilst still wet.  His eyes are black sparkly brads, his nose a whittled piece of wood coloured orange with an alcohol marker and his mouth is 5 black glass headed pins.  His neck is a piece of thin dowel pushed into the base of the ball.

His ruffs are made from patterned paper and tulle netting.  His hat is made from the same patterned paper made into a cone and embellished with some pompom ribbon and a crystal snowflake stuck in place with hot melt glue.


Once complete his head was stuck on the body with hot melt glue.  I have also added some extra Stickles glitter glue on the ruff and hat to finish.

I love him and Doesn't he look great ?

Sid xx

Pin It

Wednesday, November 26, 2014

Twin Tags


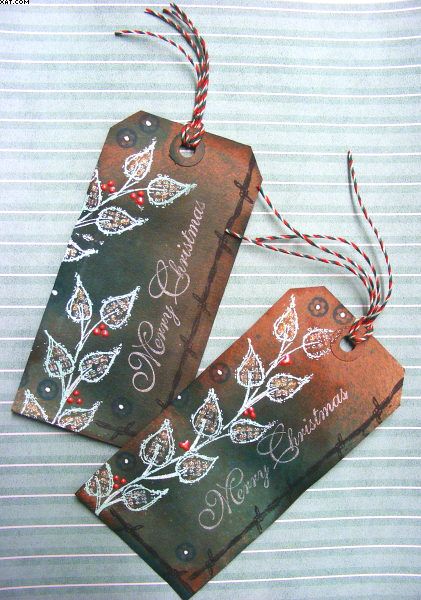
Here are a couple of Kraft tags I made.  I used Dylusions sprays to colour the tags with a red and a green, drying with a heat gun.

I then used a Dylusions stamp and Versamark ink which I heat embossed with a pastel green opaque embossing powder.


Extra detail was added with a barbed wire stamp and a flower stamp which I inked in Archival black ink.


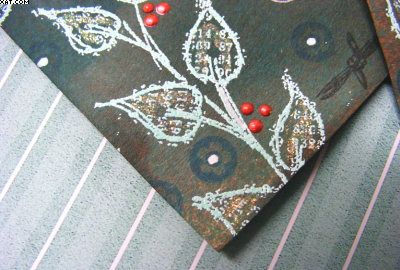
Final touches were to add some red Dimensional Pearls to represent holly berries, white blobs in the flower centres with a Posca marker and the sentiment was stamped in moonlight white Brilliance ink.

Some Stickles glitter glue was added on the petals to add a bit of bling and they were tied through with red, white and green bakers twine.

I thought these added a different dimension to Christmas gift tags.

Sid xx

Pin It

Monday, August 04, 2014

Cheeky...........


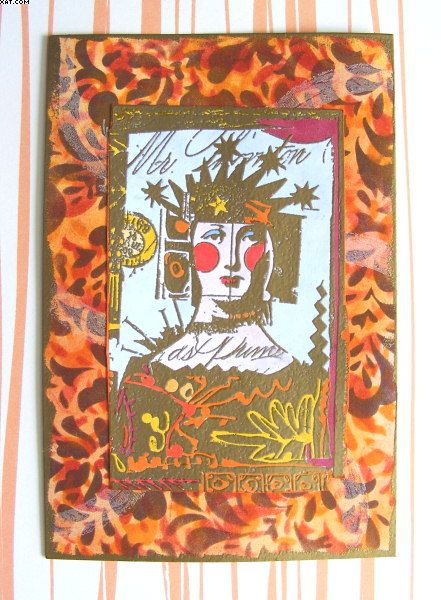
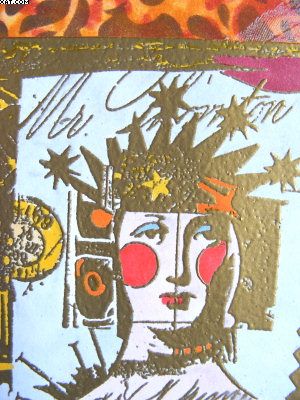
This is my entry for the UK Stampers Postcard swap this month.  The red cheeks give away the choice of title for this card. The theme for August is open so I have done a very colourful card keeping in mind that it has to travel to it's recipient through the post with no other protection.


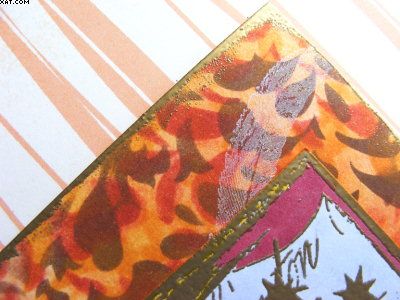
I cut a piece of plain white card to 6 x 4 inches and set about with a stencil and Distress inks in barn door, wild honey and dusty concord, overlaying the colours each time until the desired colour depth was obtained.  I used a Lynne Perrella stamp of a feather and stamped this around the edge of the card in moonlight white Brilliance ink ...... it's subtle but I think looks good.  The edges of the card were then heat embossed in detail gold embossing powder.


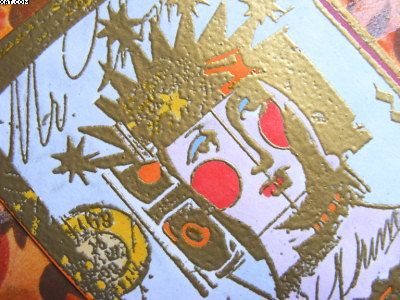
The main image is another sizeable Lynne Parrella image from PaperArtsy which I stamped on more white card in Versamark ink.  I then heat embossed the image with detail gold embossing powder for the outline.


I then coloured the image with Marvey Alcohol Ink brush markers and trimmed out the image.  I used Mod Podge matt for paper as the adhesive to firmly attach the image on the Postcard.

This swap is very popular so why not join in by clicking the link at the beginning of the post?

Sid xx

Pin It

Sunday, June 29, 2014

No Ordinary Moments


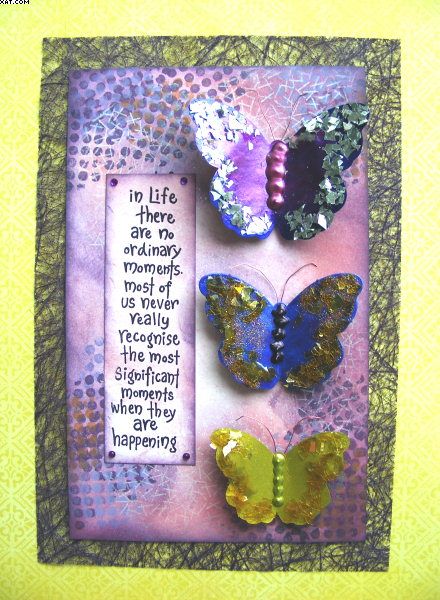
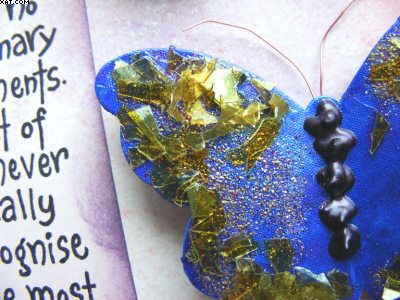
This little design was inspired by a batch of butterfly shaped die-cuts which I discovered in a drawer in my craftroom.  I have decided to start to use as much of my massive stash to create things from now on.  Trouble is I have so much that I have forgotten what I have at my disposal.

I opened a couple of boxes containing a selection of Stewart Gill paints, embossing powders, fragments etc and made up my mind to have a go using them.  The pic above shows what transpired !


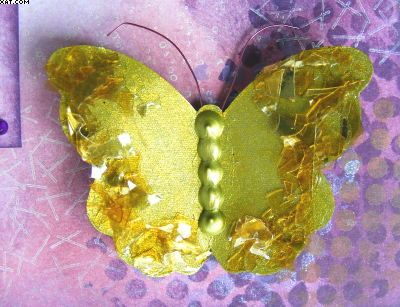
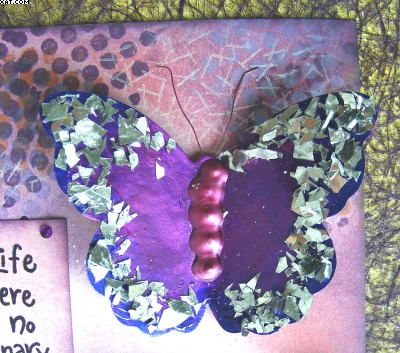
I first painted the diecuts with some metallic SG paints in purple, blue and gold which I also enhanced with some Luminarte Primary Elements using one of the Simple Solutions to make mica paints.  I made several layers in the various colours until they looked vibrant.


On one butterfly I added some SG Embossing powder and heat embossed.


I then added SG jewel fragments stuck in place with glossy accents and finished off the bodies with Ranger dimensional pearls.  The antenna were added on a foam pad at the back and were made from coloured art wire.

The butterflies were adhered as shown with more foam pads.  The word are from PaperArtsy and were stamped on another piece of the background paper in Archival black ink, trimmed out and edged with more dusty concord Distress Ink.  A small purple self adhesive gem was added in the four corners as shown.


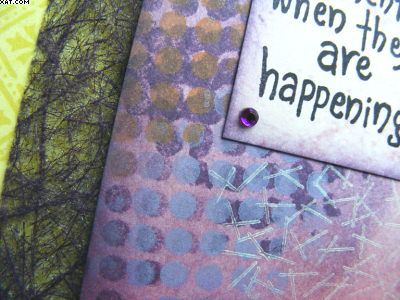
The background was made from some pale pink heavyweight card and I added Distress inks in victorian velvet and dusty concord with cut'n'dry foam.  I then used stamps and Brilliance and Versamagic chalk ink in various colours to add the dots and straw effects.

A piece of angelhair mesh was added to the back of the plate to finish.

Must dig into my stash and use some before I buy any more from now on.  This meets the challenge requirements of 'Sunshine & Lavender' for the City Crafter Challenge Blog Week 219

Sid xx

Pin It

Wednesday, September 11, 2013

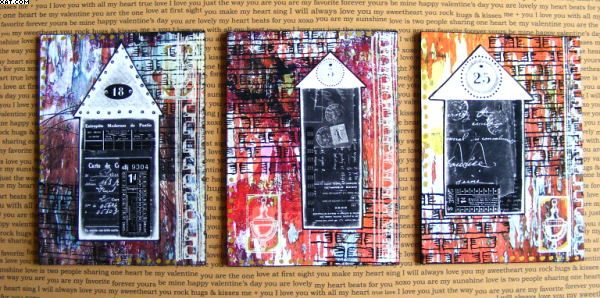
'Houses' ATC's


Over on UK Stampers Forum we have a monthly ATC swap where we swap 3 ATC's on a theme.  Septembers' theme is 'Houses' and these are my trio of ATC's.


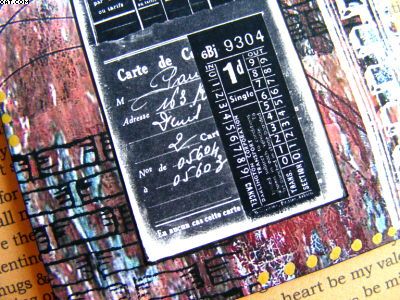
Recently I have been designing my own digital backgrounds using the computer and these are made using one of my creations as a base which has a look of peeling paint.  I have also used a digital sheet from Artchix for the house images.


The base of the ATC's was made from stout Kraft board cut to 3.5 x 2.5 ins with a craft knife on a self healing cutting mat.

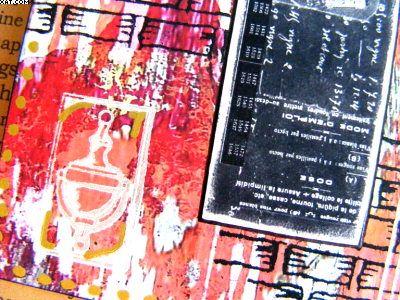
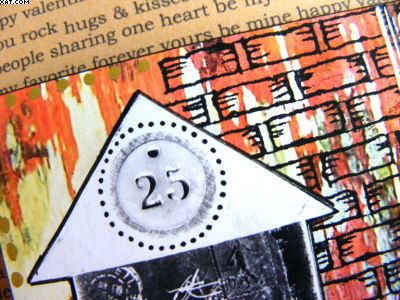
Stamps used on these ATC's are from a set by Stampington 'Clearly Impressed' called home elements and I stamped brickwork in Memento onyx black and then a door knocker and ballustrade in Brilliance moonlight white.


I have also used a gold Posca pen to add dots of metallic colour around the edges and have also edged each of the ATC's with black dye ink.

Sid xx

Pin It
Sunday, April 29, 2012

Outside The Box


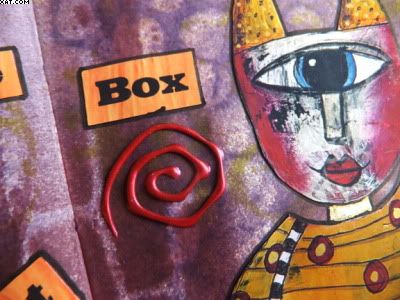
Just completed another double page spread in my Moleskine journal.  Love the words on this one and it's certainly Zetti inspired.

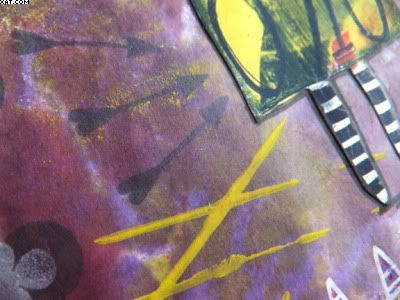
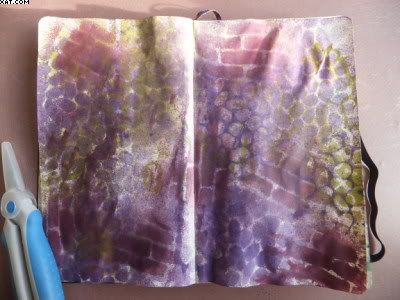
The background was made using stencils and spray inks (pictured before any layers were added at the bottom of this post), in purple, lime green and maroon.  Some yellow Dylusions paint was added with a credit card. The pages do warp severely but also do relax over time especially when the journal is closed with its elastic closure.


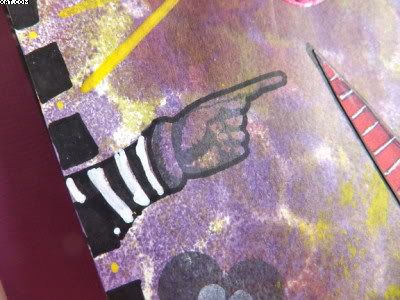
Stamping with black Archival ink was done with  'club' , hand and arrows stamps.


Lots of doodling in various colours of Posca markers including some gold,


The images are digital and have been stuck onto the background and edged in black Posca.  The words are printed on the computer and trimmed out.


Some dimensional pearls in cranberry have been added to provide a little depth


This was the page after first spraying with the desired inks.


Another enjoyable project which has taken a while to complete.  You know what they say 'Onwards and Upwards' towards the next two pages, but I am getting there !!

Sid xx

Pin It
Monday, March 14, 2011

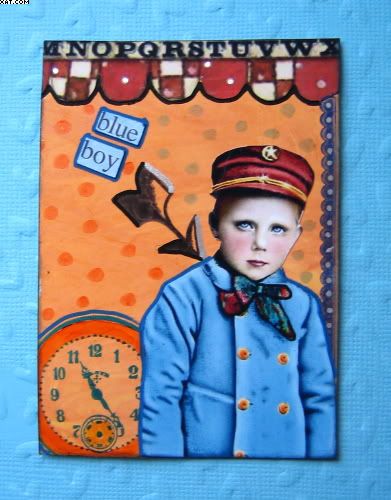
Blue Boy ATC


Here is an ATC I made using some free images from The Land of Nod Studios blog.  The backgroud is tangerine Impress smooshed over a white card and dried with a heat gun.  The watch face is a stamp from Crafty Individuals and I have used Copics, Poscas and a silver pen along with an American crafts border & arrow to embellish.


The spots on the background are made using Copics over the background.  The words are pre-printed and the ATC is edged with iris blue Chalk Ink (Colobox) to finish.

Sid xx

Pin It
Friday, February 18, 2011

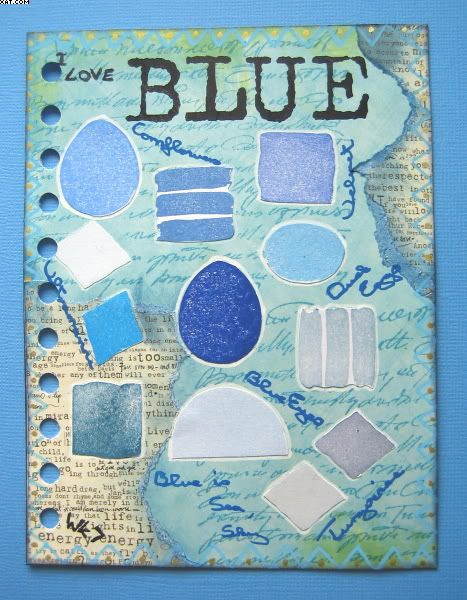
Favourite Colour Journal Page


Here is another page for the weekly journal Challenge over on UK Stampers Forum.  This weeks gudelines were:

1.  What is your favourite colour and why?
2.  Use this as your main background for your page
3.  Add a doodled border to your page

Blue is certainly my favourite colour for many reasons too numerous to go into here.

I took a piece of plain card cut to size and then trimmed out a printed backing paper with a predominently blue theme to the same size as the base. I then stamped some text, top and bottom in broken china Distress Ink  I next took a piece of wordy paper and tore this colouring the torn edges with broken china Distress Ink also.  The paper was stuck in place and trimmed to fit.


I then took a selection of Hero Arts solid block stamps and selected loads of blue inks of all types including Versamagic, Brilliance & Impress and stamped them onto white card.  The shapes were trimmed out and stuck in place on the background.


All colour swatches were edged in Posca white pen and the edges of the page were decorated in doodled triangles and dots also in Posca light blue and gold.  The word 'BLUE' at the top is made with rub-ons and the rest is written with Posca black and dark blue.

Sid xx

Pin It
Monday, December 13, 2010

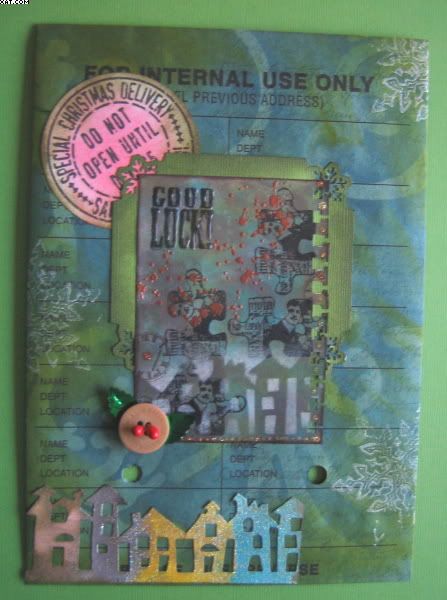
Altered Envelope


This piece started life back in our November  retreat in Yorkshire when I was presented with a green A5 Transit Envelope by HannahBanana !  I thought 'What am I going to do with that?'  I then started making elements for it but have only just completed it.  Lot's of borrowed punches and other things enabled it to come to fruition......so thanks to all who provided !

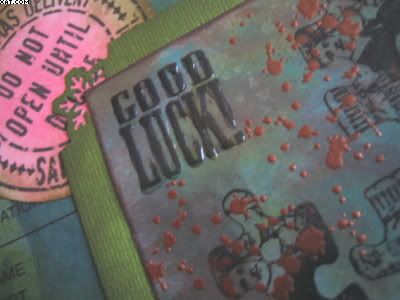
The central plate was made first and I used allsorts on it, various stamps (PaperArtsy) stamped in black archival ink, formed the basis and Distress inks layered in colours.  A punch for the right edge (love this one....but can I source one at the moment ?).  Some heat embossing using an ink blot stamp with copper embossing powder & Versamark ink, Glossy Accents and  Stickles glitter glue.  I also used the house border die-cut scrap as a stencil and coloured in a 'shadow' image at the base with moonlight white Brilliance ink applied directly from the pad.


The green envelope itself was coloured with green and blue Distress inks over the TH swirl stencil to set a background.  I used a rectangular piece of green linen textured cardstock as a base and punched out the edges with a snowflake edge punch from Martha Stewart.  This plate was coloured with forest moss Distress ink and a blending tool with cut'n'dry foam.


The 'Do Not Open Until Dec 25th' stamp (PaperArtsy) was stamped onto white card, punched out and coloured with the blending tool using forest moss and worn lipstick Distress inks.


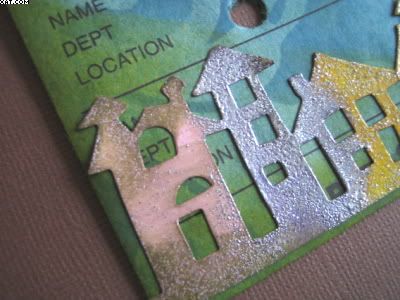
The houses (die-cut using a Sizzix TH 'On The Edge' die), was coloured with Distress inks and heat embossed with various glitter embossing powders and rubbed over with forest moss Distress ink to tone down the colours.


All elements were assembled and stuck into place and a few large snowflake images were stamped with Brilliance platinum planet ink.


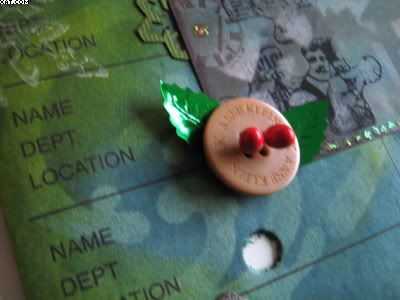
Finishing touch was to add a tan button threaded with a couple of holly berries and a couple of sequin holly leaves.  These were adhered with a large glue dot.

This one would make a great envelope for money or gift coupons to give as a Christmas pressy !

Sid xx

Pin It
Sunday, November 07, 2010

Festive Fir


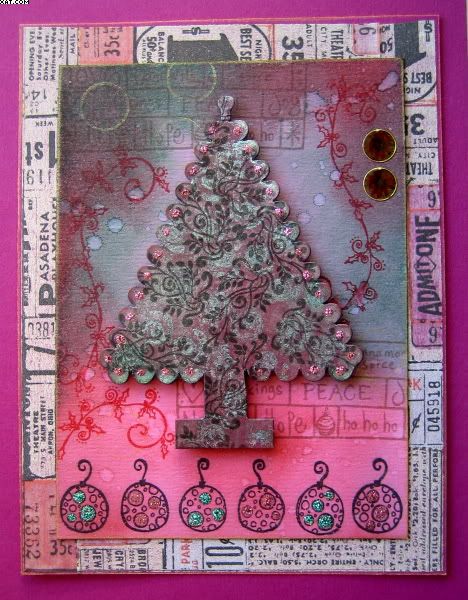
Well Christmas is nearly upon us and although I am not fanatical about the festive season I feel obliged (as we do), to do some festive creations.  This one uses a diecut tree as the central piece and I have grunged up the surroundings with Distress inks and traditional colours.

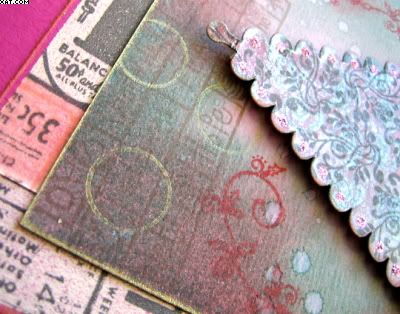
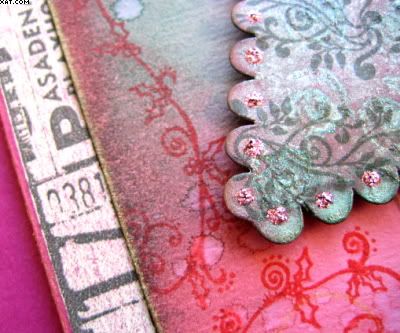
I started with the a maroon card diecut tree and used a Quickie glue pen to draw on some swirls.  Once the swirls had dried clear I sprayed liberally with a home-made mica spray made from silver mica powder a drop or two of gum arabic solution and some pine needles Distress re-inker - I usually spray in a pizza box to avoid the spray going everywhere!  The glue swirls seem to attract the colour but not the mica and provide a nice effect whilst some of the background maroon colour still shows through.  I then inked a small swirl stamp (Crafty Individuals) with Versafine onyx black ink and stamped randomly over the mica background.  I then applied dots of pink Stickles around the edges of the tree and put it aside whilst I made the background.   


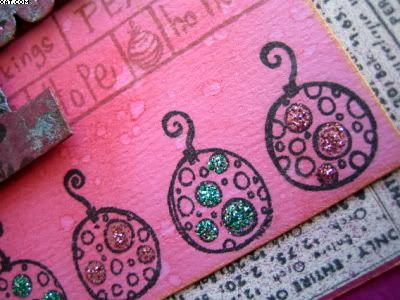
I took a piece of heavy pink card and trimmed to size and applied pine needles and barn door Distress ink with cut'n'dry foam keeping the top half of the card more green and the bottom more red.  I stamped an Xmas plate in vintage sepia Versafine a couple of times as seen, a baubles border stamp in onyx black and a Christmas swirl in barn door Distress ink as shown.  All these stamps are from PaperArtsy


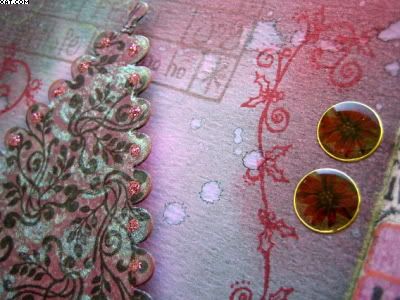
I spattered water drops randomly onto the plate and dried with the heat gun before adding pink & aqua Stickles to the spots in the baubles. A circle outline stamp (Artistic Stamper) was inked in galaxy gold Brilliance and applied a few times as seen whilst 2 acrylic poinsettia circles were stuck in place top right. The whole plate was edged with galaxy gold applied direct. The tree was then applied on foam squares as shown.


Another fuschia card plate was cut 1/2 inch bigger all round and this was edged in TH Tissue Tape leaving a 1/16 inch border at the outside edge.


That's it, my first Xmas offering for 2010 !

Sid xx

Pin It

Saturday, October 30, 2010

Genius Of Life


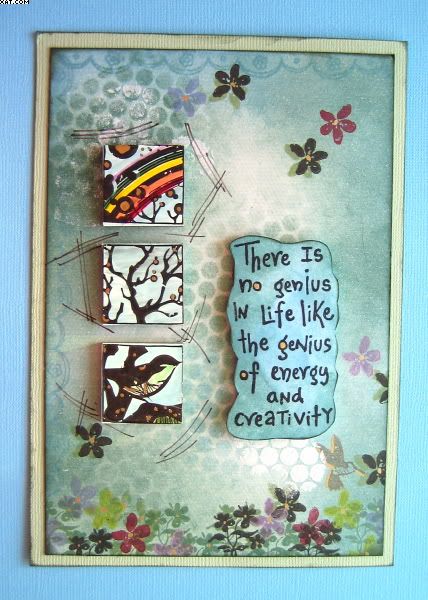
Here is a little piece to bring a bit of the light of Summer back into your life !!  I have used Hero Arts polymer stamps and PaperArtsy rubber stamps in this one.

I started with a piece of pale green textured card and trimmed to size.  I then coloured this with broken china and pine needles Distress inks applied with cut'n'dry foam.  I then took a piece of sequin waste and applied more of the Distress inks through the waste along with some Brilliance moonlight white ink. A border stamp from Hero Arts was then inked with broken china ink and stamped top and left side.

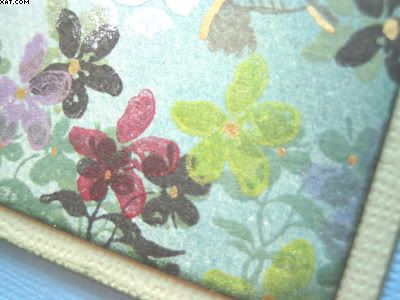
I then took some of the Hero Arts stamps applied layers of flowers in Brilliance sunflower yellow, rocket red, pearlescent lavender and pearlescent sky blue.  Some of the flowers were overstamped with Versafine onyx black ink too.  Some were also stamped with Memento bamboo leaves and cottage ivy.  A single humming bird was stamped in Versafine vintage sepia.  I then used a fine DecoColor gold pen to the centres of the flowers.


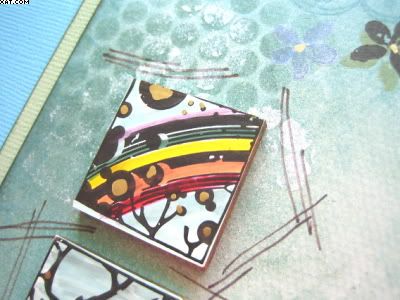
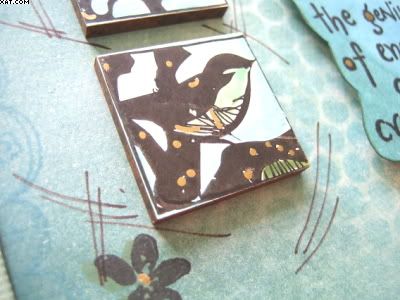
More of the inch square stamps from the Hero Arts set were then stamped in black Stazon onto inchie sized pieces of Stampbord.  Once dry these were coloured with Marvey le Plume II pens as shown and again some highlights were added in the gold pen.


The tiles were stuck in place with Glossy Accents and some hand drawn lines added with a brown fineliner as shown.


The words (PaperArtsy), were stamped separately on a piece of white card in Versafine onyx black, cut out and coloured with more Distress Ink and applied on foam pads.

The design was edged with dark green chalk ink and then matted onto pale green textured card and again edged with the chalk ink to finish.

Sid xx

Pin It
Related Posts Plugin for WordPress, Blogger...