Today we continue to the final part in the series.
And it's HOT....HOT......HOT today - already 28C and it's only 9am ! So ensure you have a refreshing Summer drink (or two) to hand !!
Ensure that your heat source, which needs to be flat and horizontal, is heated to 160 degrees C.
STEP 1
- Take a piece of seawashed glass and place on the heated surface for 30 seconds
- Sprinkle a small amount of clear UTEE onto the top surface of the glass (which will now be VERY HOT)
- Allow the UTEE to melt (this can be easily seen) the UTEE does not have to totally cover the piece - less is best
- Place a piece of metallic heat transfer sheet or ribbon with the metallic side down onto the non-stick craft sheet and weight it at the ends so its stays flat
- Carefully slide a heat resistant spatula under the hot glass and tip over onto the foil sheet so that the molten UTEE is in contact with the foil and press the base of the glass lightly with the spatula. Allow this to cool and then peel the glass off the foil. The foil should have adhered to the UTEE. This will become your new working surface. Don't worry if the foil covering is not perfect, it doesn't matter.
STEP 2
- Prepare all your additions & inclusions in advance (because you will need to work quickly)
- Take your foiled piece of glass with the foil on the top and place onto the heat source again to remelt the UTEE
- Add a small amount of clear UTEE to the centre of the piece and wait till it melts to cover it
- Cut your choice of fantasy film into small strips and then place 2 or 3 pieces of the film onto the molten UTEE
- Scoop small amounts of your coloured UTEE onto the piece in a pattern of your choice, allow to melt
- Scoop metallic/pearl/interference/sparkle embossing powders, bedazzles, mica etc. very sparingly where you want them on the surface and allow to be absorbed into the molten surface
- Finish off by adding more clear UTEE from the centre which will flow to the edges and blend colour and content as it does. You should have a perfectly smooth and shiny surface at this stage - no bumps or lumps
- Use the spatula to carefully slide under the piece and keeping it horizontal (to avoid the molten UTEE running off !) place onto the non stick craft sheet until totally cool.
Wipe the excess molten UTEE off the heat surface with a kitchen towel, taking care not to burn yourself.
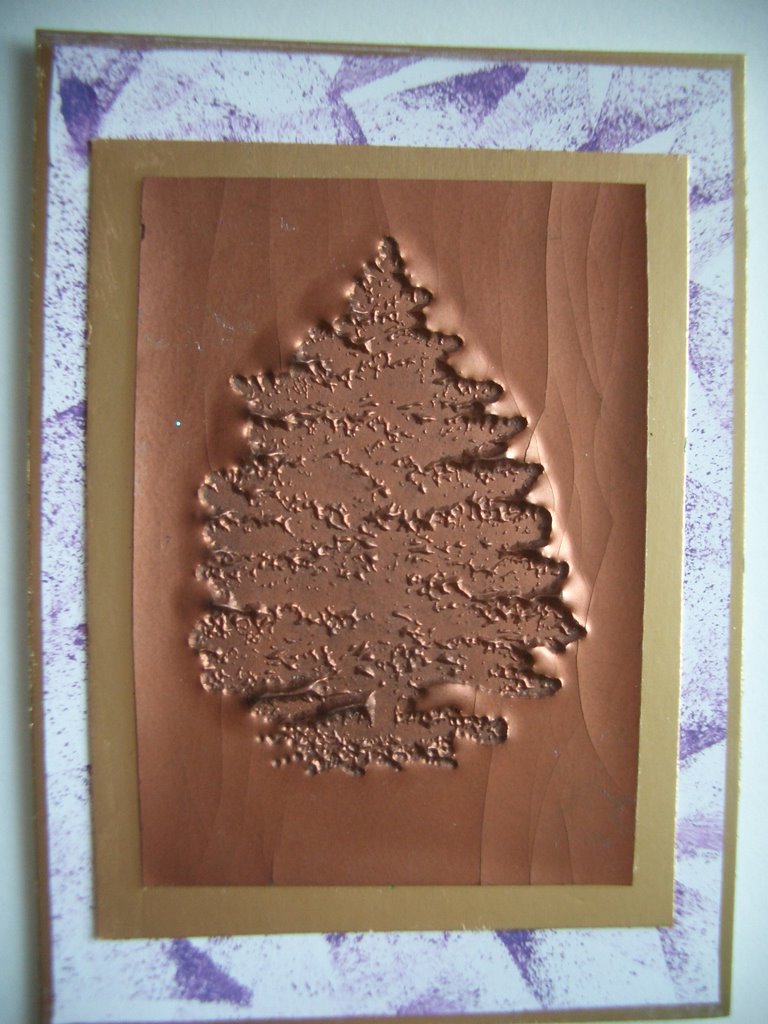
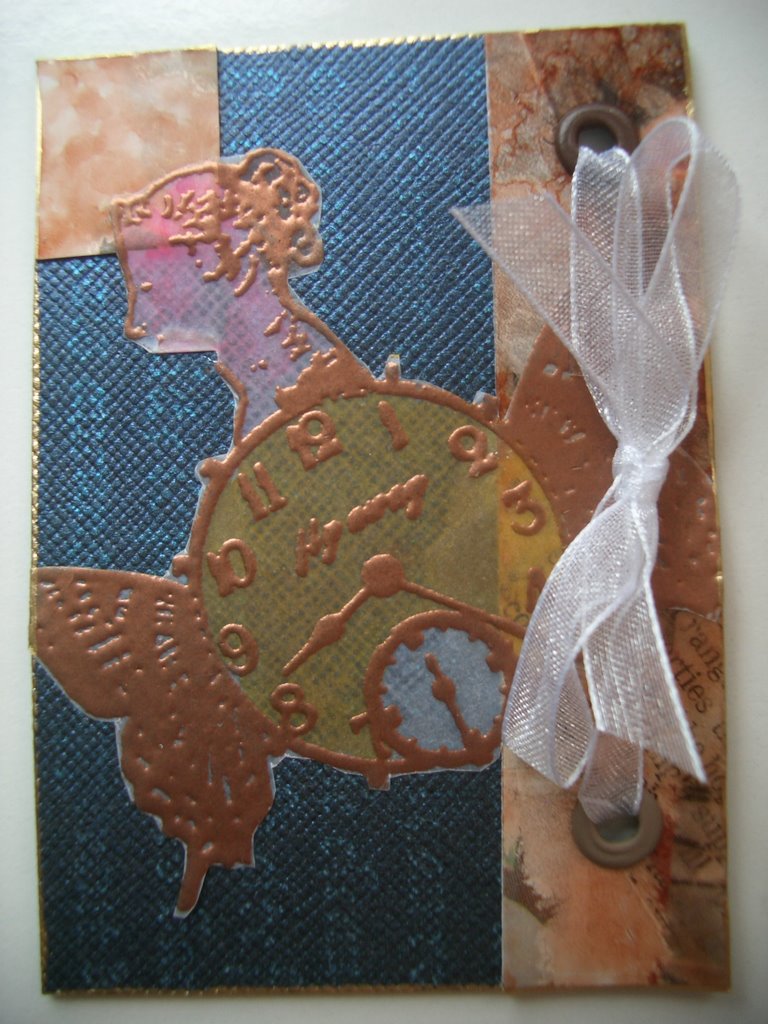
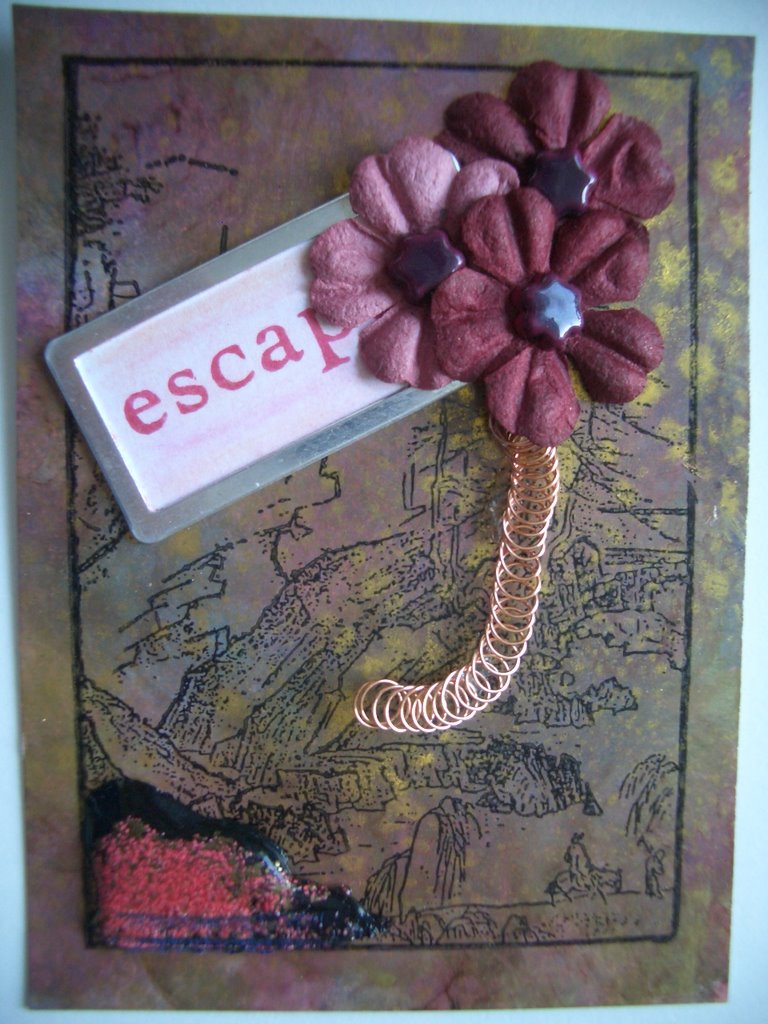
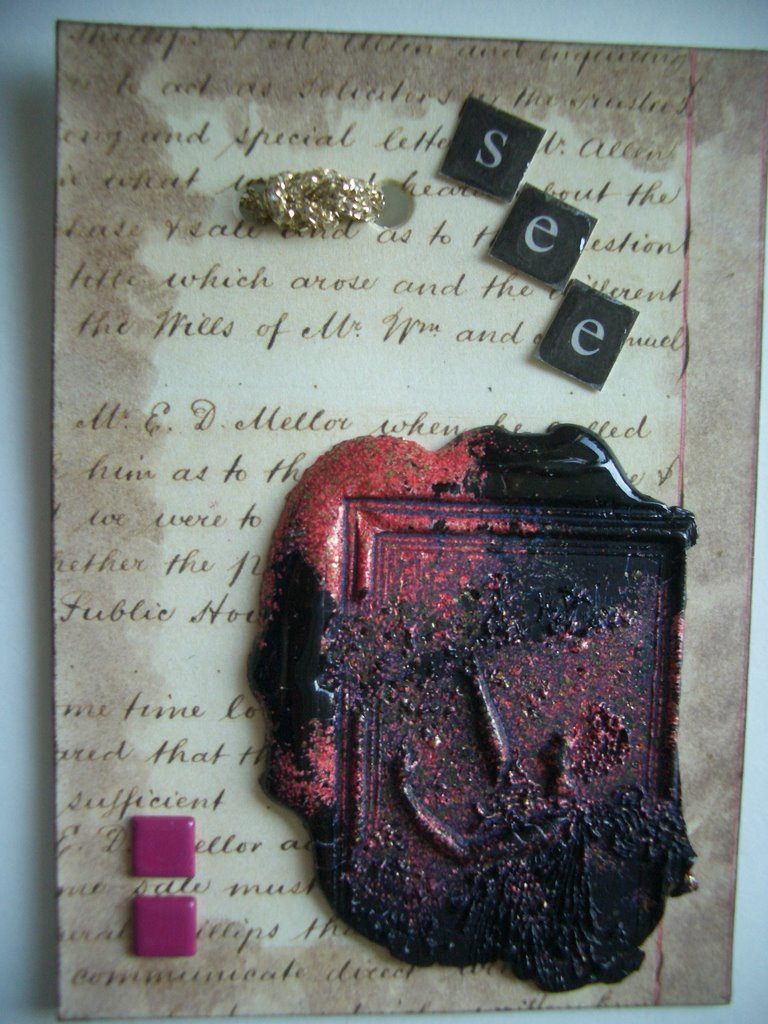
You then have your finished piece which can be mounted on collage, altered art, or used as a jewellery piece with suitable findings added. The effects that can be achieved are endless and all are
brilliant, breathtaking & exciting !!!
TIPS
- Prepare all your required items before you start
- Work quickly
- Have some idea of your expected colour way before you start
- Ensure that your work surface is well protected from the heat
- Experiment with different materials as inclusions (sequins, mica powder) you never know the effect until you have tried it
- Use inclusions very sparingly or you can overload the piece
- I recommend using a stainless artists spatula as my spatula (it's thin and slips under the piece very easily) the cooled UTEE can easily be removed from it
- Try using black or coloured UTEE to adhere the metallic foil intead of clear
- Opalised effects can be achieved with less colour but pearl embossing powders
- Don't expect every piece to be to your liking - trial and error is the name of the game
Now back to that refreshing Summer drink Hic !!!!!!!!
Pin It