Tuesday, February 18, 2014
Sunshine
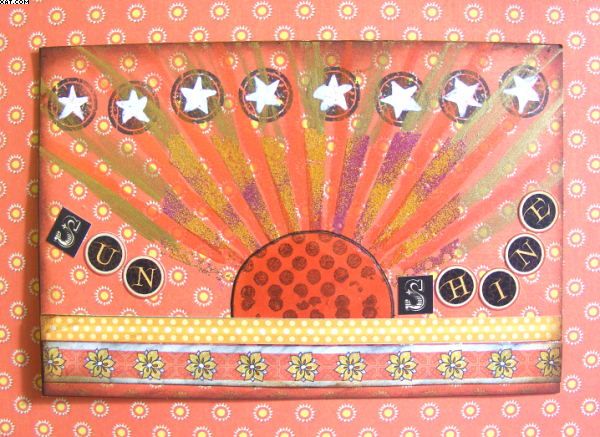
Over on UK Stampers Forum we do a monthly Postcard swap which must be sent to its destination through the post as it is. This months challenge is 'Sunshine' , something I am sure we all sorely miss at the moment. So I made this 6 x 4 inch PC.
I used papers from Graphic 45 and the base card was first covered with an orange spotty print.
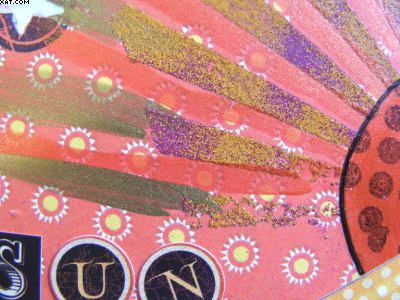
I then stamped a sunburst with a TH Stampers Anonymous stamp in Versamark ink and heat embossed with a couple of colours of Ranger opaque embossing powders.
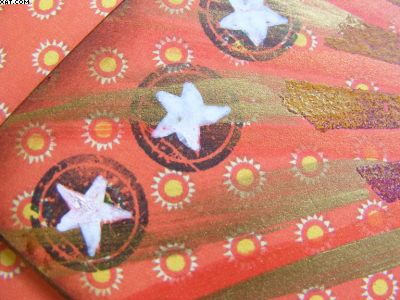
Next I stamped a row of grungy stars (also TH) in Memento black at the top. I used some gold Precious Metal colour paint with a loose brush to extend the sunburst to the top and side edges of the card.
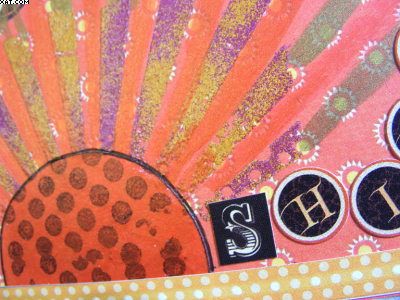
The sun was made from a circle of card painted with coral Precious Metal paint, stamped with spots and applied as shown. It was edged with black Micron pen.
Two strips of paper were edged with black soot Distress Ink and applied horizontally at the bottom. Some accents were added with a white Posca Pen and the words Sun & Shine were added with Graphic 45 stickers. The whole card was sprayed with acrylic spray to set it and protect through the post.
Sid xx Pin It
Saturday, May 05, 2012
One a Day
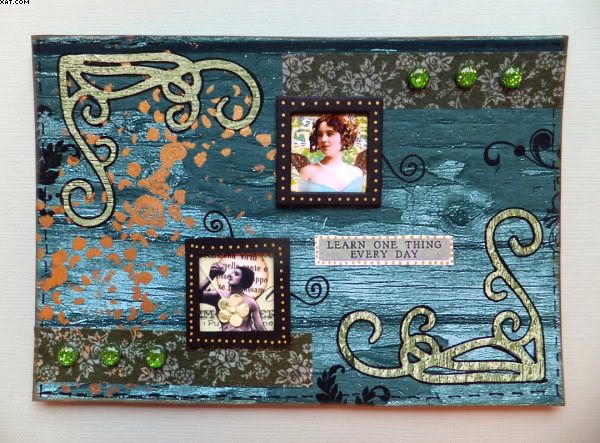
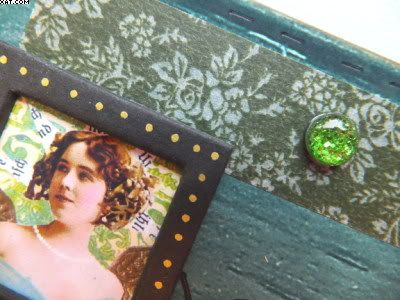
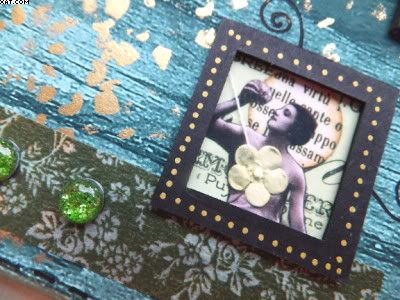
The background is of teal stained wood and is a digital print I have applied some Viva gold paint in splodges to the background also on the left. This has been embellished with some black chipboard frames with inchies behind. I have also done some flourish stamping in Memento tuxedo black.
The flourishes are die-cut using a Sizzix die and these have been edged with a black fineliner pen. I have also used some moss green floral Washi tape, gold Posca pen and some gorgeous green flat backed cabochons. Finishing touches were to add some Versamagic chalk ink in touch of pesto around the edge and some faux stitches.
Nice sentiment as we all learn at least one thing each day don't we ?
Sid xx Pin It
Monday, April 16, 2012
Making Waves
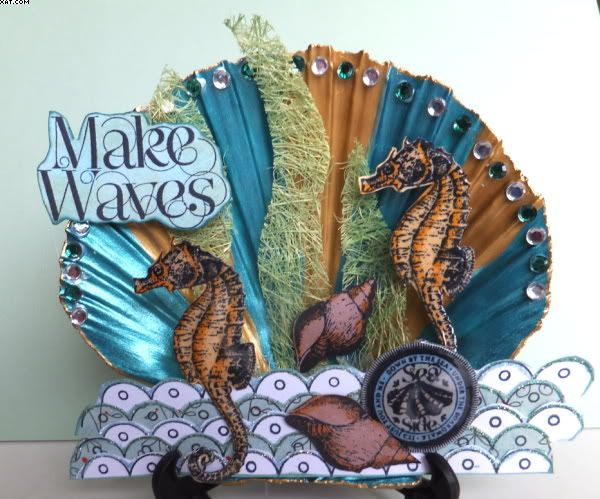
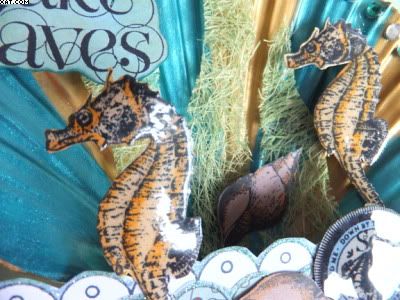
This has been in the making for a long, long time. The real scallop shell was decorated months ago and has sat around since then waiting for attention. Because of the shells links with the sea I wanted to do some craft related to that environment so did this 3D scape. All contained in its own shell home.
The shell was thoroughly washed and then painted with stripes in Viva precious metal colour in gold and turquoise. It took a couple of coats to cover properly. The edges of the shell were then gone over with gold Krylon pen to neaten. Some acrylic gems were adhered around the edge of the shell with more Glossy Accents and alternate gems coloured with the brush pen in green.
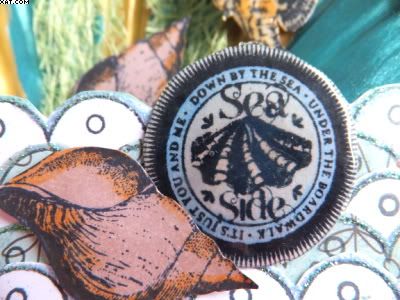
All stamped elements (apart from the waves) came from a plate of polymer stamps by Pink Paislee (Nantucket). The shell, seahorse, word seal and words were all stamped on white card with Memento tuxedo black ink which were then coloured with Marvey alcohol brush pens before trimming out and edging with AI to cover white card edges. A word seal and two seahorses were glazed with Glossy Accents.
The sea was made up from a border stamped multiple times on printed paper, trimmed and layered and edged with a Quickie glue pen and glittered with transparent blue water Art Glitter.
Friday, October 14, 2011
Alice Can - I know she can !!
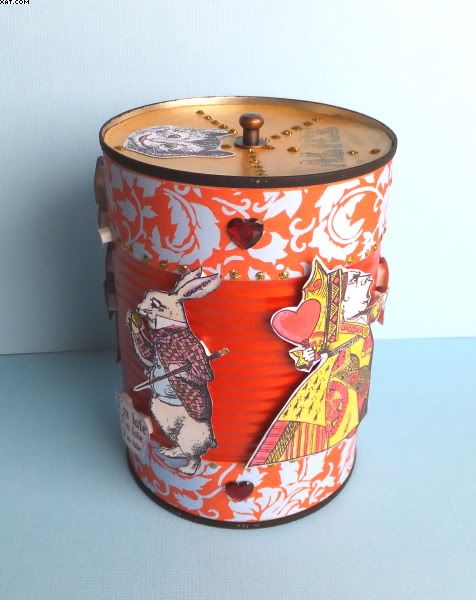
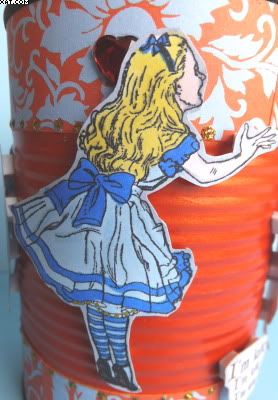
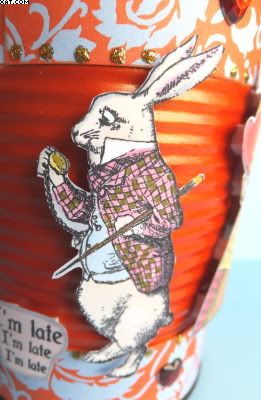
Here we go with an altered bean can !! I am a great AIW fan and love these stamps from Crafty Secrets so I went ahead and decorated a ring pull can in that style.
The can was prepared by removing the label and painting the central region with a couple of coats of Viva coral Precious Metal Colour. The top and bottom rims were coloured black with Ranger paint dabber. Next, 4 strips of coral and blue printed paper were cut and stuck in place with photo glue at the bottom and top of the painted can.
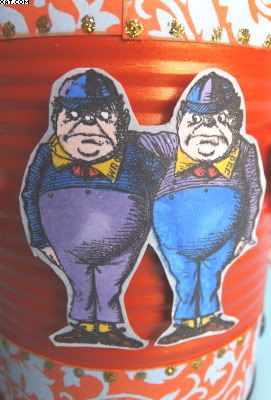
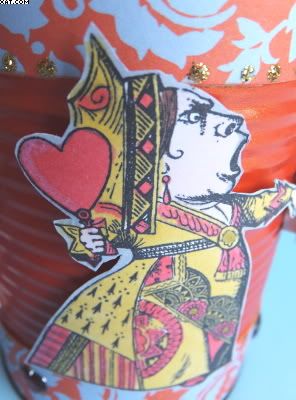
Big bit next, the stamps were chosen and stamped on smooth white card with black soot Distress ink and dried with a heat gun. The images were then coloured with Spectrum Noir alcohol markers in a variety of colours before cutting out and sticking in place on the centre of the can with foam pads.
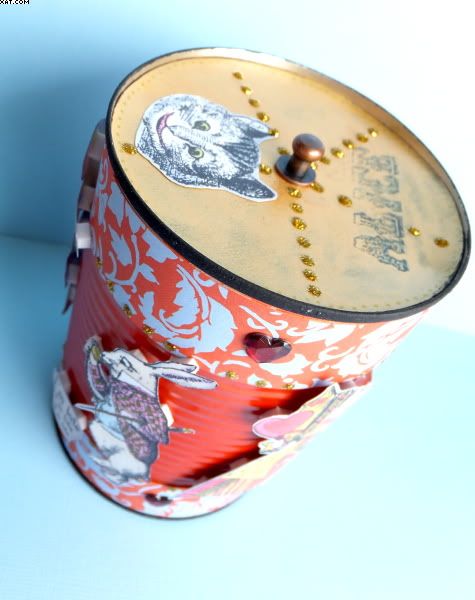
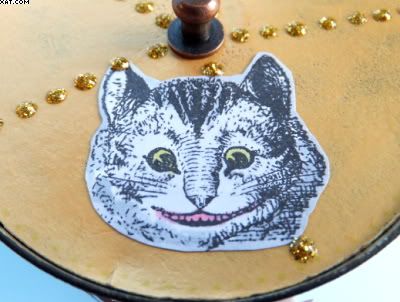
The lid was cut from black stout card with a die and heat embossed with the alice text stamp and detail clear embossing powder. The lid eas then rubbed over with Viva Inka Gold and polished off with a soft cloth revealing the resisted heat embossing. The cheshire cat image was stuck in place with Glossy Accents. A TH hitch fastener was screwed in place in the centre of the lid as a handle.
Red faux heart gems were then stuck in place around the top and bottom bands of the can.
Finally dots of gold Stickles were applied to add some bling.
Sunday, October 02, 2011
Beauty is in the eye of the Beholder !
Wednesday, June 01, 2011
Altered Sardine Tin
| Front |
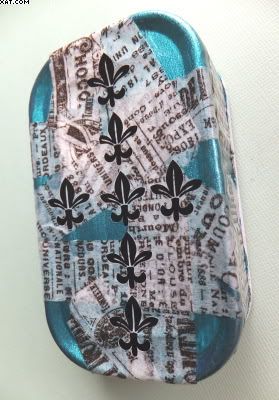
| Back |
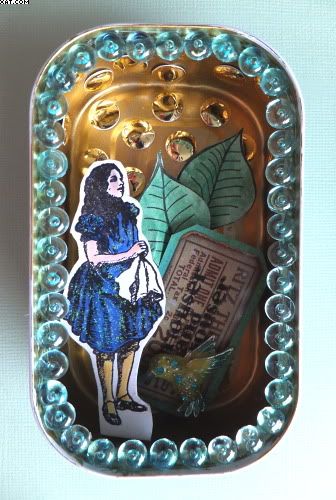
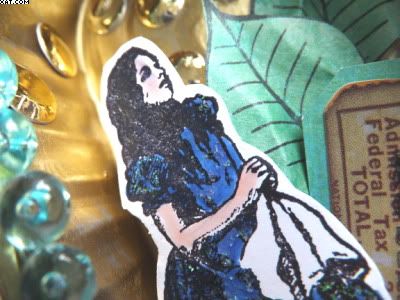
Two leaves stamped with a PaperArtsy Xmas pointsettia stamp and Versafine onyx black ink were then added. They were first coloured with green Marvey le Plume II pen and sprayed with green mica spray before applying on foam pads to raise them.
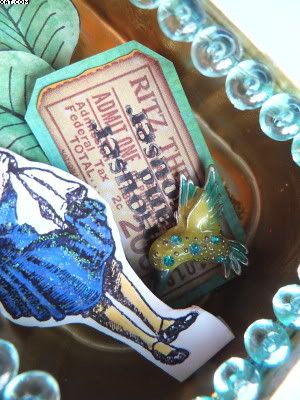
Next a Tim Holtz ticket was applied on a piece of green card, trimmed and stamped with the words Curioser & Curioser from the IndigoBlu - Alice 1 plate in Archival black ink. This was attached over some gold glass glitter. A metal enamelled bird was attached over the base of this with silicone glue.
Alice herself (from the same IB plate) was stamped in Archival black ink onto white card and coloured with Marvey le Plume II pens before being trimmed out leaving a mounting lug at the base. Some crystal Stickles glitter glue was added to the blue dress for sparkle. Alice was then mounted forward in the can on layered foam pads and Glossy Accents.
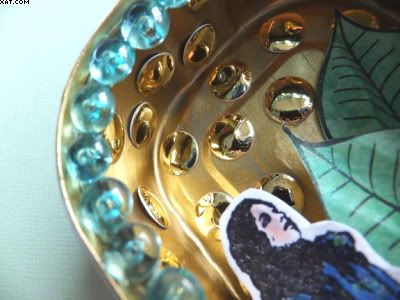
Final finishing touch was to add pale blue dew drops attached with more Glossy Accents around the inner rim of the tin.
Monday, June 21, 2010
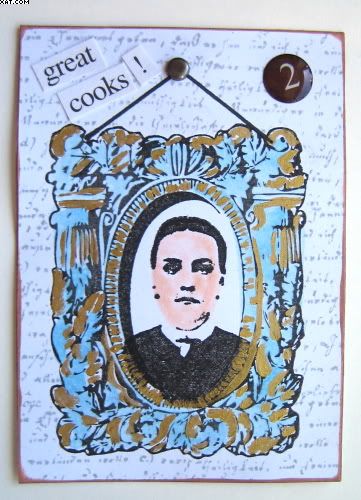
Great Cooks ATC
Friday, June 18, 2010
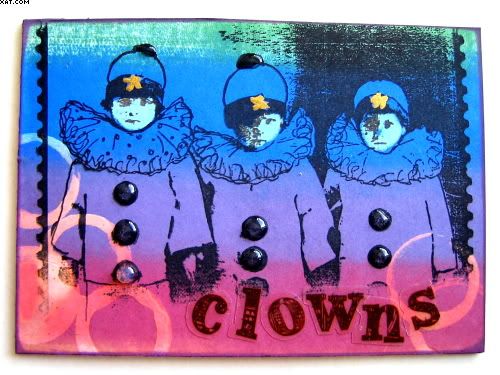
Clowns ATC
Tuesday, December 08, 2009
Circle of Friends
Wednesday, August 12, 2009
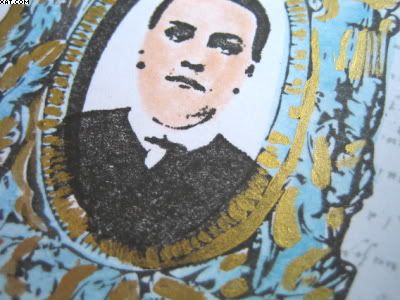
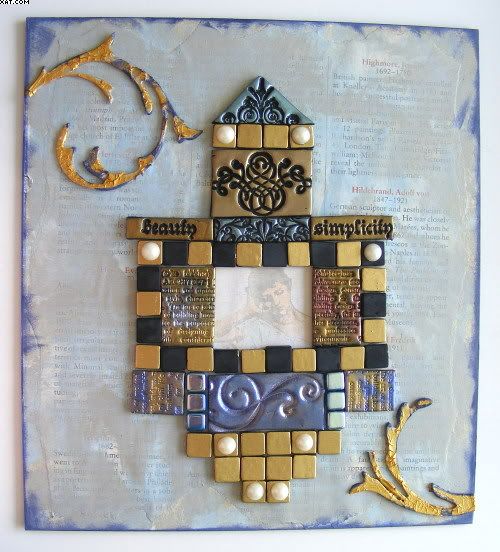
Simple Beauty Tiled Plaque
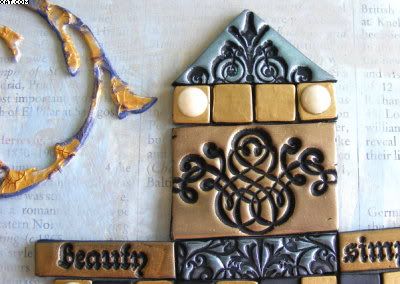
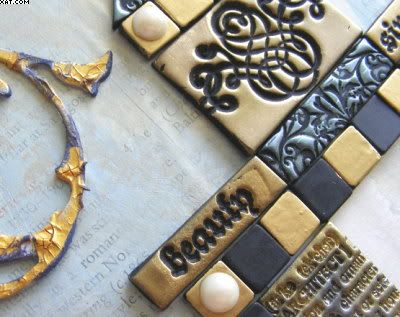
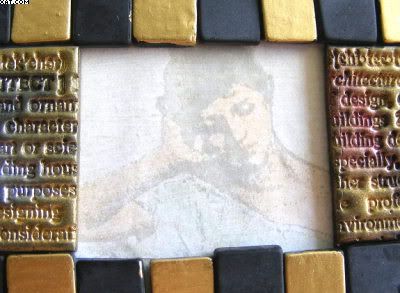
Here is a tiled plaque I have called 'Simple Beauty'. It is 8 ins x 9 ins in size. I have made the tiles mainly from Fimo Classic polymer clay. The base is made from mountboard which has had a piece of old book paper applied after tearing the edges. Pale blue acrylic paint was added and wiped off in places to let the text show through. The whole board was then given a very watered down coat of translucent gold glaze and allowed to dry.
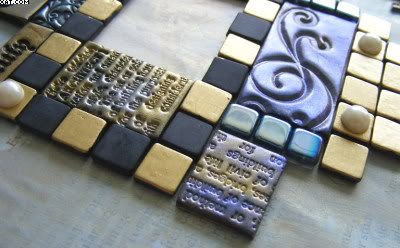
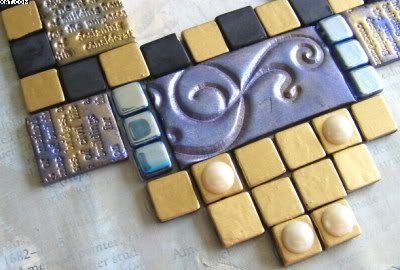
All the other tiles are made from black classic Fimo apart from six small glass mirrored beads made by Guttermann. The clay has been rolled out through a pasta machine to condition before adding mica powders with my finger to leave the black deboss of the stamped design. I have used various stamps in text & swirls, cutting the shapes out with a thin clay blade. The tiles were then baked at 130C for 40 minutes and allowed to cool. The design was layed out on the base board until happy with the overall effect.
The main central picture was stamped (Cherry Pie Stamps) on plain copier paper, coloured with watercolour and a coat of transluscent gold glaze. Once dry cut out to size and stuck on the base board.
All other tiles were then stuck in place with clear glue gel as shown.
Friday, July 31, 2009
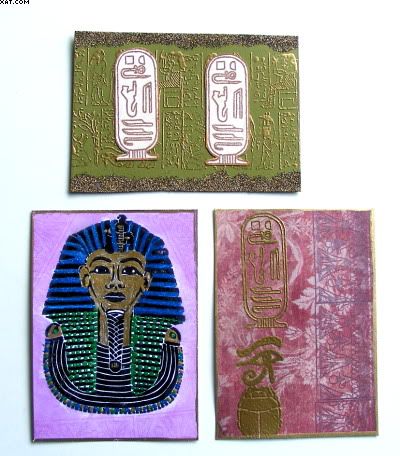
Egyptian ATC's
Wednesday, July 29, 2009
Queen ATC
Tuesday, June 30, 2009
'Bling' ATC's
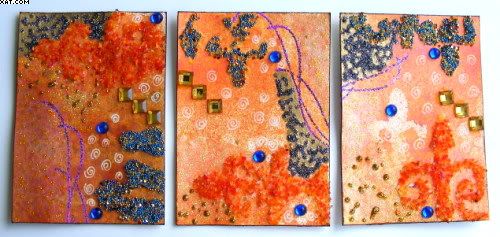
These ATC's have been done for a monthly swap over on UK Stampers Forum. This months is 'Bling' and I have decided to do a blend of blingy finishes instead of stamping.
I used Bedazzles, flatbacked gems and cabochons, Stewart Gill byzantia, Viva gold paint, Stickles, violet twinkle EP and Sakura white opaque pen to decorate with little swirls. The only stamp used was a swirl. The base was made from white card and coloured using a Tim Holtz stencil and homemade mica spray made with spiced marmalade distress reinker and cosmic shimmer iridescent pigment in cinquefoil red. This was mixed and applied with a mini-mister.
The ATC's were edged with dark brown chalk ink.
Hope you like them :-)
Pin ItThursday, June 18, 2009
Summer Twinchies
Here are a set of Twinchies I have made for another monthly swap on UK Stampers Forum. The June theme was 'Summer' so I thought what is more Summery than flowers and foliage?
I chose pale blue card as the background and a single outline stamp from Rubber Stampede (All Over Floral) inked with black Stazon. Quite a big stamp this so I stamped several times and then cut out the twinchies on a rotary trimmer before hand colouring.
I used a waterbrush and Adirondack inkpads where I transferred some of the ink from the pad onto a non-stick craft sheet and used this as a palette with the brush. Colours used were: butterscotch, bottle, meadow, pesto, eggplant & cranberry. The stamens of the flowers and parts of the butterfly wings were gilded with a fine brush and Viva gold precious metal colour. The butterflies were additionally coloured with lilac Tiara Gelly Roll pen. The twinchies were then finally edged with Krylon Gold.
Just liked the simplicity of these.....they also have a slightly Oriental look about them don't you think !