Friday, May 08, 2020
Peel- Off Thanks .....
Another card using peel-offs in a different way....... made for a Challenge over on UK Stampers Forum.....
I took a 6 x 6 inch white cardblank. I then cut a smaller square of white card and applied a gold doily peel-off centrally on the square. I then applied white Gesso over the entire surface and peel-off. Once dried I coloured with Impress inks in yellow, green and blue applied with a sponge, blending as shown.
I then stamped some dots in Versamagic chalk ink and edged with the same ink. I made the mask using a silicone mould and paperclay which was painted with metallic turquoise paint and highlighted with white Posca pen.
The feather were made by stamping in Archival black ink on an alcohol ink background on glossy cardstock and trimming out.
The word 'Thanks' was stamped on white card in Versafie black ink, trimmed out and edged with more chalk ink.
The card was then finished by applying the matt onto the card blank, attaching the feathers (with foam pads) and the mask along with the word on more foam pads.
The peel-off gives a subtle texture and pattern to the background ......
Sid xx Pin It
Friday, May 01, 2020
Perfect ....
New month .... new Coins .... made these for a virtual swap over on UK Stampers Forum ...
I used a base of re-cycled packaging die-cut to 2.5 iinches diameter. I then die-cut some coloured card as the base and stamped this with a flower stamp and yellow chalk ink and used a black Posca pen to dot the centres of the flowers.
The leaves were die-cut from a piece of glossy card coloured with Alcohol Ink. The green circle was applied to cardbase and the leaves were applied onto this. I stamped the word 'Perfect' in Versafine black ink on white card, trimmed this out and attached on foam pads.
The Coins were then edged with Krylon gold pen to finish.....
Sid xx Pin It
Friday, February 22, 2019
Crystal .....
Decided to make a magnetic crystal glass cabochon ....
I have used Alcohol Inks on the flat back of the clear crystal cabochon applied with a felt pad with blending solution. The decoration has been sealed with a piece of silver self adhesive foil !
I have also added a small strong magnet on the back so it can be used on a magnetic board or as a fridge magnet.
Sid xx Pin It
Wednesday, November 14, 2018
Joy .....
This Christmas card is for sale in my Etsy Shop - Harpies Crafty Corner and is made in typical Christmas colours.
Click HERE to have a look !
Sid xx Pin It
Sunday, November 04, 2018
Crowning glory .....
Made a set of Inchies for November for a swap over at UK Stampers Forum ....
Used old corrugated packaging as the base and made a Distress Oxide background on white card. Punched out the squares with a 1 inch square punch. The birds was stamped on the background with some silver and white penwork and I added a sparkly gem. The wings were glazed with Mod Podge and the finished Inchies edged with green Alcohol ink pen to finish.
If you fancy joining in this swap (there are loads of others too !) click HERE to join the Forum ... it's free & fun !
Sid xx Pin It
Sunday, February 15, 2015
In the round !
This card was inspired by the Craft Stamper Magazine 'Take It Make It' challenge for February where you are required to used stencils in your work.
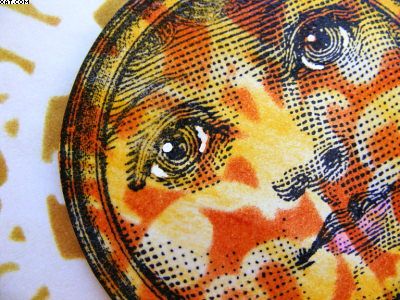
I started by stencilling a background onto white card through a stencil. The stencils used are old ones made by Tattered Angels. I chose one and used low tack masking tape to hold it in place. I used Distress Inks in rusty hinge and mustard seed to stencil the background which when heat set was stamped with a Zettiology stamp in Archival black ink. This was trimmed out and heat embossed with detail clear embossing powder. I then added a few bits of white Posca pen round the eyes and a touch of pink alcohol ink on the lips with a pen.
I then used a white 5 x 5 inch cardblank and again selected another mask, attached with masking tape and coloured with more distress Inks in crushed olive, rusty hinge, mustard seed and old paper. The inks were added with cut'n'dry foam.
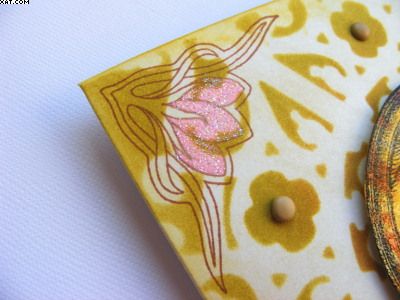
I then selected a corner stamp from Elusive Images and stamped this in each corner of the card with sepia Archival ink, filling in the crocuses with the same pink alcohol ink pen. I then used a Quickie glue pen over the pink crocuses and applied some Glamour Dust for a sparkle.
Some brads were added to the design as shown.
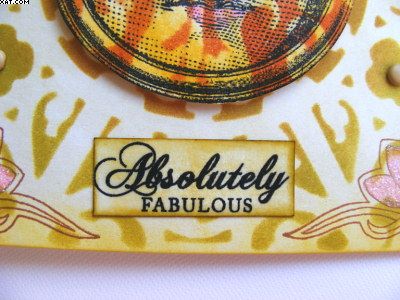
The sentiment is from Papertrey ink and was stamped in Memento black ink on a piece of white card followed by colouring with Distress Inks and once more heat embossing with clear embossing powder.
The central image was placed on foam pads and the sentiment stuck in place as shown.
Sid xx Pin It
Saturday, February 14, 2015
Love .........
Happy Valentines Day everyone !
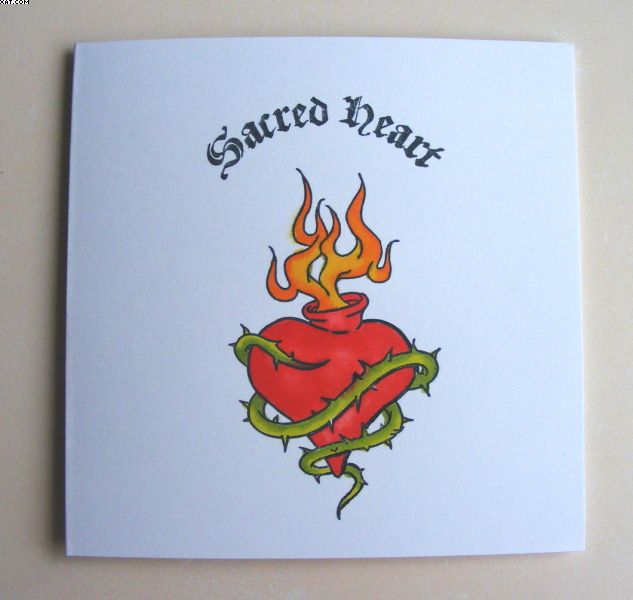
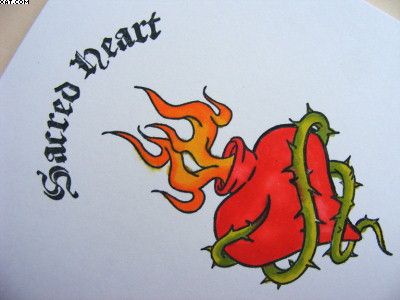
Love comes in many forms. I found these stamps lurking in my craft room by Bombshell Stamps in the USA and thought that the tattoo style depicts love in a somewhat different way, but still does the trick. I have had the stamps for ages and never used them ........... until now, that is !
I started with a 4 x 4 inch white card blank and stamped the two stamps as shown in black Memento ink. I have then used alcohol ink pens to colour in the image.
Just for info I don't possess any tattoos but this one fits the requirements of The Less is More Challenge blog for this week whose subject is 'Love' in a one-layer card. Also meets the Artful Times challenge whose challenge is 'Romance'.
And I would like to say thanks all those that comment and follow my blog, it really is very appreciated, thanks everyone.
Happy Valentines !!
Sid xx Pin It
Friday, February 13, 2015
Pink & Grey
This first card is just in time for Valentines day and is in a theme of pink & grey, fitting the requirements for the Less Is More Challenge Blog for this week and also the City Crafter Challenge Blog whose theme is 'You Matter'.
I have painted 5 chipboard hearts in different sizes with satin acrylic paints in pink and grey. When dry these have been overstamped with a cross stamp in dye inks applying grey on pink and vice versa.
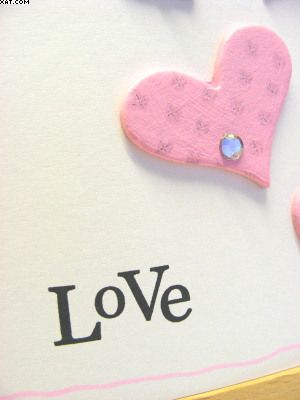
I have then added a single faux gem to each heart and stuck them in place in a cascade on a 5 x 5 inch white card blank as shown.
The LOVE stamp is from Papertrey Ink and was stamped in Versafine black ink. I finished the edge of the card with a freehand wavy line in pink alcohol ink.
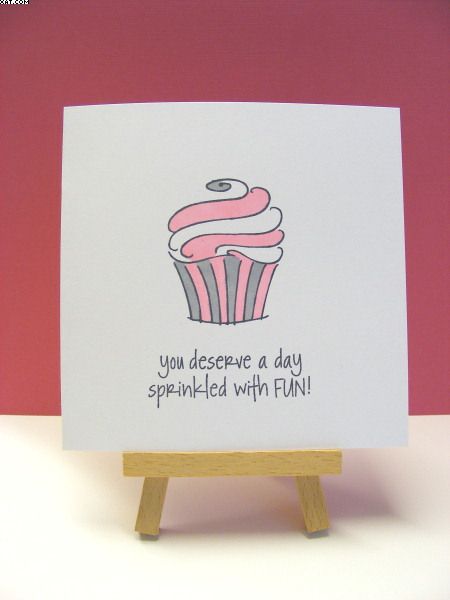
My next card in the same theme features a single cupcake stamped in Memento black ink and filled with colour from alcohol brush markers. The white card blank is 4 x 4 inches. The sentiment is also stamped in Memento black ink.
Sid xx Pin It
Monday, April 02, 2012
Four Square Inchies
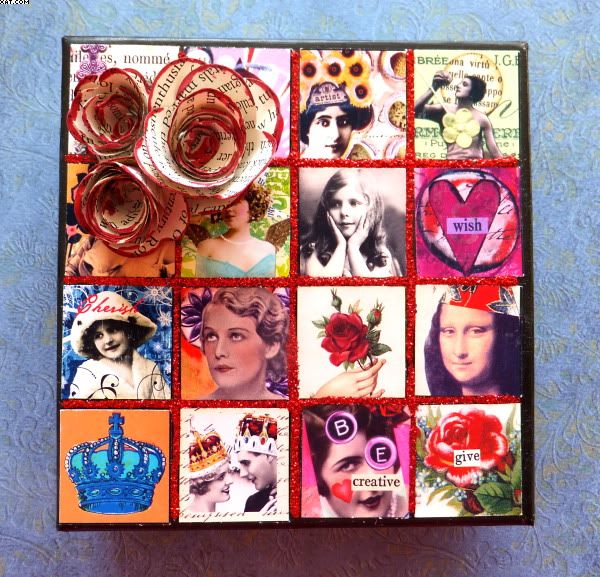
This box started its life as a Selfridges gift card presentation box, covered in shiny black paper. I have decorated the top of the box with a set of digi inchies from ArtChix studio which I have trimmed and adhered with Glossy Accents to the top and sides. I had to halve the inchies on the sides.
Monday, December 19, 2011
Tim's Tag No.6
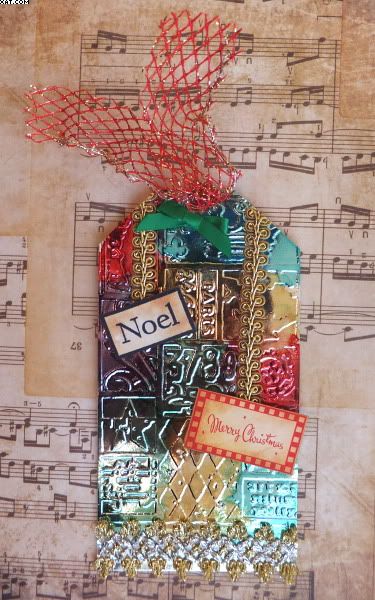
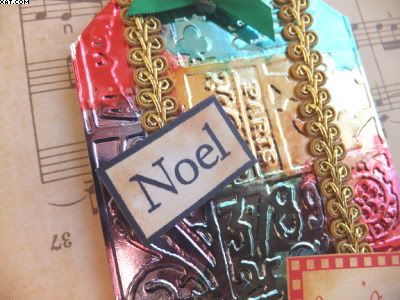
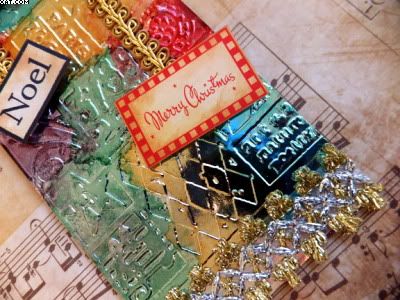
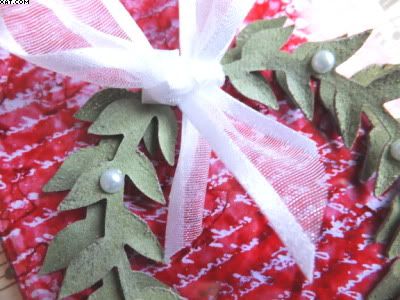
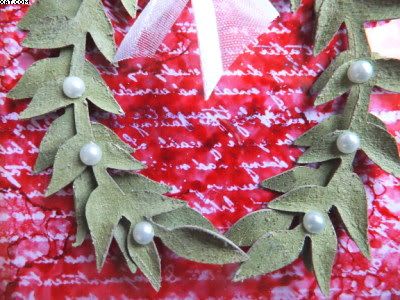
Another piece of braid was added at the base of the tag. The tag was then finished with a gold eyelet applied with the crop'a'dile, a green ribbon bow and some red/gold mesh ribbon tied through.
Sid xx Pin It
Tuesday, December 13, 2011
Tims Tag No.5
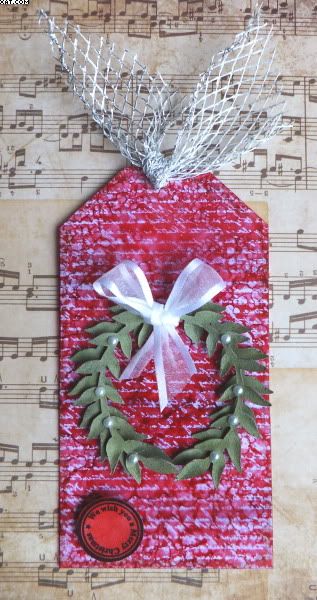
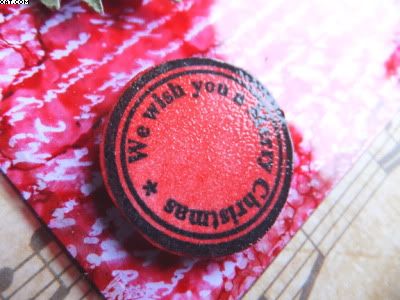
Because the words were not necessarily Christmassy I added a circular seal stamped in Archival black, coloured with red pepper Adirondack ink and heat embossed with clear embossing powder. The seal was stuck in place on more foam pads.
Wednesday, February 23, 2011
'Light Flight' Gift Box
Wanted to do something with a little gift box that originally had some tealights in it. It has sat there for ages so I picked it up ans actually did something with it !! This one also is my entry to the Just For Fun Challenge blog whos subject this fortnight is 'Oh for the wings of a bug'.
I gave it two coats of pale blue acrylic paint and allowed it to dry thoroughly. I then took some glossy cardstock and applied Alcohol Ink in juniper and cloudy blue with an applicator and felt until happy with the finish. I also used some blending solution. The colour is very subtle actually. This was trimmed into 4 panels slightly smaller than the base sides.
I took an acrylic poppy stamp and stamped twice with Archival black onto each of the panels and the edges of the card were lined with fine gold pen and a metal edged ruler. These were then adhered with double sided tape to each side panel as shown. A small half pearl embellishment was added to the bottom left of each panel.
The 'to you from me' labels were made using the same AI background and a nestability die which I also embossed before stamping with the words in Archval black ink. Again a half pearl was added to each of the panels. These were stuck in place with DS tape as shown.
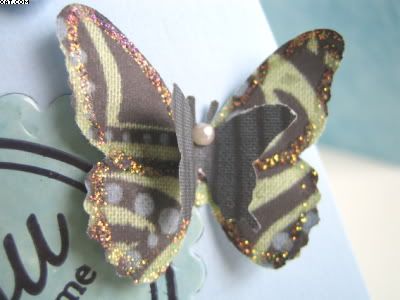
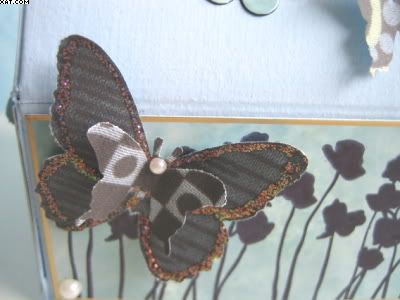
The butterflies are made using Martha Stewart punches in two sizes. The background paper used was made by scanning three pieces of cotton printed material that I had bought as fat quarters in Skipton. They were printed with the inkjet printer onto plain 80gsm copier paper. I liked the colours which all compliment each other. The back of the paper was painted with some more of the pale blue acrylic paint to add a little more body to the paper. Once dry I used the two punches and punched out large and small butterlies, some of which were to be layered.
I edged the large butterflies with Stickles diamond glitter glue and once dry layered the small onto the large punched out pieces with glossy accents. Each of the layered butterflies had a half pearl added for a head before sticking in place on the box to decorate.
The top of the box was held shut with two gold swirly clips either side of the two butterflies. I was going to add ribbon but decided not to. Light and Airy I thought !
Sid xx Pin It
Tuesday, December 22, 2009
12 Days of............Day 9
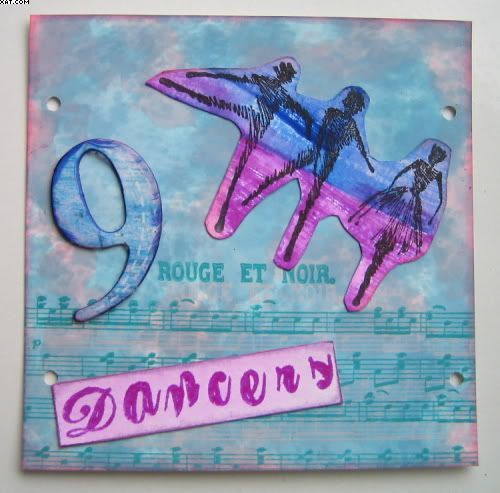
I have now got to Day 9 of 12. My plate this time is supposed to represent 'Nine Ladies Dancing'.
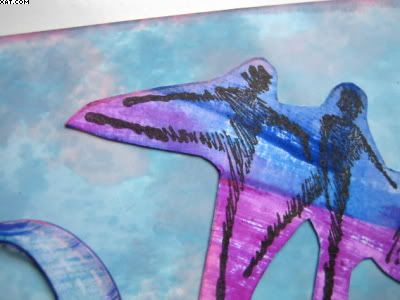
I started with a piece of white glossy cardstock, cut to 4 x 4 inches. I then used Ranger alcohol inks and an applicator in aqua, pink sherbet & cloudy blue to make a cloudy sky-type background. Once happy I stamped a stamp called 'Tiptoe' by Stamp-It in Versafine onyx black onto a piece of white textured cardstock. I swiped this with Impress peony purple and hydrangea inkpads and rubbed in with a waterbrush. The coloured image was cut out.
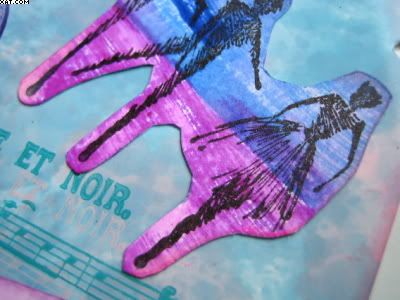
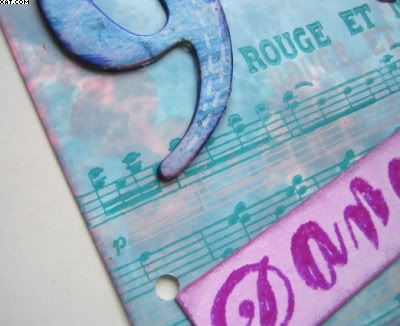
The chipboard number 9 was stamped and coloured with alcohol ink and Impress ink. All embellishments were then stuck in place with glue stick.
Tuesday, November 17, 2009
All buttoned up !
Monday, September 07, 2009
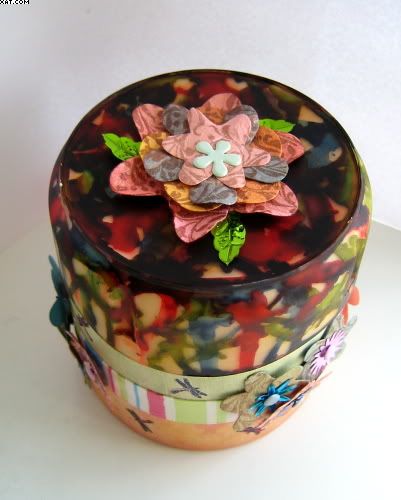
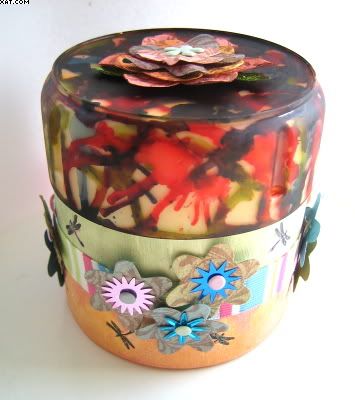
Upcycled Packaging - Cottonwool Bud Container !!
Everyday we dispose of endless amounts of waste packaging. Everything from food cans, cereal boxes, plastic meat containers to clothing tags. Why not just look in the bin for inspiration. I challenged members of UK Stampers forum to alter a piece /or pieces of packaging of any type and turn it/them into a piece of art.
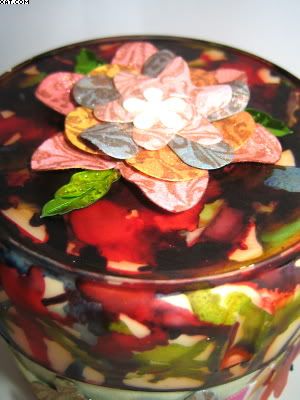
I chose a Johnson & Johnson cottonwool bud container which had a cardboard base and a polythene lid as my piece of art, and here it is.
The body of the container was first gessoed (I applied a couple of coats), and allowed to dry. I used Whispers dye inks in orange and red applied with cut'n'dry foam to the bottom half of the container. I masked this with a Tim Holtz mask of a fence and applied more red ink over this until it looked ok. I used green dye ink to colour the top half of the container by the same method. When happy I sprayed the base with cheap hair laquer to seal the dye inks onto the gesso.
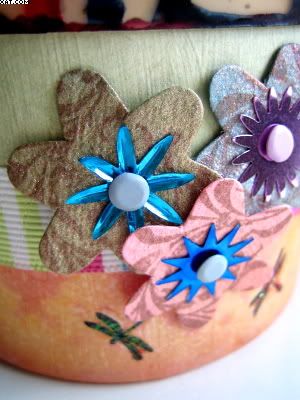
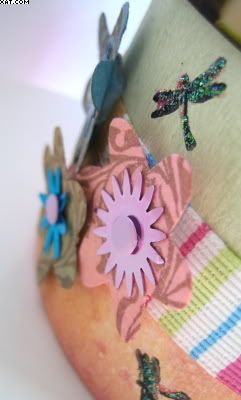
A striped self adhesive ribbon (DCWV) was applied to cover the join between the two colourways. Next a very small dragonfly stamp was inked in black Stazon and stamped along the sides above and below the ribbon in a random fashion. When the ink was dry some pink Stickles glitter glue was applied over each dragonfly image and allowed to dry.
Next I made the flower embellishments. I used die-cut flowers from mulberry paper in green, blue, ecru & pink. I laid these down on a non-stick craft mat and sprayed liberally with mica spray with silver mica. Once dry the flowers were stamped with vintage sepia Versafine ink using a small flourish stamp from Elusive Images (Graphicus). Each flower was then assembled with a pastel brad and shiny sequin, the legs of the brad folded back to hold the flower together. The flowers were then adhered to the box as shown in groups of three with sticky dots to secure.
Finally I had the lid to decorate. I took various alcohol inks and dropped them onto the lid top and sides, quickly blowing the ink around with a drinking straw ( the ink can fly, so if you do this protect yourself and the area around you). Once happy with the effect the whole lid was coated on the outside with matt acrylic varnish and allowed to dry. The inside of the lid was given two coats of cream acrylic paint acting as a backdrop to the colours and allowing some of the uninked areas to be highlighted. I think the lid reminds me of Moocroft pottery actually !
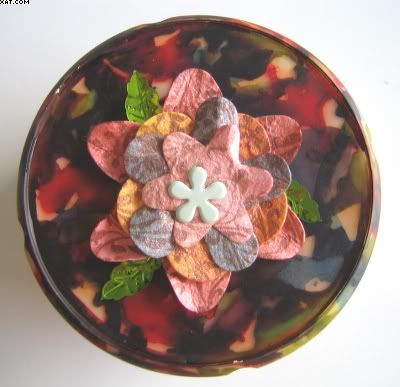
Finally the lid lacked something, I thought of adding a metal knob of some type but ended up making another flower (as described before but with more layers) this time with some sequin leaves and a pastel flower brad.
The last pic shows a top down view of the embellishment on the lid. Very interesting to alter something that would have definately been binned.
Hope the one receiving it is pleased !
Sunday, July 05, 2009
'U' for Unusual Tag
I took a piece of brown card, cut to shape, applied loads of gold peeloffs in a random fashion layering them over each other. Then I coloured with Alcohol Inks in butterscotch, ginger, terra cotta & cranberry. I inked up a dragonfly stamp with black Stazon and stamped this several times on top of the peel-offs (not easy to see in the pic). The U is a chipboard letter applied on foam pads over a mat made of gold card with a diamond heat embossed design in brown, a piece of torn print and a black material flower with button centre to embellish the mat.
Tuesday, June 23, 2009
Brown CJ
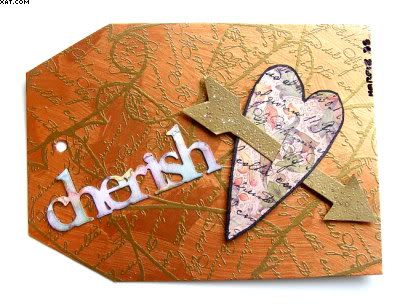
Here is another of my CJ entries for our latest CJ on UK Stampers Forum. This one had an arrow stamp and a colourway of Browns. We just had to use the stamp and complete one side of a page within the Journal.
I first painted the background with a thick coat of bronze metallic paint applied with a fan brush in a rough manner to give some texture and light reflecting properties to the paint. Once dry a rubber stamp of a heart (Invoke Arts - Textured Hearts from Once Upon A Stamp) was inked with Versamark and stamped randomly over the painted background and this was then heat embossed with detail gold embossing powder.
Next, the stamp was inked with black Stazon and stamped onto some printed background paper, cut out and set aside. The arrow stamp was inked with Versamark on white coarse card and heat embossed with the detail gold EP. This caused bubbles to disrupt the surface which I liked. This was trimmed out and edged in gold ink. The main patterned heart was slit with a craft knife and the arrow threaded through the slit to give the 'arrow through the heart' effect. This was applied as shown with 1 mm foam pads to add a little dimension.
To finish, a Making Memories aluminium word 'Cherish' was treated with Ranger alcohol inks in juniper, sandal & pink sherbet applied with an applicator and felt. The colours were chosen to compliment the background colours in the printed paper. Basically, that was it ........ I thought there was enough going on and any more would have spoiled it. Sometimes I don't know when to stop !!
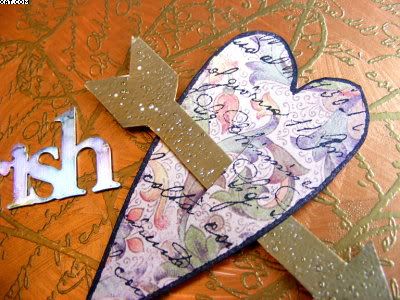
This shot shows some of the texture achieved with the paint and the EP. Hope the CJ'er likes what I have done.
Saturday, June 20, 2009
'Ornament' ATC
Here is an ATC I have done to try out my new Adirondack 'Lights' Alcohol Inks which were bought from The Artistic Stamper. First I cut a piece of Glossy card to ATC size. I then applied alcohol inks with the applicator in lake mist and cool peri, pouncing and turning the applicator until sufficient colour was transferred. I then coloured a printed journalling tag from 3djean similarly but with more colour. I edged the tag with wisteria chalk ink.
The ATC background was then masked with an Idea-ology swirl mini mask (Regal), and french blue and wisteria chalk ink was applied direct over the masked area and the ATC edged with french blue chalk ink. The tag was glued in place as shown. I then cut three short lengths of mauve metallic cord and stuck them onto a piece of double sided tape adhering as shown and trimming to fit neatly. A small stamp was inked with hydrangea Stazon and stamped as shown. The word 'ORNAMENT' was trimmed from a pre-printed piece of vellum and adhered with two small blobs of glossy accents at the ends to finish the ATC.
Just adore the colours of the new alcohol inks the hues are so pastel and give a very light and subtle feeling to the background.
Hope you like it :-)
Sunday, June 14, 2009
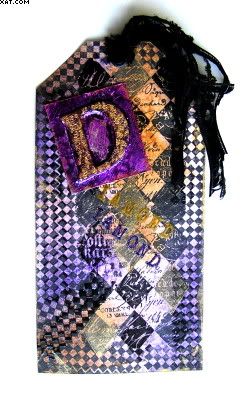
'D' is for Diamonds Tag
Here is yet another tag in the series..........I suppose we will cover all the alphabet eventually but enjoying the challenge immensely ! This weeks challenge is 'D' for Diamonds. I chose the shape rather than the gemstone and used a variety of stamps. The little diamond is from a Non-Sequitur plate (No.9 Cranes) that I have had for at least 5 years ! This is the first time it has been used. The other stamp is a PaperArtsy stamp (Letters Plate 5). Both stamps were inked in black Stazon and applied as shown in a somewhat random manner. When the Stazon was dry the Tag (made from white card), was coloured using cut'n'dry foam and Distress Inks in dusty concorde, tattered rose and vintage photo. A little clear single diamond stamp was then used with galaxy gold Brilliance ink to highlight certain of the diamonds from the PaperArtsy stamp at random.
Following this the Non-seq stamp and the little diamond were reinked with Versamark and overstamped randomly followed by heat embossing with clear EP to highlight and darken. The edges of the tag were inked direct from the galaxy gold pad to add a distressed edge look.
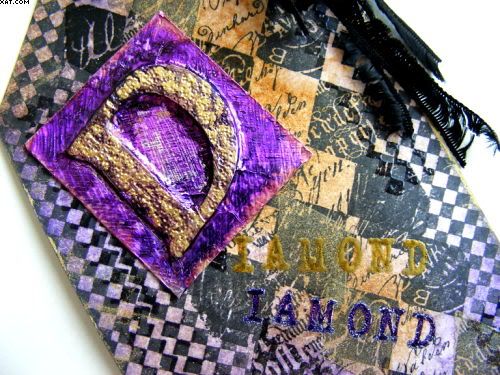
The 'D' was made by adhering a chipboard D to a piece of card and covering with self-adhesive aluminium tape which was carefully burnished over the D with a ball embossing tool. The aluminium covered piece was then inked with Alcohol Inks in wild plum, eggplant and pitch black finishing with a little gold mixative to highlight the top-most surface. Some texture was added with the embossing tool by stippling and hatching the aluminium prior to inking.
Before applying the D embellishment the 'iamond' word was stamped with Versamark and Making Memories magnetic Alphas which were heat embossed with gold and eggplant EP as shown. The hole in the tag was cut and a black eyelet applied using the Cropadile and some black fibres tied throught the eyelet. Finally the embellishment was added with mini glue dots.
This shot shows the embellishment and more of the detail. Hope you like it :-)