>
Showing posts with label Nesties. Show all posts

Sunday, April 01, 2012

Believe in Possibility


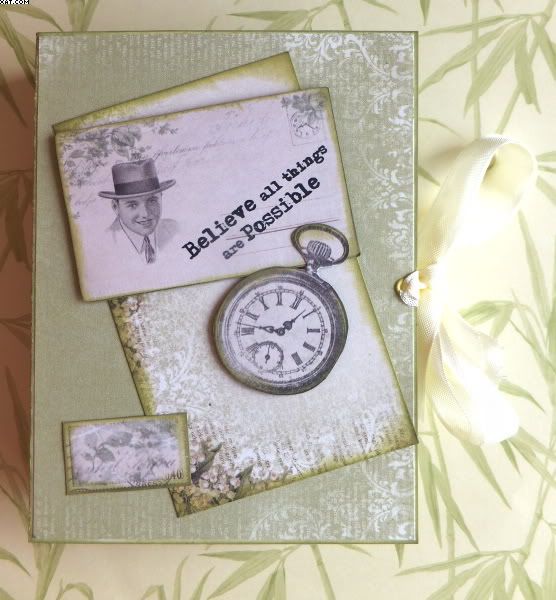
This is a little tea-light gift book I made at our Spring retreat but this could be decorated and filled with anything as a lovely gift idea.  It takes the form of a book cover containing a box to take 6 tea-lights and is secured by a piece of seam binding.

Once more it is covered with Pion 12 x 12 in scrapbook papers available fom 3D Jean.  The papers are beautiful and are very subtly coloured and all elements of the book use these papers.
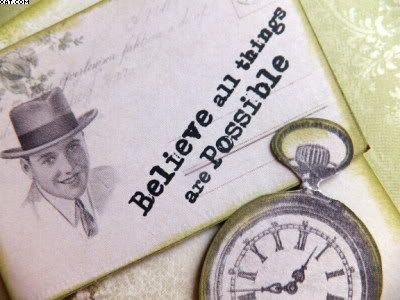


The book cover is decorated with a number of embellishments cut out from the papers (fob watch, mini postcard and stamp) with some layered on foam pads. The only stamp used was the wording on the postcard !
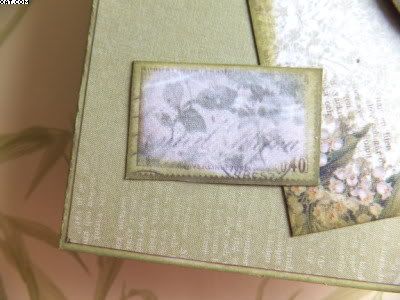


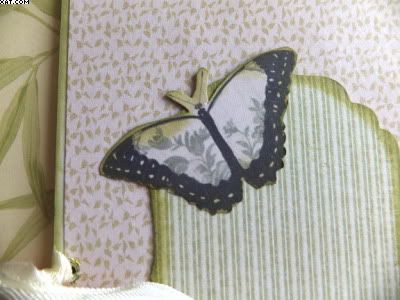
The inside front cover is embellished with a label die cut from the candle box front with a Nestability die. This was edged with moss green chalk ink before adhering. A butterfly was trimmed out from the papers and also stuck in place.


The candle holder box, covered with more paper and the aperture lined with clear acetate before sticking in place on the inside back cover.


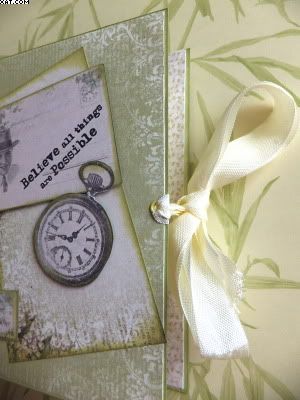
Final touch was to add two pale green eyelets with the crop-a-dile tied through with a double length of pale cream seam binding tied in a knot through each eyelet. These were tied in a bow to secure the book closed after filling the box with tea-lights. 


The box could be filled with sweetie treats or anything else for that matter dependant on the purpose and decorative theme of the box.

Sid xx

Pin It

Tuesday, April 05, 2011

A cup fit for a Red Queen?


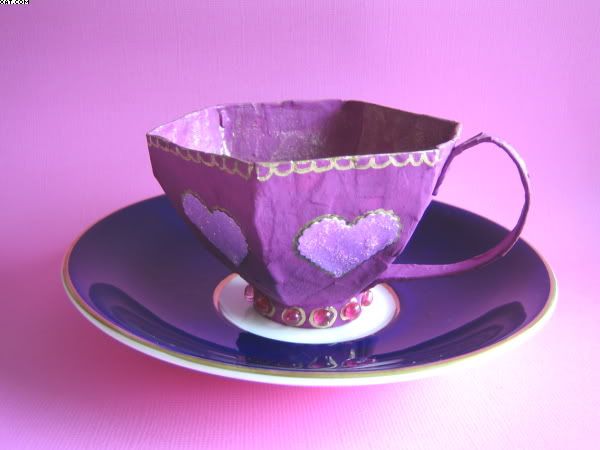
Once more and in line with my Alice in Wonderland theme this cup was made at our retreat in Skipton as one of our projects. The template for making these teacups came from Ann Woods Blog which has loads of other inspiring creations.

The template was cut out from recycled cereal boxes which were reinforced with strips of paper and PVA glue to make papier mache (of a type).  The teacup was allowed to dry completely.

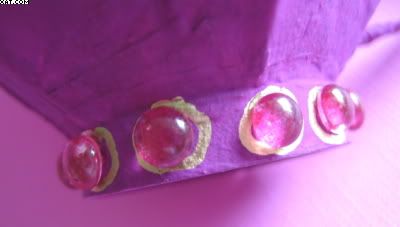
I painted mine with a few coats of matt Dylusions paint and then decorated with a gold pen and some Dew Drops.  The inside was sprayed with antique gold shimmer mist to give it a sheen.  The hearts are cut from pink card using a heart Nestabilities die and stuck in place, followed by a coat of Stickles diamond glitter glue.


This one is displayed on an old porcelain saucer which I didn't make !!

Messy to make but really satisfying once complete.

Sid xx

Pin It

Wednesday, February 23, 2011

'Light Flight' Gift Box


Wanted to do something with a little gift box that originally had some tealights in it.  It has sat there for ages so I picked it up ans actually did something with it !!  This one also is my entry to the Just For Fun Challenge blog whos subject this fortnight is 'Oh for the wings of a bug'.

I gave it two coats of pale blue acrylic paint and allowed it to dry thoroughly.  I then took some glossy cardstock and applied Alcohol Ink in juniper and cloudy blue with an applicator and felt until happy with the finish.  I also used some blending solution.  The colour is very subtle actually. This was trimmed into 4 panels slightly smaller than the base sides.


I took an acrylic poppy stamp and stamped twice with Archival black onto each of the panels and the edges of the card were lined with fine gold pen and a metal edged ruler.  These were then adhered with double sided tape to each side panel as shown.  A small half pearl embellishment was added to the bottom left of each panel. 


The 'to you from me' labels were made using the same AI background and a nestability die which I also embossed before stamping with the words in Archval black ink.  Again a half pearl was added to each of the panels.  These were stuck in place with DS tape as shown.


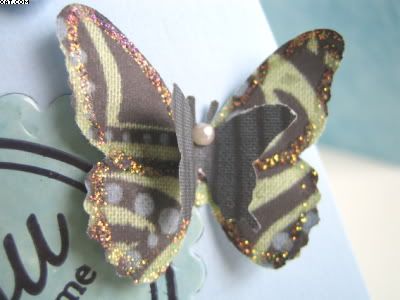
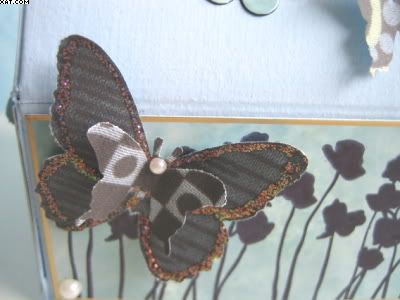
The butterflies are made using Martha Stewart punches in two sizes.  The background paper used was made by scanning three pieces of cotton printed material that I had bought as fat quarters in Skipton.  They were printed with the inkjet printer onto plain 80gsm copier paper.  I liked the colours which all compliment each other.  The back of the paper was painted with some more of the pale blue acrylic paint to add a little more body to the paper.  Once dry I used the two punches and punched out large and small butterlies, some of which were to be layered.

I edged the large butterflies with Stickles diamond glitter glue and once dry layered the small onto the large punched out pieces with glossy accents.  Each of the layered butterflies had a half pearl added for a head before sticking in place on the box to decorate.


The top of the box was held shut with two gold swirly clips either side of the two butterflies.  I was going to add ribbon but decided not to.  Light and Airy I thought !

Sid xx

Pin It

Saturday, November 20, 2010

Shadow Frame Shrine


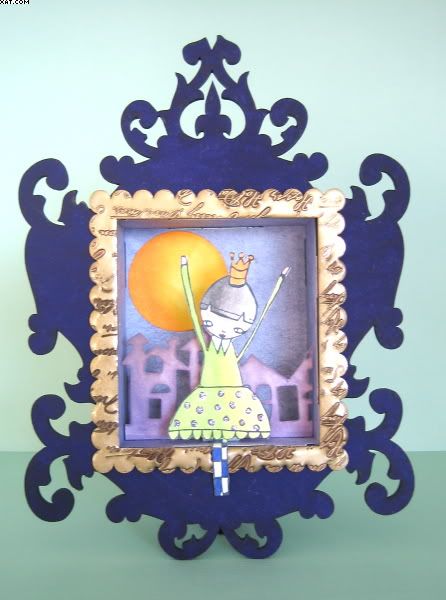
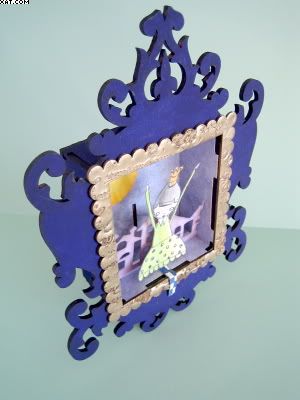
Here is a little shadow frame shrine I made at a recent crafty weekend with a super group of lady crafters. The frame itself was from Dusty Attic and supplied by 3D Jean . Gorgeous ornate front it has too !


The frame was completely painted with purple Dylusions matt acrylic paint on the outside and the inside lined with printed paper.  The front frame was triple heat embossed (tutorial) with antique gold embossing powder and stamped into with a text stamp which had been inked with Versamark to allow it to be released easily.  This was stuck in place with Glossy Accents.


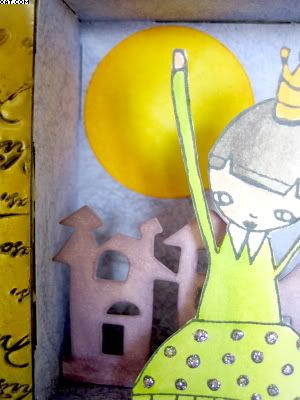
I then used the houses 'on The Edge' TH Sizzix die and cut a strip from white card which was trimmed to fit with a tab at the bottom and coloured with cut'n'dry foam and Distress ink in victorian velvet.  The sun was made from a Nesties die and white card and again coloured with Distress ink in spiced marmalade.

The final element was made from white card stamped with black archival ink with a Unity Stamp - Suzi Blue - Queen of glitter.  She was coloured with Copic markers before trimming out with a craft knife when I removed some of the top and bottom of the image. Some Stickles glitter glue in mauve was added to the spots on her dress.


The elements were then assembled inside the frame at different levels (I added a card tab behind Suzi so she would stand) and bent her legs to fall outside the frame.

This is something I would never have done but I really enjoyed doing it and would love to do more of this type of crafting...........there were seven of these made over the weekend and all were completely different, reflecting each crafters own style.

Sid xx

Pin It
Related Posts Plugin for WordPress, Blogger...