Friday, May 08, 2020
Peel- Off Thanks .....
Another card using peel-offs in a different way....... made for a Challenge over on UK Stampers Forum.....
I took a 6 x 6 inch white cardblank. I then cut a smaller square of white card and applied a gold doily peel-off centrally on the square. I then applied white Gesso over the entire surface and peel-off. Once dried I coloured with Impress inks in yellow, green and blue applied with a sponge, blending as shown.
I then stamped some dots in Versamagic chalk ink and edged with the same ink. I made the mask using a silicone mould and paperclay which was painted with metallic turquoise paint and highlighted with white Posca pen.
The feather were made by stamping in Archival black ink on an alcohol ink background on glossy cardstock and trimming out.
The word 'Thanks' was stamped on white card in Versafie black ink, trimmed out and edged with more chalk ink.
The card was then finished by applying the matt onto the card blank, attaching the feathers (with foam pads) and the mask along with the word on more foam pads.
The peel-off gives a subtle texture and pattern to the background ......
Sid xx Pin It
Tuesday, May 05, 2020
Peel-Off Birthday .....
As we are having a 'Use Your Peel-Offs' Challenge in UK Stampers Forum at this time I made this rather vibrant card .... the idea was to hide the Peel-offs in the design.....
I started with a 6 x 6 inch white card blank. I then die-cut a smaller matt from white card and selected a sheet of leafy peel-offs (they were copper coloured). These were applied on the white matt. This was then painted with emerald green metallic paint ( a couple of coats) to completely disguise the peel-offs. When dry this was applied centrally on the card blank.
I then stamped a number of freaky flowers and stems in Archival black ink on white card. These were coloured in a selection of Posca pens before trimming them out. They were applied as shown (some parts on foam pads). The sentiment (Happy Little Stampers) was stamped on white card in Versafine black ink and this was matted on black card and applied on more foam pads.
Sid xx Pin It
Sunday, March 11, 2018
World Traveller ......
This tag was made for a monthly Swap over on the UK Stampers Forum Facebook Group .....
I started with a manilla tag and used Distress inks to make a background. I used mainly blue inks applied to a glass mat and sprayed with water. I built up some layers (drying in between with a heat tool) and then applied more water drops until happy.
I then stamped an image in Archival black ink as shown. I sprayed with a gold mica spray leaving some larger pools of spray to dry. I used a black decorative rub-on at the top right.
The butterfly was die-cut, painted with turquoise metallic paint, decorated with gold Stickles Glitter Glue, and applied on a glue dot leaving the wings free. I then added an gold metal plate centrally with the words 'Travel The World'. The tag was edged in blue Versamagic chalk ink.
Finally I added a piece of gold woven ribbon held in place with a staple.
If you would like to join in the swap click HERE to go to UK Stampers Forum where you can join our friendly group of crafters.......
Sid xx Pin It
Wednesday, November 29, 2017
Bauble postcard ......
Made a mailart postcard for a Swap over on UK Stampers Facebook Group .....
I used diecuts, stamps, chalk inks, gems in it's making .....
Click HERE to join the Forum .....
Sid xx Pin It
Friday, February 10, 2017
Follow My Heart ....
I have a lot of materials but have not really made many multimedia pieces in the past. This multimedia piece is on a piece of compressed wood measuring 6 x 6 inches.
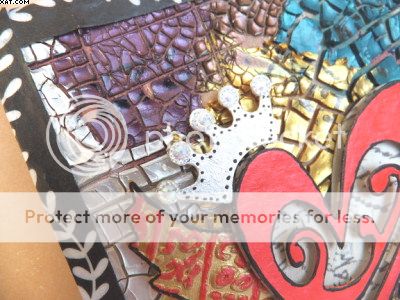
I started by spreading a fairly thick coat of Viva Decor Croco Crackling Colour (try saying that fast !!). I used Bronze, Platinum, Gold & Turquoise. I applied it in blocks which blended a little where they touched. I must say they really did 'crackle' when they had dried (around 12 hours drying time). I quite like the way the raw wood shows through the cracks in places and I did originally think about gessoing the wood base first but decided against it.
I then took an old Tim Holtz design die from Sizzix called 'Heart Wings' and diecut the design out of kraft card. I embossed the wings through an embossing folder and then painted them in gold acrylic paint. Once dry I highlighted the embossing with some pink pearlescent acrylic paint. The solid back of the heart I covered in Tim Holtz Tissue Tape whilst the swirly front of the heart I gave a couple of coats of the same pink pearlescent acrylic paint and when dry edging with a black Posca pen. The crown was painted in silver acrylic paint and 5 self adhesive crystals were added after edging with dots in black Posca pen.
Before I attached the wings and heart I inked a rubber alphabet stamp in black Stazon and stamped randomly on the crackle finish. I didn't use a block but applied directly with my fingers as the surface was so uneven.
The wings were applied with hot glue and I raised them on foam pads, followed by the heart back then the heart front again raised on foam pads. The crown was also applied on foam pads.
I then stamped the sentiment on white card in black Versafine and applied as shown with more hot glue. I edged the whole thing with Washi Tape. I also added a hanger made from florists wire stuck in place at the back with hot glue to finish the piece. I have also entered my creation into The Artistic Stamper February Challenge whose theme is 'Hearts'.
I really enjoyed making it and it has got me thinking about more multimedia in future. Hope you like it.
Sid xx Pin It
Thursday, August 06, 2015
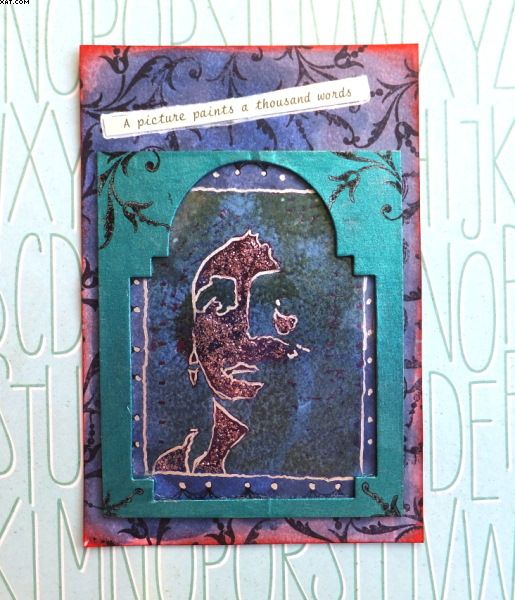
Framed Postcard
Sid xx Pin It
Saturday, February 21, 2015
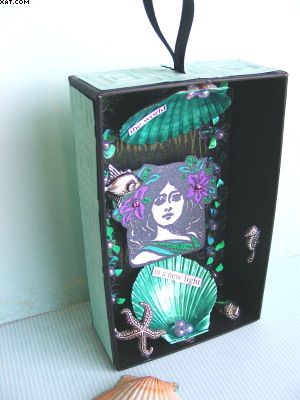
The world in a new light !
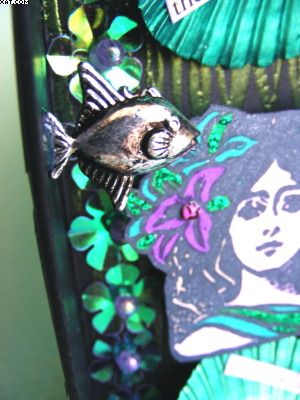
Here is a bit of arty upcycling. The box had originally contained cosmetics and actually has an acetate cover which I have not used. This one is very blingy and was so difficult to photograph too !
I decorated the outside of the box with embossed card cut to size and applied on the back, top & sides.
The inside back of the box was stamped with a wavy stamp in Versamark ink and this was then heat embossed with Blonde Moments spring tropic lustre embossing powder. The inside back was then covered with some flower sequins and more of the beads in two strips.
I had some small scallop shells which I transformed with a couple of coats of metallic green acrylic paint. I then stuck some pearlescent green/violet beads in each with hot melt glue. The shells were applied with more hot melt glue as shown.
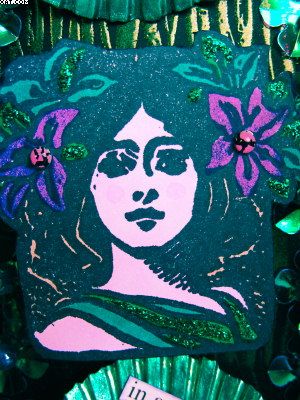
The image (don't know who from) was stamped in Memento black ink on white card, trimmed out and coloured with Alcohol ink markers. I then applied some self adhesive cabochons and Stickles glitter glue. this was mounted on some greyboard to raise the image.
The words were pre-printed and were coloured with AI's again and stuck into the shells. Final touches were to add a few undersea metal charms at various levels with more hot glue which fits in with the challenge on City Crafter Challenge for this week which is 'Love Metal'.
Sid xx Pin It
Thursday, September 09, 2010
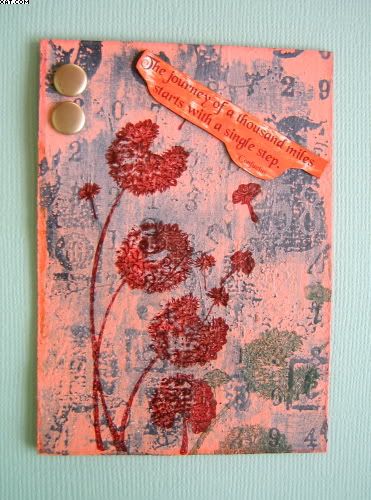
'The Journey' ATC
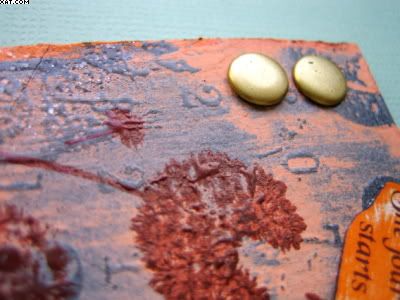
This ATC uses an acrylic paint resist as a background and the stamped seedheads are releasing their little seeds into the wind on a journey to their destination. That sounds awfully philosophical I know but I thought it was a good representation in this case.
The background ATC was cut from grey backing board from a pack of stamps. This was then painted with a metallic granite acrylic paint from Inscribe. Once dry the painted surface was stamped with Versamark ink with a numbers background stamp from PaperArtsy. The stamped image was heat embossed with detail clear embossing powder using a heat tool.
A coat of peaches 'n cream DecoArt acrylic paint was then applied over this and allowed to dry until tacky. The peach paint was then roughly removed with a paper towel moistened with water to remove some of the paint revealing the background colour showing through the embossed image. Once a pleasing effect had been obtained this was allowed to dry thoroughly.
Tuesday, July 27, 2010
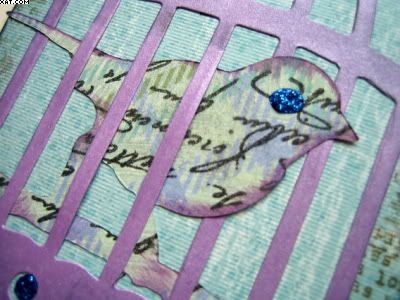
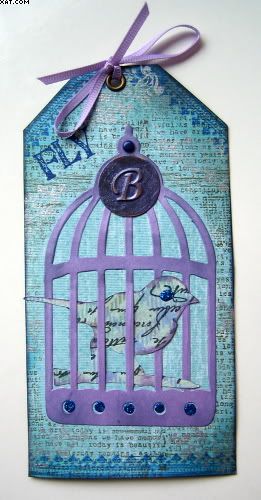
B is for Bird Tags
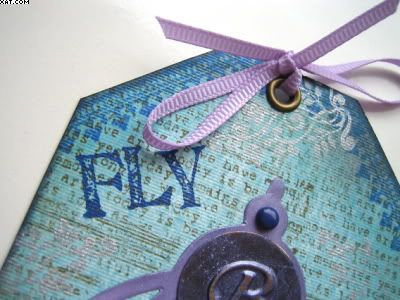
The metal B's were applied with Glossy Accents at the top of the cages and a purple brad added at the cage hanger. A hole was cut with the crop-a-dile and a brass eyelet applied which was then tied through with lavender narrow grosgrain ribbon in a bow.
These will be in the post tomorrow.
Sid xx Pin It
Monday, July 06, 2009
Altered Backing Paper
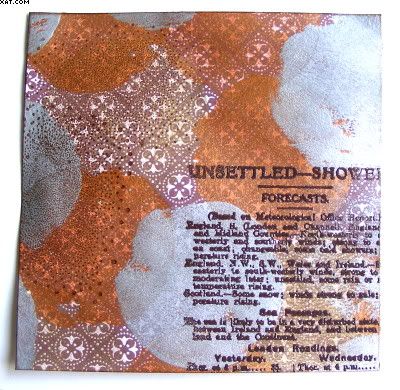
This is one of nine 4 x 4 inch squares made from a single 12 x 12 sheet of backing paper which I have altered as part of a swap over on UK Stampers Forum.
We all have loads of 12 x 12 inch papers (don't we !!) so this is an ideal way to use some of that stuff that has been sat there for ages and that will NEVER get used as it is. This way, at least you can disguise what you have and then use it as a mat or on other projects.
The background print on the paper I used was a fairly small overall Victorian design in coffee on white. I have used a circle foam stamp and metallic paints in silver, old gold and copper which have been stamped randomly and unevenly over the whole sheet and allowed to dry thoroughly. The paper has been cut to size and then each piece stamped with Versafine vintage sepia with a PaperArtsy weather stamp covered in chocolate embossing powder and heat embossed with the heat gun. The field of sky stamp (A Stamp In The Hand) was then used to add some texture to the top left of the square with dark brown chalk ink. The same ink was used to edge each piece to finish.
Hope you like it :-)