>
Showing posts with label Eyelets. Show all posts

Tuesday, July 28, 2020

Industrial ......


A card made with a science and industry feel .....

I started with a white card-blank. I then cut a matt from white card and stamped the main stamp with Versafine black ink (AAll & Create). I selectively stamped the jet engine and No.4 again and trimmed these out colouring with watercolours and a waterpen.

I then die-cut a circle from white card and coloured this with brayered matte acrylic paint in violet and grey. This was also stamped with the background stamp to act as a spotlight. I have used a white Posca pen to highlight aspects on this.

I then coloured the background with watercolour washes in greens and yellows leaving some white areas. I then added the circle, lining up with the image below and edging in Inktense pencil and a waterbrush. Next I added the other elements on foam pads.

I added a brass brad and some metal eyelets and green Washi tape. The card was highlighted with some glossy accents added to selected elements.

The card was finished with some alpha stamps to add the 'Industrial' word in Versafine black on white card.

Sid xx

Pin It

Friday, December 07, 2018

Vision ....


Made a decorated tag for a monthly swap over on UK Stampers Forum ....


I have used Visible Image stamps.  The main image was stamped in Archival black ink on sage green card & coloured with Posca marker and twinkling H2O's. The edges of the tag have been die-cut with small holes and the tag backed in silver Mirri board so the silver shows through.

The words were stamped in Versafine ink and heat embossed with Moonglow violet obsidian embossing powder.


A series of eyelets were coloured and added with the Crop-a-dile and the top hole threaded through with some decorative threads.

Sid xx

Pin It

Friday, October 12, 2018

Autumn Bunting .....


Here is a piece of papercraft Bunting made for a swap over on UK Stampers Forum ....

I used stout card as the base and decorated with stamping, Posca markers, Washi tape, Paperclay Leaves, watercolour brushes, eyelets & ribbon.  Mainly Autumnal colours which are really beginning to show outside as the leaves turn and fall .....

If you fancy joining in swaps then why not Join the Forum ...... it's free & fun !  Click HERE to go there !

Sid xx

Pin It

Thursday, August 03, 2017

CAS Birthday ......


A CAS Birthday card from me today for this weeks Challenge over at Less Is More blog whose subject is 'Pierce Your Project'.


I started with a 4 x 4 inch white card blank and diecut a stitched diamond in white card.  I then chose coloured cards and diecut the balloons.  Each balloon was then decorated with an eyelet (the piercing bit), before being stuck in place on the diamond.  The strings were drawn in with a 0.05 black Micron pen. The diamond was applied to the front of the card on foam pads.

The sentiment (Papertrey Ink) was stamped on white card with Versafine black ink, trimmed out and mounted on more coloured card before being applied as shown on foam pads.

That's it !

Sid xx

Pin It

Monday, July 31, 2017

Garden of Dreams .....


Here is a bright and cheery tag made for a Swap over on UK Stampers Forum Facebook Group.

I made a Brusho background using yellow & orange on watercolour paper.  This was trimmed to size and decorated with bold floral stamps from PaperArtsy designed by Lin brown using Memento dye inks.

The flowers and leaves were diecut from various decorated 6 x 6 papers and assmbled as shown with crystal centres.  A white Posca pen was used to highlight leaf veins and flower centres.  The words were stamped in Versamark and heat embossed with detail black embossing powder.  The tag was edged in red Memento in and a squiggly border added with a fine black Micron pen.

Finishing touch was to add a brad with the Cropadile and tie through with some green decorative fibres.

Click HERE if you would like to join the group and join in this months Swaps !

Sid xx

Pin It

Thursday, June 29, 2017

'Mingo Tag .....


It's been a while since I posted, or crafted even !  This tag was made for a monthly decorated tag swap over on the UK Stampers Forum Facebook Group.

I used mainly diecuts to make it.  I started with white card and cut two stitched edge matts.  Onto the first matt I applied Distress Stains in tattered rose as splats direct from the stain.  I dried these splats with the heat gun.

I then stamped the word 'Joy' in black Versafine ink as shown.

The Mingo was diec ut from pink card with its wing from some spotty paper.  The wing was applied and the spots centred with white Posca pen.  The bird was then stuck in place over to the right of the matt.

I used a Cropadile to punch a hole in the larger matt and apply a silver eyelet through wich I tied some pink fibres and pale pink spotty organza ribbon.

I then added three pink pearl cabochons as shown to finish the Tag !

If you would like to join the Group just click on the link above.

Sid xx

Pin It

Sunday, September 15, 2013

Things I Love


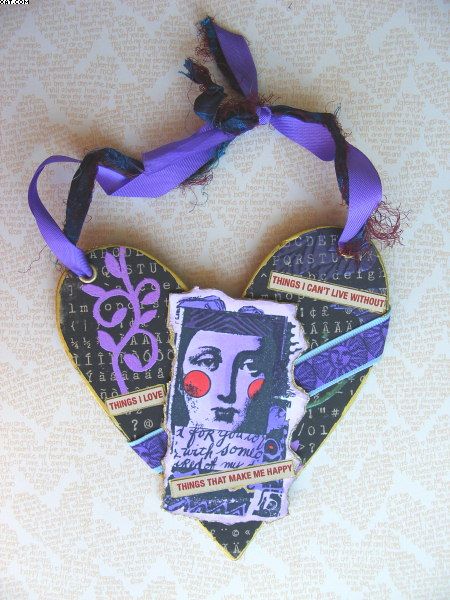
This little hanging is entitled Things I love and of course is made using a chipboard heart which is 13 x 13 cms in size.

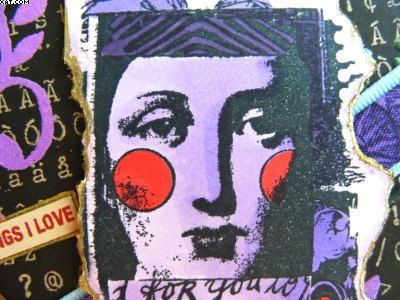
I have had a load of Lynne Perrella stamps by PaperArtsy and have hardly used them so thought I would select one as the focal point for this project. In fact all stamps are by PaperArtsy.

First I stamped the image in Memento tuxedo black ink onto white cardstock.  I then tore the edges and coloured the image with Alcohol ink brush markers in shades of purple and pink.  The edges were touched with a gold Posca pen to highlight..


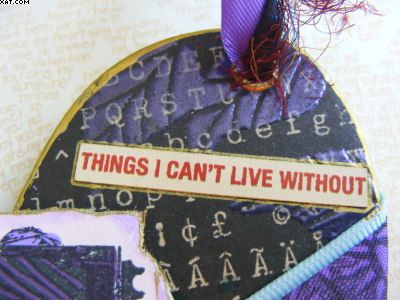
The base heart was covered in a printed paper of distressed letters on black background.  I then used more PaperArtsy stamps inked with Versamark ink and heat embossed with 3 different Moonglow embossing powders for a subtle mica finish (best seen with the naked eye).


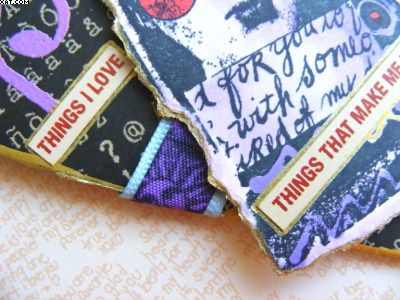
Once this was done I took two pieces of ribbon, one turquoise grosgrain and one slightly thinner in purple satin.  The purple satin ribbon was overstamped with another circular LP stamp and more Memento tuxedo black ink and was stuck onto the turquoise with red line tape.  The assembled ribbon band was then stuck in place as shown across the heart.


The heart was then provided with two gold eyelets added with the crop-a-dile and the whole thing edged with more Posca gold pen.  The stamped image was then added on foam pads and the word stickers added as shown.


Finishing touches were to add a length of silk sari ribbon and more of the purple ribbon through the eyelets tied in a rough knot to allow it to be hung.  Just love the colours on this piece.

Sid xx

Pin It

Wednesday, August 28, 2013

Clearly Oriental


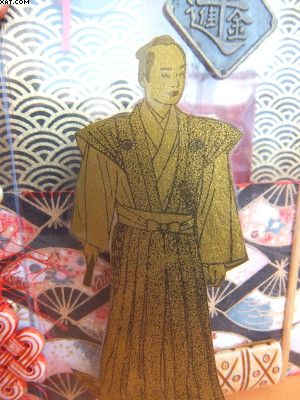
This acetate book was fashioned from acetate up-cycled from packaging I had in my stash.  Three pieces were used and were trimmed to 12 x 16 cm . Inside the book there are two pages of card making for 5 pages in total.  Each of the pages was scored on the left side to allow for a hinge. 


The card was trimmed into approx half pages vertically and these were covered in oriental style fans and guilded papers.  The book can be viewed from the back and the front each with a different visual effect.


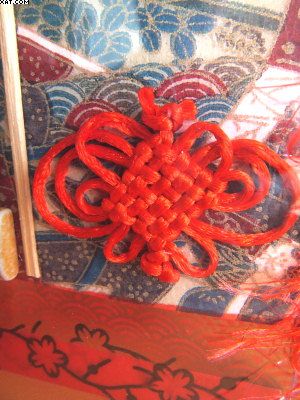
The five layers ..... acetate/card/acetate/card/acetate were aligned and trimmed to size with the scored edges on the left.  I then used a crop-a-dile to cut 5 equidistant holes in the hinge and applied gold eyelets to hold the book together. Two red style stones were held in place with some red eyelash fibres threaded through the eyelets which was tied to secure and trimmed.


A mandarin stamp was inked in black Stazon and stamped on gold paper which was carefully trimmed out and adhered with Glossy Accents to the inside of the acetate front cover.


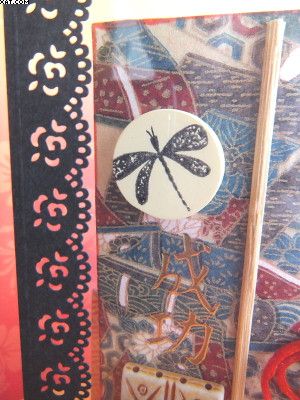
I added numerous other elements including metal embellishments, style stones, Chinese coins, paper lace, wooden sticks, tied threads and ...... wait for it, peel-offs !  Actually they did work quite well on the acetate.  I stamped a stylised dragonfly on a style stone with black Stazon too and stuck this in place on one of the card pages.

Thought I would enter this into the Craft Stamper Take it Make it challenge too !

Very difficult to photograph due to the reflective qualities of the acetate.

Sid xx

Pin It

Monday, July 02, 2012

Hot Adoration


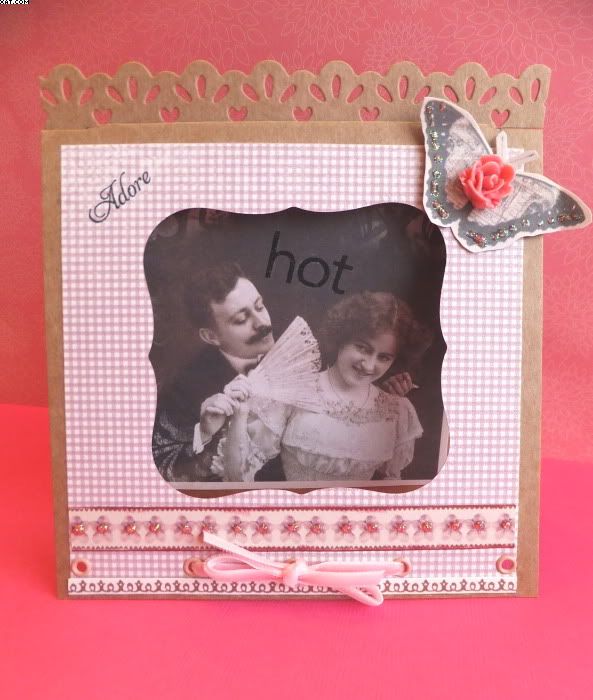
She does look a little hot and is being fanned to cool her down ............... hence the title !

Here is an sandwich board card I made where the inside picture hangs and swings freely between the front and back of the card. The base is Kraft and the inside has been trimmed down with the top die-cut with a sizzix border die. This has been passed through an aperture cut with a craft knife at the top of the card.


The front and inside is decorated with papers from Pion and the front panel was trimmed and the paper applied before passing through the sizzix with a Nestie die to make the aperture.


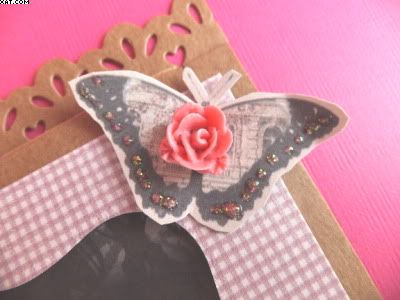
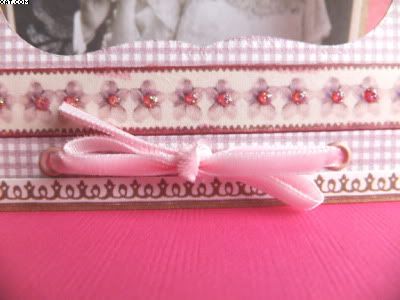
The 'adore' stamp is from Papertrey and the pink velvet ribbon has been threaded through some rose pink eyelets and tied in a bow.  The HOT is rub-ons.  The butterfly has been held in place with a rose brad.  Some pink Stickles glitter glue has been added to finish the card.

Sid xx

Pin It
Sunday, April 01, 2012

Believe in Possibility


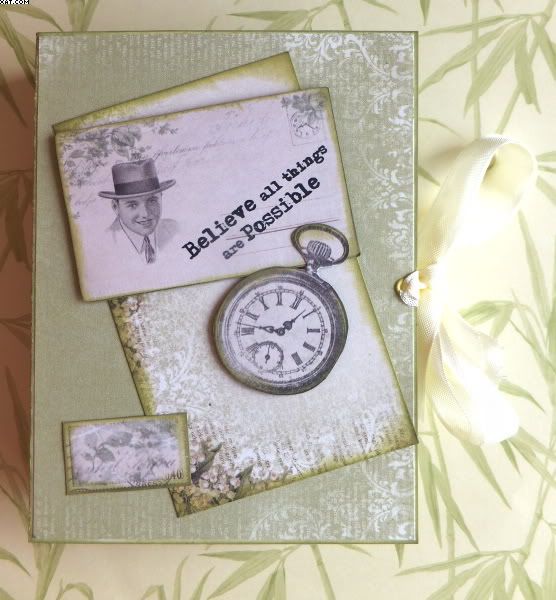
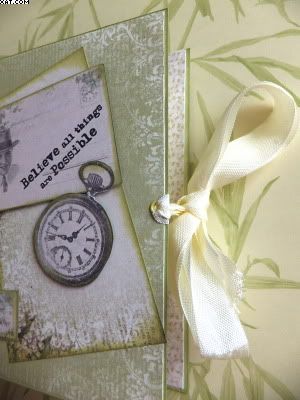
This is a little tea-light gift book I made at our Spring retreat but this could be decorated and filled with anything as a lovely gift idea.  It takes the form of a book cover containing a box to take 6 tea-lights and is secured by a piece of seam binding.

Once more it is covered with Pion 12 x 12 in scrapbook papers available fom 3D Jean.  The papers are beautiful and are very subtly coloured and all elements of the book use these papers.


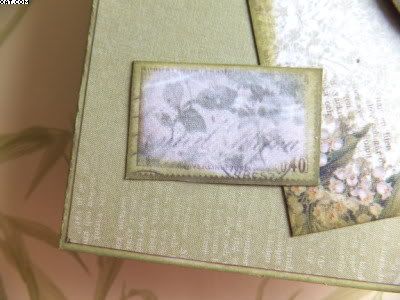
The book cover is decorated with a number of embellishments cut out from the papers (fob watch, mini postcard and stamp) with some layered on foam pads. The only stamp used was the wording on the postcard !


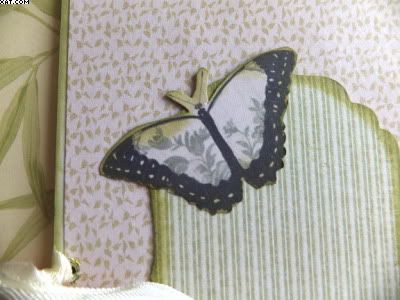
The inside front cover is embellished with a label die cut from the candle box front with a Nestability die. This was edged with moss green chalk ink before adhering. A butterfly was trimmed out from the papers and also stuck in place.


The candle holder box, covered with more paper and the aperture lined with clear acetate before sticking in place on the inside back cover.


Final touch was to add two pale green eyelets with the crop-a-dile tied through with a double length of pale cream seam binding tied in a knot through each eyelet. These were tied in a bow to secure the book closed after filling the box with tea-lights. 


The box could be filled with sweetie treats or anything else for that matter dependant on the purpose and decorative theme of the box.

Sid xx

Pin It

Monday, March 12, 2012

CC Domino Book


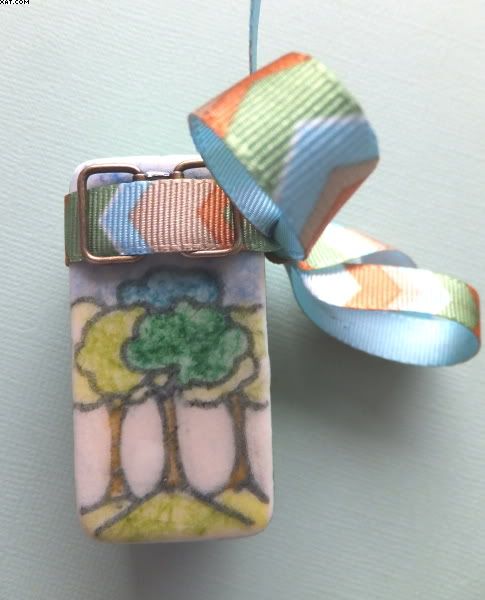
I have joined in on making an Altered Domino Book as part of a swap over on UK Stampers.  The swap had an open theme so I chose my theme along the lines of the pottery art of Clarice Cliff.  All stamps used are from a set I have had for ages from Tanda.

The two ivory coloured dominoes I used had metal spinners on the spots side which I first removed with a pair if pliers followed by a stiff sandpapering of the plain back and sides to offer a key for the surface treatments.

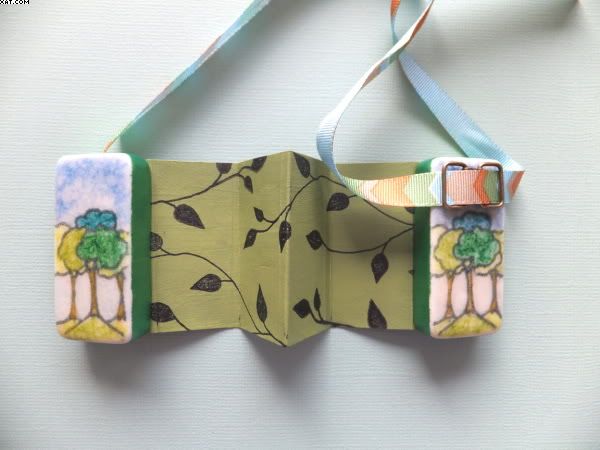
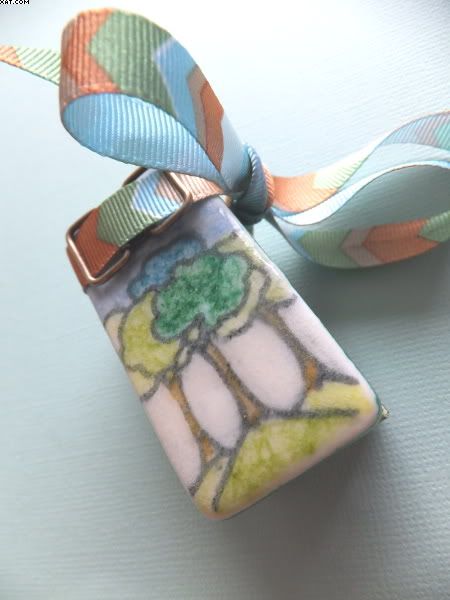
I carefully stamped part of a tree design in Archival black ink on both of the donimoes and dried this thoroughly with the heat gun.  I then carefully coloured the design with Alcohol ink markers taking care not to damage the outline.  Once thoroughly dry I quickly applied Versamark ink and then heat embossed with clear UTEE.  As can be seen from the pics this sort of caused a mottled but not unpleasant appearance to the images, in fact I thought it looked like a pottery glaze.

Once cool I applied a metal ribbon loop with Glossy accents to the front domino and allowed to dry. All outside edges of the dominoes were carefully painted with two coats of Viva Decor Metallic emerald paint.


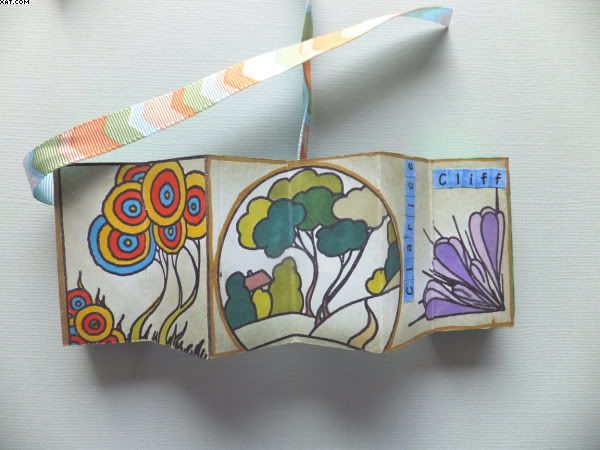
The concertina insides were made from light green card measured and folded as shown.  The decoration was done before sticking to the inside of the two 'domino' covers.

Again I used more stamps from the set which were coloured with more AI brushes, more embellishmnet was added with Pitt gold pen and some self adhesive letters, coloured blue to spell 'Clarice Cliff'.


The opposite side was painted with lichen green Acrylic paint and stamped with a leaf/vine stamp in Archival black ink.


Both dominoes were stuck to the concertina with Glossy Accents and a short piece of chevron grosgrain ribbon in similar colours was threaded through the metal ribbon loop so as not to hide the design.  This was tied in a bow at the side as a closure for the book.


Finally I made a matching tag from two pieces of diecut card with more stamping and colouring.  An eyelet was added with the crop-a-dile and some more of the ribbon attached with gold staples.

Sid xx

Pin It
Monday, December 19, 2011

Tim's Tag No.6


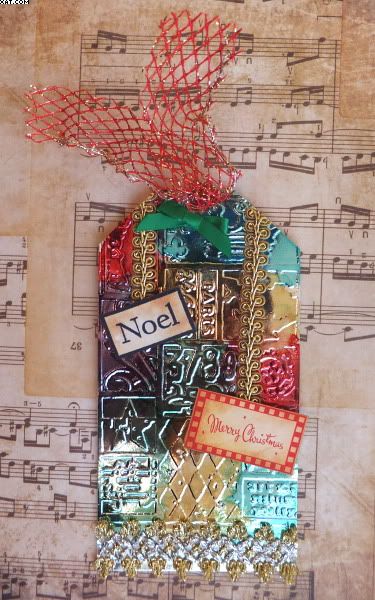
Still battling on with the 12 tags of Christmas and I am determined to get them all done before Christmas.  This is my version of Tag No.6.  I have used a sizzix embossing folder on a piece of silver mirri board cut to the size of the tag as the base.


This has then been selectively inked with a variety of colours of Alcohol Inks over the embossing.


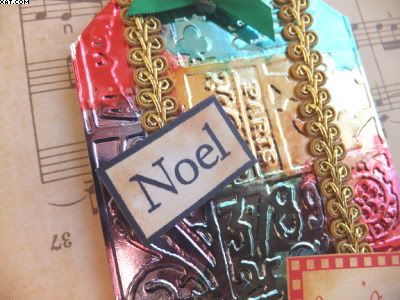
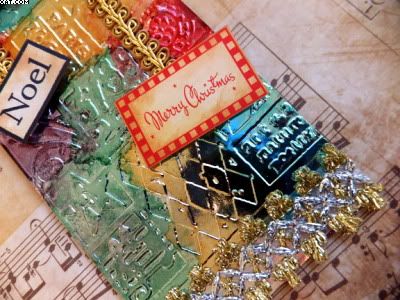
A Noel stamped plate and a Merry Christmas plate  were then 'hung' on pieces of golden fancy braid adhered with double sided tape.  The plates were raised on foam pads.


Another piece of braid was added at the base of the tag. The tag was then finished with a gold eyelet applied with the crop'a'dile, a green ribbon bow and some red/gold mesh ribbon tied through.

Sid xx

Pin It

Monday, December 12, 2011

Tims Tag No.4


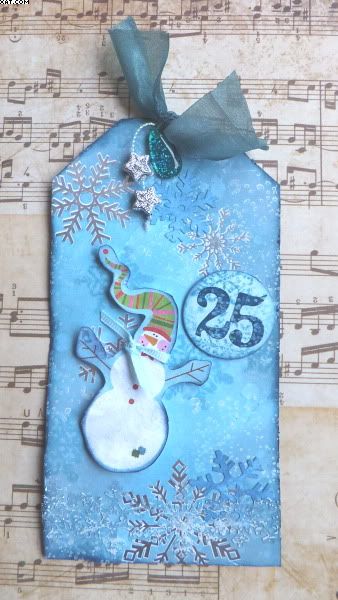
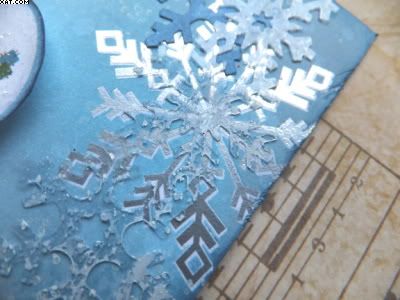
Here is tag No.4 in the Christmas series.  The white card base was cut to size and some silver snowflake rub-ons were added.  The whole tag was then coloured with weathered wood, faded jeans and broken china Distress Inks.  The rub-ons resist the colour.  Some water splats added a bit of contrast.  A snowflake stamp was inked with more faded jeans ink and stamped randomly.  A couple of punched snowflaked were also added and a punched out acetate snowflake border was coloured with picket fence Distress Stain and added with glossy accents at the bottom.  The tag was then stamped with a dotty stamp and Brilliance moonlight white ink to add some snow effects.


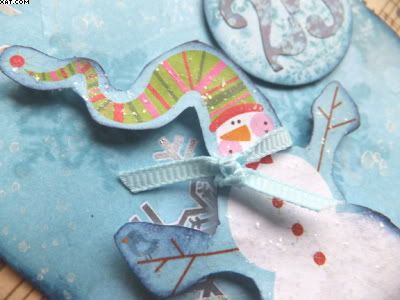
The snowman was cut out of printed paper and edged with broken china Distress, treated with rock candy Stickles and applied on foam pads.  A blue grosgrain ribbon scarf was added round the snowmans neck.

The numbers are self adhesive and coloured with an alcohol marker before sticking onto a circle of blue card.  More snowflake stamping and Brilliance on this too before sticking in place on shallower pads.


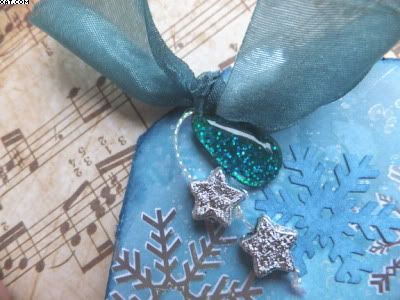
A silver eyelet was added with the crop'a'dile and some silk ribbon, two silver stars and a sparkly drop were attached through and around the eyelet.

Finally the tag edges were distressed with sandpaper and given a rub over with more broken china Distress Ink.


Used some of the recommended items on this tag but not many again.

Sid xx


Pin It
Monday, December 05, 2011

Tims Tag No.3


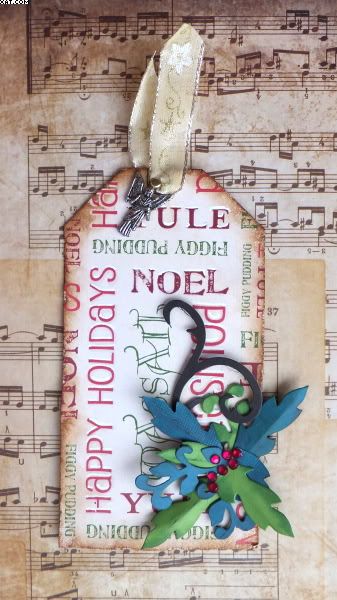
Here is Tag No.3.  Once again not exactly like Tims and using what I had rather than what I needed to buy !!  I used festive words printed paper to cover the blank tag and then using a Versamark pen highlighted certain words and heat embossed with fine detail clear embossing powder.  I then also coloured some white 'snow' on the letters of the words with a white Posca pen.

The tag edge was then distressed with a piece of coarse sandpaper and edged with vintage photo Distress Ink.


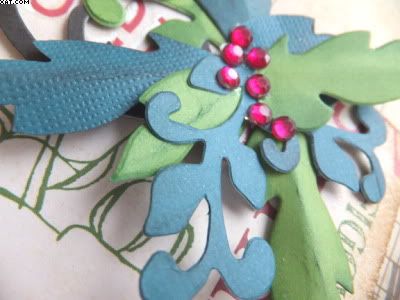
Next I die-cut all of the embellishments using Sizzix dies and the Big Shot and various coloured cardstocks.  These were bent to shape and coloured also with some more of the vintage photo ink.

These were then stuck in place as shown using Glossy Accents and foam pads and the berries were added (self adhesive gems).


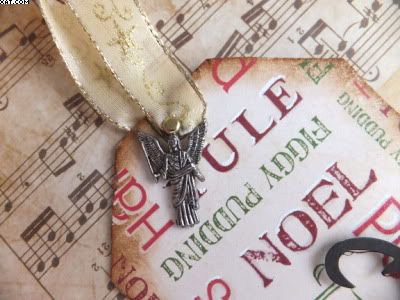
The tag was finished with a silver eyelet cut and fixed with the crop'a'dile.  The angel charm was attached with a brad through the eyelet and some sparkly gold star & swirl ribbon to finish.

Sid xx

Pin It
Sunday, December 04, 2011

Tims Tag No.1


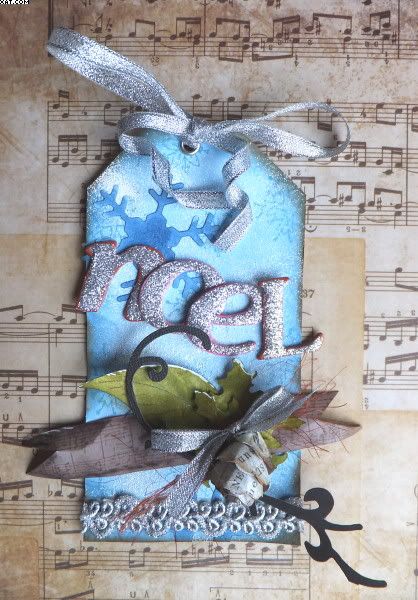
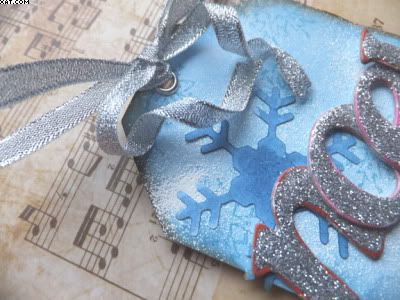
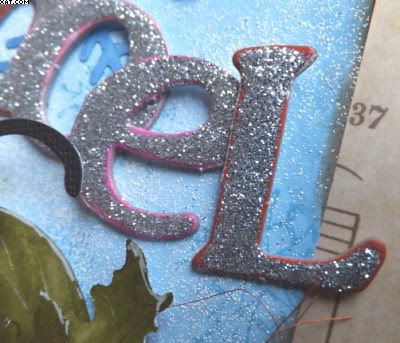
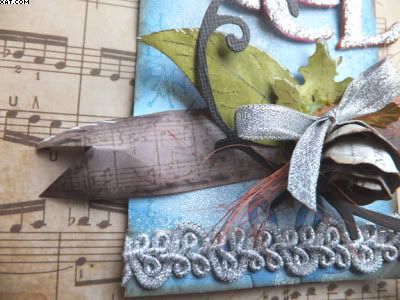
In the best traditions of following Tim Holtz '12 Tags of Christmas' for 2011 this is my first offering. Not quite using all of the Ranger materials but certainly using some of the techniques.


I Started with a blank tag and covered with a piece of printed paper (snowflakes).  Gave it a coat of picket fence Distress Stains and dried with the heat gun.  Then used a couple of small snowflake stamps and stamped randomly with faded jeans Distress Ink.  Finally applying a sprinkling of seafoam white embossing powder and heating from below until melted.  The tag was then edged with vintage photo Distress Ink.

Then I prepared the diecut letters to spell out 'Noel'.  These were coated with fine silver glitter after a liberal coat of pva glue and allowed to dry.


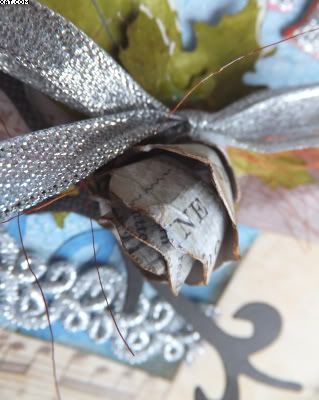
The embellishmnents were all cut using Sizzix dies (Non-Ranger) and the pine cone made by hand by cutting a spiral with a wavy edge. The  leaves were cut from card coloured with shabby shutters Distress Stain. and the banner was made by hand and stamped with a music stamp in vintage sepia Versafine ink.  Other additions were some strands of brown sisal and a little silver bow along with a die cut stem from another Sizzix die.  All were assembled using various foam pads and glues at the bottom of the tag.


Some more large snowflakes were diecut out from blue paper coloured with faded denim Distress Stain and these were stuck onto the background.  A piece of silver braid was applied at the base of the tag.


Finishing touches were to add a silver eyelet with the crop'a'dile and to tie through with some more of the silver ribbon.

Sid xx

Pin It
Monday, November 28, 2011

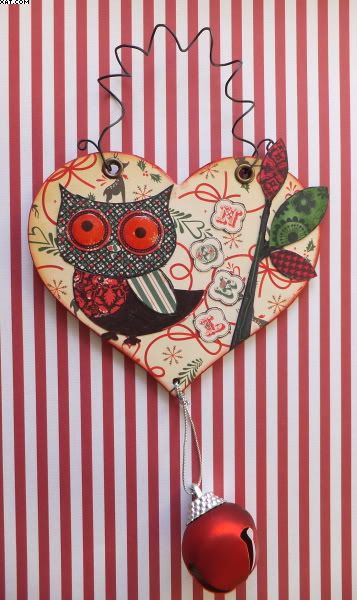
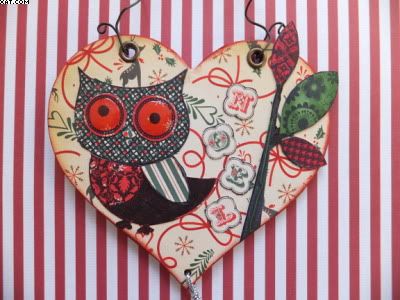
'NOEL' The Owl


This little hanger completes my trio of Christmassy items all using the same Cosmo Cricket  6 x 6 inch printed papers.  The heart shape is another chipboard blank which has been covered back and front with papers as the base.


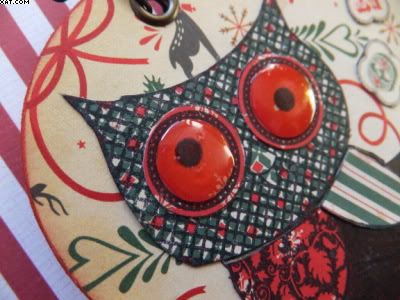
The owl and tree are rubber stamps from Hampton Arts.  I have stamped the full owl in black Archival Ink on four of the papers and then trimmed out elements which I have then reassembled to make the whole again.  Noels eyes have been covered in Glossy Accents to make them pop (looks a bit like he has been on the sherry !).


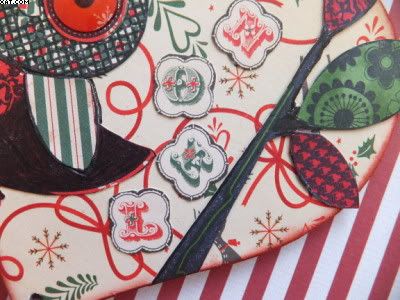
The tree has been stamped and trimmed out in the same way but this time coloured with Distress stains in forest moss and barn door. The letters have been cut out from another of the papers to spell out NOEL, hence his name.


Finishing touches were to add two eyelets with the crop-a-dile and to make a hanger with florists wire, bending it into shape. A large red jingle bell was added at the base of the heart.

Loved making it again.

Sid xx

Pin It
Related Posts Plugin for WordPress, Blogger...