>
Showing posts with label Foam Stamps. Show all posts

Monday, March 03, 2014

HOLA !


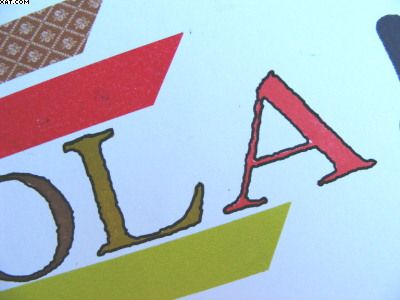
This one-layer card is made on a white card base.  I folded a piece of A4 white card to make the card and then used some foam stamps from Making Memories inked with Distress Inks to stamp the letters to spell 'HOLA !' which of course we all recognise as Spanish for Hello!.


The exclamation mark is stamped with a foam stamp in black Archival Ink.  Once dry I used a fine black Posca pen to edge the letters with a wavy line to emphasize.


Three lines of Washi Tape were added in colours to match with a diagonal edge.  Bold colours and letters here !

This card meets the City Crafter Challenge Blog  No. 200 ' Do You Speak English?'.

Sid xx

Pin It

Saturday, April 14, 2012

The Odd Bird


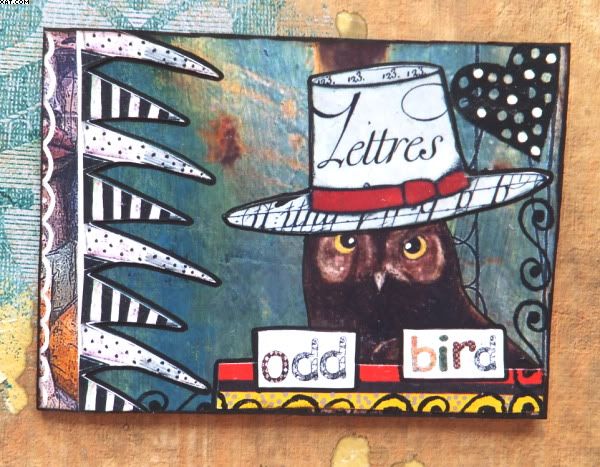
I seem to have a thing about birds with hats ........ this one is entitled 'Odd Bird'.   The ATC is collaged using digi images and stamping.


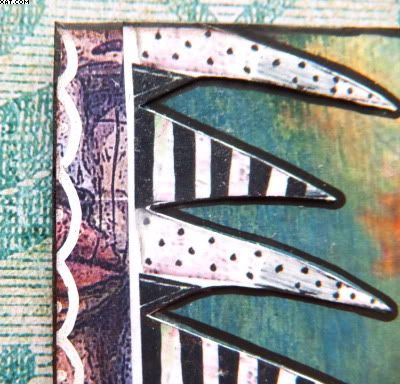
I have used Posca pens to decorate and finish.


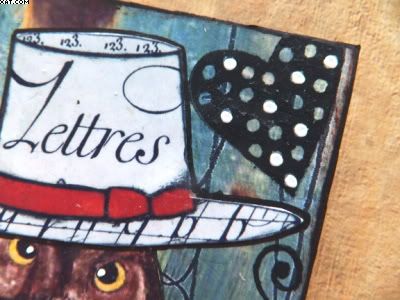
Loving the french text hat !


Sid xx

Pin It

Tuesday, April 10, 2012

The Three Faces


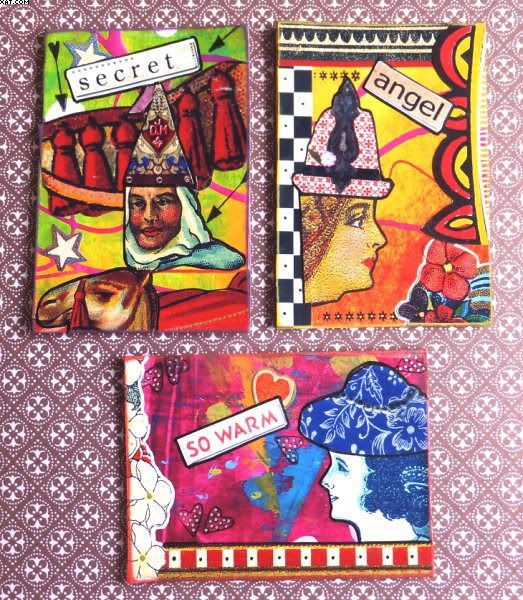
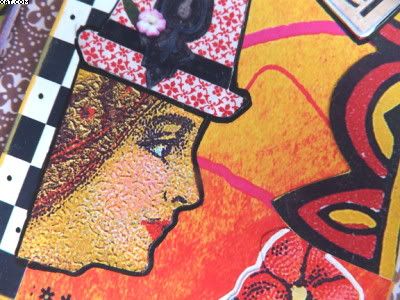
Over on UK Stampers Forum I have recently taken part in making a set of three ATC's for a swap.  The theme is 'faces' and I made my three with minimal stamping, lot's of colour and collaged materials.


All use loads of digi-stamped collage elements from various sources and these have been trimmed to collage up the fronts of the ATC's.  I had to use some hats on the faces to make them a bit quirky too !


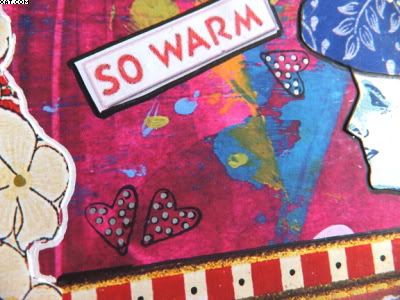
The only stamps used were to to finally embellish them and all were stamped in Archival black ink using heart, arrow and flower border acrylic stamps.


Final touches were to use my beloved Posca pens in white, black, silver and gold to outline and fill in some areas.  All were mounted onto board and edged with contrasting colours of chalk inks.

Sid xx

Pin It

Sunday, December 11, 2011

Tims Tag No.2


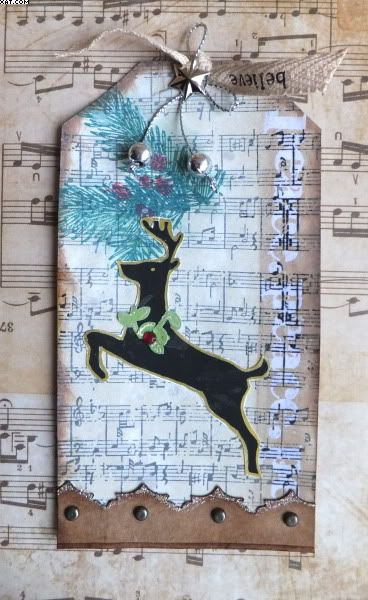
Yes I know my tags are out of sync. !  But this one is my effort for tag number 2.  The base is a white card cut to size and stamped with a music stamp in Archival Black.  This was toned down with picket fence Distress stain and dried.  I then stamped the word Peace down the right hand side of the tag with Versamark and heat embossed with clear embossing powder.  The words were swiped with vintage photo Distress ink and this was rubbed over with a cloth to remove the ink from the embossing.


Next I stamped a fir tree in pine needles Distress ink and used some barn door and a circle stamp to add some berries.  This was over coloured with more pine needled on cut'n'dry foam.


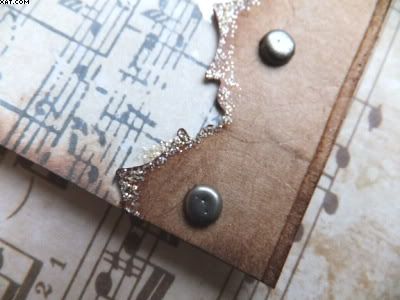
The reindeer is a digi image, printed on the printer, cut out and edged with gold Posca pen.  The garland round the reindeers neck is made from diecut foliage and a faux gem.  He was stuck in place as shown.  The base trim was cut using a Sizzix on the edge die and was attached with 4 pewter brads and edged with some frosted ice Stickles.


A pewter eyelet was added with the crop'a'dile and a small piece of woven braid tied through.  A little bow and two silver balls were then attached with a star brad as shown.  The whole tag was then edged in more vintage photo ink.

Sid xx

Pin It

Friday, October 14, 2011

Alice Can - I know she can !!


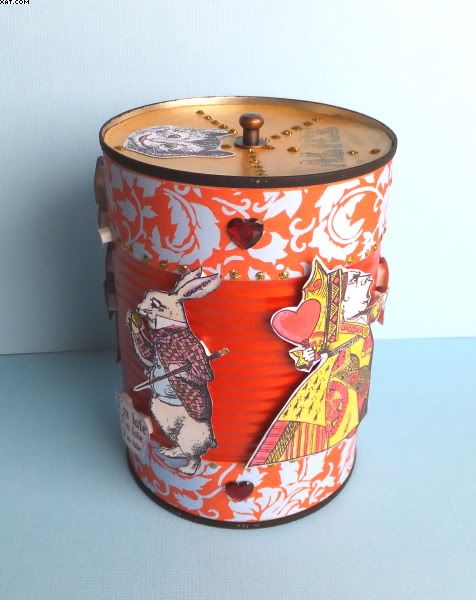
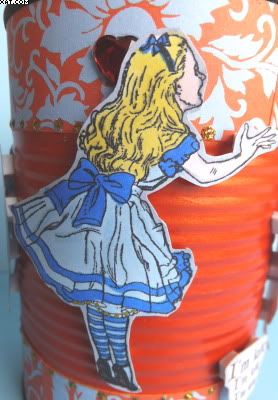
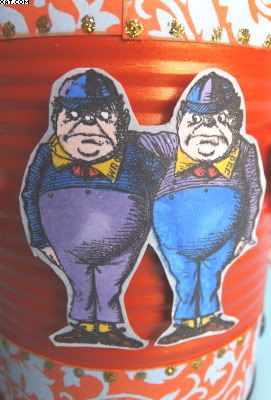
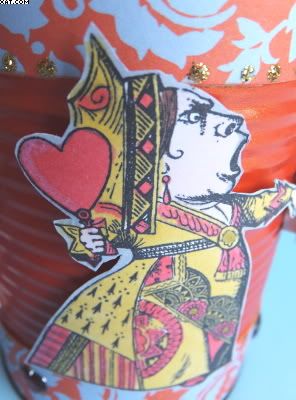
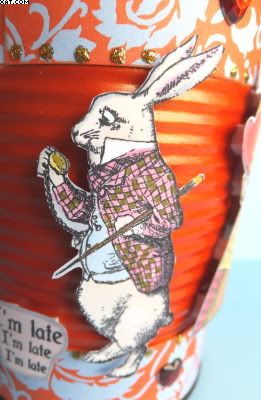
Here we go with an altered bean can !!  I am a great AIW fan and love these stamps from Crafty Secrets so I went ahead and decorated a ring pull can in that style.


The can was prepared by removing the label and painting the central region with a couple of coats of Viva coral Precious Metal Colour. The top and bottom rims were coloured black with Ranger paint dabber. Next, 4 strips of coral and blue printed paper were cut and stuck in place with photo glue at the bottom and top of the painted can.


Big bit next, the stamps were chosen and stamped on smooth white card with black soot Distress ink and dried with a heat gun. The images were then coloured with Spectrum Noir alcohol markers in a variety of colours before cutting out and sticking in place on the centre of the can with foam pads.


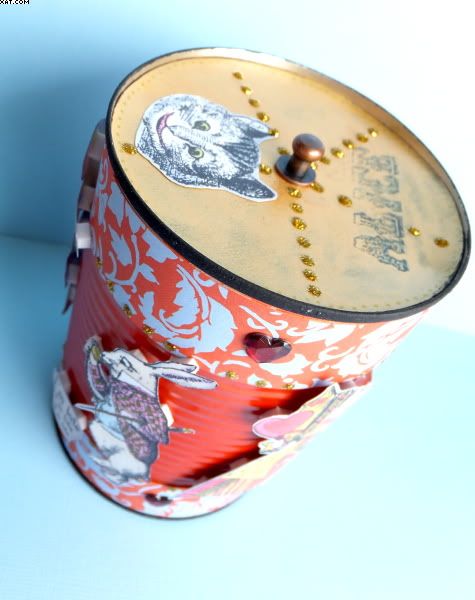
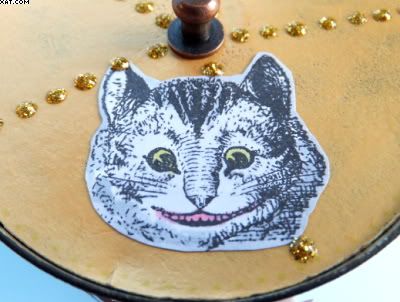
The lid was cut from black stout card with a die and heat embossed with the alice text stamp and detail clear embossing powder. The lid eas then rubbed over with Viva Inka Gold and polished off with a soft cloth revealing the resisted heat embossing. The cheshire cat image was stuck in place with Glossy Accents. A TH hitch fastener was screwed in place in the centre of the lid as a handle.


Red faux heart gems were then stuck in place around the top and bottom bands of the can.


Finally dots of gold Stickles were applied to add some bling.


Thought that this one would fit in with The Just For Fun challenge whose theme this week is Kitchen Finds.

That's it !! My AIW altered can.

Sid xx

Pin It

Saturday, October 08, 2011

Look out, Look out the 31st is About !


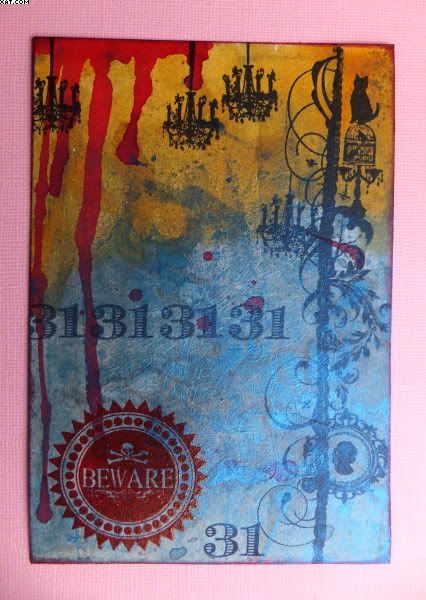
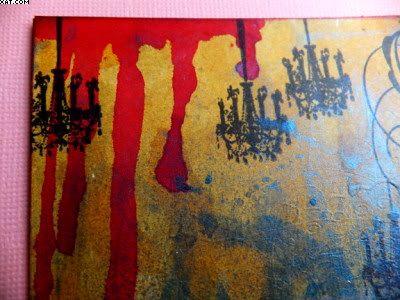
Here is my October postcard for the monthly 'Naked Postcard' swap over on UK Stampers !  Bet you can't guess what the theme is.

Yes, it's Halloween of course !

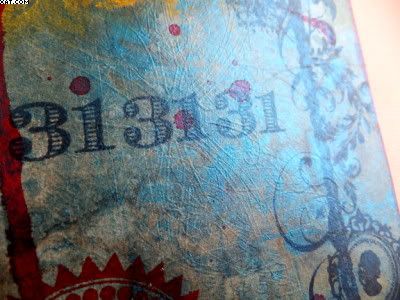
My postcard started life as a piece of A4 plain copier paper which I treated with a homemade blue and silver mica powder spray leaving a portion at the top unsprayed.  I let it dry naturally and built up a couple more layers until happy with the sheen.  I then trimmed out a suitable piece to 6 x 4 inches. The top of the piece was coloured with wild honey Distress Stain applied direct to paper, overlapping the blue a bit.


Next I dribbled a few drops of poppy Sticky Fingers Summer Ink from the top left and allowed it to drip down before drying with a heat gun.  At this stage I sprayed liberally with cheap hairspray to set and seal.


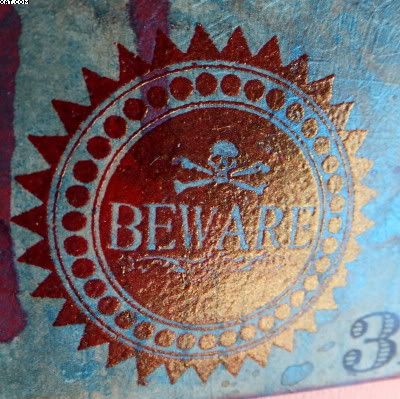
All clear stamps were from a set by PinkPaisley and the side border, 31 and chandeliers were stamped in Archival black ink.  The 'Beware' seal was stamped in Versamark and heat embossed with Moonglow holly berry red gold embossing powder.


The paper was then stuck onto a piece of stout card with a glue stick and the card was edged with maroon Chalk Ink.  I then sprayed again with cheap hairspray just to be sure it would travel through the post.

Sid xx

Pin It

Sunday, September 25, 2011

Autumn Leaves


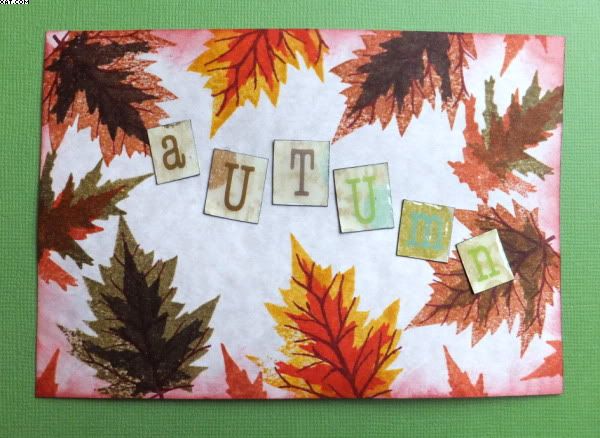
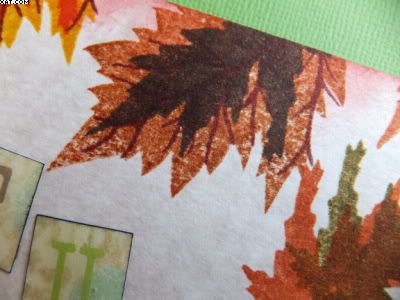
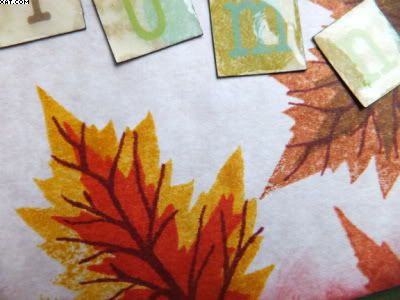
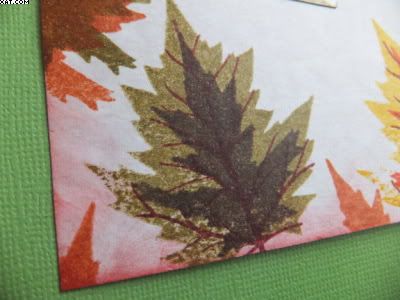
This is the next postcard in the monthly challenge over on UK Stampers Forum.  This months theme is Autumn.  I started by cutting a 6 x 4 inch card blank from mottled brown card.


The stamps are from Lavinia and are a set of three layered leaf stamps. All were inked and stamped with Adirondack dye inks in butterscotch, espresso, redcurrant & pesto in different configurations.  Once stamped they were dried with a heat gun and sprayed with cheap hair lacquer to seal the inks as the card will be posted as is to the recipient.


The letters spelling out 'Autumn' were pre printed and edged with black stazon ink before sticking in place with Glossy Accents.


Each of the letters were then covered with a coat of Glossy Accents to give them a raised glaze.  Once dry the card was edged with barn door Distress ink applied with cut'n'dry foam.

Sid xx

Pin It

Monday, May 16, 2011

Peace in Silence Hanging


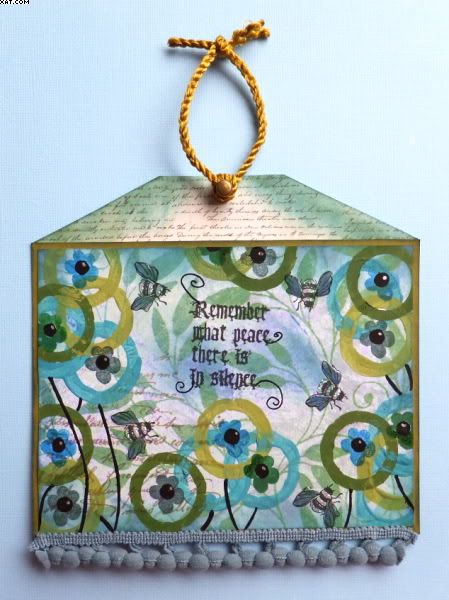
Here is my entry into the Freestyle Tri-Colour Competition running on UK Stampers Forum.  We have to use 3 colours as in the swatch below, showing the colours on both a white and a black background.


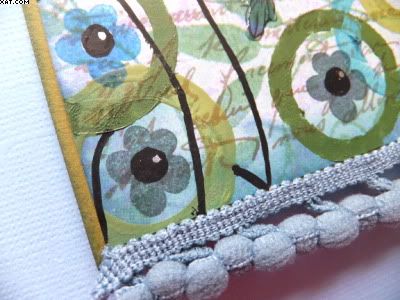
I started with a piece of unassuming printed background paper which had leafy swirls on a pale greeny-blue background.  I then used 3 liquid acrylic paints in the colourway and a foam circle stamp to apply the 3 colours in circles with some overlapping (leaving a space to add the text stamp later).  The paint was allowed to dry and then I filled in some stems in black Posca pen, assuming that the circles were going to be abstract flowers, that is !

I then stamped a solid flower in the centres of a number of the circle flowers using Stazon ink in azure, eden green and olive green.


Next I filled in the open centres of the flowers with black Posca pen and highlighted a lightspot on each with silver pen.


I bought the bee stamp recently from Lavinia stamps and I  stamped this with Versafine onyx black ink as shown.  I applied a bit of glitz with Stickles on the body stripes and added Glossy accents on the wings after colouring blue with Marvey Le plume II water based pens.  Once the Glossy Accents had dried I then stamped the text (using a PaperArtsy stamp) also in Versafine onyx black ink.  I added the swirls with black Posca too !


The finished plate was edged with broken china and forest moss Distress Inks applied with cut'n'dry foam before mounting on a piece of moss green card edged in more broken china ink.

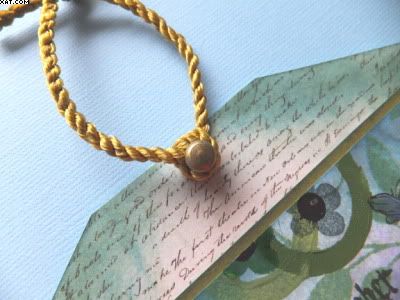
The roof portion was cut from stout printed paper, edged in the same Distress inks and embellished with a Tim Holtz hitch fastener.  This was stuck in place with more glossy accents.  Finishing touches were to add a piece of blue bobble edging and to tie some gold twisted twine around the fastener to hang.

Sid xx

Pin It

Saturday, March 26, 2011

AIW ATC Mini- Book


I thought it about time I did a blog post, it's been a while since I did !!

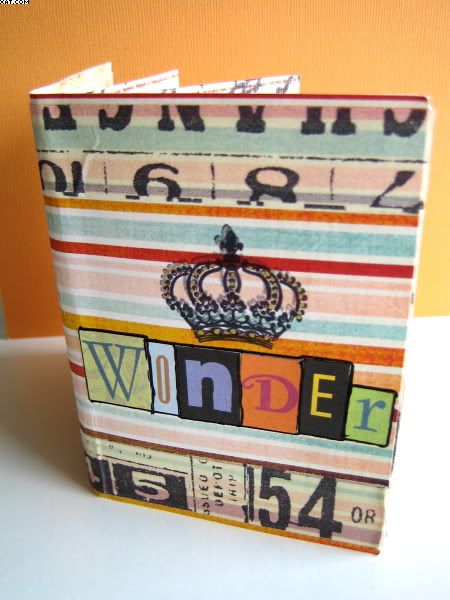
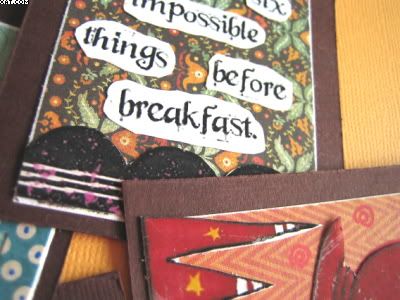
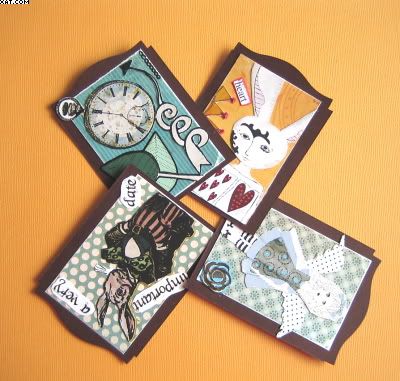
Because I have an Alice in Wonderland fascination at the moment.  This is a little ATC Mini-Book made from a single piece of 12 x 12 printed paper.  Instructions on how it was made can be found HERE


Once the book was made I covered it in printed paper and then started to decorate with printed images, stamping and stickers. I also used my trusty Posca pens to doodle various things on the inside pages & TH Tissue tape on the front.


The book has 8 pockets in which you can fit 8 ATC sized cards.


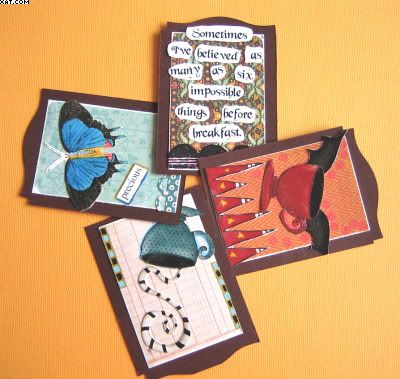
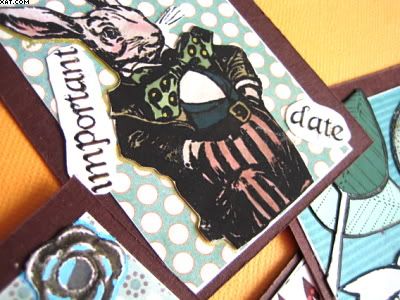
The ATC's were made from brown textured card which were diecut at the top edge with a Sizzix TH 'on The Edge' die to shape the tops.  The panels were covered in various printed papers and embellished with words, printed images etc


Really enjoyed decorating and stamping this one.  It's really good to have a go in your own style and these make fab little gifts. A slightly different style for me too but I do like doing these collagey things of late.

Sid xx

Pin It

Thursday, August 26, 2010

Flower Power Tag


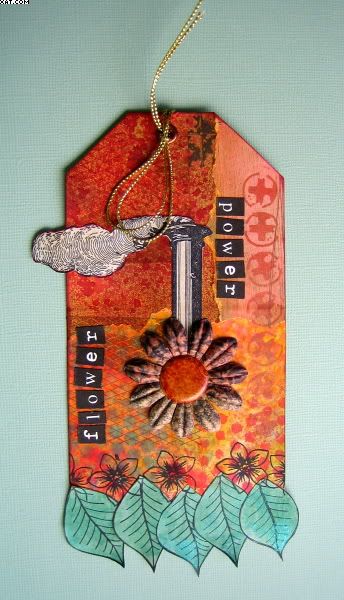
This weeks tag for a challenge on UK Stampers Forum  is quite a complex affair but I loved doing it!  The backgrounds were all made using different materials and techniques such as mica sprays, stencilling through sequin waste with Distress Inks, tearing etc.

The ingredients this week are:

1.  Dots
2.  Using something Tim Holtz
3.  Transport

I started with white card and cut it to size.  I then applied 3 pieces of homemade background papers which had been torn at the edges and inked with spiced marmalade Distress Ink.  These were stuck on with a glue stick.


I then used a couple of stamps from Ecogreen from their Steampunk plate.  The first is of a cross-head screw and this was inked with Brilliance cosmic copper and stamped down the right hand side.  I then inked the netting stamp with Versafine vintage sepia and stamped a couple of times down the left hand side.

At the same time I took the chimney stamp and inked this with onyx black Versafine, stamping onto white card.  This was coloured with frayed burlap Distress Ink before trimming out to be applied later.

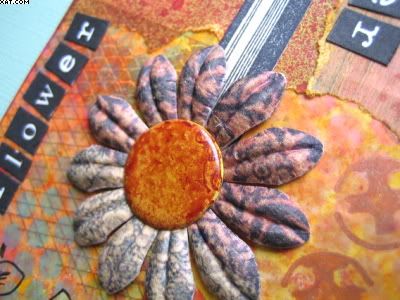
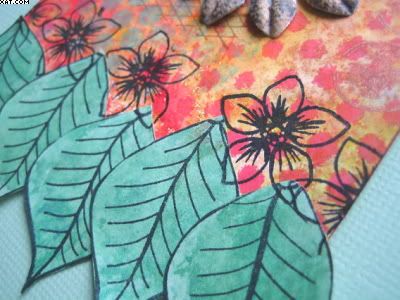
Next some PaperArtsy poinsettias were stamped with jet black Stazon and sprayed with green mica spray and when dry trimmed out (cutting each bract out to form a 'leaf').  These were adhered with glue pen along the bottom of the tag as shown.  Next a Hero Arts flower stamp was selectively inked with black Stazon and stamped above the leaves.


I then selected a Hero Arts printed paper flower and a large lime green brad, re-coloured with some terracotta alcohol ink applied with felt pad on an applicator.  The stamped and coloured chimney and smoke was applied with glue pen and the flower and brad applied below the stack through the tag.


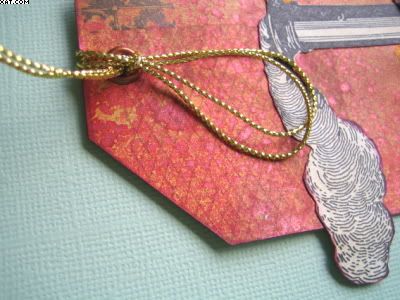
The printed letters were selected, trimmed and applied to spell out 'Flower Power' with glue pen (easier to position adhesive using a pen). The tag was edged with maroon chalk ink and  a copper eyelet was applied with the crop-a-dile and a piece of gold metallic braid applied in a knot to finish.

I know that the 'Transport' part of the ingredients has been very loosely interpreted but I had the feeling that the flower with a chimney represented power to move, hence the title of the tag.  You probably think I am loopy (I probably am actually :-)).  Enjoy !

Sid xx

Pin It

Saturday, May 22, 2010

'Orangery'


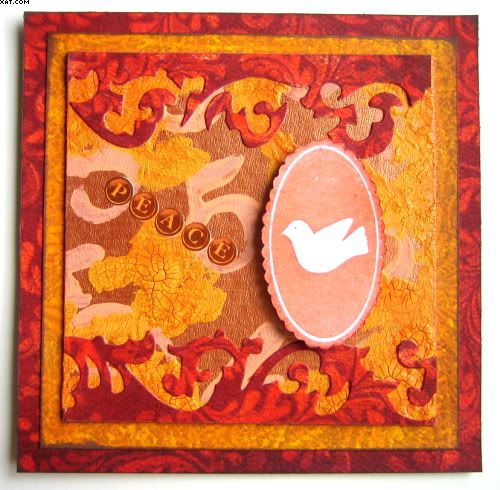
I have been following the Wednesday Stamper blog and think that this piece matches the theme of 'Orange' for this week.


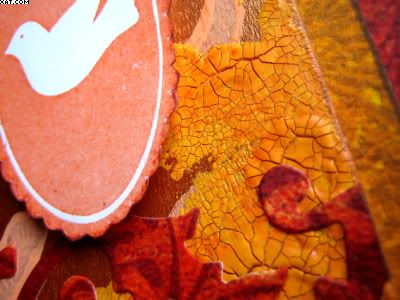
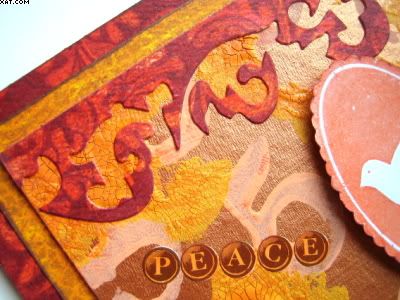
I made a double matted plaque with a central plate made of chipboard.  The central plate was cut to 4 x 4 inches and prepared by painting with Lumiere burnt orange paint. When dry the background was stamped randomly with numbers from a foam stamp set from Making Memories using orange acrylic paint. Next fairly thick uneven splodges of spiced marmalade Distress crackle paint was added and allowd to dry. This was then brushed over with some spiced marmalade Distress re-inker to highlight the cracks.  


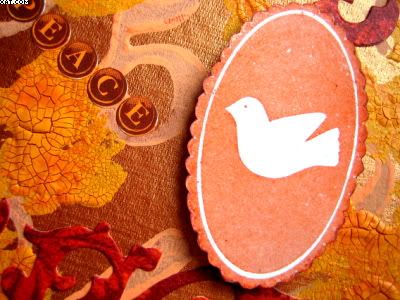
Next I stamped the dove plate ( clear polymer) in pumpkin pigment ink and heat embossed with detail clear embossing powder.  This was cut out and edged with dark brown chalk ink.

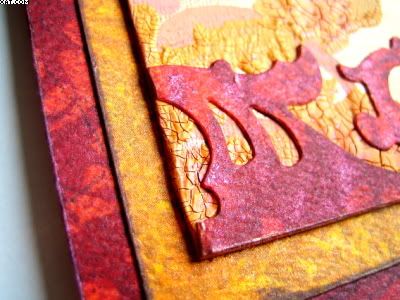
I used a Sizzix Tim Holtz 'On The Edge' die to cut out the swirls from patterned cardstock, using both the negative and positives top and bottom.  They were adhered with glossy accents.


The two printed cardstock mats were cut to 4.5 x 4.5 & 5 x 5 inches.  They were matted with glue stick as shown and edged with dark brown chalk ink.


Finally the dove plate was added on foam pads as shown and some self adhesive typewriter key letters added to spell out the word 'Peace'

Very rich colours were achieved and the background sort of 'evolved' as I decided to add the layers.  Quite pleased with the way it turned out.

Sid xx

Pin It

Monday, May 17, 2010

House and Home Tag


Here is my next tag in the Rolling Recipe series on UK Stampers forums weekly challenge.  This one had to have the following elements:

1. Acetate
2. Stripes
3. Stamped house/houses

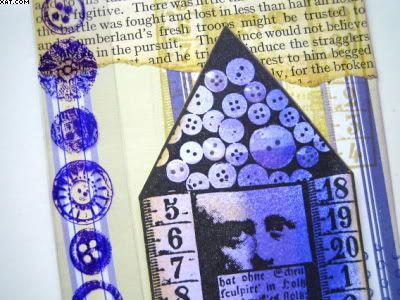
I started with a white card blank and adhered some printed stripey paper to it.  I then took some old bookpaper, tore it, added some ochre chalk ink and adhered this at the top of the tag.

I then took a house stamp (Zettiology) and stamped this in onyx black Versafine onto more white card.  I then used a brayer and a shades of purple Dee Gruenig blending blox (Marvey) to colour the image, adding a little ochre chalk ink also.  Some glossy accents were added to one or two of the buttons on the roof !  This was allowed to dry and was then cut out.


Next I took some acetate and stamped a buttons border stamp (Lost Coast Designs) in Royal Purple Stazon along one edge.  This was trimmed and adhered on the left side of the tag behind some of the buttons with Glossy Accents.


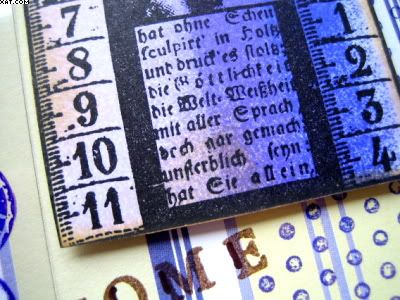
In the meantime, some dots (Tanda Stamps) were stamped bottom right with the blending block ink and another image of the house was stamped on the tag top right with scattered straw Distress ink.


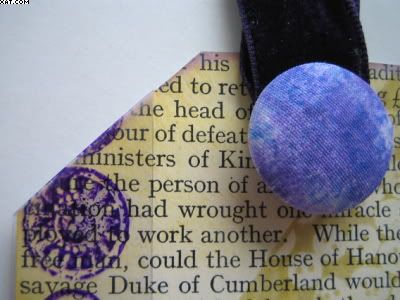
The stamped house was added as shown on foam pads and the word 'home' stamped in vintage sepia Versafine ink with clear polymer stamps.  Finishing touches were to add a piece of aubergine velvet ribbon at the top, held in place with a material covered brad which had been coloured with the same blending block ink.

Love the Purple Stazon on the acetate.......it really makes it pop !

Sid xx

Pin It
Related Posts Plugin for WordPress, Blogger...