>
Showing posts with label Dimensional Pearls. Show all posts

Monday, October 15, 2018

Poison square .....


This is a 4 x 4 inch decorated square made for a swap in UK Stampers Forum ....

I used some re-cycled card from a cereal box as the base and decorated it with printed papers, stamped & coloured images, dimensional pearls & coloured markers.

I have also entered this into the 'That's Crafty Challenge for this month'

If you fancy joining in swaps or just being part of a fab Papercraft Forum click HERE .... it's free & fun ....

Pin It

Friday, June 01, 2018

AT Coins .....


Welcome to June !!!

Seems the latest papercraft trend is to make Artist Trading Coins as apposed to Artist Trading Cards (ATC's) !

They are 2.5 inch diameter circles which are decorated for trading or swapping.  These 3 are my first attempt at making some.

I have used printed papers, collage, magazine images, stamping, dimensional pearls, glitter & penwork using Posca markers and metallic pens.  I really enjoyed making them for a new monthly swap on UK Stampers Forum where 3 are made and swapped each month.

If you fancy having a go why not join the Forum to do so..... it's free and fun !  Click HERE to go there to join !

Sid xx

Pin It

Friday, December 15, 2017

Inchies .....


Made a set of Inchies for a monthly swap over on UK Stampers Forum ..... if you fancy joining in the swaps click HERE ......

I used Crafty Individuals stamps on these ......

Sid xx

Pin It

Sunday, October 22, 2017

Trad Christmas .....


Made a traditional Christmas card ....

Made using diecuts, stamps, Copic markers. I also used Stickles glitter glue, Dimensional pearls & glossy accents to embellish !

I really do like traditional but then again, I like modern too !

This card is available to buy in my Etsy Store click HERE to go there !

Sid xx

Pin It

Thursday, September 28, 2017

Fall postcard ......


Here is a postcard made for a Swap over on UK Stampers Forum Facebook Group ....

I started with white card and then made a background with Distress Oxide inks.  I then stamped the design in more Distress Oxide using Uniko stamps and used a Micron pen to outline selected areas.  The swirls were stamped in brown Chalk ink.  The main sentiment (Tim Holtz) was stamped in Archival Black ink and 4 dots of dimensional pearls were added to finish.

If you fancy joining in our Swaps, click the link above .....

Sid xx

Pin It

Monday, May 01, 2017

Uplifting Butterfly ......


This CAS card was made recently and everybody loves butterflies after all !

I took a 4 x 4 inch white card blank, then diecut a square stitched edge matt in more white card.  I then diecut a butterfly in more white card.  The butterfly aperture was backed in lime green card and I cut another butterfly using more lime green card, collecting the butterfly 'waste' from the diecut.

I mounted the backed matt on foam pads as shown, decorated the matt and card with a selection of the 'waste' butterflies.  I applied the white butterfly on a foam pad and decorated the bodies of the butterflies with dimensional pearls.

The sentiment (Papertrey Ink) was stamped in Versafine onyx black on white card and this was matted onto more lime green card after trimming to finish !

A May Day butterfly card which meets the challenge for the Less Is More Challenge Blog whose theme is 'Shadow' this week.  The 3D wings on the butterfly leave a shadow of the design over the lime green background !

Sid xx

Pin It

Sunday, December 11, 2016

Silver Wreath .......


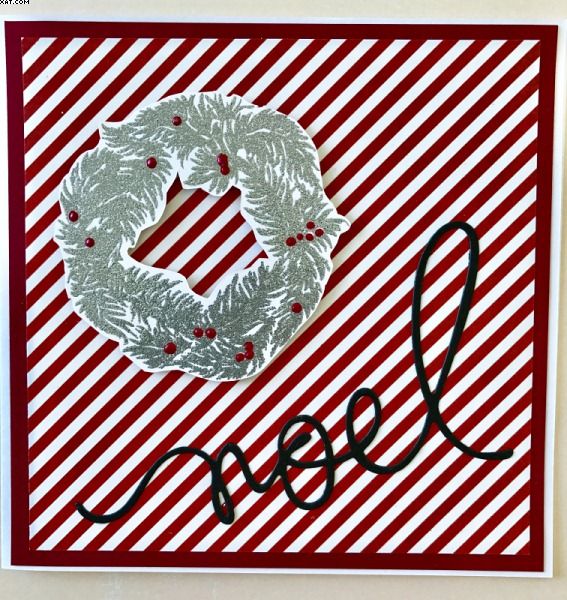
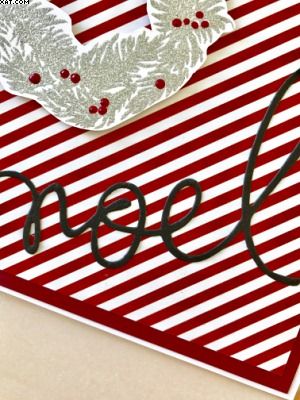
This card is a variation on a theme using a different colourway.  I started with a 5.5 x 5.5 inch white card blank and matted this with some crimson cardstock and then matted again with some crimson diagonal stripe paper.

The wreath stamp was inked with Versamark ink and heat embossed with silver embossing tinsel before trimming out with a craft knife.  The berries were highlighted with dimensional pearls.  The wreath was then applied as shown on foam pads.


The noel was diecut from black cardstock and placed as shown to finish.  Very simple !

Sid xx

Pin It

Sunday, June 29, 2014

No Ordinary Moments


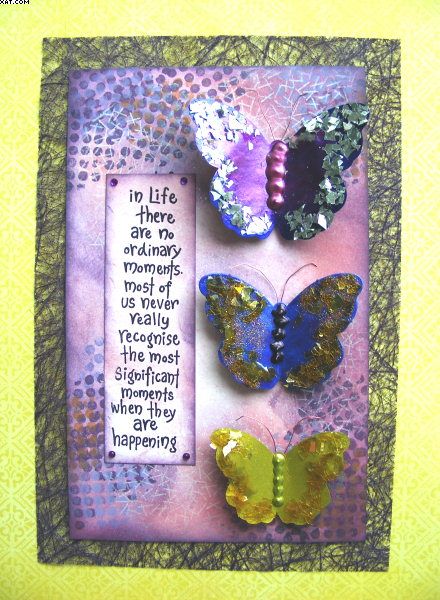
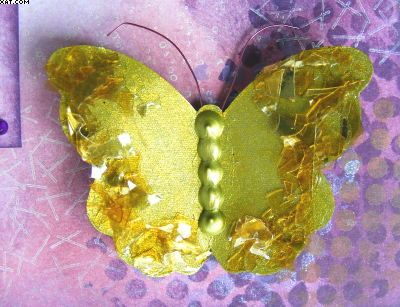
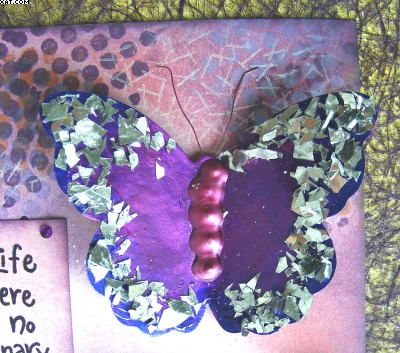
This little design was inspired by a batch of butterfly shaped die-cuts which I discovered in a drawer in my craftroom.  I have decided to start to use as much of my massive stash to create things from now on.  Trouble is I have so much that I have forgotten what I have at my disposal.

I opened a couple of boxes containing a selection of Stewart Gill paints, embossing powders, fragments etc and made up my mind to have a go using them.  The pic above shows what transpired !


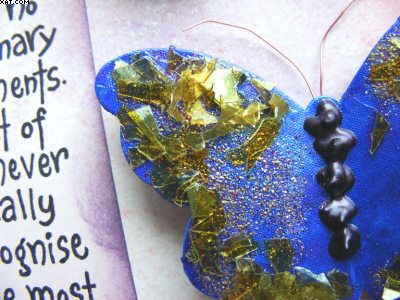
I first painted the diecuts with some metallic SG paints in purple, blue and gold which I also enhanced with some Luminarte Primary Elements using one of the Simple Solutions to make mica paints.  I made several layers in the various colours until they looked vibrant.


On one butterfly I added some SG Embossing powder and heat embossed.


I then added SG jewel fragments stuck in place with glossy accents and finished off the bodies with Ranger dimensional pearls.  The antenna were added on a foam pad at the back and were made from coloured art wire.

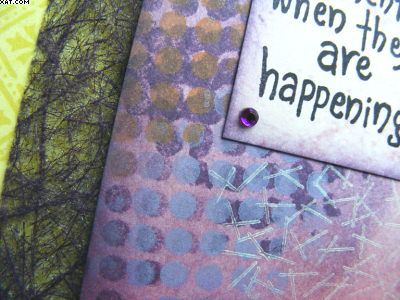
The butterflies were adhered as shown with more foam pads.  The word are from PaperArtsy and were stamped on another piece of the background paper in Archival black ink, trimmed out and edged with more dusty concord Distress Ink.  A small purple self adhesive gem was added in the four corners as shown.


The background was made from some pale pink heavyweight card and I added Distress inks in victorian velvet and dusty concord with cut'n'dry foam.  I then used stamps and Brilliance and Versamagic chalk ink in various colours to add the dots and straw effects.

A piece of angelhair mesh was added to the back of the plate to finish.

Must dig into my stash and use some before I buy any more from now on.  This meets the challenge requirements of 'Sunshine & Lavender' for the City Crafter Challenge Blog Week 219

Sid xx

Pin It

Friday, August 16, 2013

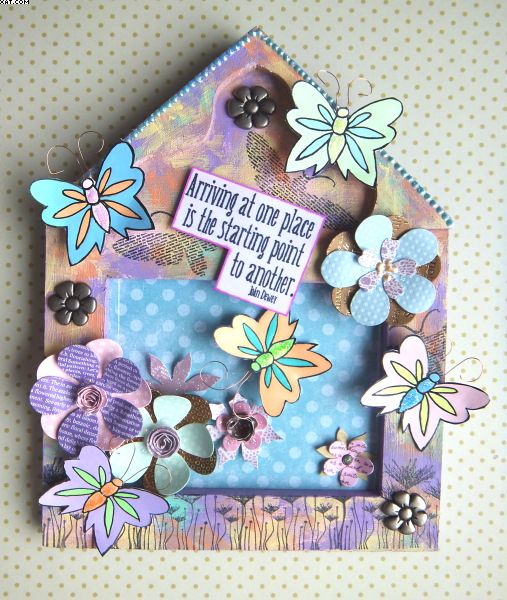
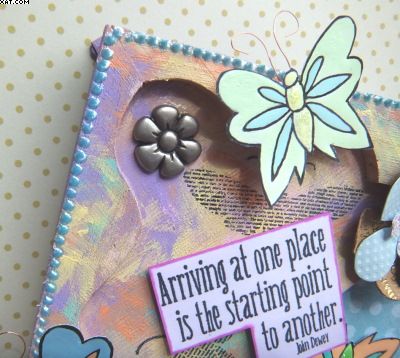
'The Arrival' Hanging Plaque


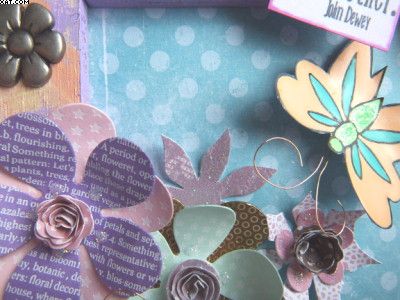
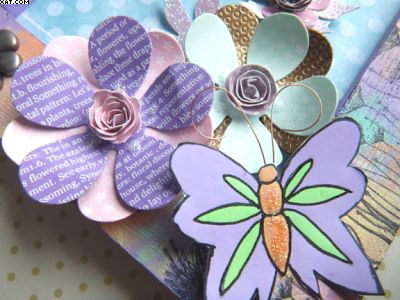
It's ages since I used my Sakura souffle pens so I dug them out and did a series of butterfly images using a dovecraft stamp.  These were stamped in Memento tuxedo black ink and then coloured using the souffle pens.  It was so long since I had used them that a couple of them had clogged and could not be resuscitated !  Any ideas on bringing them back to life?

Once done I wondered what I would do with my little creations which eventually were trimmed out with scissors (cutting off the antennae and replacing with brass wire ones attaching with a blob of hot melt glue.

I then found the plain wood hanging frame and that's what gave me the idea for this piece.


Thinking about the souffle pen colours which are very chalky and opaque I then remembered my Jacquard Sherril's Sorbet paints which resemble the souffle colours and finish very well.  They can be used on fabric and heat set but here I just chose blueberry, mint, melon, grape, watermelon and lemon and applied these in blobs directly to the raw wood and blended roughly with a brush until the desired effect was obtained.


Once dry I lined the roof edge with blue dimensional pearls and once these were dry I then used stamps from PaperArtsy, and Docraft to stamp the base border and the wordy moths in more Memento tuxedo black ink.


I lined the inner frame back with some dotty printed paper from a 6 x 6 pad and put this in place with the original glass at the back.  I then used a load of die-cuts to make the flowery background all stuck with either Glossy Accents or hot melt glue.  Some Stickles glitter glue and dimensional pearls were used to embellish them.


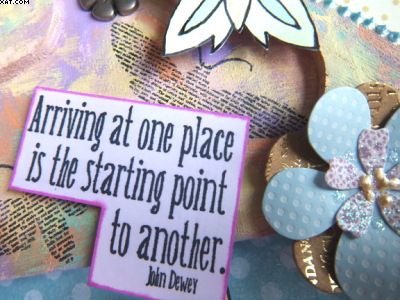
The butterflies were stuck in place with more hot melt glue and some metal flower embellishments were added as shown.


Not sure where the sentiment stamp came from but it was stamped on white card in Memento tuxedo black trimmed out and coloured with alcohol ink marker, edging with the same.  This was mounted in place on foam pads to raise it.

Sid xx

Pin It

Saturday, May 26, 2012

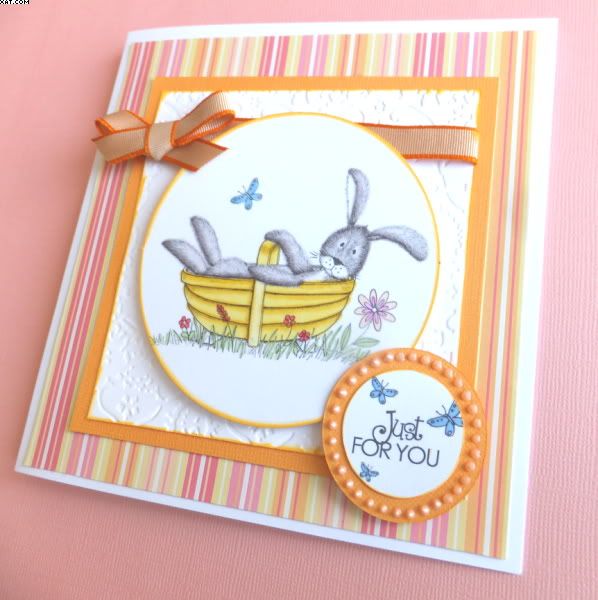
Just For You !


I don't do cute usually, but had some images which I have coloured with Copics and layered with embossing , papers and ribbon to produce this 15 x 15 cm square card.

Sid xx

Pin It

Sunday, April 29, 2012

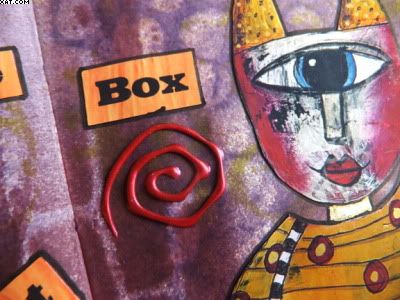
Outside The Box


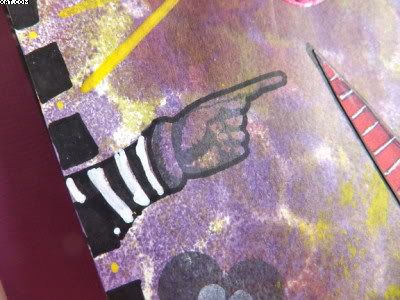
Just completed another double page spread in my Moleskine journal.  Love the words on this one and it's certainly Zetti inspired.

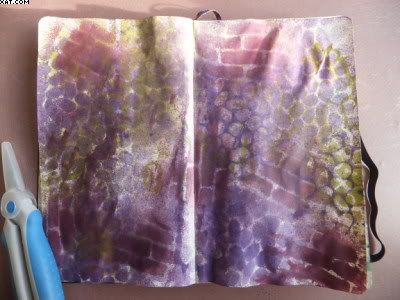
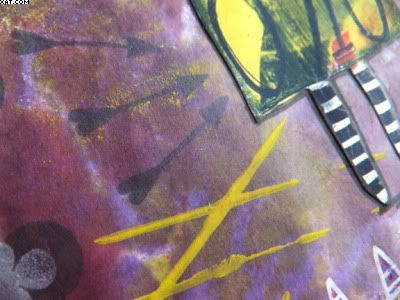
The background was made using stencils and spray inks (pictured before any layers were added at the bottom of this post), in purple, lime green and maroon.  Some yellow Dylusions paint was added with a credit card. The pages do warp severely but also do relax over time especially when the journal is closed with its elastic closure.


Stamping with black Archival ink was done with  'club' , hand and arrows stamps.


Lots of doodling in various colours of Posca markers including some gold,


The images are digital and have been stuck onto the background and edged in black Posca.  The words are printed on the computer and trimmed out.


Some dimensional pearls in cranberry have been added to provide a little depth


This was the page after first spraying with the desired inks.


Another enjoyable project which has taken a while to complete.  You know what they say 'Onwards and Upwards' towards the next two pages, but I am getting there !!

Sid xx

Pin It
Wednesday, August 17, 2011

Surreality !


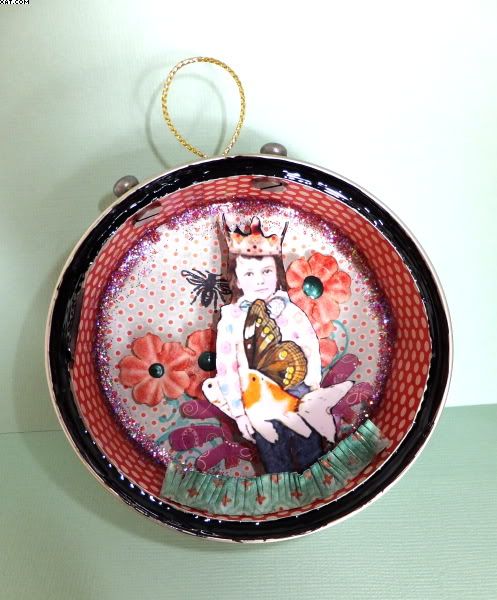
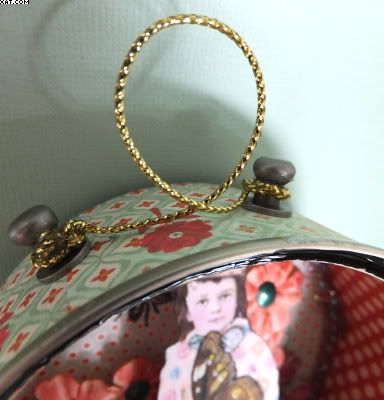
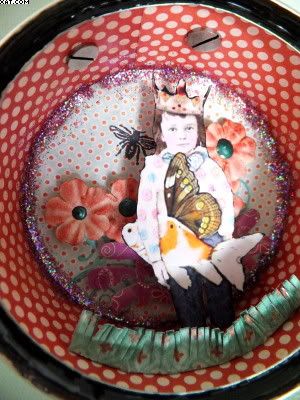
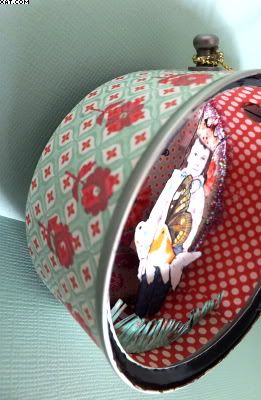
This altered collaged hanger is made from a tuna tin (duly cleaned and washed of course).  It was made as  part of a swap over on UK Stampers Forum. I called it 'Surreality' because once I had assembled it it seemed to say just that to me.


I have lined the base, insides and outside of the tin with paper from My Minds Eye (Mabel) in contrasting green and rose red.  The papers were stuck in place with Claudine Helmuth Matte Medium (Ranger).  The base paper was stamped with a couple of flourishes in green Versamagic chalk ink before sticking in place.


Once done the inside base was decorated with some paper leaves cut from a paper stack, mounted on foam squares.  The cream paper flowers were coloured with fired brick Distress Ink, stuck in place on foam squares and centred with Adirondack dimensional pearls in bottle green.  A bee (7 gypsies conservatory) was stamped in Archival Black ink and the inside edge where the papers join decorated with Cherry Ice Stickles.


The outside of the tin was then stamped with a polymer flower stamp and more of the Versamagic red chalk ink.  Two holes were punched with the Crop-a-Dile at the top of the tin and two Tim Holts screw fasteners added through the holes.


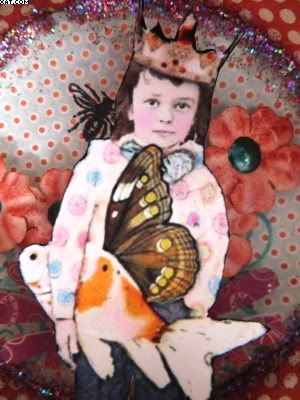
I next added the printed image of the boy with the flying fish on layered foam squares and also added a bit of fringed paper coloured with forest green Distress Ink in front with Glossy Accents to add further dimension.

Finishing touches were to add black Enamel Accents around the inside rim and a piece of metallic gold twine tied round the knobs to hang.

Sid xx

Pin It
Related Posts Plugin for WordPress, Blogger...