>
Showing posts with label Journal. Show all posts

Tuesday, March 09, 2021

Journal .....


Another Journal made with a Sizzix die ...... Distress Oxide panels, embossing folders and gilding wax ...


Tag pockets and stamped tags .....


Die-cuts & Washi tape ....


More tag pockets & tags with ribbon .....


Stamping ....


Printed papers & acrylic paints ......

Sid xx

Pin It

Sunday, April 29, 2012

Outside The Box


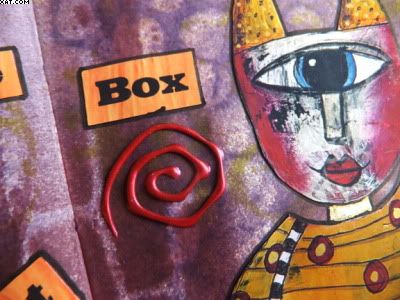
Just completed another double page spread in my Moleskine journal.  Love the words on this one and it's certainly Zetti inspired.

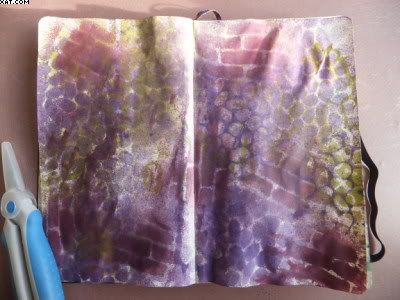
The background was made using stencils and spray inks (pictured before any layers were added at the bottom of this post), in purple, lime green and maroon.  Some yellow Dylusions paint was added with a credit card. The pages do warp severely but also do relax over time especially when the journal is closed with its elastic closure.


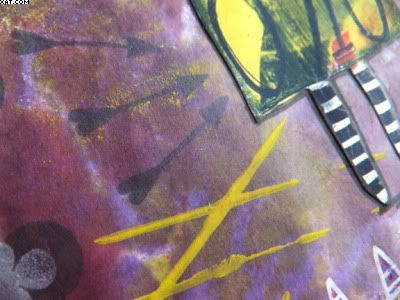
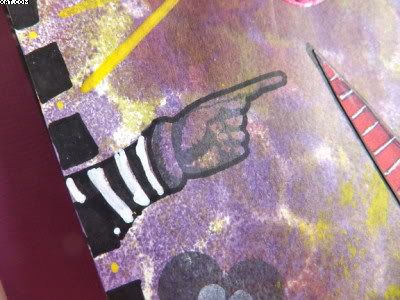
Stamping with black Archival ink was done with  'club' , hand and arrows stamps.


Lots of doodling in various colours of Posca markers including some gold,


The images are digital and have been stuck onto the background and edged in black Posca.  The words are printed on the computer and trimmed out.


Some dimensional pearls in cranberry have been added to provide a little depth


This was the page after first spraying with the desired inks.


Another enjoyable project which has taken a while to complete.  You know what they say 'Onwards and Upwards' towards the next two pages, but I am getting there !!

Sid xx

Pin It

Saturday, March 10, 2012

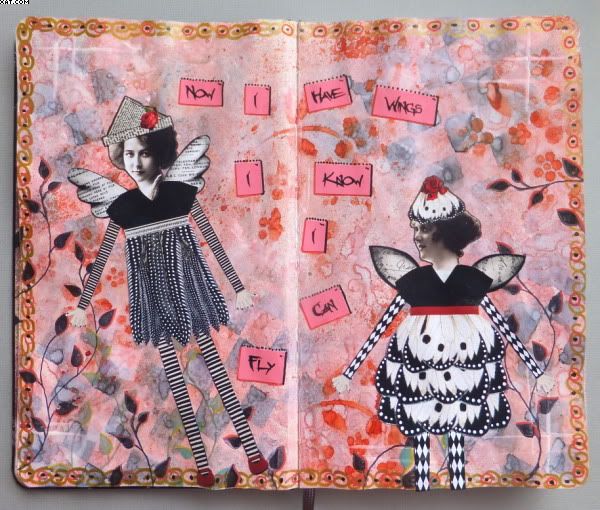
'Flying' Journal Page


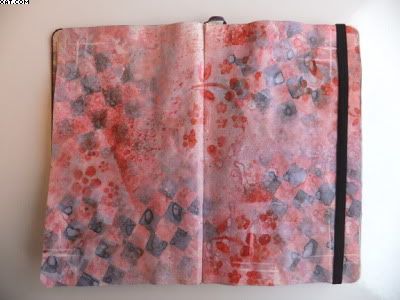
Another bit of double spread journaling in my 21 x 13 cm Moleskine journal .  This time entitled 'Flying'.  The background was made using spray inks, acrylic paints with masks over a pre-gessoed page.  The page is pictured at the end of the post prior to having any decoration added.


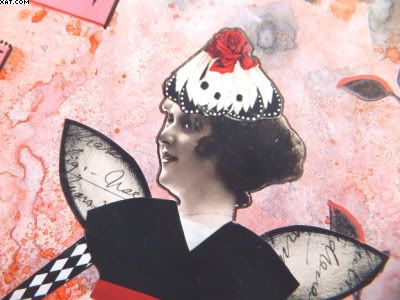
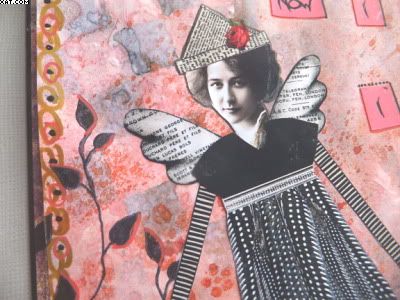
The flying girls are collaged and are a digital download from the lovely Helga at ARTchix Studio .  These have been trimmed out and stuck in place.  I just love the butterfly winged dress and hat on the girl on the right !

Lots of doodling with Posca pen in red, gold, black and yellow and stamping with Archival black & green inks with a leafy vine stamp helped hold the design together.


Finally the words were printed on paper with a pink background, trimmed out and finished with more Posca pen before sticking in place.


I do find it difficult to know when to stop adding things and am still finding out what I really feel comfortable with as my 'style'.  I am really loving doing these though and have lots of ideas which I still want to try.

Sid xx

Pin It

Monday, February 20, 2012

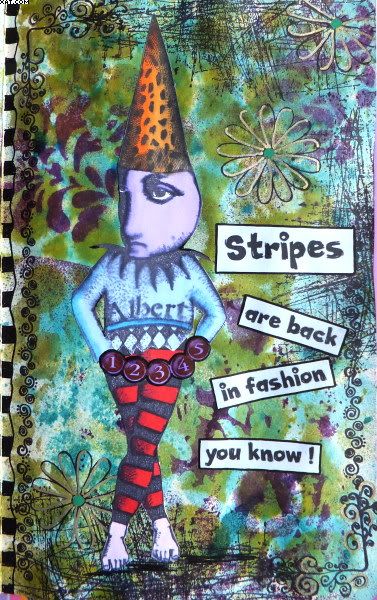
Stripes Rule !


Here is the beginning of a small (21cm x 13cm) Moleskine Art journal I am making.  It's a bit daunting when you first open the journal and all the pages are empty, stark and glaring at you.

Once you get going it's a lot easier to move through and decorate the pages at random although I still have a thing about handwriting and could do with some tuition before I actually do it.


The background is made using various stencils and coloured ink sprays (Sticky Fingers)  which I have had for an age and which were laying unused on the shelf.  Believe me, when you get going though, you soon end up being very inky and the background soon comes together.  The last photo shows how the background looked before adding layers and images.


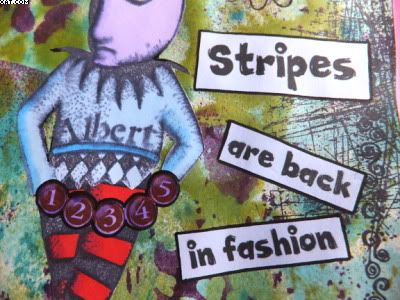
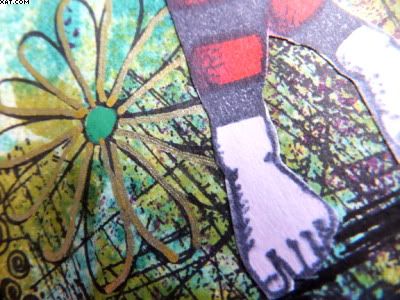
I have used a variety of stamps with black Archival Ink on the background from Tim Holtz & PaperArtsy and added some doodles with Posca green, gold and black pens.  A few self adhesive numbers were added between Alberts hands.

The words are printed on the printer and coloured with Alcohol inks.


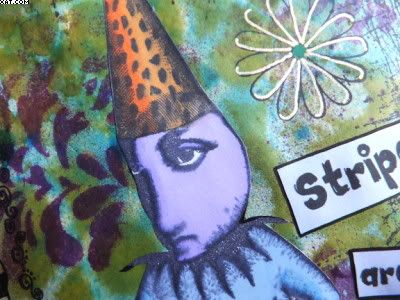
I did some stamping with Zetti Albert and Zetti legs onto copy paper with black archival ink and coloured these with Marvey Alcohol ink brushpens. Alberts head and body were then collaged with the legs.

All items were stuck in place as shown. All that remains to do is date the piece now.


The pic above is how the background looked before stamping and collaging.  Loved making it and now onto the next !

Sid xx

Pin It

Monday, October 31, 2011

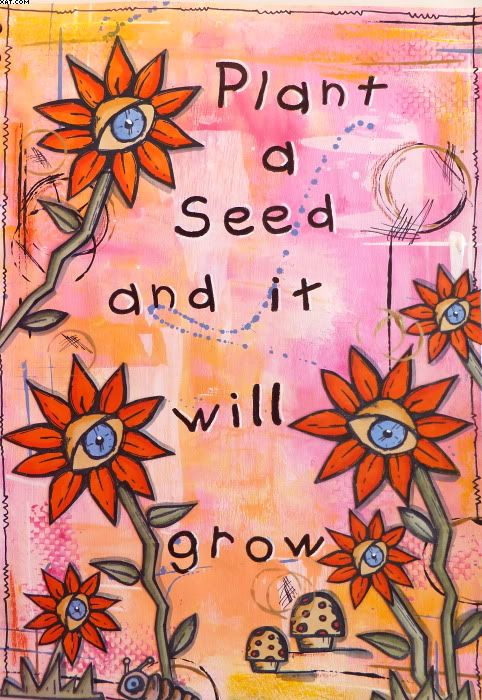
Plant a Seed


I have been saying for ages that I need to start journalling.  I need to be broken in gently with the handwritten stuff so I decided to go with stamped letters on this my first page.  The journal itself is a cheap A4 one bought from PaperChase and I have pre-coated the first half dozen pages with white gesso although the card itself is quite sturdy.

I recently bought a load of garden stamps in rubber from Lily at 'The Octopode Factory' and I have used stamped images of these as the main collaged images on the page.


Also must give thanks to Kate Crane whos' video has inspired me and helped me through some of the background techniques beautifully.  I really did end up with paint everywhere but enjoyed every moment until I had to clean up !!

I used a variety of acrylic paints in pink, yellow, orange, blue, white & black to colour the background.  I used an old credit card, my fingers and a brush to spatter to apply the paints.  I used a Tim Holtz background stamp to apply textural elements in the acrylic and some container lids to produce the circles.


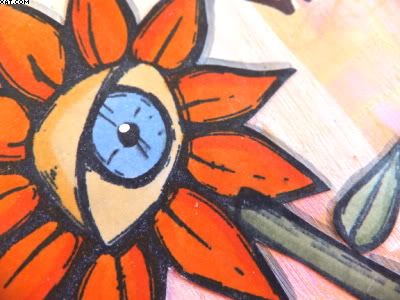
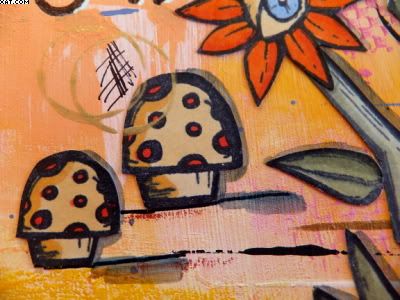
The  Octopode flowers (love the eyes), stems, leaves, mushrooms and caterpillar were stamped on thin card in Archival black ink and coloured with Marvey alcohol brush markers.  The elements were all then cut out and stuck in place with matt medium on the background.  I then went back in and added oil pastels, some edging with charcoal more paint circles and some doodling until happy.


Finally the letters were stamped in Archival black ink and shadowed with some white Posca pen. Definately difficult to know when to stop though................ but stop I did !

That's it, my first page........... but certainly not my last.

Sid xx

Pin It
Related Posts Plugin for WordPress, Blogger...