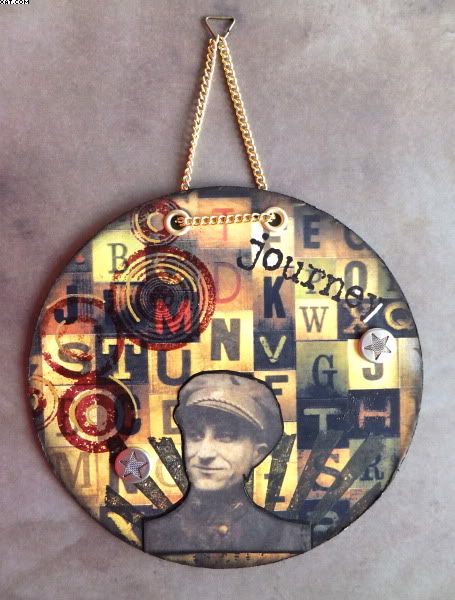
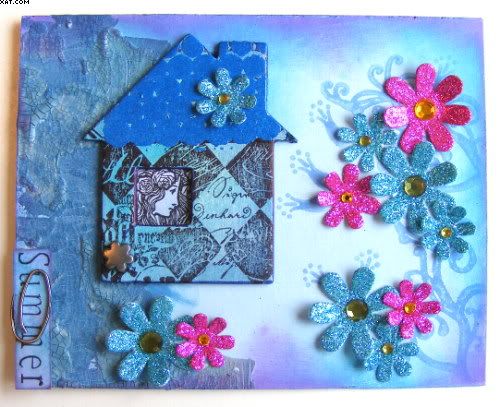
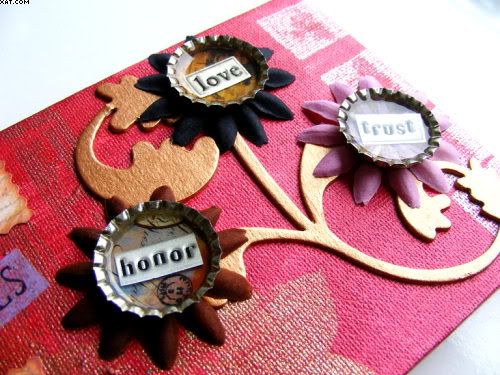
I decided to do small canvas to collage my bottletop art made for a swap run by my fellow crafter Hazel over on the UK Stampers forum. She challenged us to make a piece of artwork using at least one crown cork (beer bottle top). The collage is 7 x 5 inches in size.
Here is what I used to make it:
- Crown Corks (gold)
- 7 x 5 inch gessoed canvas
- UTEE (Clear)
- Embossed words
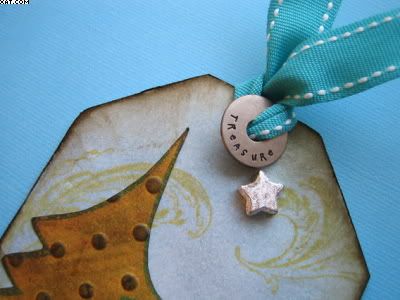
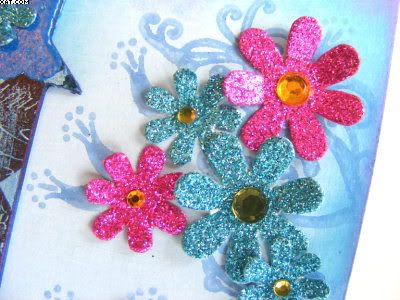
- Fabric Daisies
- Lumiere Paint (bronze, crimson)
- Glitz Spritz (Gold)
- Plastic flower stencil
- Stamps (squares background - docrafts, textured stripe - anitas, small leaf - see-d's morsels, postal stamp - crafty individuals, alphas - making memories magnetic)
- Brilliance Inkpad (platinum planet)
- Stazon Inkpad (cherry red & jet black)
- Swirl Chipboard
- Tissue paper (lilac)
- Paper Mod Podge (Matt)
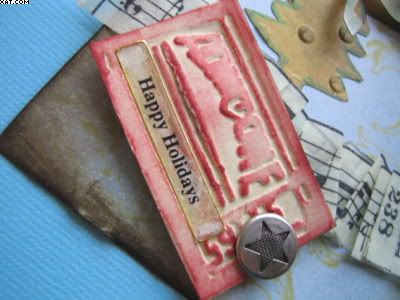
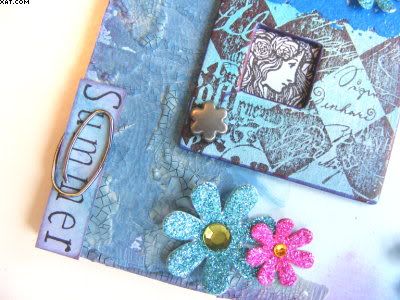
- Metal Hinges
- Metallic snaps
- Printed card (calligrahy)
- Printed papers
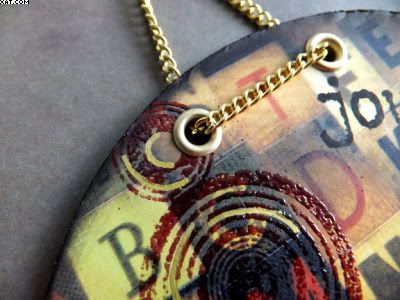
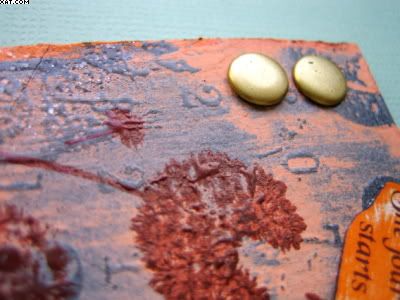
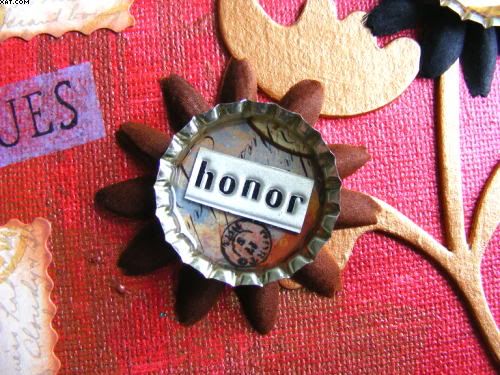
Altered bottlecaps
I first made the altered bottlecaps. I selected some suitable colour printed images from magazines and cut out circles to fit inside the bottlcaps. These were stuck in place with glossy accents. Next I cut out some silver foiled words to fit inside the caps. I then added a small amount of clear UTEE and melted it with a heat gun (the cap was placed on a firebrick to protect surfaces from the heat). When the UTEE had melted I added another amount and again heated. This was repeated several times until the cap was nearly full with molten UTEE. The finished caps were allowed to cool completely before adhering to the selected fabric flowers with glossy accents.
The chipboard swirl was given a couple of coats of Lumiere metallic bronze paint and allowed to dry.
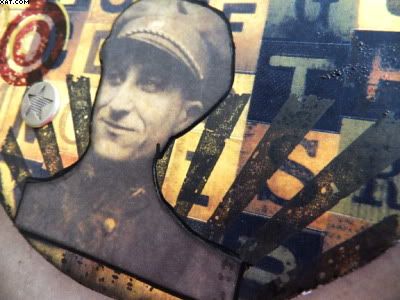
The printed calligraphy card was trimmed with fancy edge scissors into two pieces, these were edged with dark brown Whispers dye ink and stamped randomly with the postal stamp in gold ink.
The hinges were fitted with two snaps each applied with the cropodile.
The Canvas
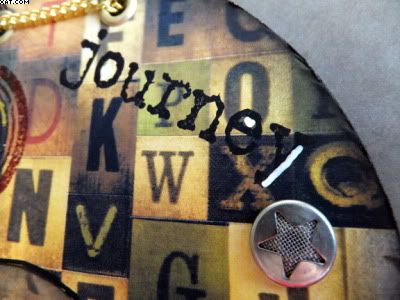
The canvas was completely painted lightly with Lumiere crimson paint allowing brushmarks to show in an uneven manner. This was allowed to dry thoroughly. Next the plastic flower stencil was placed on the canvas and the rest masked off with paper. The gold Glitz Spritz spray was then generously sprayed over the stencil, removed carefully and dried with a heat gun. This was repeated as necessary. Next the textured stripe stamp was painted quickly with Lumiere bronze and stamped on the top left side of the canvas and allowed to dry (the paint was removed from the stamp quickly before drying). The squares background stamp was inked with Brilliance platinum planet ink and applied down the right hand side of the stamp. When dry a small leaf stamp was inked with Stazon cherry red ink and stamped in the centre of each of the squares.

The word 'VALUES' was stamped onto the lilac tissue paper in Stazon jet black, trimmed and applied as shown with the paper Mod Podge.

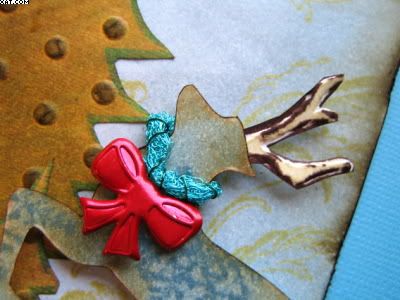
The canvas was then assembled as shown adhering the chipboard swirl and printed cards with glossy accents, the flowers with large glue dots and the hinges with super glue.
Hope you like it :-)
Pin It