>
Showing posts with label Brooch Back. Show all posts

Wednesday, April 18, 2012

B & B


No not Bed & Breakfast !!  .............. but Box & Brooch to be more precise.


This brooch came about as my creation for Janet ........ one of our little band of crafters who meet up for long & crafty weekends 3 times a year.  This was made as my gift for her (we each have a crafty partner who we make a handmade item for at the weekends).

Unfortunately I forgot to take my gift (slapped wrists) to our March meet and have sent this to her instead.  Hope she likes it.
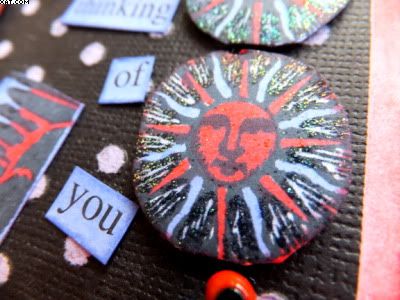


The box was made from heavy card which was subsequently decorated as shown in the same colourway as the brooch.  The box sides and top were coloured with fired brick Distress ink and panelled with black magic coredinations card with a mauve core after passing through a spots embossing folder.  The core was revealed by rubbing over the embossed spot with fine sandpaper.
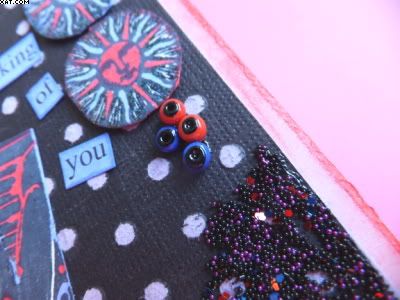


The decorative elements are made from stamps from Lynne Parrella made by PaperArtsy, stamped on white card with Memento onyx black, trimmed and coloured with red and purple Marvey alcohol brush pens.  They were assembled after selectively heat embossing with kaleidascope embossing powder and a Versamark pen and mounting on foam pads. Some red and blue beads were adhered with Glossy Accents as was some Beadazzles as shown.

The box was filled with crumpled pink tissue paper to support the brooch
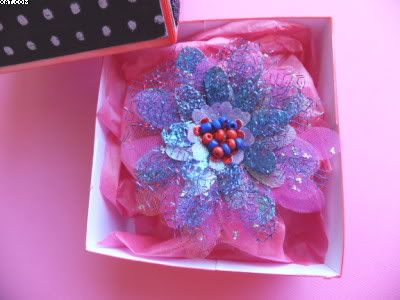


I used some flower dies from X-cut to cut  a variety of different sized petals from organza, sparkle fabric, fused fusible fibres and silk. These were assembled in layers on a card base with hot melt glue.
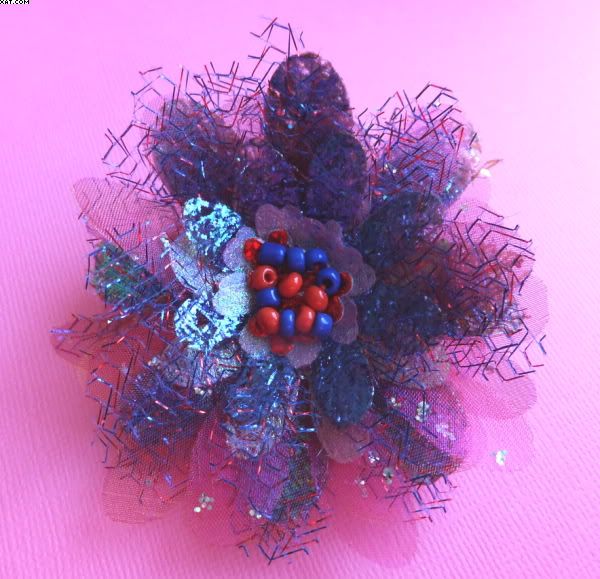


Some of the same beads used on the lid were added with red embroidery thread and a needle to decorate the centre of the brooch.


Finally a brooch back was added to finish the brooch.


Hope she likes it !

Sid xx

Pin It

Sunday, May 31, 2009

Fabric Brooch


Here is a pic of a Fabric Brooch I made as part of a swap. The swap was a 2-part swap. Part 1 required the swappers to send in six 4 x 4 inch pieces of assorted fabric. These were swapped and they each got back six different pieces not including any of their own.

Part 2 was to make a brooch using all six pieces of fabric which were again randomly swapped ! Quite a challenge really but very interesting and the quality of the workmanship and variety of designs which emerged was fantastic.

Anyway I had the idea that I would use my sewing machine to produce the basic brooch design because I had also bought a load (10 reels) of Guttermann threads to do just this, so I got out the beast to find that I had lost the foot control somewhere. I searched high and low but failed to locate it......... how annoying !! I ended up having to stitch the bits together by hand hence the rather untidy look to the stitches. However, it did the job.

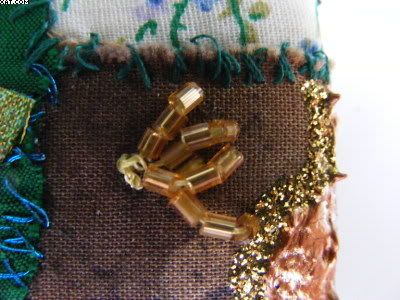
Once the pieces were stitched together I embellished the flat piece of material with a little stamping of a ladies face (barely visible). This was then ironed onto some backing bump using vilene and a steam iron to give the material a little substance. Next this was applied to a piece of mountboard (2.5 x 1.5 inches) again with vilene and the corners wrapped over and stuck flat. A backing piece was made (out of the 6th piece of material) to cover the back of the brooch. Next I added some beading detail by hand.


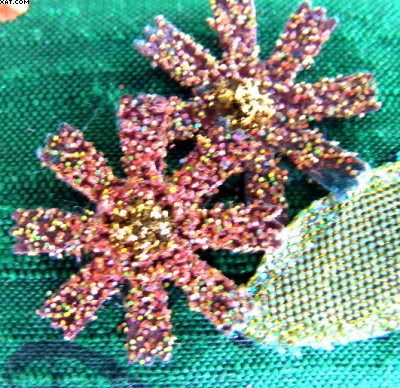
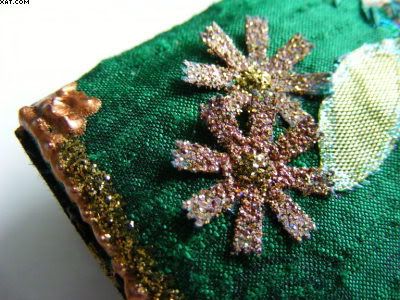
I punched out 2 small flowers and used EP to give them some texture, cut out a leaf and adhered this as shown.


Final embellishment was with gold dimensional paint and glitter glue. I then added a self-adhesive brooch back to complete.

I was a little set back by not being able to machine sew, but heck I managed it in the end !

Hope the recipient likes it though !

Pin It

Friday, April 17, 2009

Stampbord Brooch

The Brooch


The Brooch & Bag

This brooch was made for a swap I ran on UK Stampers Forum. Each person playing had to make a brooch using Stampbord as a base. This is my creation for which I also made a little bag to contain it.

I used:

  • Round Stampbord
  • Rubber Stamp (Agapanthus Bloom - Stampendous, Field of sky - Judikins)
  • Distress Inks (Spiced Marmalade & Dried Marigold
  • Versamark Inkpad
  • Clear UTEE
  • Versafine Inkpad (Onyx Black)
  • Piece of Faux Dichroic Glass (made earlier)
  • Lumiere paint (Bronze)
  • Gold Elastic Cord
  • Brooch Back
  • Gold iridescent paper (for bag)
  • Decorative scissors
  • Glossy accents

The Stampbord was first coloured using a piece of Cut'n'Dry foam with the distress inks and graduating from dark on the outside to light on the inside. The field of sky stamp was inked with the darker of the the two inks and stamped around the outer edges of the front of the piece. This was dried with the heatgun and overstamped centrally with the Agapanthus stamp using onyx black Versafine ink. This was again dried with the heat gun.

The front of the brooch was then inked with Versamark ink and the clear UTEE applied and heated until a smooth thick layer was achieved. Then whilst still molten the piece of Faux Dichroic Glass was embedded into the hot UTEE taking care to place it centrally. The whole piece was allowed to cool completely.

The back and sides were painted with two coats of bronze Lumiere paint and allowed to dry. A piece of the gold elastic cord (round cross section), was cut carefully to size and adhered around the edge with glossy accents. The brooch back was adhered with superglue.

The bag was made from the paper which had been randomly stamped with the same Agapanthus stamp before cutting and making into a bag with double sided tape. The top edge was trimmed with scallop pattern decorative scissors.

For anyone interested in making Faux Dichroic glass why not look at my classes which can be found in the 'Crafty Classes' section of the blog.

Hope you like it :-)

Pin It
Related Posts Plugin for WordPress, Blogger...