>

Tuesday, June 01, 2010

Take Flight & Enjoy Each Moment !


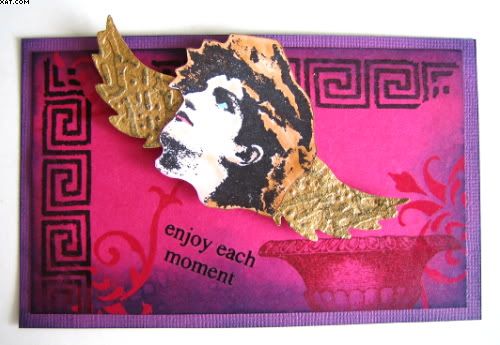
This little plate was made as my first entry for Sunday Stamper (No.105) challenge, whose theme this week is 'Wings'.  I just had to have a play with my new Sizzix 'Alterations' heart wings die by Tim Holtz which has a pair of wings as some of the die cuts. 

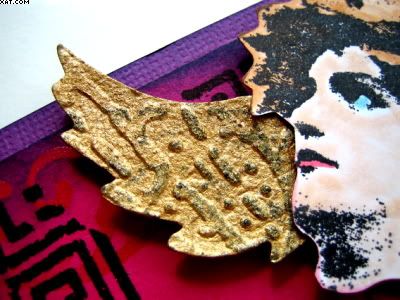
I cut the wings from grungepaper and then dabbed on gold paint dabber.  Once dry they were embossed through the TH  'cracked glass' embossing folder to add some texture.  The wings were then swiped with chipped sapphire Distress ink and heat embossed with detail clear embossing powder.  I next stamped the ladies head (Collagabilities - Let's Face It) in onyx black Versafine and cut out before colouring with Marvey Le Plume II pens.


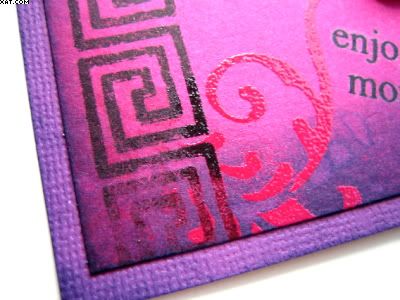
The background was cut from fuschia cardstock and first stamped with a roman key design (Cherry Pie Stamps) in onyx black versafine on two corners. Next an urn stamp also from Cherry Pie was stamped in vintage sepia Versafine as shown.  I then took a swirl from the same plate and inked this with Versamark (to provide a watermark effect) and stamped as shown.  I then added some detail clear embossing powder and heat embossed.


The edges of the card were inked with victorian velvet & chipped sapphire Distress ink blended with cut'n'dry foam.  Some drops of water were flicked onto the ink and it was dried with a heat gun to set. The background was matted onto some dark violet textured cardstock and this was also edged with chipped sapphire Dustress ink.

I then added the face and wings on foam pads and added rub-ons saying 'enjoy each moment'.  The colours are really rich and I like the Romanesque effect I managed to achieve.

Sid xx

Pin It

Monday, May 31, 2010

Mail Art

Firstly, here's wishing you all a fab Bank Holiday Monday !!


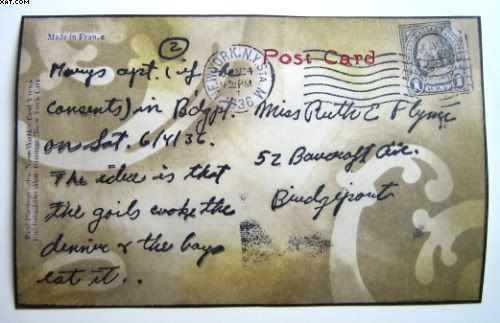
Here is my first entry in the Lots To Do challenge blog for week 21, whose subject is........... yes you guessed it 'Mail Art'. I have had this stamp for absolutely ages and have never used it until now.  It's massive and I do like it now I have brushed the cobwebs off it at last. Love the words as it's obviously taken from an original postcard !

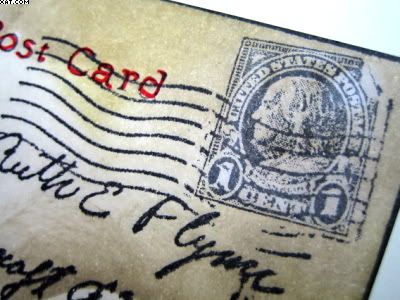
The stamp was inked with Versafine onyx black and stamped onto white card.  The card was simply coloured with cut'n'dry foam and Distress inks in old paper, antique linen and scattered straw using  the Tim Holtz swirl mask to add a bit of contrast. I went over areas (ie the postage stamp) with a waterbrush which sort of bleached out the ink in an interesting way.

I then just highlighted the Post Card words with a red Marvey Le Plume II pen to finish.


Sid xx

Pin It
Sunday, May 30, 2010

Home Tag


As you probably know I have been taking part in the Weekly Rolling Recipe Tag Challenge run over on UK Stampers Forum.  This weeks tag (No.19) had to possess the following features:

1. Trees
2. Houses
3. Heat Embossing

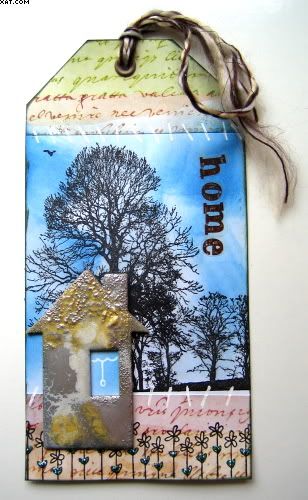
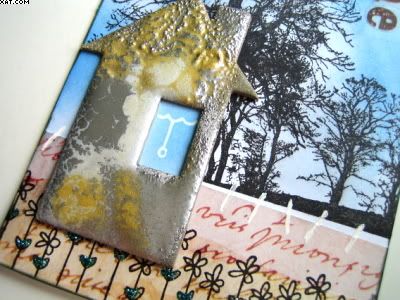
So here is mine.  I started with a white card trimmed to size and stamped the trees (Crafty Individuals) with Versafine onyx black ink.  I then adhered and trimmed two pieces of 7 gypsies printed paper, top & bottom. The blue in the sky was added with Memento ink and cut'n'dry foam in summer sky and danube blue.  A daisy border stamp (Inca Stamps) was stamped along the bottom in Versafine onyx black ink.


Next the house was cut from chipboard and coated in Versamark ink before sprinkling on silver, silver pearl and enchanted gold Heat It Up embossing powders.  This was heated with the heat gun until melted and one or two more pinches of the powders added as needed to get the desired effect.  I wanted the roof to be textured.  The window hole was backed with blue paper and a blind drawn on in white pigment pen.
.


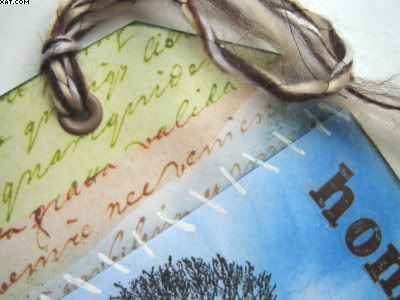
The joins between the paper and the trees were covered in stitches drawn in with a white pigment pen and I then applied aqua Stickles to the leaves on the daisies in the border and stuck the house in place with Glossy Accents.  The word 'HOME' was then applied with printed vellum stickers.


The whole tag was edged with dark green chalk ink and a beige eyelet applied with the crop'a'dile and tied through with beige/brown fibres to finish.

Sid xx

Pin It
Saturday, May 29, 2010

Pretty in Pink


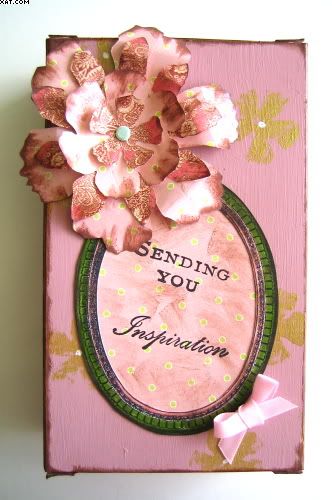
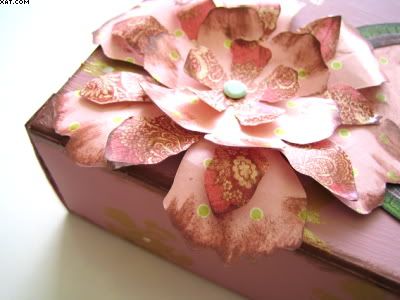
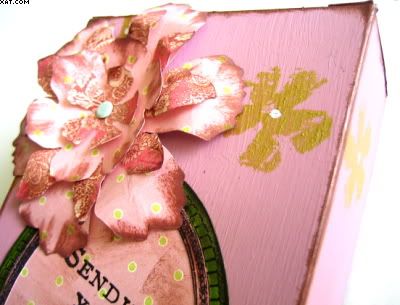
I made some paper flowers with the TH Sizzix tattered florals alterations die a short while back and here I have used one on a little gift box I crafted.  The box started life as a box of  Whittard coffee beans and I first prepared it by painting with a couple of coats of french mauve Decoart acrylic paint.  Once dry I used the smallest flower  negative from the diecuts as a mask and applied Adirondack Dimensional Pearls through the stencil with a dry coarse natural sponge in a randon fashion.  I allowed this to dry before adding white centres to the stencilled flowers with a white pigment pen.


I dug out some polymer stamps from Anna Griffin of an oval frame and the words 'Sending You Inspiration' and stamped the frame with Versafine onyx black.  This was coloured with Marvey Le Plume II pens and trimmed out.  I then backed the frame with the same spotty pink printed paper I had used in the flower and again trimmed out.  This was then stamped with the words.


The edges of the box were touched with chestnut brown chalk ink as was the edge of the frame and the printed paper was distressed a little with the ink.

The box was then decorated with the frame being stuck into place, the flower and pink ribbon bow applied with glue dots to finish.  I love the matt finish to the box and it has a sort of 'material' feel to it.

Sid xx

Pin It
Friday, May 28, 2010

Square in Square


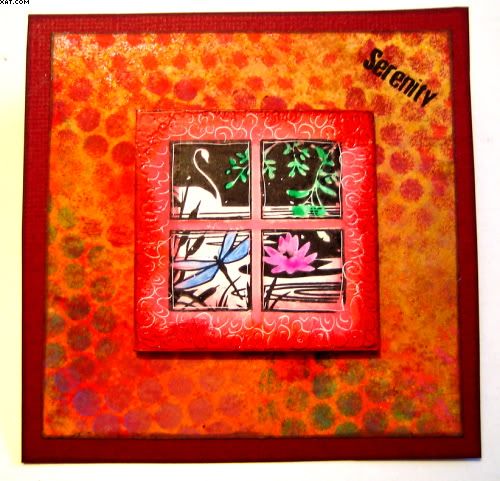
This is my entry for this weeks Wednesday Stamper blog challenge whose subject is 'It's Hip to be Square'.  I used a couple of polymer stamps from Inkadinkado kindly given to me by Godelieve as part of a fab prize of goodies when she celebrated her 1,000,000th hit on her blog..........now that's some going !

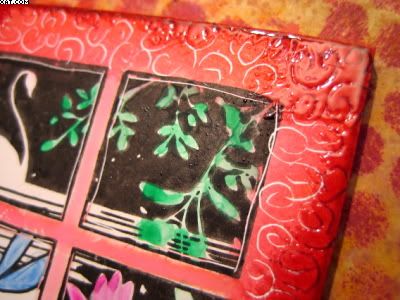
I started with a 2in square of Stampbord and stamped this in Versafine onyx black ink with the stamp.  I then used barn door & rusty hinge Distress inks to colour the edges and centre of the tile with cut'n'dry foam and a waterbrush.  Some parts of the image were coloured with Inktense pencils and a waterbrush.  I used a scratch tool to etch into the stampbord clay surface on the images and around the edge.  I then used some more barn door Distress ink around the edge and heat embossed this with detail clear embossing powder. I edged with dark brown chalk ink.


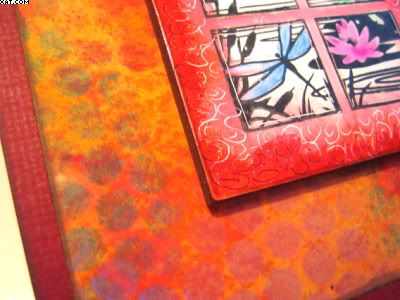
The background mat was made using Sticky fingers Summer spray inks onto white card and when dry followed by various colours of chalk inks applied through a bit of sequin waste. This was cut and matted onto a piece of maroon card.  Both mats were edged again with dark brown chalk ink.


The Stampbord tile was then applied centrally with glossy accents and the word Serenity stamped top right in Versafine onyx black ink to finish.

Sid xx

Pin It

Thursday, May 27, 2010

Caged Bird Tag


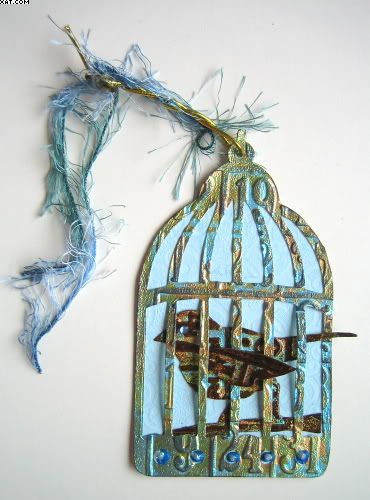
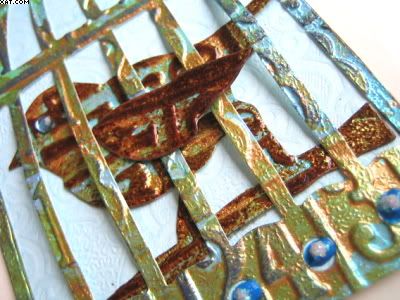
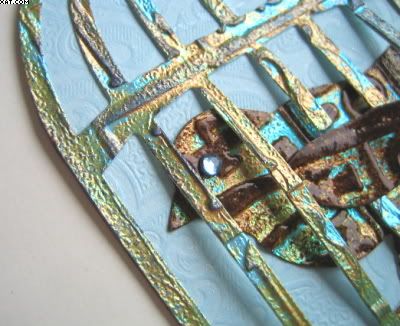
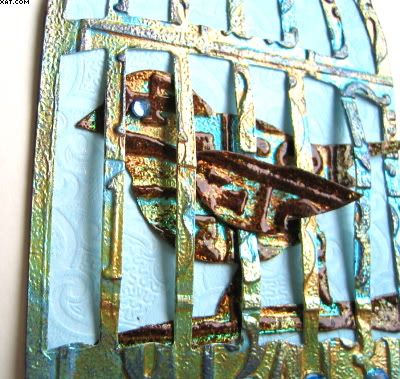
I used two more Sizzix products in this piece. I was recently given the Tim Holtz 'Alterations' Sizzix Caged Bird die and  I also used the 'Bingo' embossing folder.


I took some more of the metallic fantasy paper I have had for such a long time and put this through the Big Shot using the embossing folder.  The numbers from the die were really popping on the metallic paper.  I then randomly dabbed over it with some gold Ranger paint dabber and rubbed off a lot with a dry paper towel.  I dried with a heat gun to set the paint.


Once dry the embossed and painted paper was put through the Big Shot again using the Caged Bird die which does such a fab job of making the cage, bird body and wing.  I next took the bird and wing and dabbed over the raised portions with a dark brown chalk pad and whilst still wet dusted over with detail clear embossing powder and heat set this carefully.  This enhanced the brown chalk ink a lot.  I next took a piece of duck-egg blue embossed card and attached the cage carefully with Glossy Accents without sticking down the central bars. This was then trimmed out around the outside of the cage.  The bird body was glued in place by sliding between the bars and the wing attached last over the bars.


I embellished the holes at the bottom of the cage with some blue dimensional paint and a blob of Stickles glitter glue and applied a self adhesive gem for an eye for the bird.  The hole at the top of the cage was threaded with gold elasticated cord wrapped around with blue eyelash fibres as the hanger.

I was originally going to put this onto another background but decided it looked good to me as it was.  Very shiny and blingy.......as I love this finish !

Sid xx 

Pin It

Wednesday, May 26, 2010

Memories ATC


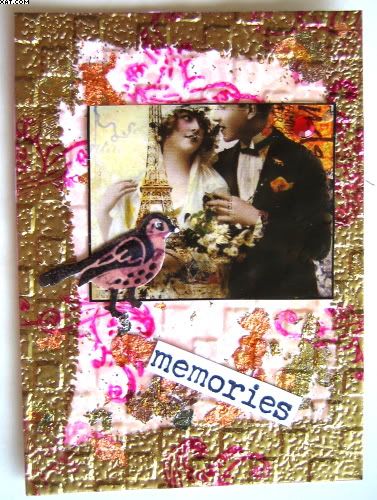
This ATC was made by using self adhesive sheet, embossing powders, metallic flakes (Crafty Notions) and a new embossing folder from Sizzix by Tim Holtz (Artistic Stamper).The image of the couple is from Crafty Individuals, the bird is a Martha Stewart punch and the word stamp from 7 gypsies.  Some swirls have been stamped over the background in fuschia Stazon ink and a small adhesive gem added.

Sid xx

Pin It

Monday, May 24, 2010

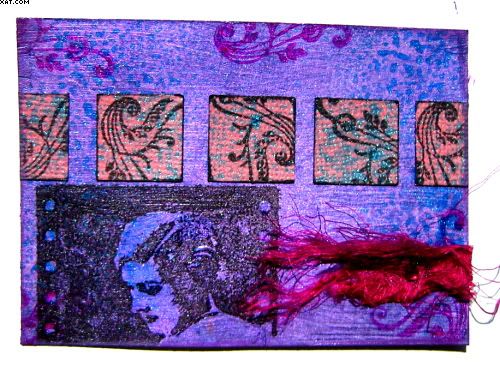
Vintage ATC


This ATC started life as a piece of black card cut to size.  I painted it with Lumiere hi lite violet acrylic paint and allowed it to dry, this almost entirely obliterated the black but provided a fab interference colour.

I then inked a swirl stamp and stamped randomly in onyx black Versafine on a piece of scrap salmon pink textured card. Next I sprayed this with peacock mica spray and dried with the heat gun. Five squares were then punched out with a square punch.  These were edged in Stazon black and put on one side. I then sprayed the background card at the edges with the same mica spray which balled up to produce a mottled effect.  Next a Crafty Individuals stamp was inked with black Stazon and stamped as shown on the background.  The face was glossed with Sakura clear glaze pen. The squares made earlier were then adhered across the ATC as shown.

The swirl stamp was next inked with fuschia pink Stazon and stamped several times. A small piece of silk ribbon was frayed and adhered and embellished with a small adhesive gem. The edges of the card were inked in mauve chalk ink to finish.  It's much more metallic and shimmery in real life as these never photograph well.

Sid xx

Pin It

Sunday, May 23, 2010

Charming !


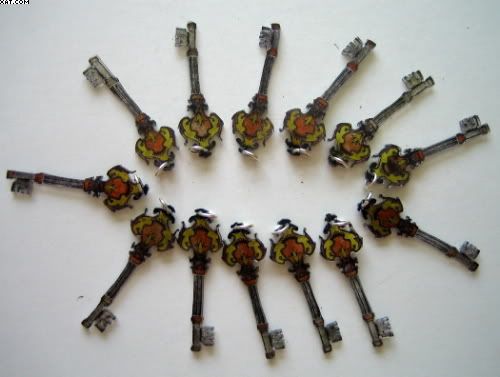
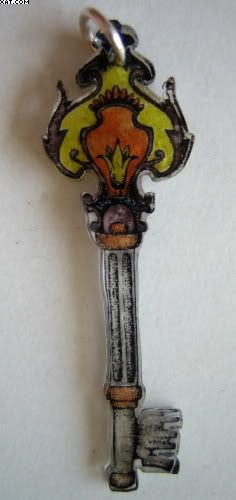
These little key charms were made as part of a swap run over on UK Stampers Forum by the lovely Minxy.  She kindly hosted the swap and each participant (14 in total), made 14 charms which were sent to her.  She had the massive task of fixing all the different charms to a bracelet that she had made before sending back our fab finished works of art.

I used a key stamp from Elusive Images and stamped this on opaque shrink plastic with black Stazon.  I then used Sakura Moonlight pens to colour them before punching a hole with the crop-a-dile, cutting out and shrinking them.  I applied a small jump ring to each to finish.


I thought that they would be ideal because they were only 1 inch long and very lightweight too ! Click HERE to see the finished bracelets and all the charms.

Sid xx

Pin It

Saturday, May 22, 2010

'Orangery'


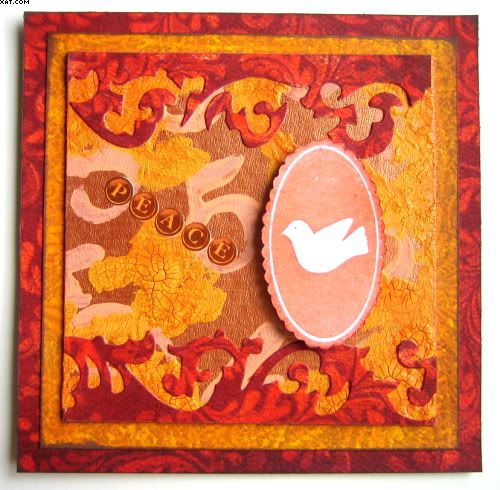
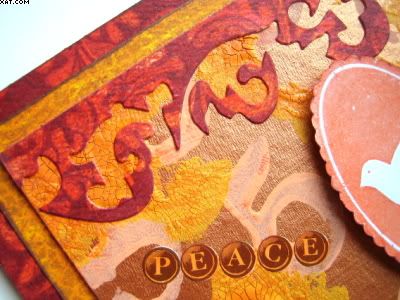
I have been following the Wednesday Stamper blog and think that this piece matches the theme of 'Orange' for this week.


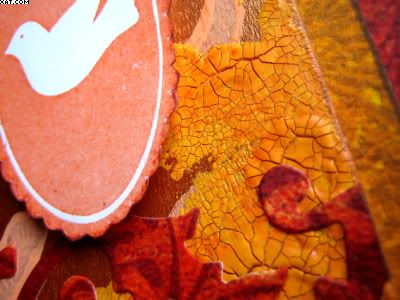
I made a double matted plaque with a central plate made of chipboard.  The central plate was cut to 4 x 4 inches and prepared by painting with Lumiere burnt orange paint. When dry the background was stamped randomly with numbers from a foam stamp set from Making Memories using orange acrylic paint. Next fairly thick uneven splodges of spiced marmalade Distress crackle paint was added and allowd to dry. This was then brushed over with some spiced marmalade Distress re-inker to highlight the cracks.  


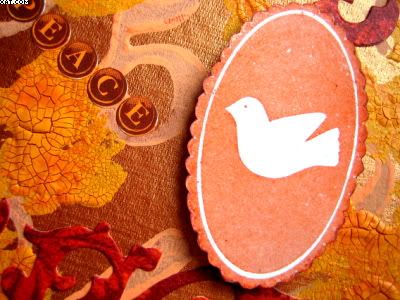
Next I stamped the dove plate ( clear polymer) in pumpkin pigment ink and heat embossed with detail clear embossing powder.  This was cut out and edged with dark brown chalk ink.

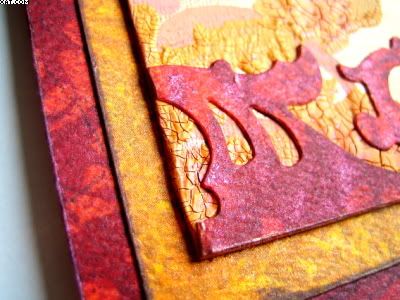
I used a Sizzix Tim Holtz 'On The Edge' die to cut out the swirls from patterned cardstock, using both the negative and positives top and bottom.  They were adhered with glossy accents.


The two printed cardstock mats were cut to 4.5 x 4.5 & 5 x 5 inches.  They were matted with glue stick as shown and edged with dark brown chalk ink.


Finally the dove plate was added on foam pads as shown and some self adhesive typewriter key letters added to spell out the word 'Peace'

Very rich colours were achieved and the background sort of 'evolved' as I decided to add the layers.  Quite pleased with the way it turned out.

Sid xx

Pin It
Related Posts Plugin for WordPress, Blogger...