>
Showing posts with label Colour Spray. Show all posts

Thursday, April 12, 2012

An Umbrella In The Rainforest Isn't Much Use !


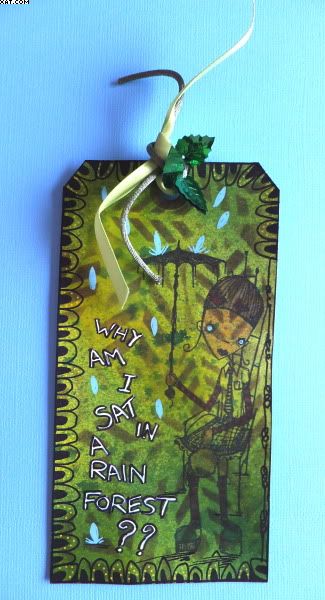
This tag was done as my entry into the Stampotique Designers Challenge which this time is entitled 'Oodles of Doodles'.  The base is a plain manilla tag which I have sprayed with Summer Inks by Sticky Fingers in yellow & green, building up layers until happy with the colour.

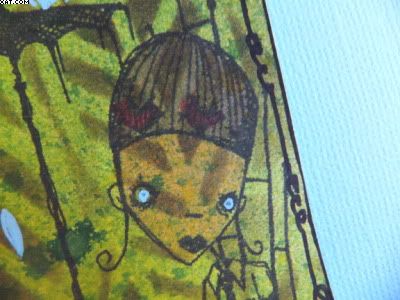
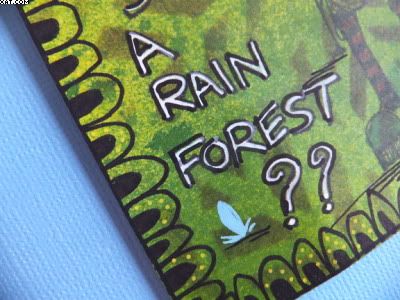
The leaves on the background were applied through a stencil with vintage sepia Distress Ink applied with Cut'n'dry foam. The Stamptique stamp is one by Jill Penney & Daniel Torrente called Relaxin' and it was this that inspired me to write the caption 'Why am I sat in a Rain Forest??' I just love the image.


I decided to stamp the image in Memento tuxedo black directly onto the coloured tag and then use some Marvey alcohol ink brush pens to selectively colour some of the image. Think the effect is a bit reminiscent of the 'Predator' films where the creature appears to be part of the foliage. I then set to work with Posca pens in black, white, blue and yellow and doodled to my hearts content so all other edging and the words along with some raindrops were added freehand.


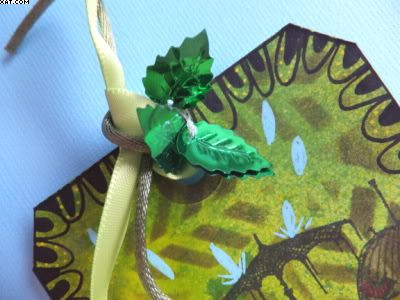
Finishing touches added some lime green satin ribbon, some moss green cord and a small length of iridescent cord threaded with a few green foiled leaves through the tag top.


So don't expect a brolly to work well in the rainforest !! (not that I've ever been there, of course).

Sid xx

Pin It

Sunday, August 22, 2010

Time & Tide ATC's


Here are a trio of ATC's done as part of a swap over on UK Stampers Forum.  The theme for these is 'Shades of Blue.

I started with white cardstock cut to size and used mica sprays made with faded jeans Distress ink and silver Cosmic Shimmer mica powder in a mini mister.  This was sprayed heavily until it ran in drips down the base card.  This was allowed to dry naturally.  A few coats were applied to give depth.


Next I sprayed  delphinium summer ink from Sticky Fingers over this until happy with the effect.  Some spatters and some drips were made also.  This was dried with the heat gun.


I next took some cheap blue glitter glue, applied swirls of this over each card and then dabbed over with a piece of dry baby wipe to distribute roughly, leaving an uneven and slightly glittery surface.  This was allowed to dry.


All the stamps used are PaperArtsy and I stamped the moth in black Stazon and a leaf in aquamarine Stazon as shown.The sentiment was stamped with Veramark ink and heat embossed with midnight sapphire obsidian Moonglow embossing powder.  The edges of the cards were coloured with wild iris chalk ink.

All three of the cards are slightly different but all have the same elements.  Hopefully I have captured a little of the detail of the surfaces on the pics.

Sid xx

Pin It

Friday, May 28, 2010

Square in Square


This is my entry for this weeks Wednesday Stamper blog challenge whose subject is 'It's Hip to be Square'.  I used a couple of polymer stamps from Inkadinkado kindly given to me by Godelieve as part of a fab prize of goodies when she celebrated her 1,000,000th hit on her blog..........now that's some going !

I started with a 2in square of Stampbord and stamped this in Versafine onyx black ink with the stamp.  I then used barn door & rusty hinge Distress inks to colour the edges and centre of the tile with cut'n'dry foam and a waterbrush.  Some parts of the image were coloured with Inktense pencils and a waterbrush.  I used a scratch tool to etch into the stampbord clay surface on the images and around the edge.  I then used some more barn door Distress ink around the edge and heat embossed this with detail clear embossing powder. I edged with dark brown chalk ink.


The background mat was made using Sticky fingers Summer spray inks onto white card and when dry followed by various colours of chalk inks applied through a bit of sequin waste. This was cut and matted onto a piece of maroon card.  Both mats were edged again with dark brown chalk ink.


The Stampbord tile was then applied centrally with glossy accents and the word Serenity stamped top right in Versafine onyx black ink to finish.

Sid xx

Pin It
Related Posts Plugin for WordPress, Blogger...