>
Showing posts with label Big Shot. Show all posts

Tuesday, March 12, 2013

My Dearest Friend


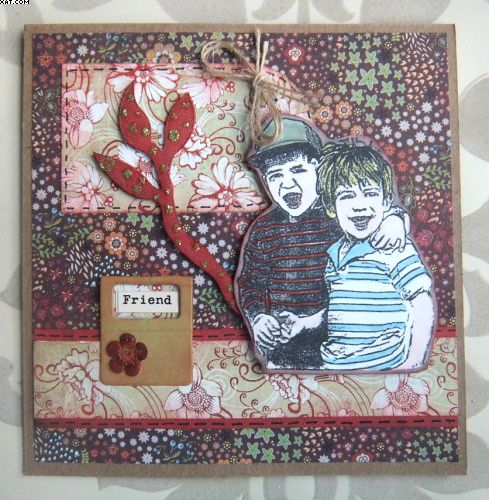
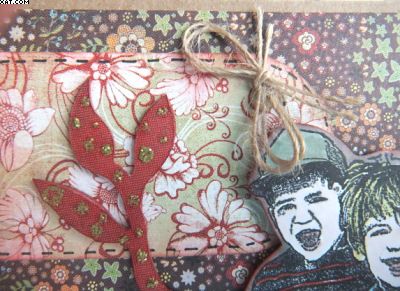
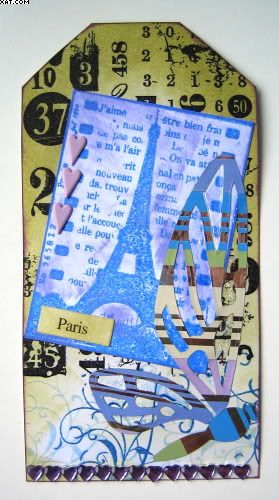
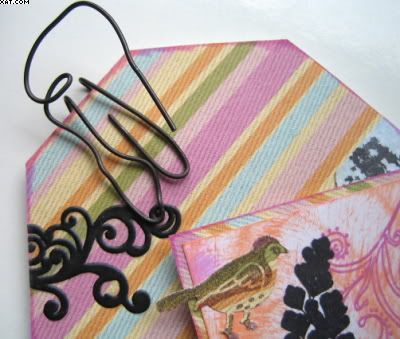
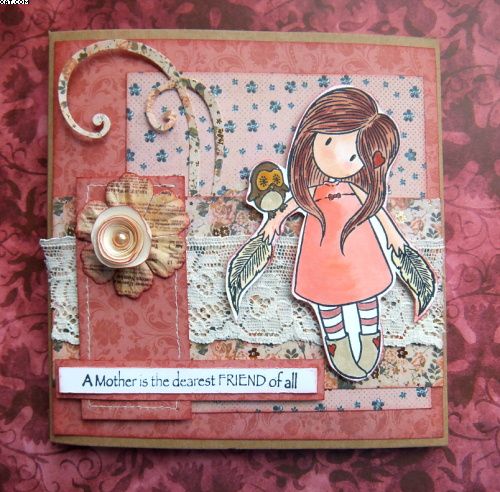
This is the Mothers Day card I made for my dear 87 year old Mum. The base is made from Kraft card and I used 6.5 x 6.5 inch papers from Kaisercraft (Forget-Me-Not) pad throughout. A number of mats were cut in a variety of papers, one being edged with sewing.  The swirl is die-cut through a Big Shot machine..


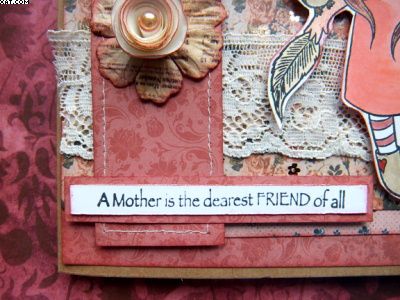
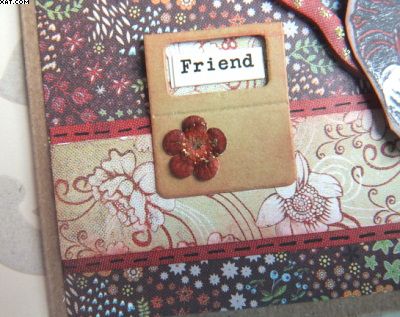
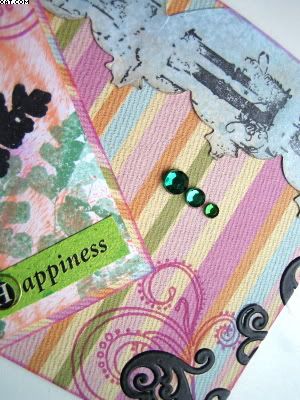
The sentiment was stamped and matted onto some more paper and applied on foam pads as shown.  The real lace is English Cluny and was applied with thin red line tape. 


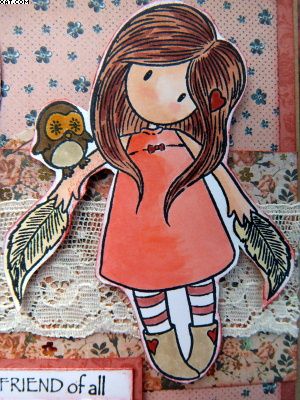
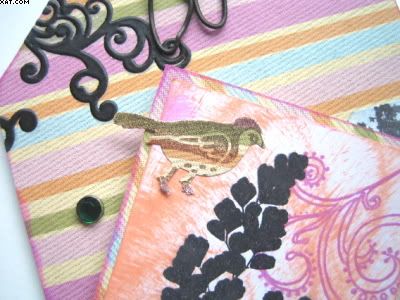
The main image is a Gorguss Girl stamp and was stamped in Memento tuxedo black ink, coloured with Copic markers, trimmed out and applied on foam pads.


The sewn mat was embellished with a paper flower and a paper rose centred with a half faux pearl.  Most of the mats and flowers were edged with fired brick Distress Ink applied with cut'n'dry foam.
 
Very pink don't you think !
 
Sid xx

Pin It

Saturday, March 09, 2013

Friends for Life


Another card for you today and it is again on a Kraft card base.  The 6 inch papers used this time are from the Mellow collection by Basic Grey.  I started by cutting a base mat and applied this to the card with double sided adhesive. Next I diecut a tag through the Big Shot and cut a strip of matching paper the same width as the base mat.  This strip was then matted again on some maroon paper.  This mat was then decorated with faux stitches applied with a black marker and embellished with a Kraft tab and a paper flower, some crushed olive Distress Stickles and a self adhesive word sticker.  The decorated strip was then applied at the base of the card.

The tag  was edged with fired brick Distress Ink and again edged with faux stitches before adding a small double bow of plain jute string through a hole made in the tag with a pokey tool.  This was then applied as shown.


The main stamp used is by Lost Coast Designs and was stamped on white card with Memento tuxedo black ink.  The little guys were coloured with Copic Markers before trimming out.  The image was then mounted on foam pads and stuck in place.


Finishing touch was to colour a piece of twiggy chipboard with the maroon paper, trim off excess with a craft knife, add some dots of crushed olive Distress Stickles.


Sid xx


Pin It

Sunday, July 11, 2010

Child Of Our Time Tag


This tag is No.25 in the UK Stampers Rolling Recipe Weekly Challenge.  The recipe this week is:

1. Something shiny
2. Numbers
3. Stamped image of a child

I started with a piece of white card cut to size.  This was liberally covered in crushed olive Distress ink applied with cut'n'dry foam.  I then used the flourish mask from TH and rubbed over with chipped sapphire Distress ink until the desired image was obtained. I left some areas still showing the original colour.


Next I used a numbers plate from Paperartsy and stamped with moonlight white Brilliance ink top and bottom as shown.  I then took another numbers corner stamp from Paperartsy and stamped this in coffee bean Brilliance ink in the bottom right corner.


Next I used a TH Sizzix 'on the edge' die and diecut some printed ruler paper with the Big Shot and applied this piece centrally across the tag.

The child plate was made by inking another Paperartsy stamp with chipped sapphire Distress ink and heat embossing this with Clear UTEE.  Once cool the image was torn out and coloured with crushed olive and chipped sapphire Distress inks. This was mounted on foam pads and stuck in place as shown.


Finally I added some shiny epoxy numbers top and bottom, applied some lime grosgrain ribbon through an eyelet done with the crop'a'dile and applied a pewter metal corner to the bottom of the tag.

Simples !

Sid xx

Pin It

Sunday, July 04, 2010

Paris Tag


This tag is number 24 in the Rolling Recipe Tag Challenge over on the new and upgraded UK Stampers Forum.  This weeks ingredients were:

1. Something shiny
2. Numbers
3. Paris


The tag was cut from white cardstock and a numbers background stamp (PaperArtsy) was inked with onyz black Versafine ink and stamped at the top of the tag.  I then took a swirls stamp (Trimcraft - My Minds Eye) and inked this with Memento ink in summer sky and danube blue and stamped randomly at the base.  The tag was then sponged with cut'n'dry foam and shabby shutters Distress ink.


Next an Eiffel tower stamp from Paperartsy was inked with hydrangea blue Impress dye ink and the image stamped onto more white cardstock which was then cut out.  The image was coloured in the background with Versamagic pretty petunia chalk ink.  This plate was then stuck in place onto the tag as shown.

I had some sticky backed striped metalised border paper and I used this with the Big Shot and a Tim Holtz alterations fanciful flight die to cut out the body and two wings of the butterfly.  The backing was removed and the bits stuck in place.  The spaces in the wings were infilled with diamond Stickles glitter glue.


Final touches were added by applying three lilac heart brads, some flat backed lilac hearts at the bottom and the word 'Paris' which had been coloured with shabby shutters Distress Ink.

Sid xx

Pin It

Thursday, May 27, 2010

Caged Bird Tag


I used two more Sizzix products in this piece. I was recently given the Tim Holtz 'Alterations' Sizzix Caged Bird die and  I also used the 'Bingo' embossing folder.


I took some more of the metallic fantasy paper I have had for such a long time and put this through the Big Shot using the embossing folder.  The numbers from the die were really popping on the metallic paper.  I then randomly dabbed over it with some gold Ranger paint dabber and rubbed off a lot with a dry paper towel.  I dried with a heat gun to set the paint.


Once dry the embossed and painted paper was put through the Big Shot again using the Caged Bird die which does such a fab job of making the cage, bird body and wing.  I next took the bird and wing and dabbed over the raised portions with a dark brown chalk pad and whilst still wet dusted over with detail clear embossing powder and heat set this carefully.  This enhanced the brown chalk ink a lot.  I next took a piece of duck-egg blue embossed card and attached the cage carefully with Glossy Accents without sticking down the central bars. This was then trimmed out around the outside of the cage.  The bird body was glued in place by sliding between the bars and the wing attached last over the bars.


I embellished the holes at the bottom of the cage with some blue dimensional paint and a blob of Stickles glitter glue and applied a self adhesive gem for an eye for the bird.  The hole at the top of the cage was threaded with gold elasticated cord wrapped around with blue eyelash fibres as the hanger.

I was originally going to put this onto another background but decided it looked good to me as it was.  Very shiny and blingy.......as I love this finish !

Sid xx 

Pin It

Sunday, April 25, 2010

Rolling Recipe Tag 14


Here is the next tag in the series of Rolling Recipe Tags over on UK Stampers Forum.  This one is no. 14 and had to have:

*   Stripes
*   Gems
*   Leaves

I started by cutting a blank white card tag and covered the front with some printed stripey paper.  The die cut strip down the right hand side is cut using the Big Shot and one of the Tim Holtz 'Alterations' dies, this one is ornate.  This was stamped with a TH letters stamp and sprayed with a home made mica spray in a duck egg blue tint.  This was then stuck in place and trimmed.


The plate was stamped on white card with a fern stamp (Paperartsy) several times with onyx black Versafine and with Memento cottage ivy ink. The background was coloured direct to paper with ColorBox chalk inks in tangerine, orchid pastel and amber clay  A swirl stamp (Wendie Rhodes) was also stamped with lilac posies Memento ink. A punched bird (Martha Stewart) was made using the stripey paper and applied before matting onto more of the stripey paper.  A small self adhesive sentiment was added.


The base tag was decorated with some vinyl swirls and the swirl stamp was stamped again in Memento ink as shown.


The plate was adhered on foam pads and some green gems added.  A piece of florists wire was then attached at the top of the tag to finish.

Sid xx

Pin It
Related Posts Plugin for WordPress, Blogger...