>
Showing posts with label Corner Punch. Show all posts

Sunday, February 23, 2020

Fragile ....


A set of three ATC's made for a swap over in UK Stampers Forum .... in the theme of numbers !

I have used a printed background on re-cycled packaging cut to 3.5 x 2.5 inches. I have decorated with tags made using a stamp and Memento Ink on a Distress Ink background applied with a water brush. I have used a corner rounder and decorated the tag edge with a squiggly orange line with a Posca Pen. I have threaded through the top of each tag with rust coloured decorative fibres.

The bases were stamped in Versafine black Ink with some bold numbers and each edged with black Posca Pen and orange Versamagic chalk ink.

The tags were added on foam pads at an angle to finish !

Sid xx

Pin It

Sunday, July 21, 2013

Be Happy Postcard


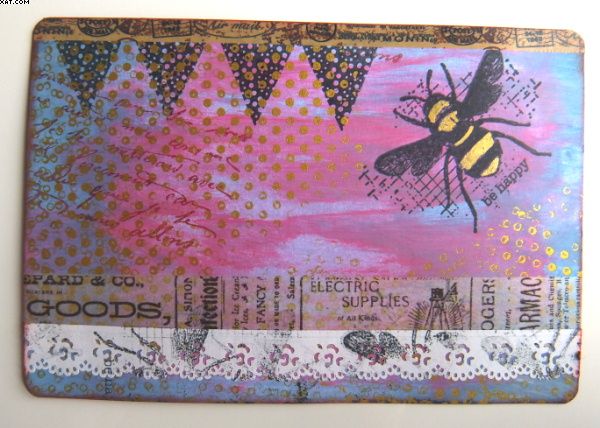
Here is my entry for a postcard swap over on UK Stampers Forum.  This month it is an open theme and I prepared my background on a 6 x 4 inch piece of white card trimmed to size with a guillotine..

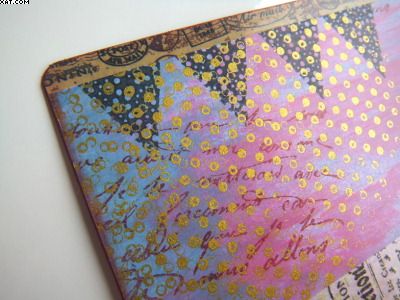
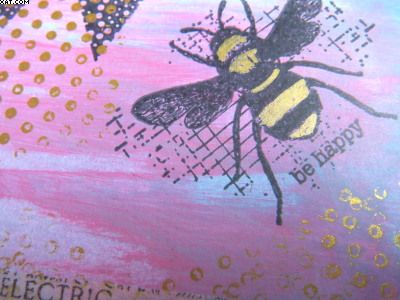
I used acrylic paints and a sponge to apply blue, magenta and cream paints.  Once happy with the effect I then stamped with Stazon Gold ink a dotty overlay.  Over this were stamped the bee image (Pink Paislee) and the pennants (Papertrey Ink) in Memento tuxedo black ink..  Another text stamp (Paper Artsy) was stamped in fired brick Distress ink.


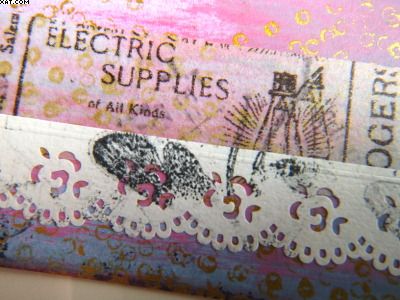
Next a strip of Washi tape was applied at the top and a strip of TH Tissue Tape at the bottom along with some paper lace.  These were lightly stamped over with the bee stamp again with Memento tuxedo black ink..


The bees body was coloured with a gold Posca pen to highlight.


All edges were coloured with more fired brick Distress Ink applied with cut'n'dry foam after the edges of the postcard were rounded with a corner rounder punch.  A light coat of matt acrylic spray sealer was applied to protect it in transit to it's recipient as it has to travel 'naked' through the post.

Sid xx

Pin It

Monday, March 07, 2011

Cool Cupcake


What a cool cupcake !!  Not of the edible variety and totally calorie free too.  This was made over the weekend as one of our crafty projects at our little crafty retreat in Skipton.  As I always liked blue that was my colour theme.

The whole concept was dreamed up and overseen by the very talented Efemera and many thanks to her  for sharing it.

The base is an empty cotton reel and the stand top is a piece of circular craft board both covered in patterned paper.  The fringe is also made from printed paper punched with a Martha Stewart edge punch.


The cupcake itself is made from a blue silicone cupcake case as its base.  The 'cake' is made from a polystyrene ball cut in half which is covered in a piece of white felt stretched and pinned in place over the half poly ball.  The frill is made from elasticated blue gingham ribbon from The Ribbon Girl.  This was stretched around the half ball and pinned in place into the polystyrene.  A very small amount of polyester fibre was added to the silicone base to fill it and the ball fixed in place with silicone glue applied around the ribbon before easing into the case. Once in position  I stuck a couple of pins through the case into the poly ball until the glue had set !


When the silicone glue had set the cupcake was embellished with a  piece of green satin ribbon, a paper flower, a red bead and a red headed pin to hold all in place on the top.


The finishing touch was to apply some blue Dew Drops from 3D Jean stuck in place with glossy accents.

What a tasty confection !!

Sid xx

Pin It

Tuesday, November 23, 2010

Starry Hanger


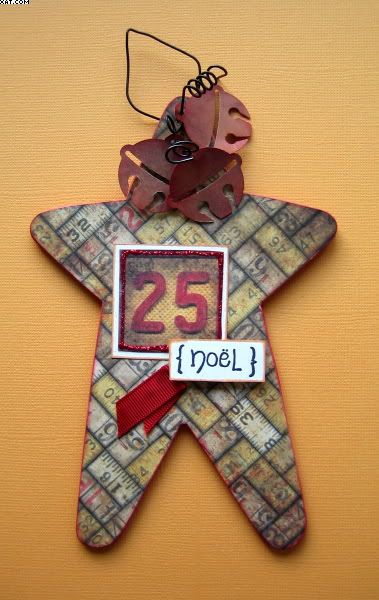
Here's another one of my Xmas items.  The wood star was kindly provided by Tinkertaylor (Jan) after she asked her hubby to do 50 for her !!!  Now that's true dedication !

I started by selecting a ruler background paper from the Tim Holtz 'Lost and Found' 12 inch paper stash and I glued this to the smooth wooden face of the star with PVA glue.  I then closely trimmed around the star with a craft knife.  I then cut a hole with a crop-a-dile middle of the top point of the star.  The whole star was edged with red chalk ink.


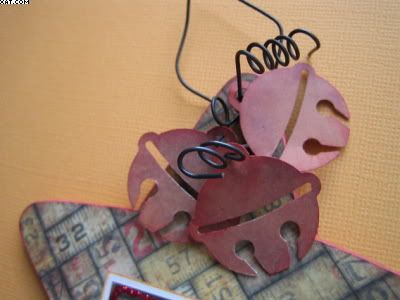
The jingle bells were cut from the reverse of the same paper with a Martha Stewart punch and the three resulting bells were edged with red chalk ink and arranged onto a piece of florists wire threaded through the hole and twisted carefully round a pencil .


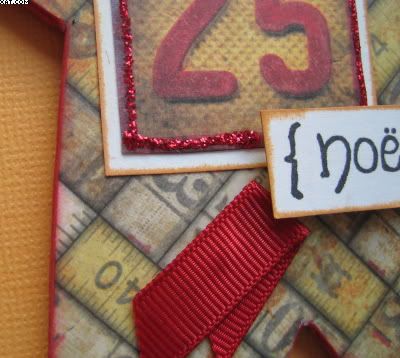
I then selected a number 25 from another page of the paper, trimmed it out and matted it onto a piece of slightly larger cream card.  This was edged with ochre chalk ink and after applying a little red Stickles glitter glue around the square was stuck in place as shown.  The noel was from PaperArtsy and was stamped in black archival ink onto another piece of white card, trimmed and again edged in the chalk ink.  This was mounted onto foam pads and applied as shown to add more dimension.

Final embellishment was a piece of folded and trimmed red grosgrain ribbon applied on double sided tape.

Sid xx

Pin It

Tuesday, June 15, 2010

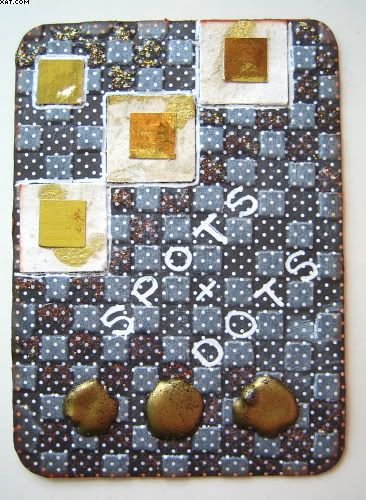
Spots & Dots ATC


This ATC was done to experiment with textures.  I took a piece of black & white printed dotty paper and put it through the Big Shot with a TH embossing folder.....this definately reminded me of a miniature bedquilt..  I then swiped over the raised squares with moonlight white Brilliance inkpad and dried with a heat gun before trimming to size.  This was stuck onto a card blank and the edges rounded with a corner rounder punch.

I then took some  various sized square punches and punched out squares in gold paper and some mulberry paper with gold flecks and applied these with glue as shown.  Then I applied three glue dots and heat embossed these with gold embossing powder.  I used a white opaque pigment pen to outline the squares and write the text.  The ATC was edged in burnt sienna Colorbox chalk ink and some diamond Stickles glitter glue was applied thinly to highlight some of the background squares.

Sid xx

Pin It

Thursday, October 16, 2008

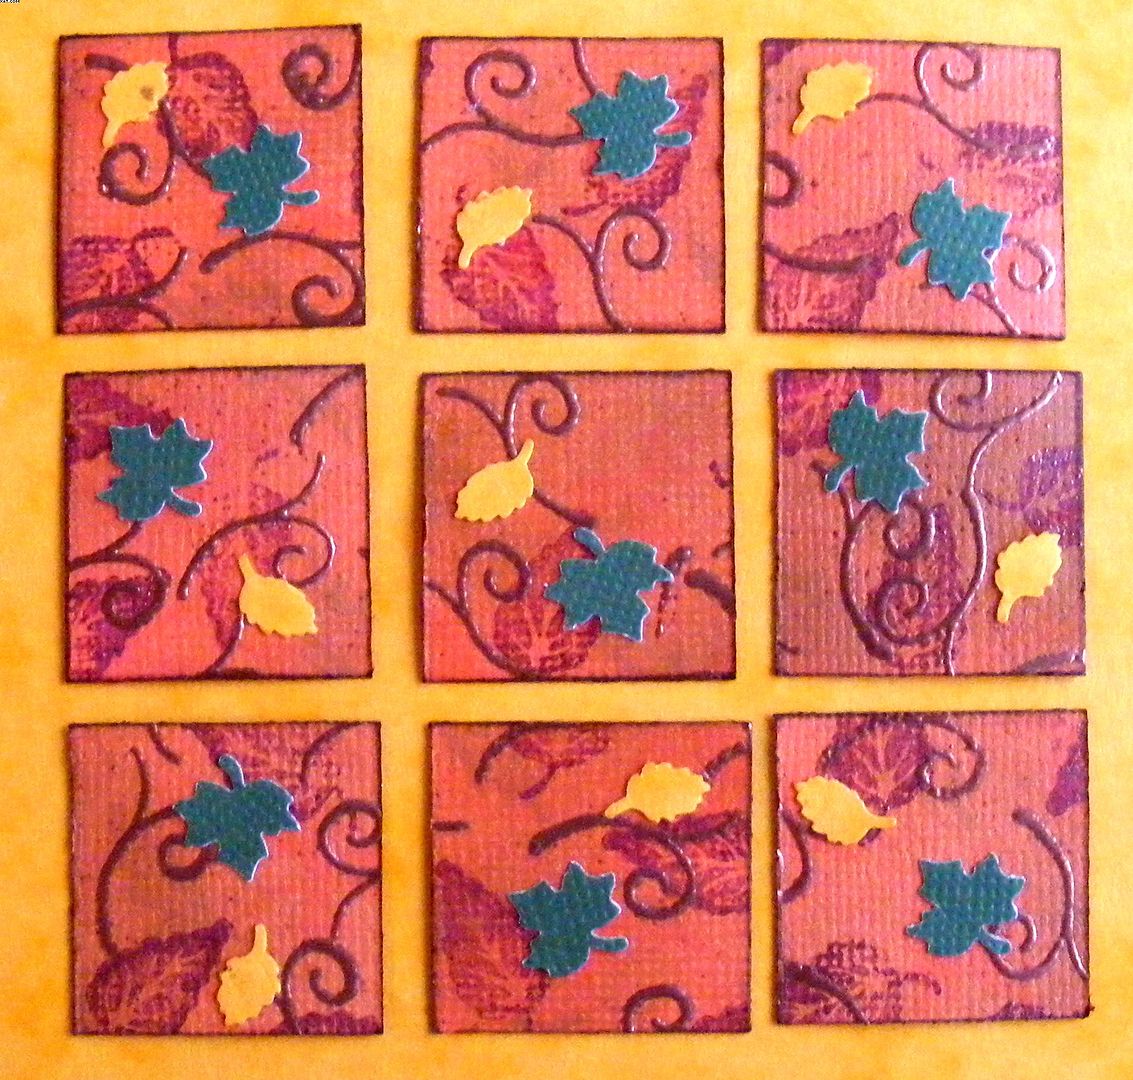
3 x 3 Inchie Swap No. 2


Well, finally finished my inchies for the UK Stampers 3 x 3 Inchie Swap No. 2. This months theme is 'Autumn' being the appropriate season for this. Enjoyed doing them though and have had a very crafty weekend and have done loads of projects.

I started with a 3 inch by 3 inch square of orange card and applied Adirondack inks in lettuce, raisin and butterscotch working well with cut'n'dry foam. I then stamped randomly with various leaf stamps from the See D's morsels lattice & vine set using Distress inks in mahogany, pine needles and dried marigold. I used a vine stamp and applied Versamark randomly and then heat embossed the vine impressions with penny copper EP.

The piece was then cut into 9 individual squares with the cutter. I used a Fiskars floral corner punch and cut out 18 orange and moss green leaves applying 2 to each square with glue stick. The inchies were then edged with dark brown Colorbox chalk ink.

Hope you like them :-)

Pin It
Related Posts Plugin for WordPress, Blogger...