>
Showing posts with label Gold Stazon. Show all posts

Wednesday, August 29, 2018

Little Piggy .....


Want to decorate your fridge with a cute Little Piggy ?

This handmade Fridge Magnet is 2.5 inches in diameter, has been hand-stamped and hand-coloured and comes with an extra thin & strong Neodymium magnet to hold it in place on any ferrous based surface. It is sealed with an acrylic glaze to protect it in use !

It's for sale in my Etsy Shop and is one of a series of fun & cute designs ... click HERE to go have a look...

Sid xx

Pin It

Sunday, July 21, 2013

Be Happy Postcard


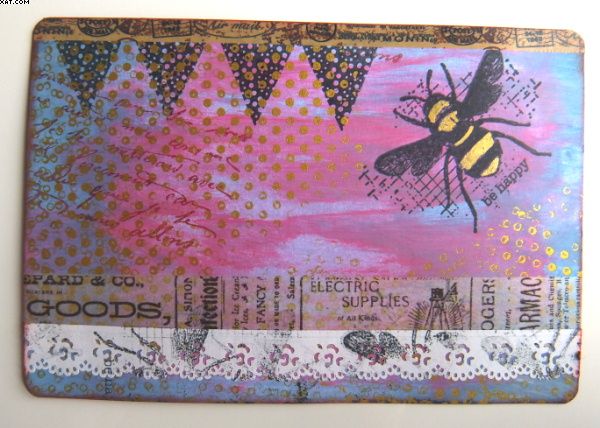
Here is my entry for a postcard swap over on UK Stampers Forum.  This month it is an open theme and I prepared my background on a 6 x 4 inch piece of white card trimmed to size with a guillotine..

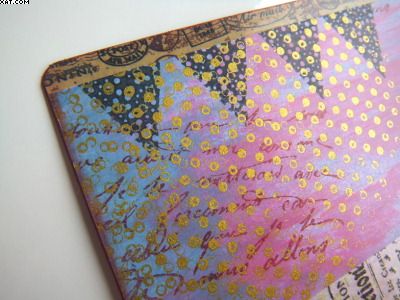
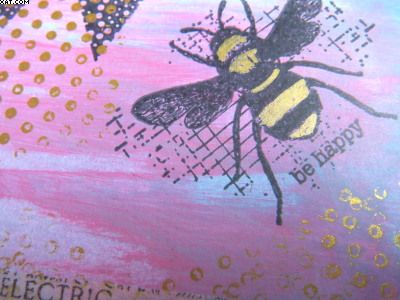
I used acrylic paints and a sponge to apply blue, magenta and cream paints.  Once happy with the effect I then stamped with Stazon Gold ink a dotty overlay.  Over this were stamped the bee image (Pink Paislee) and the pennants (Papertrey Ink) in Memento tuxedo black ink..  Another text stamp (Paper Artsy) was stamped in fired brick Distress ink.


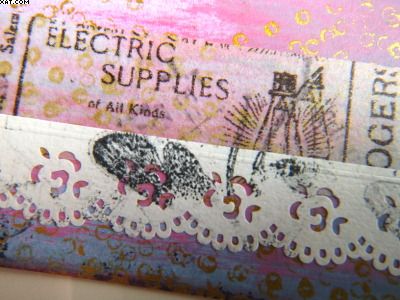
Next a strip of Washi tape was applied at the top and a strip of TH Tissue Tape at the bottom along with some paper lace.  These were lightly stamped over with the bee stamp again with Memento tuxedo black ink..


The bees body was coloured with a gold Posca pen to highlight.


All edges were coloured with more fired brick Distress Ink applied with cut'n'dry foam after the edges of the postcard were rounded with a corner rounder punch.  A light coat of matt acrylic spray sealer was applied to protect it in transit to it's recipient as it has to travel 'naked' through the post.

Sid xx

Pin It

Thursday, February 23, 2012

Domino Reflections


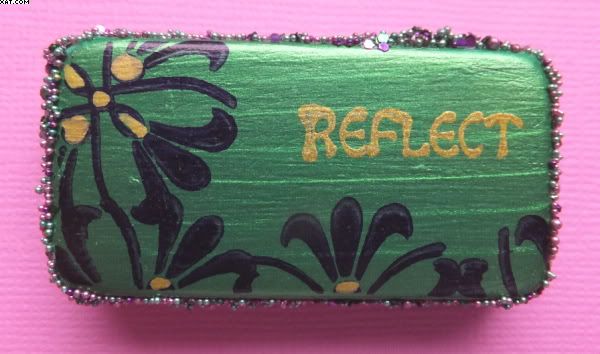
I have decorated a domino !   The shot above makes it look huge but it is actually only 2in x 1in, just wanted to show the detail...........

I started by sandpapering the plain side of the domino to afford a key before painting with 3 coats of pearlescent emerald Lumiere paint, ensuring it was dry before applying each successive coat.


I then stamped a small flower stamp in black Stazon several times as shown and infilled with a gold Posca pen.  The word 'Reflect' was stamped in gold Stazon.


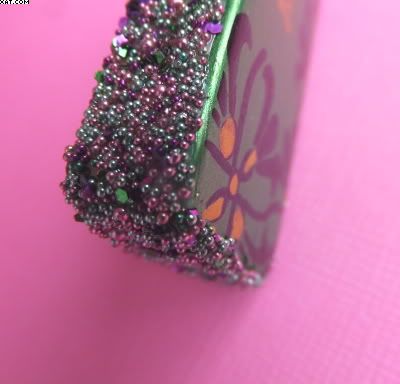
Once thoroughly dry, Glossy Accents was applied to all sides of the domino as a strong glue before dipping in Ranger calypso Beadazzles to afford a bit of glitz.

Sid xx

Pin It

Sunday, February 19, 2012

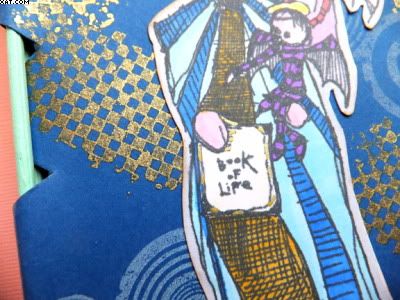
Book of Life


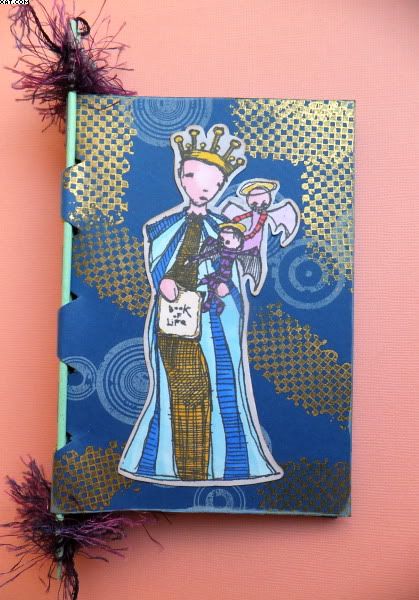
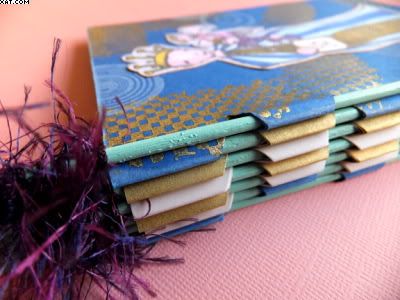
I have been meaning to have a go at making this this piano hinge book since I was inspired by the  extremely talented Sue Roddis in her book 'Handmade Decorative Books'.  I like the way this turned out and the book measures approx 4 x 6 inches.  It lends itself to all sorts of size variations and colourways to suit the mood and purpose.

I have had the materials in stock for ages but it was suprisingly easy to make.


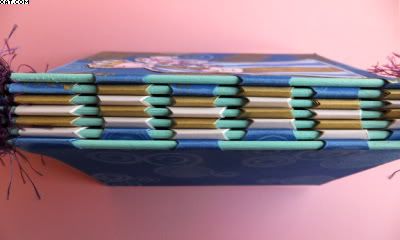
The front and back covers are made from royal blue card and it has four sets of 8 pages inside.


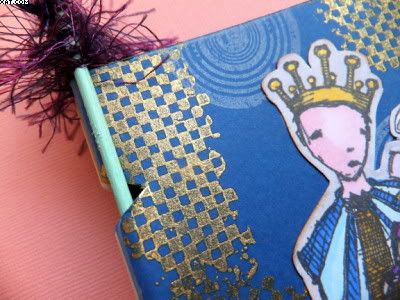
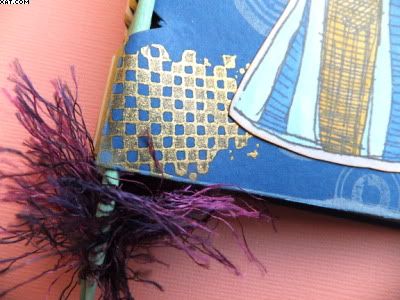
The pages are in 4 blocks of 8 in alternating buff and gold paper and all is held together with 7 painted wooden kebab skewers.  I have used fancy wool to bind the ends to stop them coming out of the hinges of the book.


The main image is by Stampotique Originals and is entitled 'Queen of Life' by Daniel Torrente.  This was stamped in black Archival ink onto white cardstock, dried and coloured with Spectrum Noir alcohol ink pens.  Once coloured I trimmed out the image and added a small amount of Posca gold pen on the crown and book.


Before assembling I stamped the fromt cover of the book with a Tim Holtz background check stamp inked with Stazon gold ink and overstamped with another TH circles stamp, this time inked with pale blue Versamagic chalk ink.  Some more of the circles were added to the back cover too.


The skewers were painted in Martha Stewart beach glass satin acrylic paint.

Sid xx

Pin It

Saturday, April 16, 2011

Reviving old papers


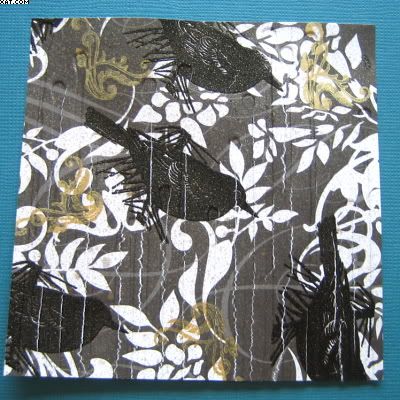
I have loads of old 12 x 12 printed scrapbook papers........... don't you?  I have recently taken part in a swap where we had to alter a 12 x 12 sheet, cut it into nine 4 x 4 pieces and swap with others.

This is one I just did.  The original paper was grey and has printed white leaves on it.  To alter it I stamped with a bird stamp (a Stamp In The Hand) inked with Versamark and heat embossed with detail black embossing powder.  I then took a swirls stamp (Creative Expressions ) and inked with Stazon gold and randomly stamped with this.  The final touch was to spray with some heirloom gold Perfect Pearl Mist and allow to dry.  Can't easily be seen in the pic !

That was it, I then cut up and used a drips embossing folder to emboss each piece and then posted.  A new lease of life to all those old papers we have and they can be used on collage, cards and many other projects.

Sid xx

Pin It

Sunday, April 10, 2011

Distressed Twinchies


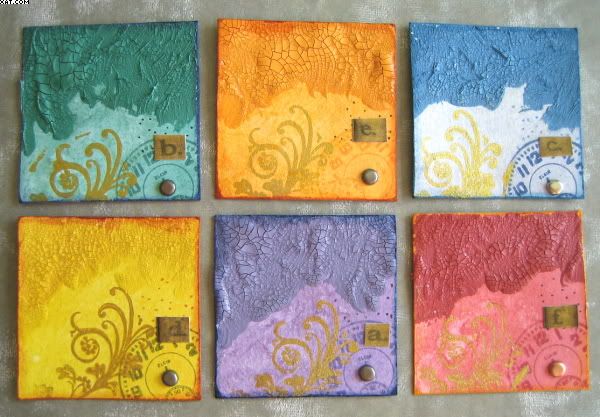
One of the members on UK Stampers Forum has revived the Twinchie swap after a period of dormancy.  This swap has the theme of 'Distressed' and need us each to make 6 Twinchies.


I made 6 twinchies from thick card cut to 2 x 2 inches.  The theme is the same for each of them.  I first gave the surface a coat of Distress Ink applied with foam.  I used pine needles, spiced marmalade, weathered wood, mustard seed, dusty concord and fired brick.

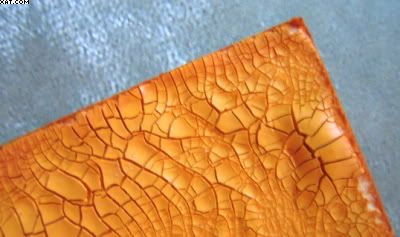
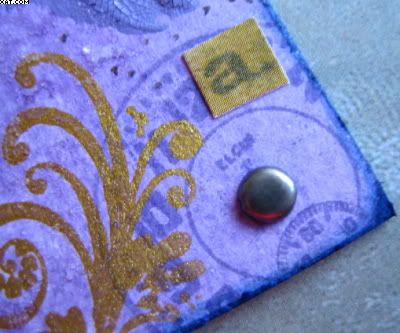
Next a thick coat of the corresponding Distress Crackle paint wa added and allowed to dry completely.  A clock face and a swirl stamp from Crafty Individuals was then inked in the corresponding Distress ink and gold Stazon and stamped as shown. A splodge of Rock Candy Stickles was added and rubbed over with a finger to spread.


The edges of each inchie were then distressed with sandpaper and inked in a corresponding colour.  Finishing touch was to add a metallic brad in the middle of each watch face and a cut down TH letter sticker.

Sid xx

Pin It
Related Posts Plugin for WordPress, Blogger...