>

Wednesday, June 16, 2010

WOYWW - Week 54


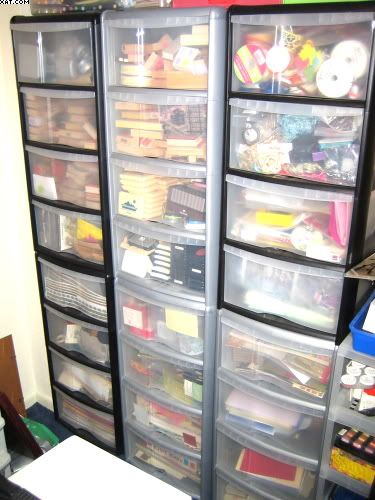
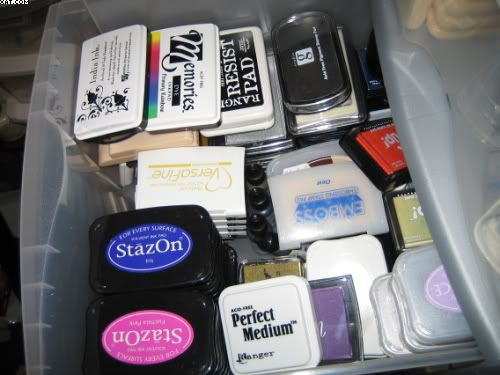
Hi there again, it's that time again to reveal more of my crafty stash for the 'Whats on Your Workdesk Wednesday' blog.  So many of you commented on my drawers from last weeks post that I am now showing you just one of the 'inkpad' drawers opened - I'm sure you recognise a lot in there !
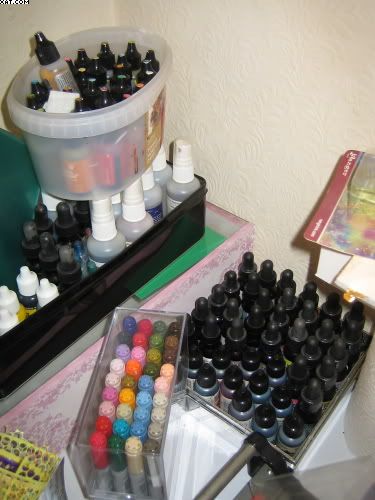


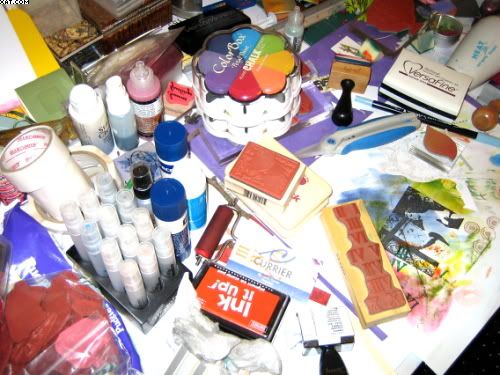
I have a long folding bench that I use for my main workbench. I bought it from Lidl, is actually a paste table and it's 12 feet long   Problem is that most of it is taken up with materials that I have no room for anywhere else.  This shot is far left hand side of this bench and has a motley selection of  AI's, reinkers, Copics and sprays - some in icecream containers.  There is a bit of sequin waste bottom left also that comes in very useful for background masking.
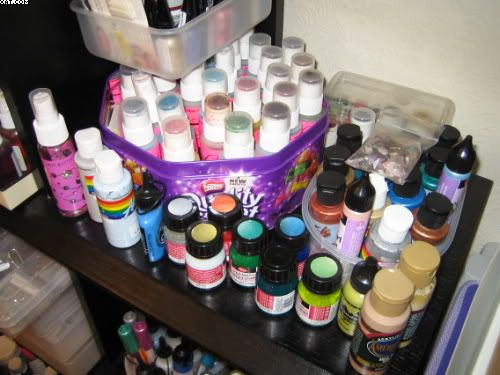


This is one end of one shelf of another black storage unit where I keep some of my colours. Starburst stains, Viva paints & pearl pens and acrylics.

That's it for this week hope you are enjoying noseying around too.  Look out for more next week.

Sid xx 

Pin It

Tuesday, June 15, 2010

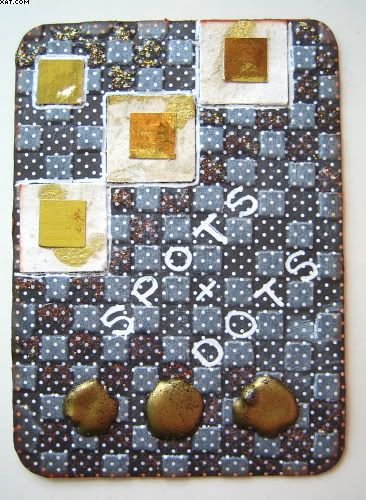
Spots & Dots ATC


This ATC was done to experiment with textures.  I took a piece of black & white printed dotty paper and put it through the Big Shot with a TH embossing folder.....this definately reminded me of a miniature bedquilt..  I then swiped over the raised squares with moonlight white Brilliance inkpad and dried with a heat gun before trimming to size.  This was stuck onto a card blank and the edges rounded with a corner rounder punch.

I then took some  various sized square punches and punched out squares in gold paper and some mulberry paper with gold flecks and applied these with glue as shown.  Then I applied three glue dots and heat embossed these with gold embossing powder.  I used a white opaque pigment pen to outline the squares and write the text.  The ATC was edged in burnt sienna Colorbox chalk ink and some diamond Stickles glitter glue was applied thinly to highlight some of the background squares.

Sid xx

Pin It

Monday, June 14, 2010

Sea Side ATC


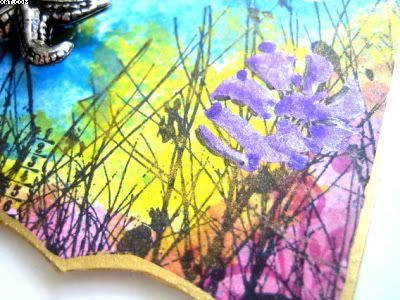
Here is an ATC inspired by a trip to the seaside and the sand dunes.  The main stamp is a grass and birds image (PaperArtsy) and was stamped at the bottom in black Stazon.  I then trimmed the base of the ATC with scissors to give it a scalloped edge.


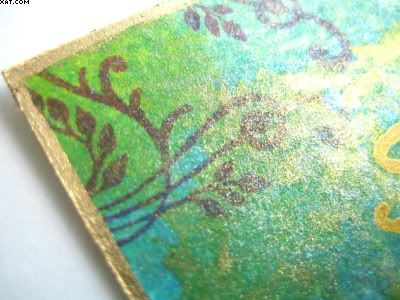
I then set about it with Moonglow Starburst Stains dabbers in a variety of colours, layering the colours until the depth of colour I wanted was achieved.  The above shot shows the shiny glimmer the mica produces but which is very difficult to photograph.  A swirl stamp was inked with Memento lilac posies dye ink and stamped a few times as shown.


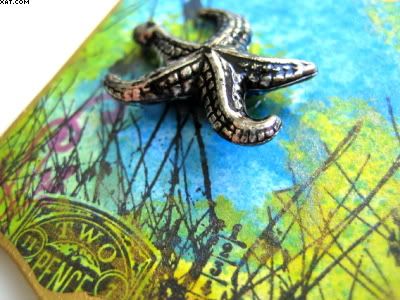
Some purple metallic paint was applied at the base of the ATC through a stencil.  The letters are gold rub-ons and the metal starfish embellishment was attached with glue gel.  The whole ATC was edged with gold Krylon pen to finish.


This one looks a bit reminiscent of Monet with its sploshy colours (not claiming that I am any kind of an artist though :-)).

Sid xx

Pin It
Sunday, June 13, 2010

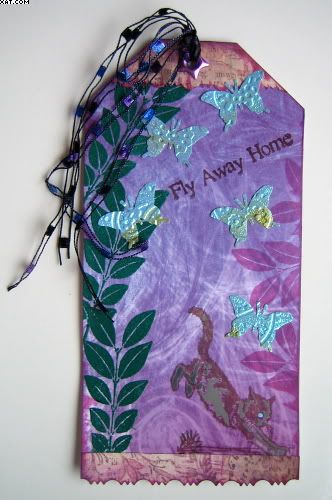
Fly Away Home Tag


Here is this weeks tag for the Rolling Recipe Challenge over on UK Stampers Forum. This weeks ingredients were:


1. Stamped image of an animal
2. Heat embossing
3. Something shiny

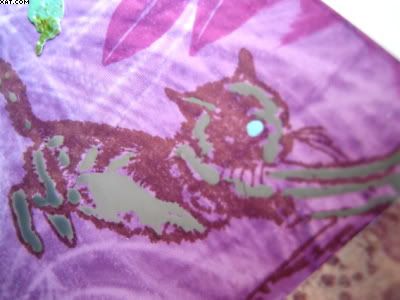
I cut the base tag from white card and covered this with some printed background paper. I then stamped a pouncing cat stamp (Elusive Images) with vintage sepia Versafine ink and filled in some of the detail with Souffle pens in blue and grey.


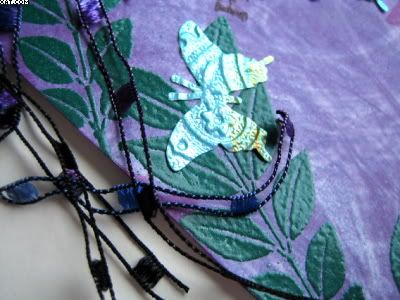
Next I inked a leaf stamp (Elusive Images) with Versamark in and stamped several times down the left hand side of the tag, heat embossing this with topiary green embossing powder.  The same stamp was inked with Memento lilac posies and stamped down the right hand side.


I then took some more coordinating printed paper and cut this with a pair of decorative scissors and edged with the same Memento ink before applying top and bottom of the tag with glue stick. 


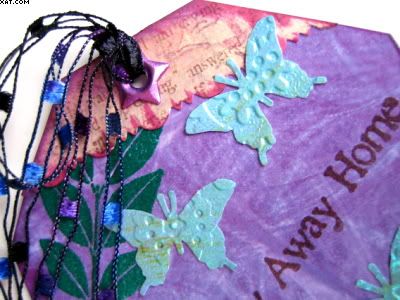
I then used a Martha Stewart punch and punched out some butterflies from fantasy paper, putting these through an embossing folder (Paisley) before sticking in place as shown.  The words were stamped in vintage sepia and also heat embossed with clear embossing powder.  Finishing touches were to apply an eyelet with the crop-a-dile and thread some decorative fibres through the hole, edging the whole tag with lilac chalk ink.

I wanted it to look like the little chap had missed pouncing on the butterflies and that they were flying away home to safety.

Sid xx

Pin It

Wednesday, June 09, 2010

WOYWW - Week 53


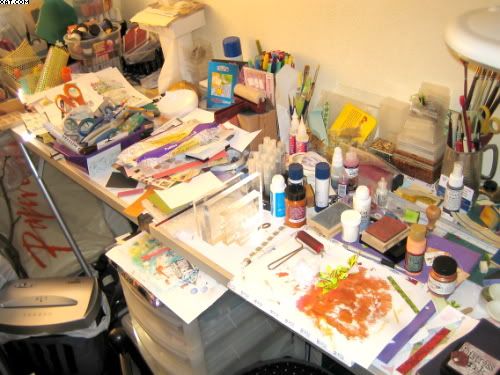
Here are a couple of shots taken this week for WOYWW  (What's On Your Workdesk Wednesday) blog. Ok you saw it for the first time last week.  This weeks first shot shows a number of other craft items left after some recent crafting.......leave you to decide what you think!  Really must have a tidy !

The next shot is a pic of my drawers.........no not that type of drawers! These drawers are crammed full of stuff.  In fact when I have a dig down into any one of them I am guaranteed to find something I had forgotten I had. Does that sound familiar?


Lot's of things to see in those. So will post again next week to show a bit more of my little Aladdins cave.

Sid xx

Pin It

Sunday, June 06, 2010

Wild Tag


Here we go with another tag in the Rolling Recipe series being run over on UK Stampers Forum.  This weeks ingredients are:

1. Tree/trees
2. Heat embossing
3. Stamped image of an animal

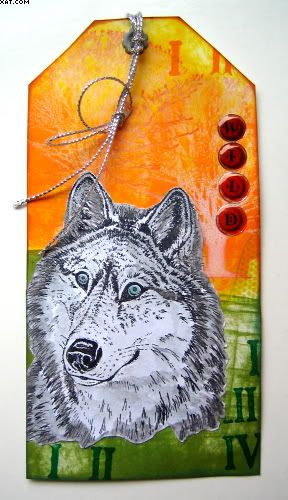
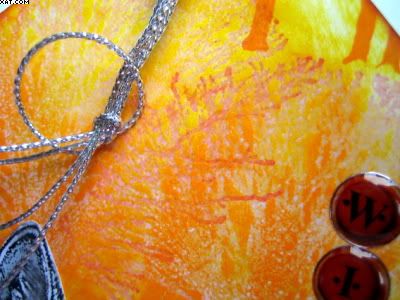
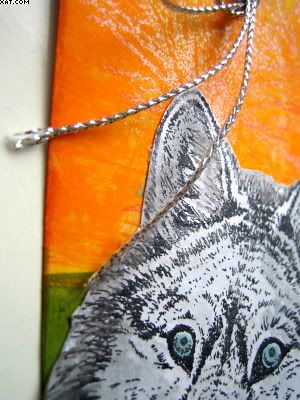
I started with a white card blank cut to size.  I used orange pigment ink and inked a tree stamp (PaperArtsy) and stamped it twice overlapping at the top of the tag.  This was then heat embossed with detail clear embossing powder.  I then used Impress dye inks in yellow and tangerine applied direct to the card from the pads and rubbed off excess ink lying on the embossing with a tissue.


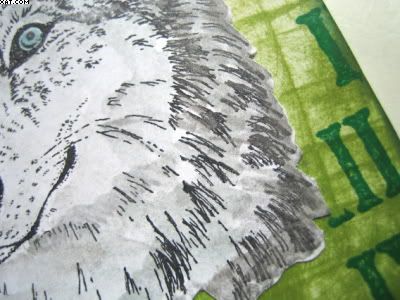
I then applied more Impress ink in olive green to the bottom of the tag in a similar manner.  I then inked a roman numeral stamp (Stamp-It) with tangerine Impress and stamped at the top and then with emerald green Impress at the bottom.


The wolf image is from Lost Coast stamps and I have had it for ages and never used it.  It's quite a stunning image on its own !  I inked this with black Stazon and cut it out.  I coloured its eyes pale blue and pencilled in areas with silver and graphite derwent metallic pencils.  Finishing with Inktense graphite applied with a water brush.  A final spray with Moonglow Glitz Spritz in scintillating silver gave it a fab shimmer.  This was dried with a heat gun before applying with a glue stick.


The tag was edged with Colorbox chalk ink in orange and green and a grey eyelet applied with the crop-a-dile.  Some self adhesive letters were coloured with orange solvent ink to spell 'Wild'. A short length of silver cord was tied through the hole to finish.

Sid xx

Pin It

Friday, June 04, 2010

Au Naturelle ATC


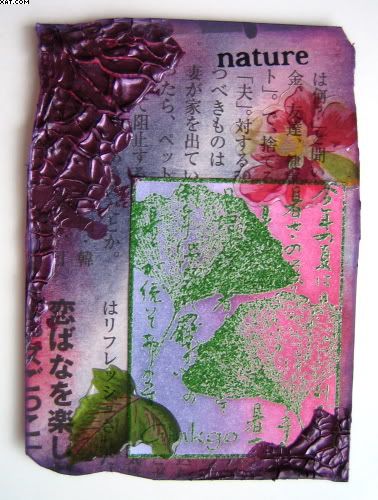
This ATC started life as a humble piece of card backing from some embellishments. It was cut to size with some uneven edges and coated with a piece of original Japanese newspaper.  This was then coloured with Adirondack inks in cranberry and eggplant with cut'n'dry foam until the desired effect was obtained. 

The Ginkgo image (Inkadinkado) was inked with Versamark, stamped onto white card and heat embossed with Moonglow tannenbaum green gold embossing powder.  This was then coloured with the same Adirondack colours before being cut out and stuck in place as shown.

Next some blackberry Croco Crackling Colour (Viva Decor) was scraped on quite thickly with an old credit card on two corners and this was allowed to dry until crackled.  The card was then embellished with some transparent polymer stickers and the rub-on word applied at the top. The edges were finished with mauve Colorbox chalk ink,

I wanted to do a sort of plum and green effect depicting the beautiful colours of the oriental plum blossom so common in Japan !

Sid xx

Pin It

Thursday, June 03, 2010

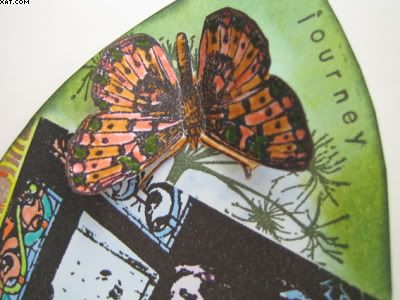
'Journey' Gothic Arch


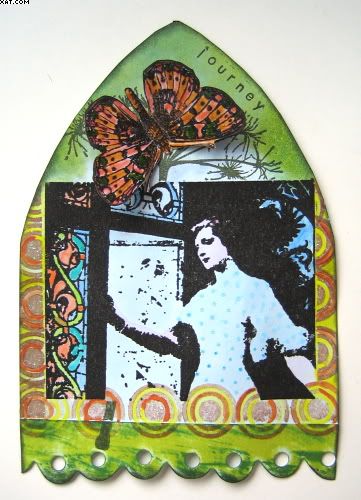
Here is another arch I have done and it fits the the latest Gothic Arch Challenge - 'Openings' . I chose another stamp from the  Collagabilities - Let's Face It plate of a lady looking out an open window.  I cut out the arch from pale blue card and began by stamping the main image in Versafine onyx black.  This I heat embossed with detail clear embossing powder. Next I masked this off and stamped a seed head stamp (PaperArtsy) in olympic green Versafine.


Next I die cut a border piece using the Sizzix Tim Holtz scallops 'On The Edge' die.  This was swiped with Memento inks in bamboo leaves and cottage ivy.  This was then stuck in place at the bottom of the arch.  I next took a concentric circle stamp (PaperArtsy) inked with Versafine vintage sepia and stamped around the main image after masking off the sides. I then used a selection of Inktense pencils and a waterbrush to colour the circles and main image and some Stickles crystal glitter glue added to the centre of the circles. Some blue dots were added to the dress with a blue Souffle pen.


The top of the arch was coloured with cut'n'dry foam and Distress inks in crushed olive and shabby shutters inks.  The word was stamped with a 7 Gypsies rotary stamp in onyx black Versafine.  The tag was embellished with a 3D butterfly made by stamping an Anna Griffin butterfly stamp onto thin card and colouring with contrasting Marvey Le Plume II pens this was then heat embossed with detail clear embossing powder.  This was trimmed out and attached with glossy accents after folding the wings upwards to complete.  I wanted an abstract finish to this arch.

Sid xx

Pin It

Wednesday, June 02, 2010

WOYWW - Week 52


Well, here it is !  This is a view of my workdesk as it was this morning for the WOYWW blog. Actually this week I seem to have more space in which to work for a change.  I daren't show you the rest of the room, it really is a tip but hey ho, that's what you get when you craft.

Sid xx

Pin It

Tuesday, June 01, 2010

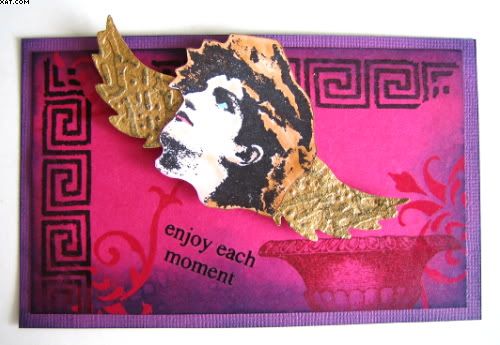
Take Flight & Enjoy Each Moment !


This little plate was made as my first entry for Sunday Stamper (No.105) challenge, whose theme this week is 'Wings'.  I just had to have a play with my new Sizzix 'Alterations' heart wings die by Tim Holtz which has a pair of wings as some of the die cuts. 

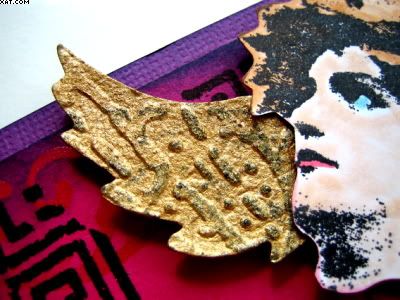
I cut the wings from grungepaper and then dabbed on gold paint dabber.  Once dry they were embossed through the TH  'cracked glass' embossing folder to add some texture.  The wings were then swiped with chipped sapphire Distress ink and heat embossed with detail clear embossing powder.  I next stamped the ladies head (Collagabilities - Let's Face It) in onyx black Versafine and cut out before colouring with Marvey Le Plume II pens.


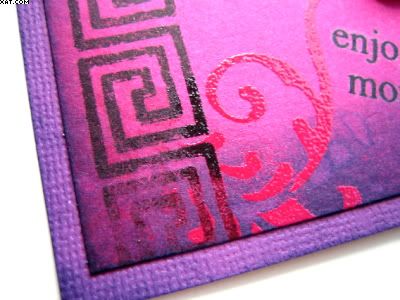
The background was cut from fuschia cardstock and first stamped with a roman key design (Cherry Pie Stamps) in onyx black versafine on two corners. Next an urn stamp also from Cherry Pie was stamped in vintage sepia Versafine as shown.  I then took a swirl from the same plate and inked this with Versamark (to provide a watermark effect) and stamped as shown.  I then added some detail clear embossing powder and heat embossed.


The edges of the card were inked with victorian velvet & chipped sapphire Distress ink blended with cut'n'dry foam.  Some drops of water were flicked onto the ink and it was dried with a heat gun to set. The background was matted onto some dark violet textured cardstock and this was also edged with chipped sapphire Dustress ink.


I then added the face and wings on foam pads and added rub-ons saying 'enjoy each moment'.  The colours are really rich and I like the Romanesque effect I managed to achieve.

Sid xx

Pin It
Related Posts Plugin for WordPress, Blogger...