>

Tuesday, March 12, 2013

My Dearest Friend


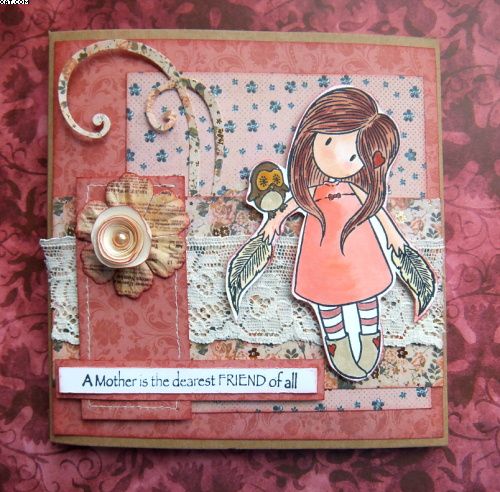
This is the Mothers Day card I made for my dear 87 year old Mum. The base is made from Kraft card and I used 6.5 x 6.5 inch papers from Kaisercraft (Forget-Me-Not) pad throughout. A number of mats were cut in a variety of papers, one being edged with sewing.  The swirl is die-cut through a Big Shot machine..
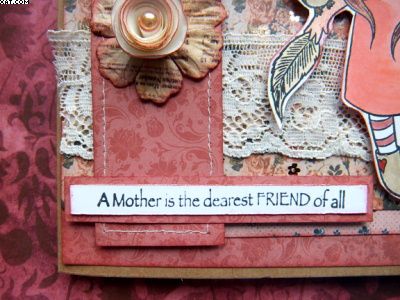


The sentiment was stamped and matted onto some more paper and applied on foam pads as shown.  The real lace is English Cluny and was applied with thin red line tape. 
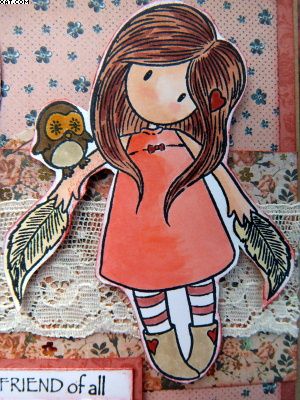


The main image is a Gorguss Girl stamp and was stamped in Memento tuxedo black ink, coloured with Copic markers, trimmed out and applied on foam pads.


The sewn mat was embellished with a paper flower and a paper rose centred with a half faux pearl.  Most of the mats and flowers were edged with fired brick Distress Ink applied with cut'n'dry foam.
 
Very pink don't you think !
 
Sid xx

Pin It

Saturday, March 09, 2013

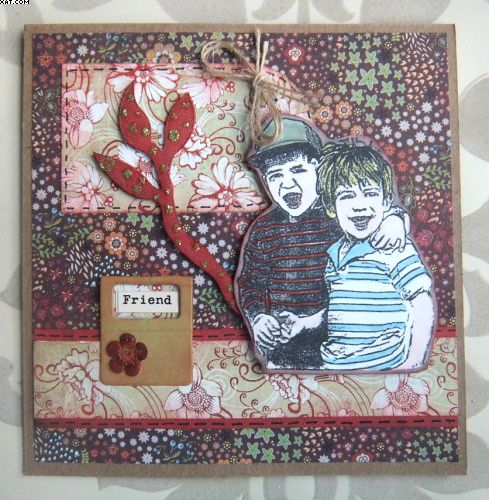
Friends for Life


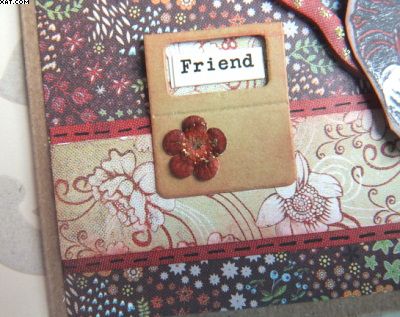
Another card for you today and it is again on a Kraft card base.  The 6 inch papers used this time are from the Mellow collection by Basic Grey.  I started by cutting a base mat and applied this to the card with double sided adhesive. Next I diecut a tag through the Big Shot and cut a strip of matching paper the same width as the base mat.  This strip was then matted again on some maroon paper.  This mat was then decorated with faux stitches applied with a black marker and embellished with a Kraft tab and a paper flower, some crushed olive Distress Stickles and a self adhesive word sticker.  The decorated strip was then applied at the base of the card.

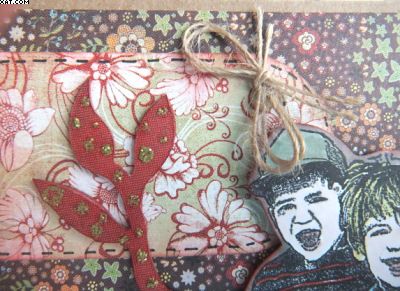
The tag  was edged with fired brick Distress Ink and again edged with faux stitches before adding a small double bow of plain jute string through a hole made in the tag with a pokey tool.  This was then applied as shown.


The main stamp used is by Lost Coast Designs and was stamped on white card with Memento tuxedo black ink.  The little guys were coloured with Copic Markers before trimming out.  The image was then mounted on foam pads and stuck in place.


Finishing touch was to colour a piece of twiggy chipboard with the maroon paper, trim off excess with a craft knife, add some dots of crushed olive Distress Stickles.


Sid xx


Pin It

Monday, March 04, 2013

Smile Please


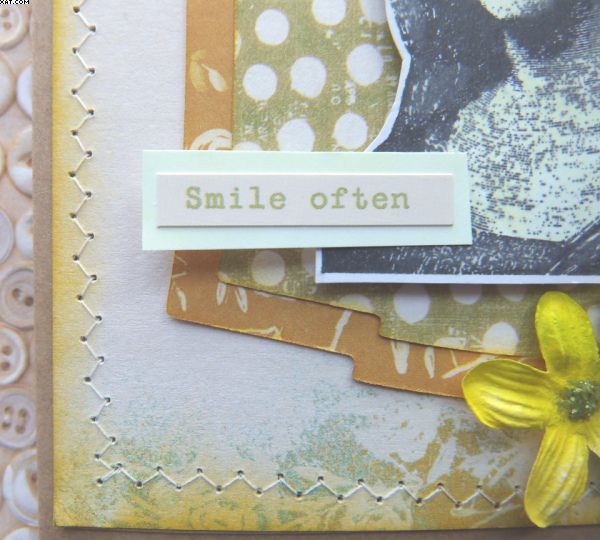
With the enigmatic smile of the Mona Lisa in my mind and a wonderful weekend spent with my crafting friends in Yorkshire I created this card.


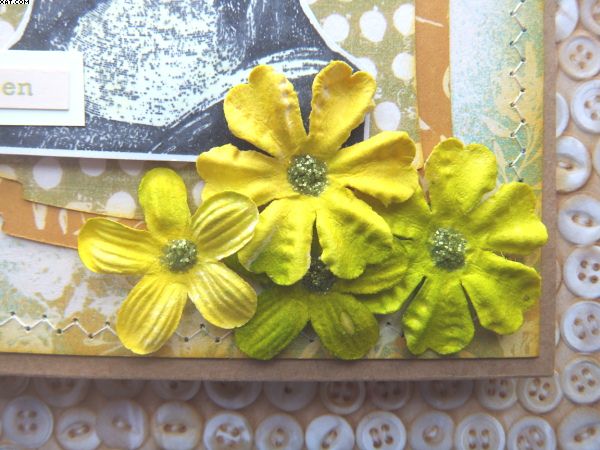
A plain Kraft card was used as a base. The flowers were white Prima which I sprayed with yellow and green Dylusions colour sprays.  They were centred with shabby shutters Distress Sticles and stuck in place with glue dots.


The stamped image (Lost Coast Designs) was stamped with Memento black ink and coloured with pale lemon Copic Marker before trimming out.  This was applied on foam pads to raise it.

All papers used were from a 6 x 6 pad by Prima (Alla-Prima).

The image was layered onto a background paper (sewn around the edges) and applied over two mats cut with the Big Shot using a Spellbinders Nestabilities Labels 2 Die.


The sentiment was a self adhesive sticker matted onto pale green card and again applied on foam pads.

Sid xx

Pin It

Sunday, February 17, 2013

Back in Circulation


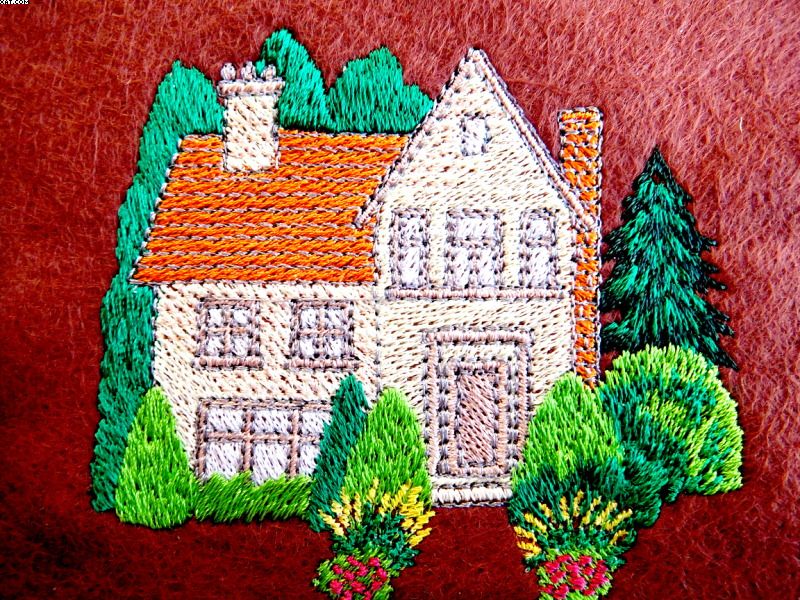
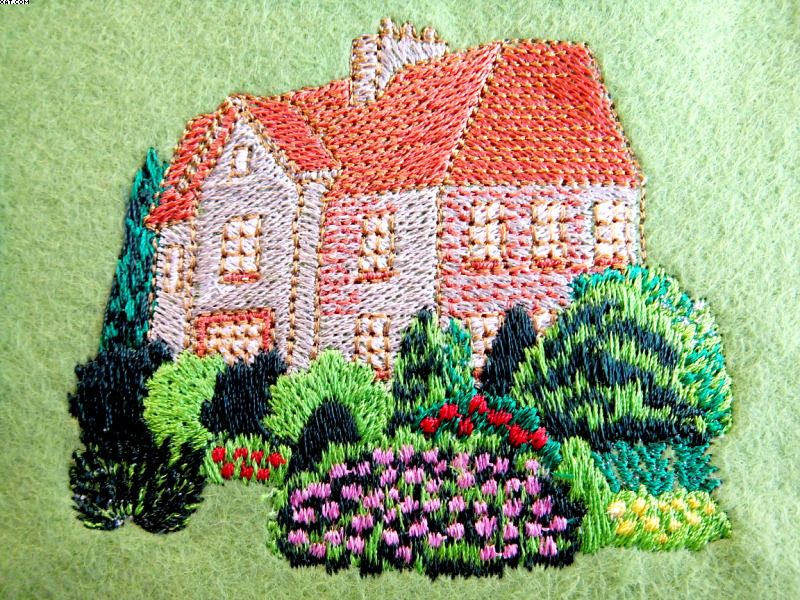
Well it's been quite a time time since I posted on my long negleted blog.  Various reasons have caused this, one of these has been that I have recently started machine embroidery !  I bought a Singer Futura XL400 machine.

Quite a learning curve getting everything just right but after many hours of trial and tribulation (not without it's funny side I might add !) I have made some interesting pieces of embroidery.

Today I have embroidered two little houses with gardens onto felt squares.  The first is on brown felt and the second on lime green felt.  I find felt a wonderful medium to embroider on.  I always use a tearable stabiliser to assist with support of the top and bottom threads during the embroidery process.


Hope you like them. Must start doing some papercraft now too so watch this space !!

Sid xx

Pin It

Tuesday, December 25, 2012

Happy Christmas


Just to wish all my family, friends & followers a very Happy Christmas.  Have a fantastic day today !

Pin It

Monday, December 24, 2012

Festive Shadow Box


Here is wishing you all a very Merry Christmas and a happy and prosperous New Year in 2013 !!

It's been a long time since I posted on my blog and it has been sadly neglected.  The gap has been caused by major re-furbishments to my home which caused havoc.  I still can't find most of my craft stuff .......... it is all there but in a mish-mash of boxes etc.  I will get this sorted in the New Year and I very much need my craft fix again as I have really missed it.

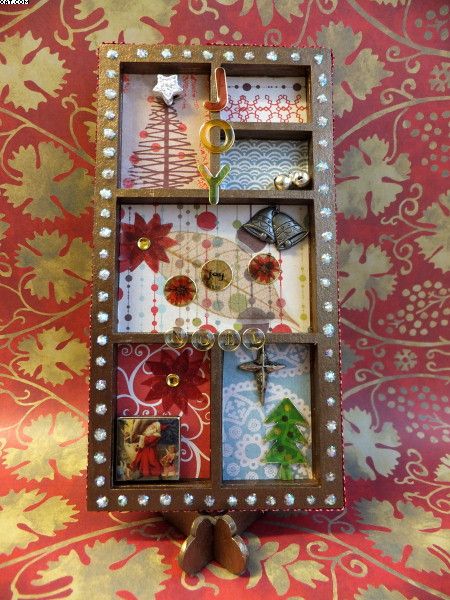
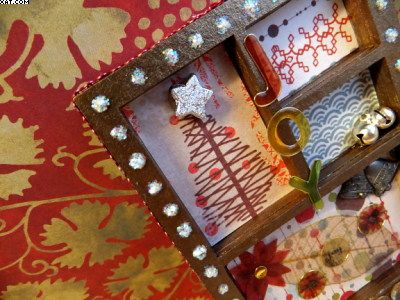
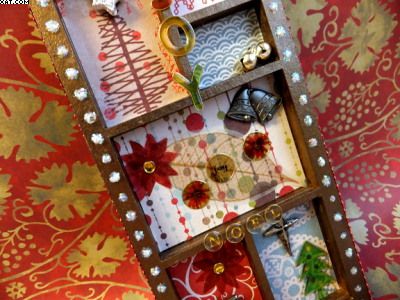
This little 6 x 3 inch shadow box and stand is made from chipboard and contains no stamping at all.


Papers used are from Prima (North Country 6 x 6 stack), trimmed and applied in the compartments as shown.  The box was given a couple of coats of bronze acrylic paint beforehand.


Various embellishmnets were added to give a bit of dimension, some stickers, a brad and metal charms.


Some maroon gingham ribbon was added around the box and some ice Stickles added around the front edges.


Sid xx

Pin It

Sunday, July 08, 2012

A Smiley Pear


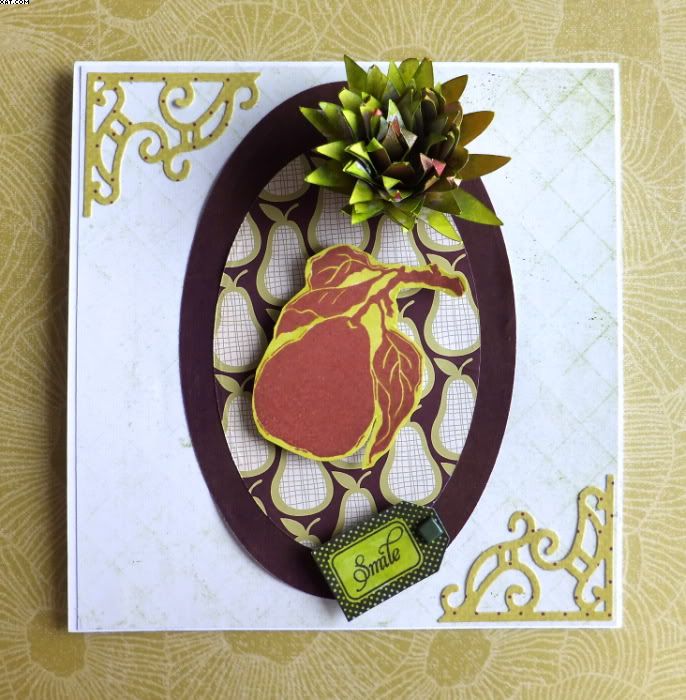
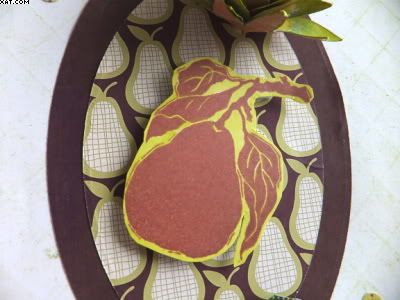
Here is a little card I made using some digi papers from Cosmo Cricket, some diecuts and a bit of stamping and spraying.


The background was printed, trimmed and stuck in place.  I used dies to cut the two oval mats. One in Brown and one with a pear design.  These were layered directly onto the card.


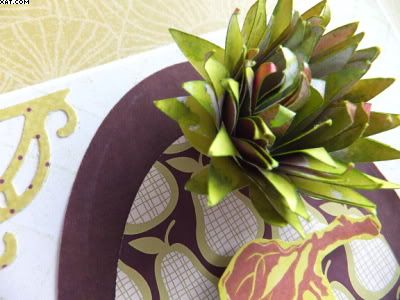
The pear stamp (A Stamp In The Hand) was stamped in Archival sepia ink and trimmed out, then coloured with a lime green alcohol ink pen.  This was mounted on foam pads.  The flower was made from printed cardstock which was die-cut using my Cricut and once assembled was sprayed with Green Dylusions spray.  This was stuck in place at the top of the card.


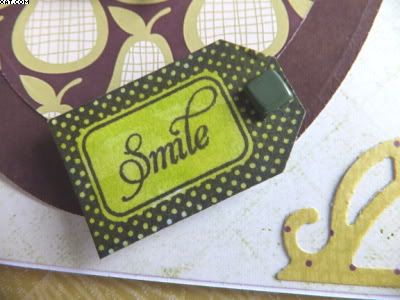
The mini tag was diecut and stamped with Papertrey Inc stamps and dies.  This was also mounted on foam pads after applying a brad. before colouring with the lime green alcohol ink pen.

The two flourishes were also die cut with a Sizzix die and stuck in place as shown.  Because of the dimension of the flower the card will be packed into a box.  I have entered this into the Simon Says Challenge too !

Sid xx

Pin It
Saturday, July 07, 2012

Isn't it Cool !


Doesn't happen very often does it? But it's great when it does !!

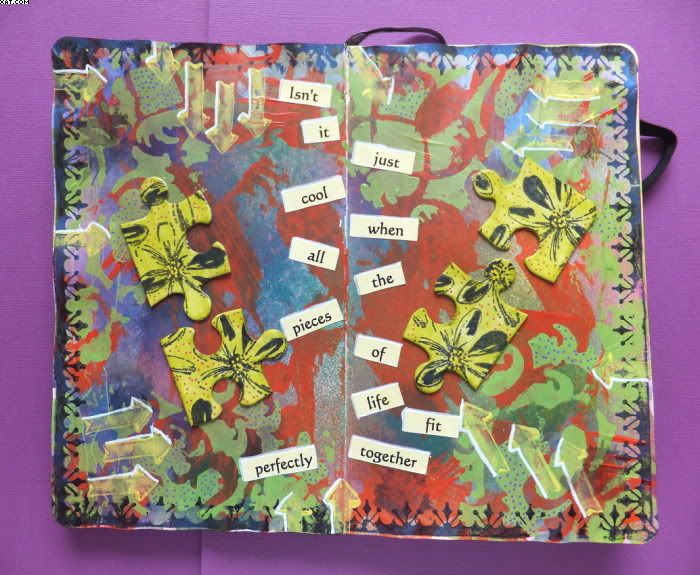
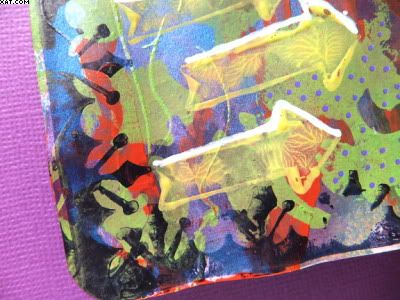
Here is another entry into my small Moleskine journal.  The background was started ages ago and incorporates Dylusions sprays and acrylic paints applied through stencils with a sponge.

Some arrows were added with a stamp and some more yellow acrylic paint, later on.  The background can be seen at the end of the post.


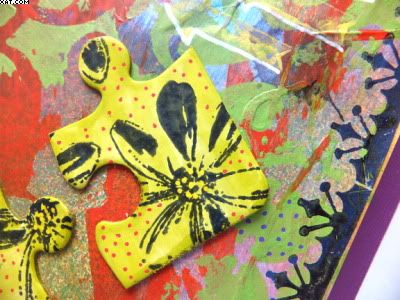
I thought the jigsaw pieces represented bits of life very well and these were stamped with Memento onyx black ink and coloured with alcohol ink brush in lime.  Red dots were added with a Posca marker.


The edges of the pages were stamped with a border stamp in archival black ink to define them.  Words were printed out on the computer and trimmed to size.


Further doodling with Posca pens and the final shot shows the background before the words and embellishments were added.

Sid xx

Pin It
Monday, July 02, 2012

Hot Adoration


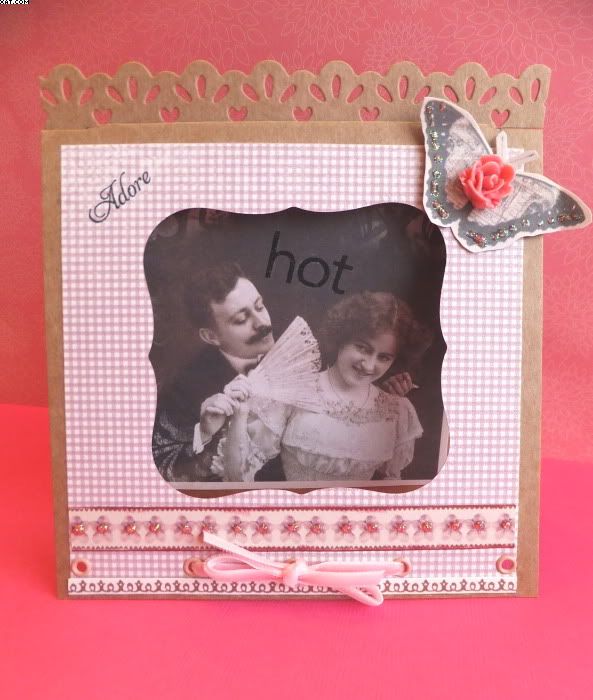
She does look a little hot and is being fanned to cool her down ............... hence the title !

Here is an sandwich board card I made where the inside picture hangs and swings freely between the front and back of the card. The base is Kraft and the inside has been trimmed down with the top die-cut with a sizzix border die. This has been passed through an aperture cut with a craft knife at the top of the card.


The front and inside is decorated with papers from Pion and the front panel was trimmed and the paper applied before passing through the sizzix with a Nestie die to make the aperture.


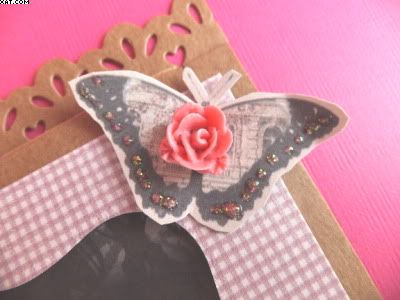
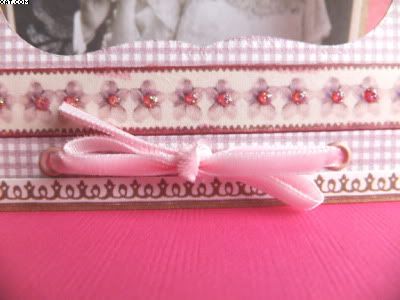
The 'adore' stamp is from Papertrey and the pink velvet ribbon has been threaded through some rose pink eyelets and tied in a bow.  The HOT is rub-ons.  The butterfly has been held in place with a rose brad.  Some pink Stickles glitter glue has been added to finish the card.

Sid xx

Pin It
Sunday, July 01, 2012

Summer Garden


Seeing as we seem to already have had our Summer in the UK, here is a card I have made to remind us of what it can be like.

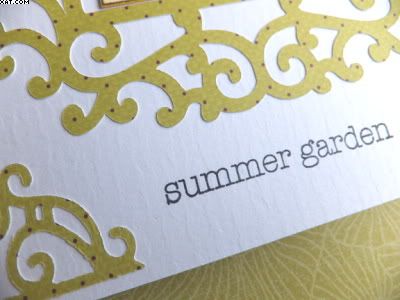
The card base was made from white textured cardstock and when scored and folded measures 17 x 17 cm.


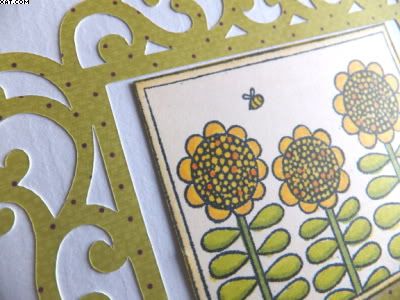
The central frame and corners are die-cuts out of a printed paper by Kaisercraft.


The central panel and text sentiment are from a set of seasons stamps by Beth Hughes.  Once stamped  on cream card in Memento tuxedo black, the frame was coloured with Marvey alcohol brushmarkers and all elements were stuck in place with a glue pen.

A very simple card.

Sid xx

Pin It
Related Posts Plugin for WordPress, Blogger...