>
Showing posts with label postcard. Show all posts

Thursday, December 30, 2021

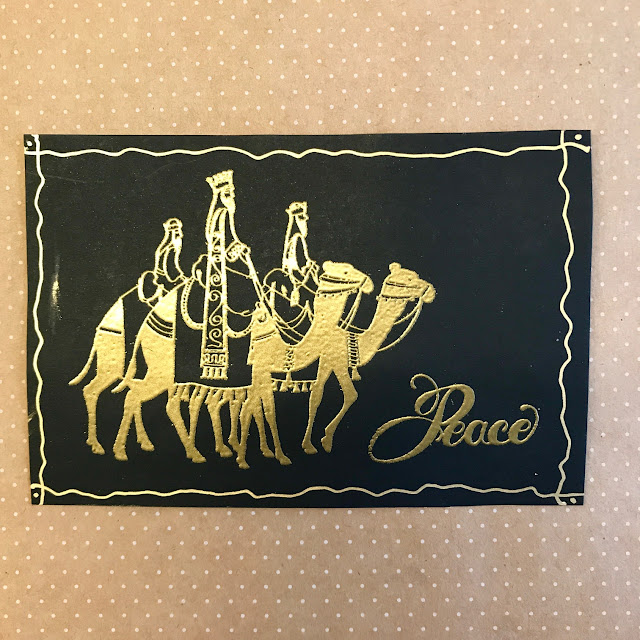
Magi ....


Made a postcard with gold heat embossing on a black card background for a swap over on UK Stampers Forum .... these postcards are sent through the normal postal system 'naked' , that is without and envelope ......

It measures 6 x 4 inches and has a base of re-cycled packaging. The images were stamped in Versamark ink on black card and heat embossed with gold embossing powder. before attaching to the base.

Very simple but, I think, effective ......

Sid xx

Pin It

Thursday, October 18, 2018

The Crow .....


This is a handmade postcard which will travel through the post 'naked' - not in an envelope .....

It's a bit dark but wanted to make it a bit atmospheric for Halloween !  I started with a card base cut to 6 x 4 inches.

I made a background with inks and Brusho and applied this to the base.  I printed a crow and trimmed to fit the card edging with black Micron pen and decorating with spots of Stickles glitter glue after sticking in place.

I also stamped some barbed wire in Archival black ink and a 'Happy Halloween' seal was stamped in red dye ink before trimming and sticking in place.

The postcard was edged in red chalk ink and sprayed with matt acrylic sealer to protect it through the postal system.

Sid xx

Pin It

Monday, April 16, 2018

Believe .....


Made a mailart postcard for a Monthly Swap over on UK Stampers Forum ....

If you fancy joining in the Swap why not join the Forum ..... click HERE to go to the Forum ....

Sid xx

Pin It

Sunday, March 11, 2012

A Window on Italy


Another 6 x 4 inch postcard done as part of a swap over on UK Stampers Forum.  The theme this month is 'Windows' so I have done mine on an Italian theme.  The postcard travels to it's recipient 'naked' so it needs to be able to stand up to the RM treatment !


The background is plain white card and I have used a mask and Distress Ink in crushed olive and wild honey to build up layers to leave no white showing.  This has been dried to set with a heat gun.

An old Italian map has been stamped with an arched window stamp from PaperArtsy twice to form a round window in Archival black ink and trimmed out.

The background was then stamped with a leaning tower of Pisa stamp (PaperArtsy) in grey Memento dye ink as shown to form muted images on the right.  I have then heat embossed two stamped images (chandelier & finial) with Versamark and heat embossed with Ranger turquoise embossing powder after first rubbing over with an antistatic bag.


The bottom border is punched from black card with an EK success border punch.  The card was then assembled and edged with turquoise Versamagic chalk ink.  Final touches were to add the computer word, edged with gold pen, and apply Macarena Beadazzles with Glossy Accents to the top left and right of the card.  The whole card was then sprayed with a thin coat of matt sealer to fix.

Sid xx

Pin It

Saturday, April 10, 2010

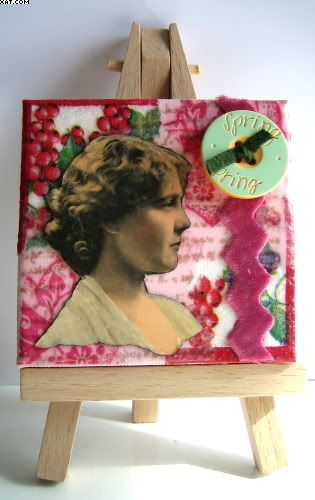
Spring has Sprung

It's been simply ages since I posted, somehow life got in the way ! This little number is my homage to Spring in that it makes me feel brighter and the sun is actually shining outside today.

I have had the mini canvas (2.75 x 2.75 ins) in my hands so many times and have never done anything with it to date. I used tissue paper, stamped images and napkins for the background, all adhered and held in place with Matt Mod Podge.

I had been sent a very lovely paper napkin as a RAK and tore the edges (which contained images of cherries) and adhered these with the Mod Podge and a soft brush. I then stamped some text onto pale pink tissue paper with Versafine vintage sepia ink, again tore this and adhered several pieces across the canvas using the same method. I finished off by stamping an image (free coverstamp from Craft Stamper Mag) with Cherry Red Stazon onto pink tissue and applied this as before. I left one or two bits of the canvas showing through too.


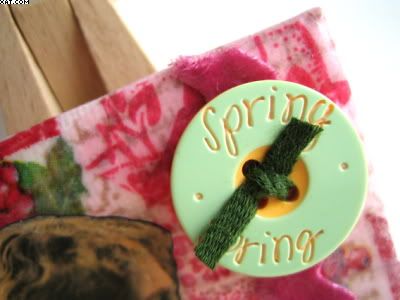
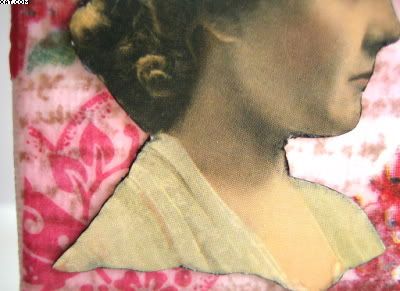
Next I cut the lady image from a mini postcard and edged with black ink. This was applied over the collaged canvas (once dry) with Glossy Accents as shown. A piece of pink velvet rik-rak ribbon was applied with glossy accents and this was embellished with a button tied through with a thin piece of dark green braid and adhered on a glue dot.

To finish I added a coat of victorian velvet Distress ink applied with cut'n'dry to the sides of the canvas. I love the way that tissue paper allows the other stamped layers to show through.

Hope you like it !

Sid xx

Pin It
Related Posts Plugin for WordPress, Blogger...