Clare (Fairy), UKstampers forum suggested an ATC swap with 5 crafters each producing 5 ATC's in a series. Each crafter would then receive 5 ATC's back, one from each set.
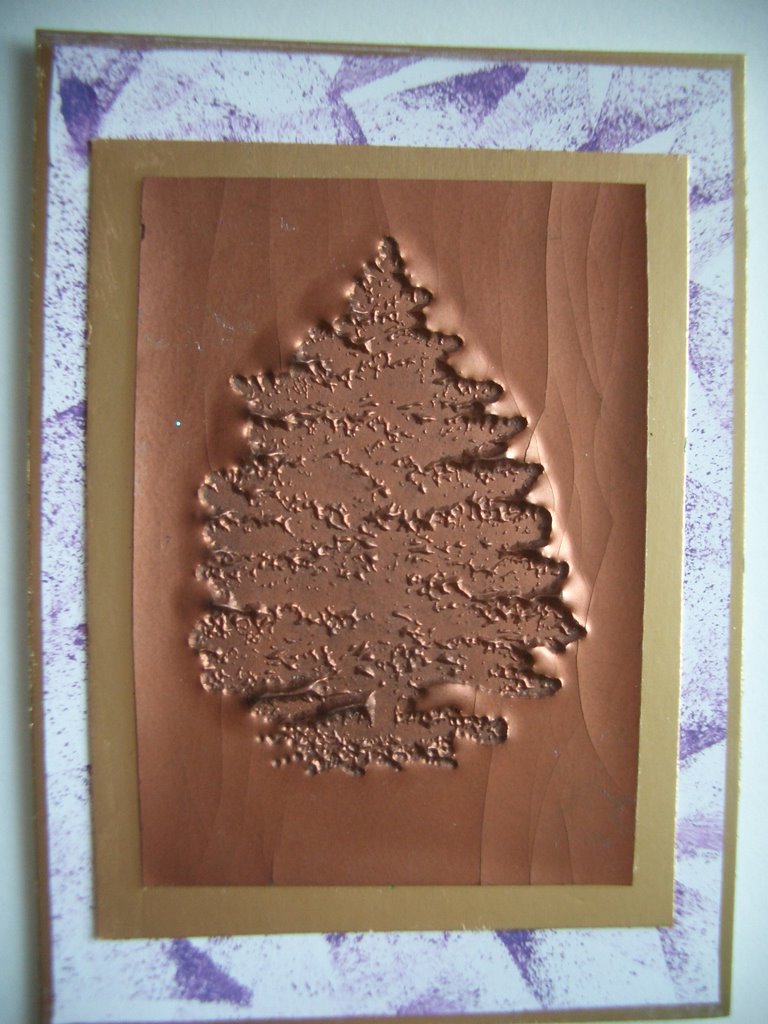
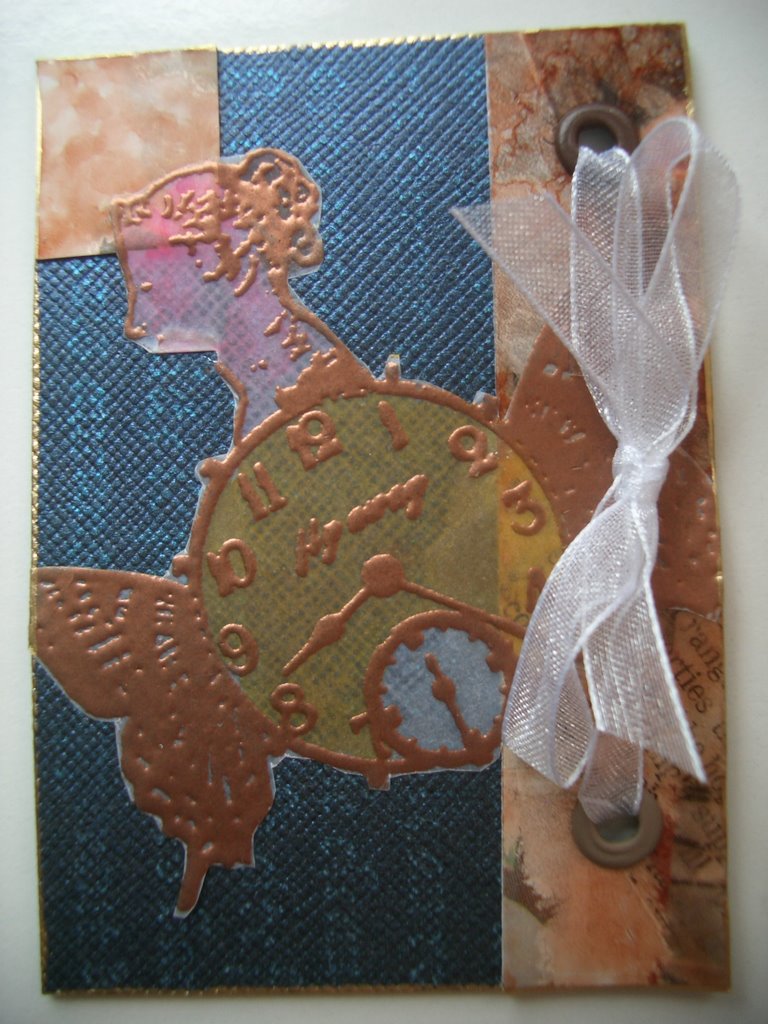
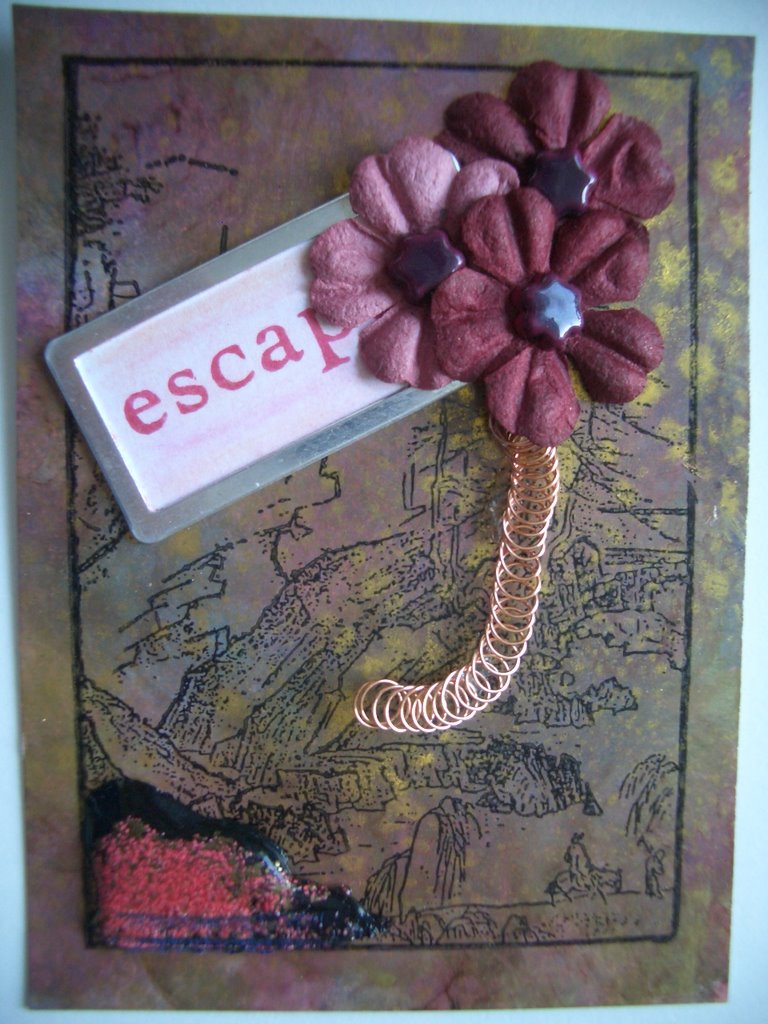
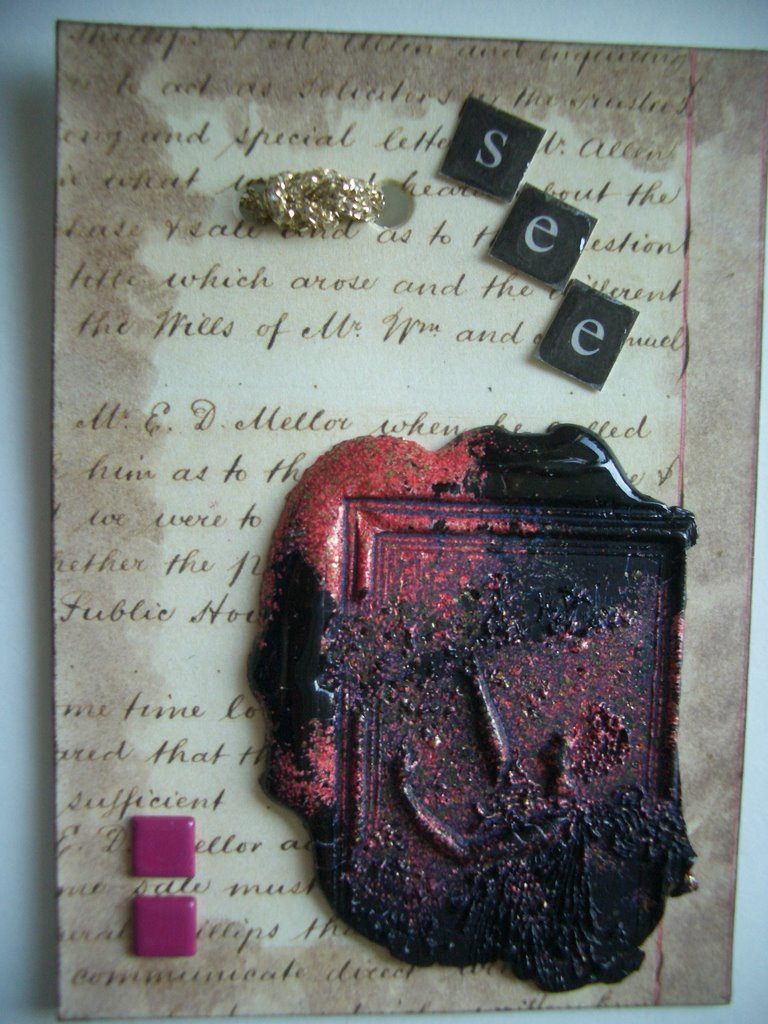
This is my set, entitled 'Ladies In Waiting' (don't exactly know what they are waiting for though !). All have brayered backgrounds and are stamped with a series of my favourite stamps from 'Let's Face It' UM sheet from collagabilities. They are embossed with various moonglow & metallic EP's and finished with a swirl stamp using colours of Stazon.
Simple but effective I thought !
Sunday, September 24, 2006
Clares 545 ATC Swap
Saturday, September 23, 2006
Trish Bayley's background technique
Trish Bayley provided instructions in 'Simply Stamping' Magazine Issue 6 on Textured Alcohol Ink Backgrounds and I thought I would have a go.
I used kitchen towel, nylon fruit netting & clear adhesive tape as my background materials. The
PVA was an evo bond type which dried clear and shiny. I had a major problem though with the application of the alcohol inks with the felt pad. For some reason the PVA reacted to make a very sticky surface once the inks had been applied to the surface and the felt pad started to fluff and stick terribly. I resorted to using liberal amounts of Alcohol Blending Solution to try to overcome this and just about managed this. Next time I will use other means of spreading the ink.............not sure what though !!!
Anyway I have pics of three finishes I produced. The first included the fruit netting whilst the others just had clear adhesive tape and kitchen paper applied with the PVA.
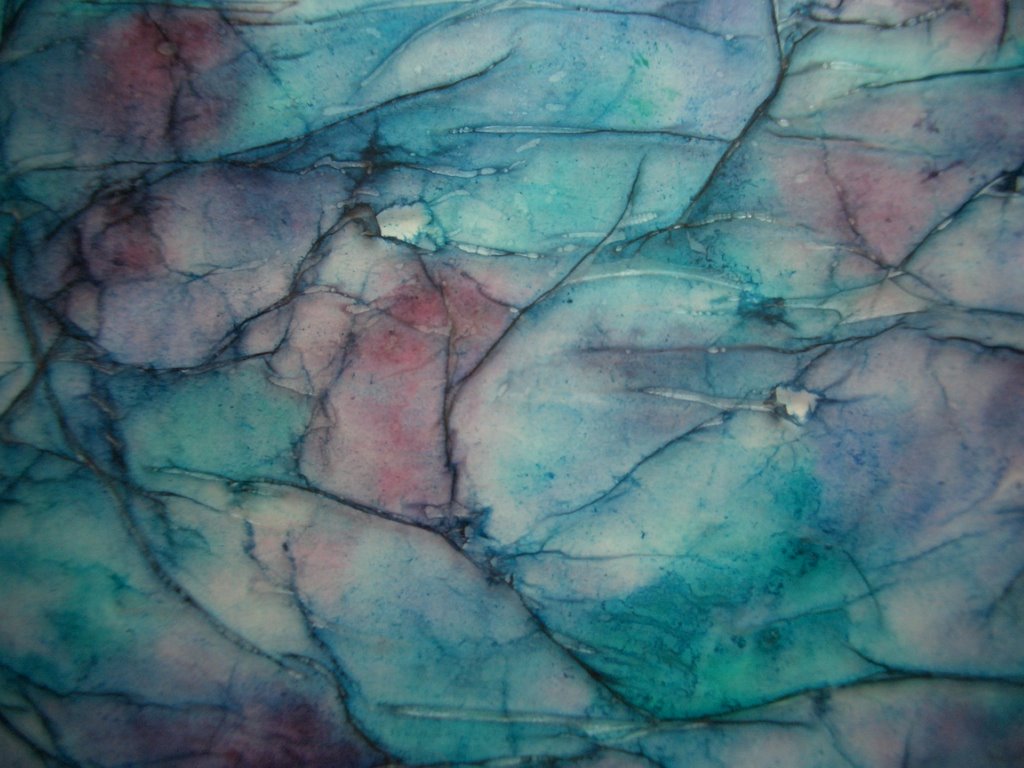
Pic 1 used Cranberry, Wild Plum & Red Pepper Alcohol Inks. Pic 2 Pesto, Espresso, Caramel & Terra Cotta Alcohol Inks. Pic 3 Wild Plum, Denim, Stonewashed & Egglant Alcohol Inks.
Very Pleased with the results though !
Tuesday, September 19, 2006
My entry into Flo's CJ (UKSTAMPERS)
Surprise, surprise.......I actually posted this one
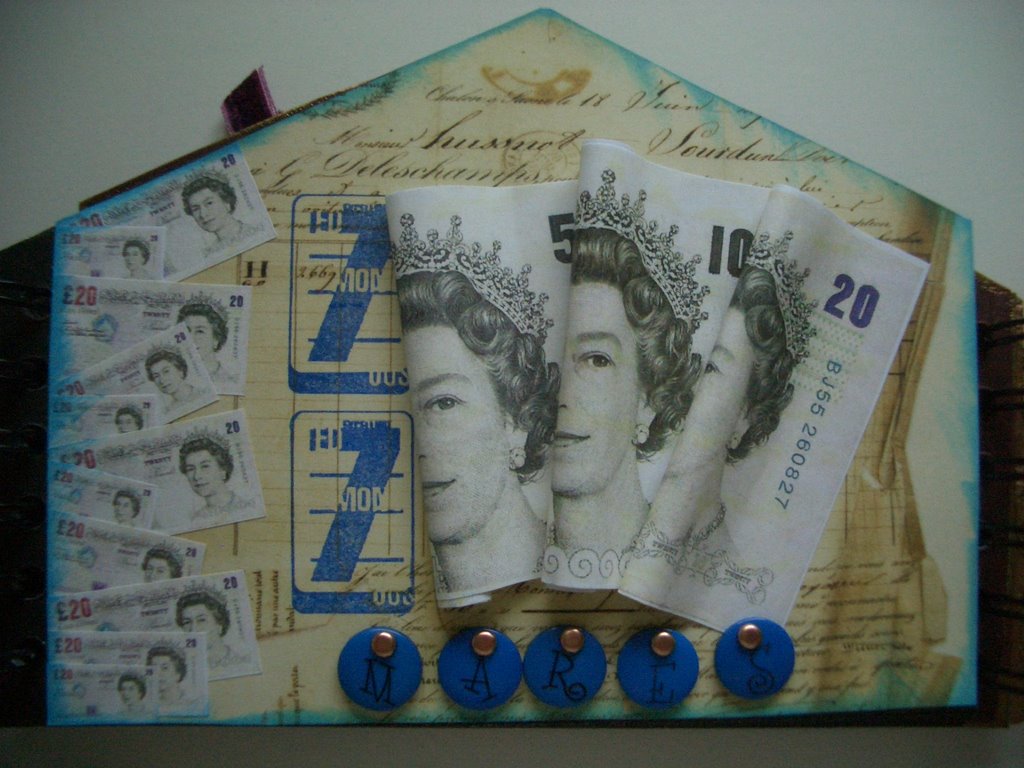
on time, he said smugly !!!! Yes it was my entry into Flo's CJ 'Dreams & Nightmares'. I pondered long and hard as to my subject matter and ended up with Money !!!!!!!!
Some might say it's a dream to have lots of it whilst others may think of it as a nightmare, especially if you don't have enough of it to pay the bills etc. In this light I produced a rather fussy 'moneyscape' entitled 'Money - mares', a kind of half way house between a lack of it and too much.
Here are the left and right page views of it........hope Flo likes it, and that all of the other CJ ers do too. 
Monday, September 18, 2006
Stampbord
It's been a while................time just flies and September seems to have passed me by.
The Autumn winds have started and the early mornings are cooler and more damp than we have been having lately. Soon the leaves will be falling !!!
I have been playing with Stampbord and produced a little 2 x 2 inch tile. I used TH Distress inks in 'Milled Lavender', 'Weathered Wood' & 'Broken China' direct to the tile and spritzed with
a fine mist of water. Then dried off the inks with the heat gun and sprinkled some detail gold embossing powder onto the inks, again heating to melt. Then I used my favourite 'face' stamp from collagabilities 'Let's Face It' plate to stamp with black Stazon over the top.
I like the effect and will do a set to apply to a collage I have started.
Thursday, August 31, 2006
My entry into Kym's CJ (UKSTAMPERS)
Bad news is 'I missed the posting deadline again'. Good news is by only 2 days !!!!!!
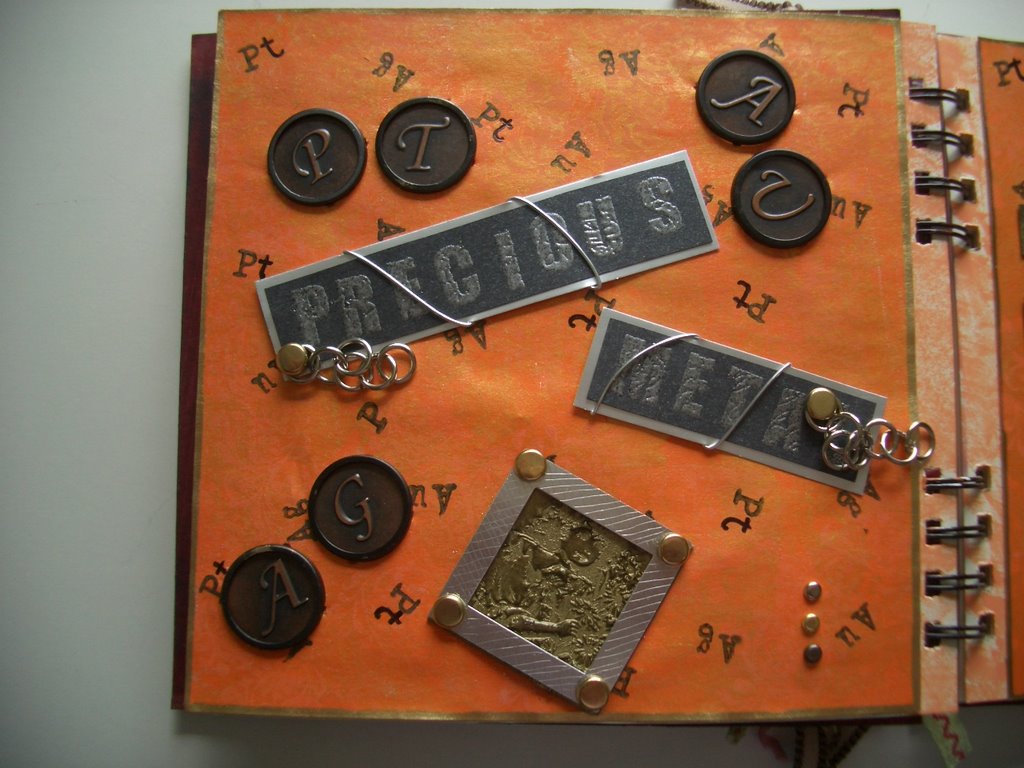
Here are pics of my entry into Kym's CJ which is entitled 'Objects of Desire'. My objects of desire were 'Precious Metals' and I featured Platinum, Gold & Silver in my artwork.

Must admit I was at a loss as to where to start once I had hatched the original idea of precious metal. I needed a colour which would enhance the metallic theme of the entry...........and plumped for ORANGE. Don't ask me why but I just did. I was pleased that it seemed to enhance the metal look especially the Gold.
Monday, August 07, 2006
UKSTAMPERS forum First CJ
Here it is...............................................................
I find crafters use a lot of acronyms for various activities. With that in mind just to clarify CJ stands for Circle Journal.
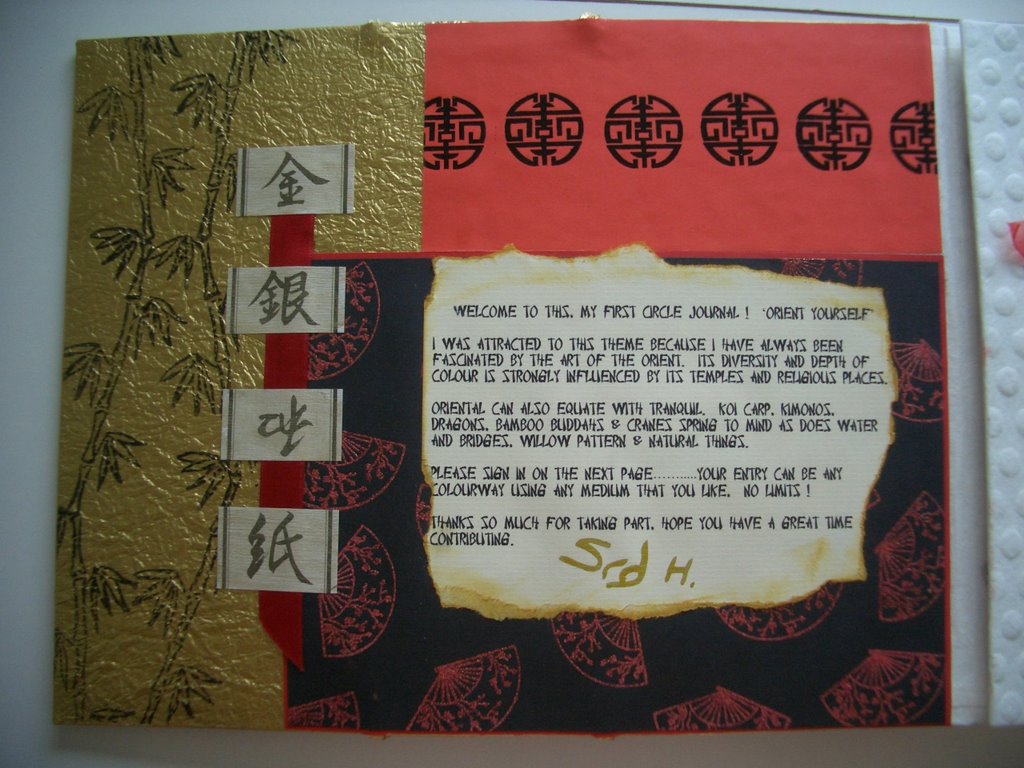
What a rush............just finalised my entry into the ukstampers first CJ. PHEW !! as always I left it to the very end to finish it, but on the whole I was pretty happy with the results. After all it was my first attempt at a CJ.
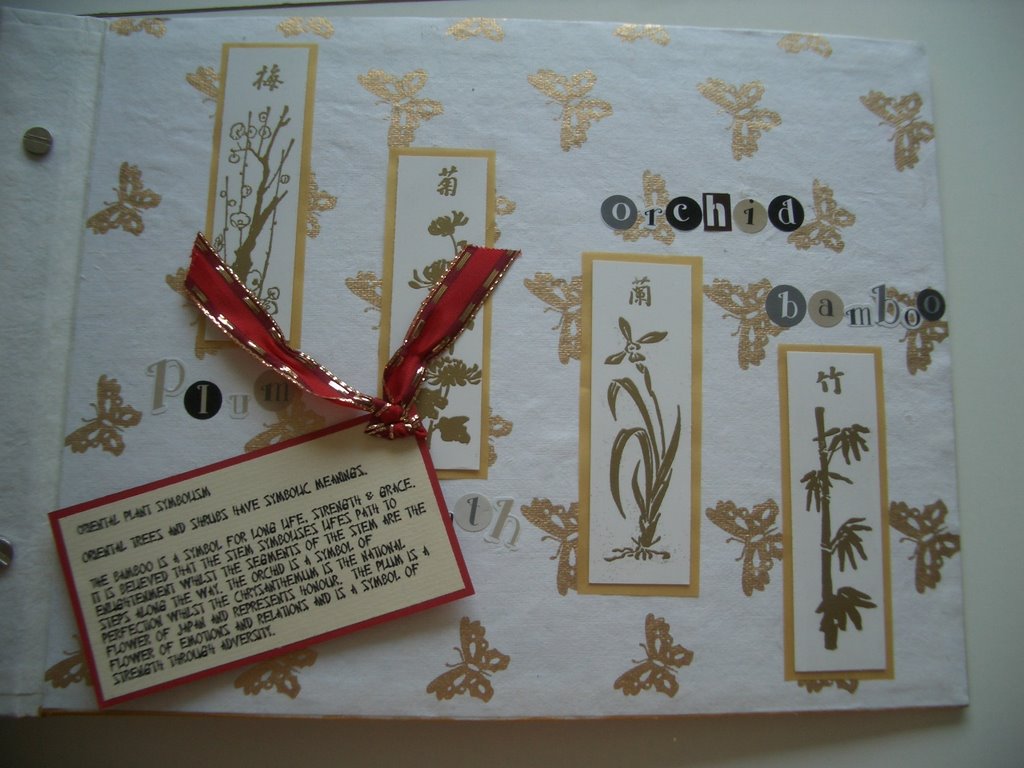
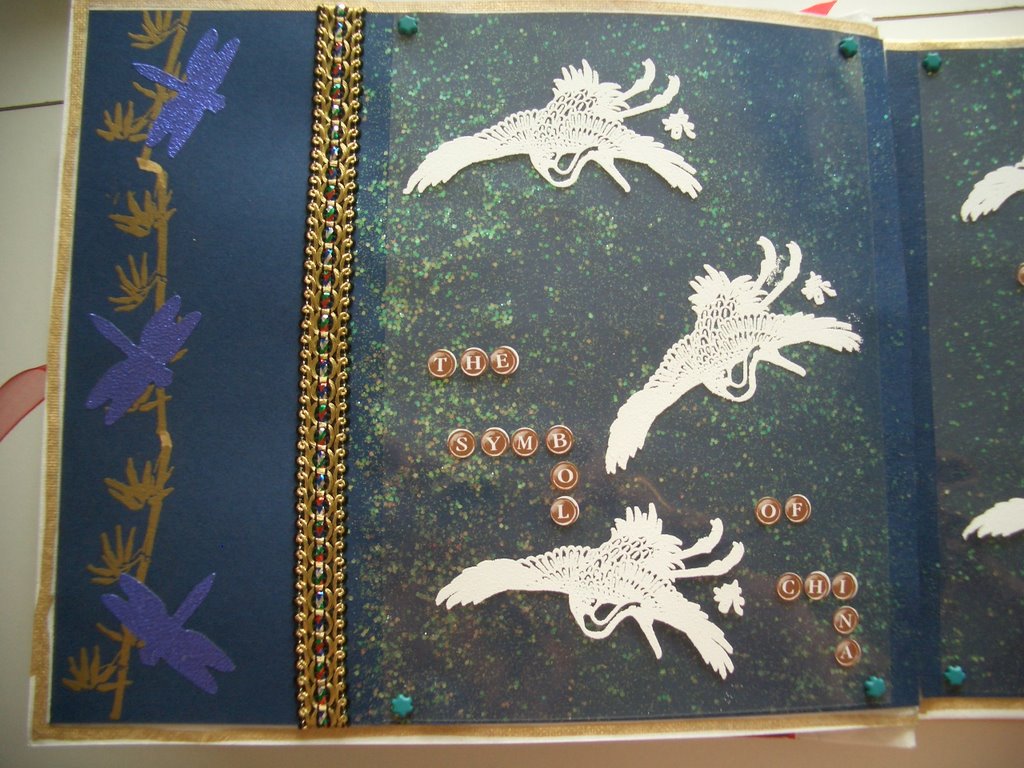
I realise I am working with a lot of very talented artists but 'what the heck', at least I am having a go !!!!! Anyway I took some pics of the CJ (in a hurry, of course), so the quality of photography is not that great so please bear with me. The title is 'ORIENT YOURSELF' which sort of speaks for itself........anything on an oriental theme.
Predominant colours are gold, red, black and orange. I have tried to capture some of the things I personally like about the orient.
Hope you approve. I would welcome any comments.The CJ is on its way round the group now and I look forward to seeing everyones artwork in around 10 months time. I am sure it will be worth the wait. I now have my work cut out to complete entries in all other 9 journals. Thanks for looking.

Pin It
Saturday, July 08, 2006
6 More ATC's
Weather a bit different today, still warm but a bit changeable. Dull then windy then sunny !!!! Never mind.
Here are my latest 6 ATC's


They are: Top left - 'Family', Top right - 'Naturally', Middle left - 'Tempus Fugit', Middle right - 'Escapism', Bottom left - 'Foresight' & Bottom right - 'Rosie'.
Hope you like them. I am working on more this weekend.
Sunday, July 02, 2006
Faux Dichroic Glass (Part 3)
Today we continue to the final part in the series.
And it's HOT....HOT......HOT today - already 28C and it's only 9am ! So ensure you have a refreshing Summer drink (or two) to hand !!
Ensure that your heat source, which needs to be flat and horizontal, is heated to 160 degrees C.
STEP 1
- Take a piece of seawashed glass and place on the heated surface for 30 seconds
- Sprinkle a small amount of clear UTEE onto the top surface of the glass (which will now be VERY HOT)
- Allow the UTEE to melt (this can be easily seen) the UTEE does not have to totally cover the piece - less is best
- Place a piece of metallic heat transfer sheet or ribbon with the metallic side down onto the non-stick craft sheet and weight it at the ends so its stays flat
- Carefully slide a heat resistant spatula under the hot glass and tip over onto the foil sheet so that the molten UTEE is in contact with the foil and press the base of the glass lightly with the spatula. Allow this to cool and then peel the glass off the foil. The foil should have adhered to the UTEE. This will become your new working surface. Don't worry if the foil covering is not perfect, it doesn't matter.
- Prepare all your additions & inclusions in advance (because you will need to work quickly)
- Take your foiled piece of glass with the foil on the top and place onto the heat source again to remelt the UTEE
- Add a small amount of clear UTEE to the centre of the piece and wait till it melts to cover it
- Cut your choice of fantasy film into small strips and then place 2 or 3 pieces of the film onto the molten UTEE
- Scoop small amounts of your coloured UTEE onto the piece in a pattern of your choice, allow to melt
- Scoop metallic/pearl/interference/sparkle embossing powders, bedazzles, mica etc. very sparingly where you want them on the surface and allow to be absorbed into the molten surface
- Finish off by adding more clear UTEE from the centre which will flow to the edges and blend colour and content as it does. You should have a perfectly smooth and shiny surface at this stage - no bumps or lumps
- Use the spatula to carefully slide under the piece and keeping it horizontal (to avoid the molten UTEE running off !) place onto the non stick craft sheet until totally cool.
You then have your finished piece which can be mounted on collage, altered art, or used as a jewellery piece with suitable findings added. The effects that can be achieved are endless and all are brilliant, breathtaking & exciting !!!
TIPS
- Prepare all your required items before you start
- Work quickly
- Have some idea of your expected colour way before you start
- Ensure that your work surface is well protected from the heat
- Experiment with different materials as inclusions (sequins, mica powder) you never know the effect until you have tried it
- Use inclusions very sparingly or you can overload the piece
- I recommend using a stainless artists spatula as my spatula (it's thin and slips under the piece very easily) the cooled UTEE can easily be removed from it
- Try using black or coloured UTEE to adhere the metallic foil intead of clear
- Opalised effects can be achieved with less colour but pearl embossing powders
- Don't expect every piece to be to your liking - trial and error is the name of the game
Monday, June 26, 2006
Captured in Crystal
Recently I have done some work using this technique, and thanks must go to a number of very experienced members of a couple of forums who have contributed their tips, techniques and experiences. The forums are: www.talkcrafts.co.uk & www.ukstampers.co.uk .
There are a few schools of thought about the technique and the resultant pieces of work can vary considerably dependent on how it is done.
The effect is achieved by applying acrylic floor finish to acetate. Layering this with tissue paper with the addition of coloured inks and glitter/pearl powders. The number of layers depend on the effect that you wish to achieve. Finally the front of the acetate can be stamped with a stamp of your choice and Stazon Ink.
Briefly the medium to use is 'Klear' floor finish made by Johnson Wax. Yes, it seems weird but that is what you need to use. It comes in a 500ml bottle which goes quite a way (and you can also use it on floors too !!!!).
Materials required:
Acetate
Masking tape
'Klear' floor finish
White tissue paper
Glitters & Pearl powder
Wide soft brush
Alcohol Inks or Dye Ink re-inkers
Stamps and Stazon pads
- Start by taking a piece of acetate, A5 size is most workable but you can use A4 if you like. Using the masking tape seal around the edges of the acetate to securely attach it to a piece of scrap paper/card (some use an old telephone directory - tearing off a few sheets after use). It is important that you completely seal the acetate against this surface because you don't want any of the 'Klear' to run under and onto the front of the acetate.

- Then apply by brush (or just pour using the lid off the 'Klear') a small puddle of clear onto the acetate and spread this all over and up to the edge of the masking tape. Now at this stage you can add a sprinkling of glitter or pearl powder, but be sparing with it. It is also possible to add these extras after the first tissue has been placed.
- Next cut a piece of white tissue paper slightly larger than your acetate and crumple it up into a ball. Carefully unfold the tissue and place this on top of the wetted acetate and glitter. Add some more 'Klear' and ensure that the bubbles are brushed out from under the tissue. Do this carefully or you may tear the tissue. If you do then patch the hole with a small piece of tissue and 'Klear'. The idea is to leave the wrinkles in the tissue but remove the air bubbles.

- Now add your coloured ink by dripping onto the wet surface and finally blending the edges of the colour drops with a brush. Be careful not to overwork as the colour will become muddy. You can also add a little more 'Klear' to assist with this.

- Add more layers of tissue and colour if you wish. I find that a few layers with very light colours give the best effect.
- Finally allow to air dry. Time for this depends on ambient conditions but usually around 30 minutes
Some like to apply heat from a heat gun to speed up the drying process, but in my experience this can effect the acetate and also crystallise the finish which will then separate from the acetate and ruin the effect.
When completely dry carefully cut around the inner edge of the masking tape with scissors or a craft knife and remove the acetate. You should then see your finished effect in all its glory. The right side is the shiny side of the acetate.
The A5 piece can then be stamped on its front surface with any colour Stazon with the stamp of your choice. This also allows you to choose the bit of the background pattern which appeals to you. Some say that you should stamp the acetate before you attach it at step 1, but I think this then limits your choice of where to stamp against the coloured effect. This can then be cut out from the A5 sheet and the rest saved for future use.
If you spill 'Klear' or allow it to dry on a surface it can be difficult to remove. Recommended method is to use dilute household ammonia and soak it for a minute or two. This will dissolve the acrylic and allow its safe removal. You may also smell ammonia when you use the 'Klear' as it is a component of the finish.
The following pics are of a few effects I have achieved. Nice to use on aperture cards or against a metallic background. These pics have been taken against a white background in each case.
some stamping has been done on this one.
Good luck with the technique. Please let me know how you go on or forward your tips on the technique. Happy Crafting !!!
Pin ItSunday, June 25, 2006
More ATC's

Did a little crafting last night and finished off 4 more ATC's. Hope you like them.
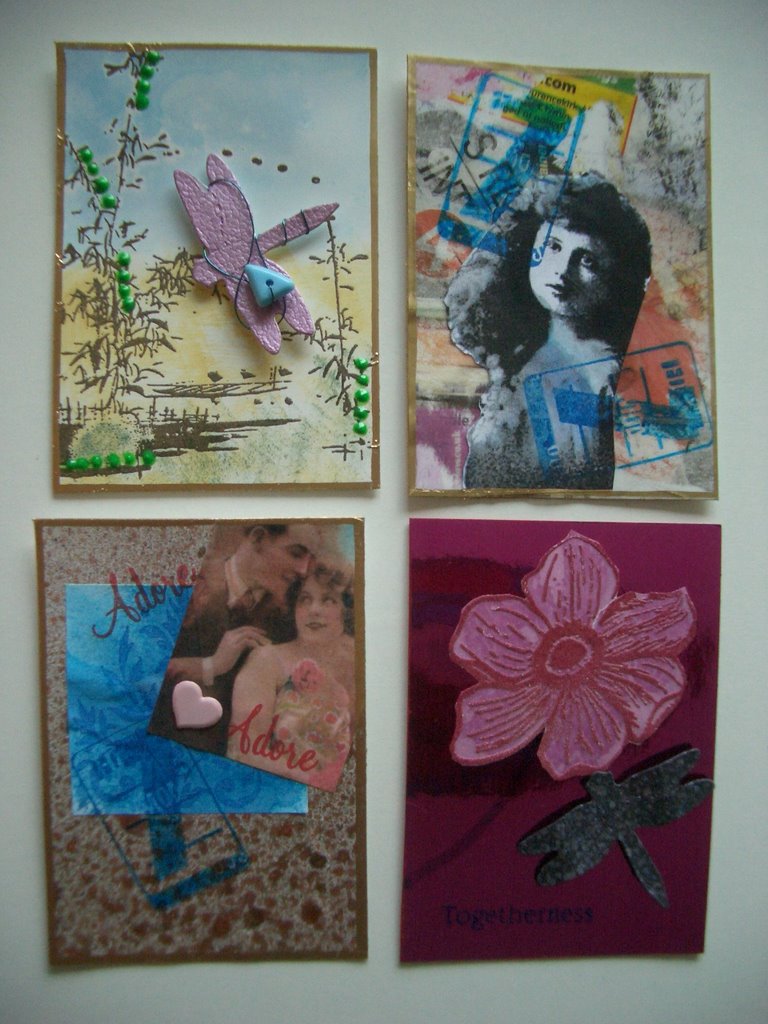
The top left- 'SERENITY' is a stamped and heat embossed image (Kodomo) + Adirondack Espresso on white satin card. Background tinted with water colourwash and 'chalk' inkpads. Embellished with a sizzix die-cut dragonfly which has been coated with mauve metallic Inkabilities, wired with a turquoise bead and navy wire. Dotted on bamboo with Pea Green Appli Glue. Bordered with Gold Krylon pen.
Top Right- 'NEWSGIRL' is a background of adhesive tape transferred newsprint with a cut out stamped image using black Stazon. Overstamped with two 'No 7' (Ma Vincis Reliquary) stamps in blue Stazon. Bordered with Gold Krylon pen.
Bottom Left-'ADORATION' is on a background of copper metallic and blackberry spray inks with a blue colourwashed background and stamped image (blue Stazon). No.7 stamp also in Blue Stazon with stamped, coloured and applied photo of lovers with a pastel pink heart brad. The Adore words are in red 'chalk' Ink. Bordered with Gold Krylon pen.
Bottom Right-'DRAGONFLOWER' is on pink mirri-board with a parchment narcissus stamped with versamark ink and heat embossed with eggplant Adirondack embossing powder. The stem is green permanent marker. The Dragonfly is die-cut with sizzix out of black card which has been pre sprayed with pink and blue interference inks. Togetherness stamped with blue stazon ink.
Happy Stamping !