>

Friday, August 24, 2007

Image Transfer ATC's (2)

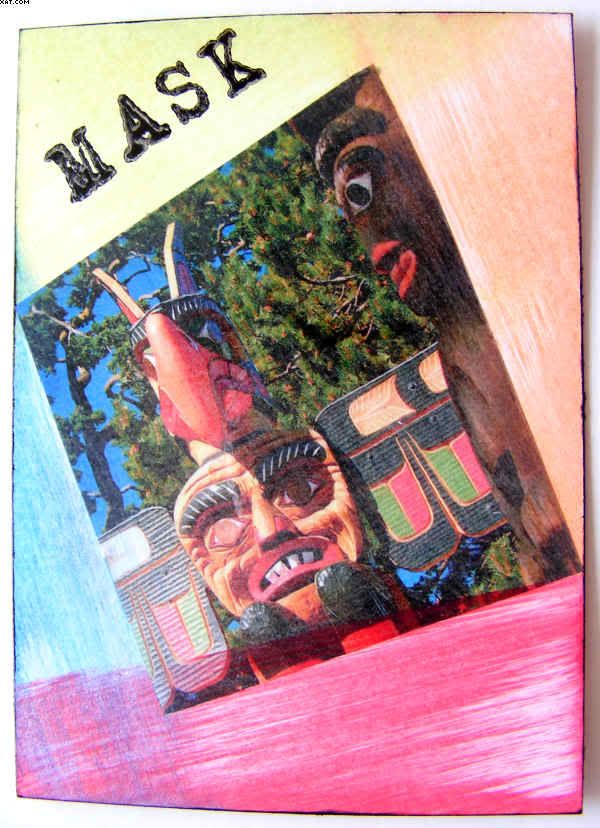
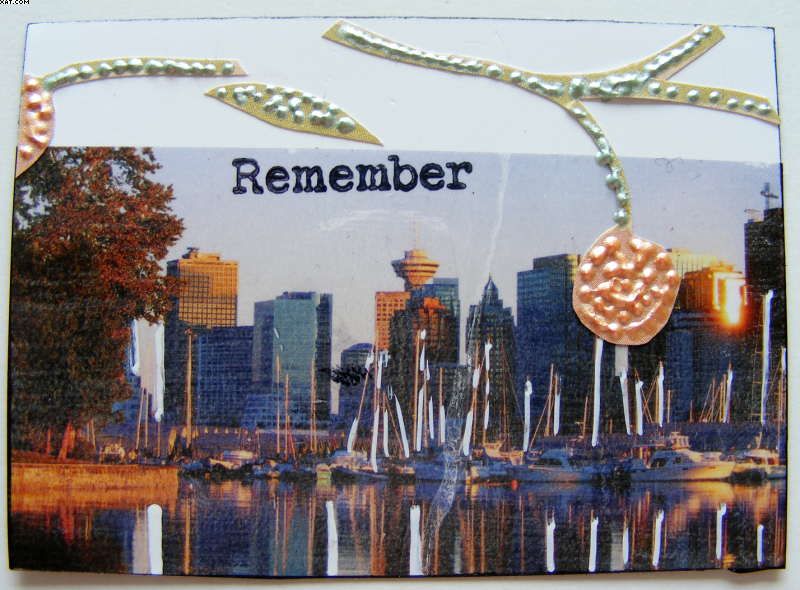
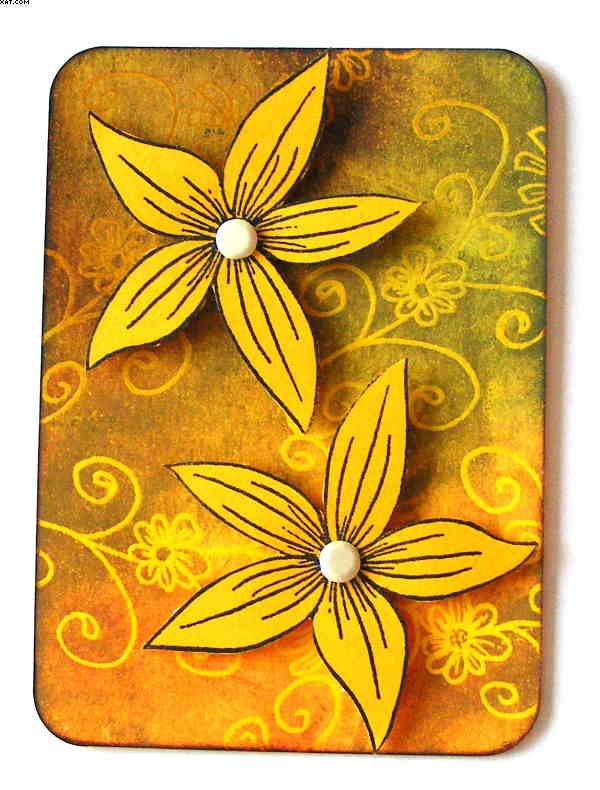
Here are another 3 ATC's using packing tape image transfers.


All were transferred onto satin finish ATC base card, and subsequently embellished with Chalk Ink pads (direct to paper), cut out floral flourishes and finally Pearly Doodles. The stamped words were from the Making Memories magnetic Rummage alphas.

Pin It

Monday, August 20, 2007

Thanks Card


Here is a card I made today to say thanks to one of my friends. The background is done on a 3 inch square of white mountboard and this has been coloured with oil pastels in yellow, light & dark green in a random manner. I have used my finger to blend the pastels to the desired consistency and I like to apply them quite thickly.


I then used some sequin waste base as a mask and applied Lumiere halo blue gold paint with a stippling brush around the outside edge of the board, holding the mask in place with low tack masking tape whilst stippling. Once dry, I have then centrally applied a Crafty Individuals rubber stamp of a thistle from Plate C1-134 using olive green Stazon and scraped through the oil pastels to expose the white mountboard to accent the thistle and border, using a piercing tool. I then used a random dot backgroud stamp and overstamped around the edges with Versamark and applied emerald green pearl embossing powder and heated with a heat tool to emboss.


I then stamped two more images of the thistle in olive green Stazon on clear shrink plastic and punched a hole using my cropadile in each. After shrinking with a heat tool I applied one on each of opposing sides of the the central thistle image with a dark green flower brad. I matted the mountboard on light yellow and sage mats, edging with emerald dye ink and applied this to an A6 card made from dark green laid effect card. I finally stamped the word 'THANKS !' in versmark on the pale yellow card and again heat embossed with emerald green pearl EP. This was matted on the sage card, edged with green dye ink and applied centrally at the bottom of the card with double sided adhesive tape.

Pin It

Sunday, August 12, 2007

Spin 'n' Splash Techniques Class (Part 1)


We all love Spin 'n' Splash backgrounds ! So here is my attempt at a class to help those just starting with the technique.

It is, indeed, nothing new and Spin Art has been around for a very long time. Some of us old enough to remember have practiced our art on machines situated in stores and at fairgrounds where we have dribbled various coloured paints from a plastic squeezy bottle onto a card attached to a revolving turntable and produced one-of-a-kind multi-coloured creations which were then placed in a mask or frame for display.


EQUIPMENT
We will need some supplies and more importantly a machine to enable the spinning to take place. There are both mechanical and electrical variations available and there are even downloadable plans available online to make your own enclosure. But assuming that you are not that adept at woodwork and electricals you will probably want to buy some type of machine to work with. Prices vary enormously so it is quite important to get the whole buying thing into perspective. It really depends on whether you will be using it a lot and I would suggest that most of us will only want to use it occasionally for home use and therefore will not want to invest a lot of money on the machine. This means that price will be our main buying criteria, with functionality coming a close second.

The machines come in either electrical or mechanical varieties. The mechanical type need to be wound by hand and consist of a gearbox and a handle, a turntable and a clamp to mount the machine on a bench but are difficult to both wind and to apply colours at the same time. The electrically operated variety is powered either by batteries or by a mains adapter. Usually running at either 3 or 4.5 Volts DC. Here is a link to one at Toys R Us but you will also find others available on Ebay. I actually bought a machine directly from WH Smith online for around £6.99 when on offer.
This particular one doubles up as a potters wheel and a spin art machine and I run it using a mains adapter which I bought from Maplin. Yours will start off being a bit cleaner than mine - the stains are from colours I have used on my backgrounds. These machines normally have around a 6 inch diameter turntable (limiting your maximum background card size to this). Most of these are really designed as kids toys but do the job very well. There are two speeds for my turntable but I find the slower one too slow to do the job as the colours do not spin off at this slower speed and the slower speed is for the potters wheel activities.

Anyway, assuming that you have your machine you will also need some colouring mediums to work with.

MATERIALS
Here is a list of what I have used to date (links for product information are present on most items):

Ranger Alcohol Inks (including silver, gold, copper and opal mixatives)

Ranger Blending solution or other solvent (isopropanol)

Thinned down acrylic paints (Lumiere etc.)

Dye Inks (re-inkers)

Transparent, Opaque & Pearlescent Acrylic Inks

White and Black Glossy Card, Silver & Gold Mirri Card

This list is not exhaustive and you will not need all of them to get started, of course, and the choice is yours. I am sure that many other colouring materials are available which will give other effects - so experiment. I will try to give you examples of using most of them when the class continues in Part 2.

Pin It

Saturday, August 11, 2007

Les Fleurs ATC Set of 4


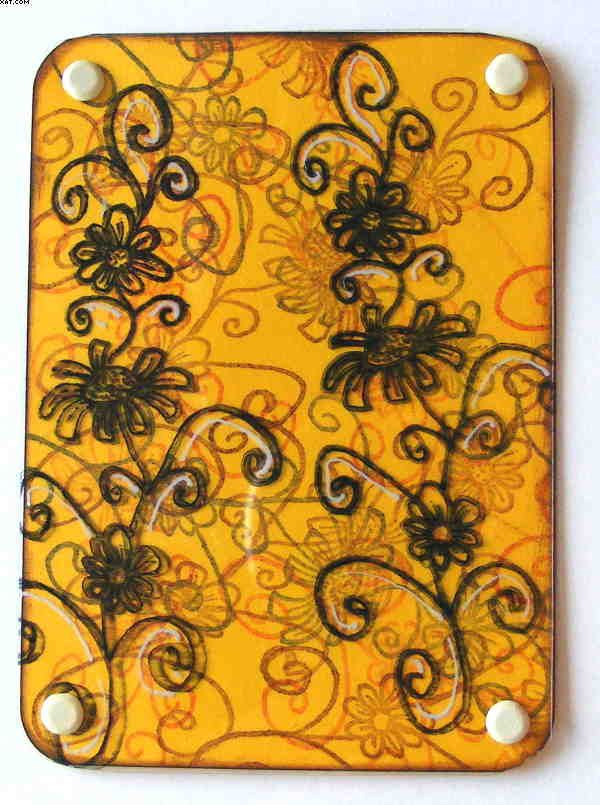
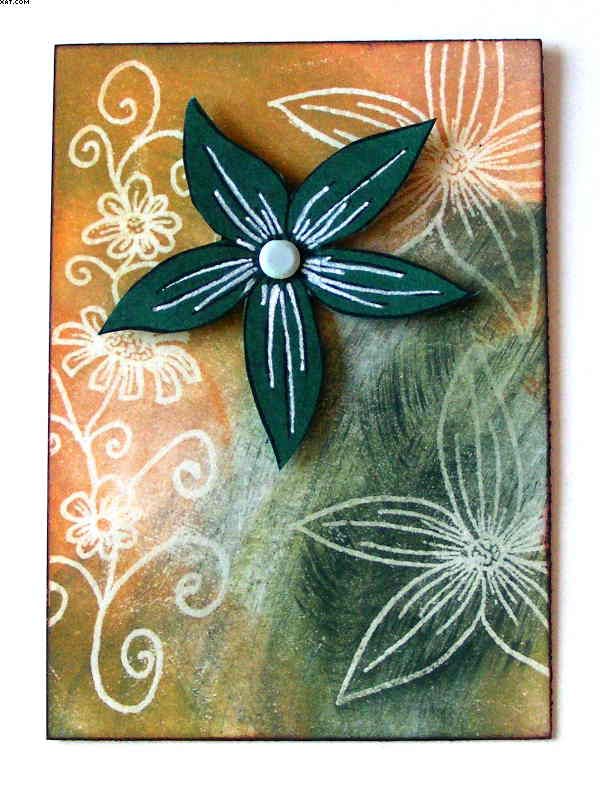
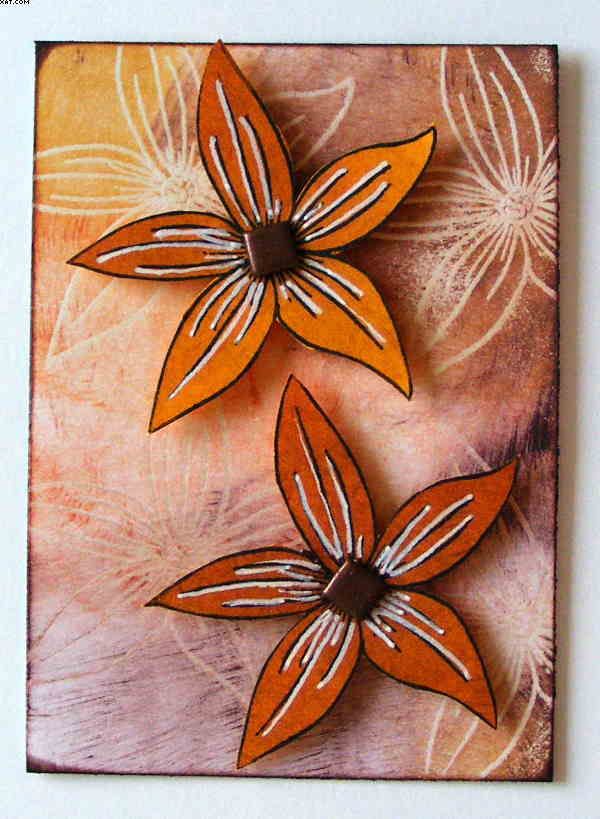
On a floral theme here are 4 ATC's I did using Chalk Inks over a clear heat embossed resist background. The stamps were first stamped in Versamark using stamps from Tanda Stamps flourishes plate 1 and these were heat embossed with clear EP. The background was then applied direct-to-paper and the excess ink wiped away from the embossed areas to reveal the base card colour. The colours used were yellows, greens and browns. Extra flowers were stamped on card and cut out to be applied to the ATC's on foam pads after embellishing with brads and these were highlighted in some cases by a white gel pen. One of the ATC's has an acetate cover stamped with black Stazon and applied with four brads in the corners.

Pin It

Thursday, August 09, 2007

Another Spin 'n' Splash Card


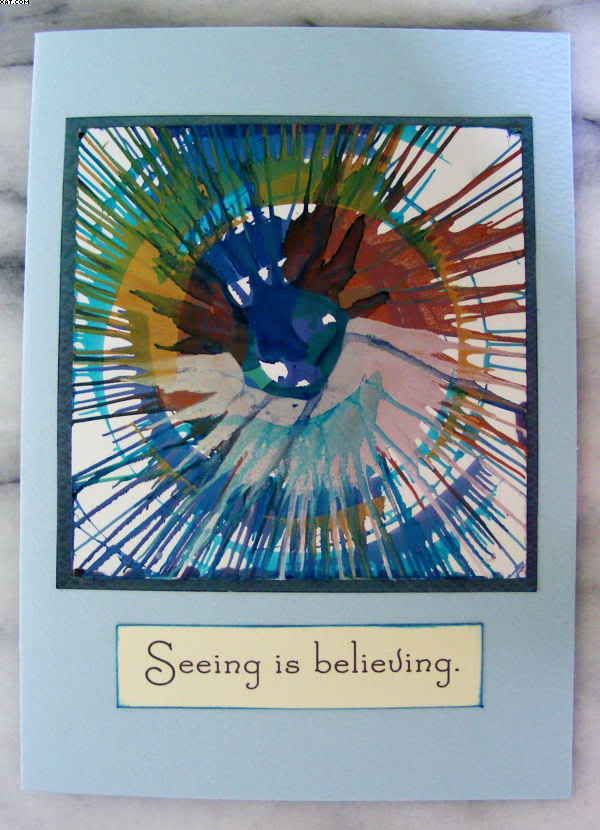
Todays offering is yet another card in my Spin 'n' Splash arena. I really do love the varied effects that can be achieved. This one is more on a pastel blue theme. The base card is pastel blue with a slight texture and I have also used some metallic inks (silver & copper) on this one. The rest of the inks used are either Tria Pantone or Ranger Alcohol Inks in predominently blue. This one has a plate attached with the words 'Seeing Is Believing' and I really do think this effect needs to be seen to be believed !

Pin It

Wednesday, August 08, 2007

A Taste of India

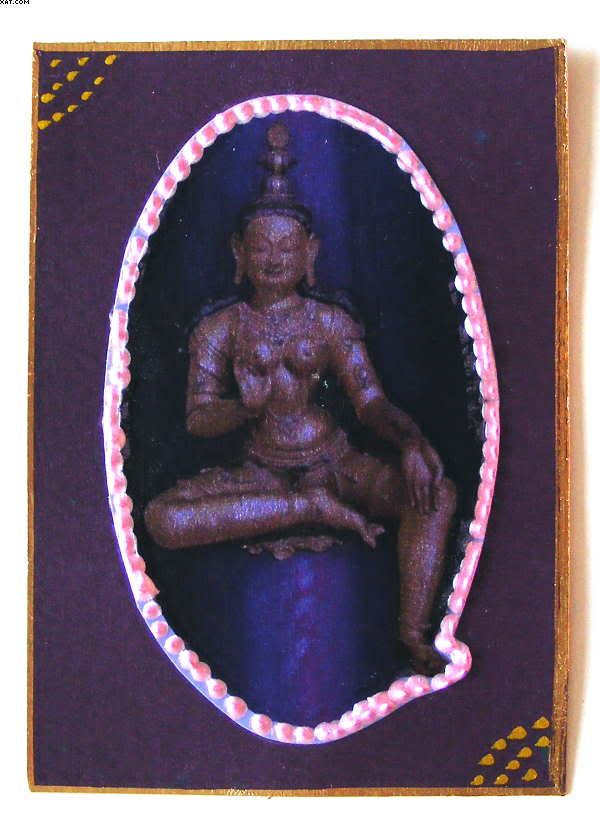
This ATC was made using a base of dark purple cardstock and a printed vellum oval panel depicting an Indian deity. I adhered the panel and glazed the whole front surface with mat Mod Podge before applying some pink pearly doodles dimensional paint around the oval in small dots. Finally I edged the card with gold Krylon and a painted a design in each of two opposite corners with a gold brush pen.

Pin It

Monday, August 06, 2007

Spin 'n' Splash Card

Just discovered my little stash of spin 'n' splash backgrounds I did a while ago and thought I would make a quick card.


I used a pale green textured card as the base and matted the predominently green & pink background square on plain green cardstock. This particular background was done with alcohol inks on white glossy cardstock. I then adhered the mat to the card front with double sided tape.

I stamped 'Believe in your dreams...' on the same green cardstock, trimmed to size, then matted this with plain pink cardstock, edging both layers with black Stazon before applying to the card at an angle.

Pin It

Sunday, August 05, 2007

Tranquil Card


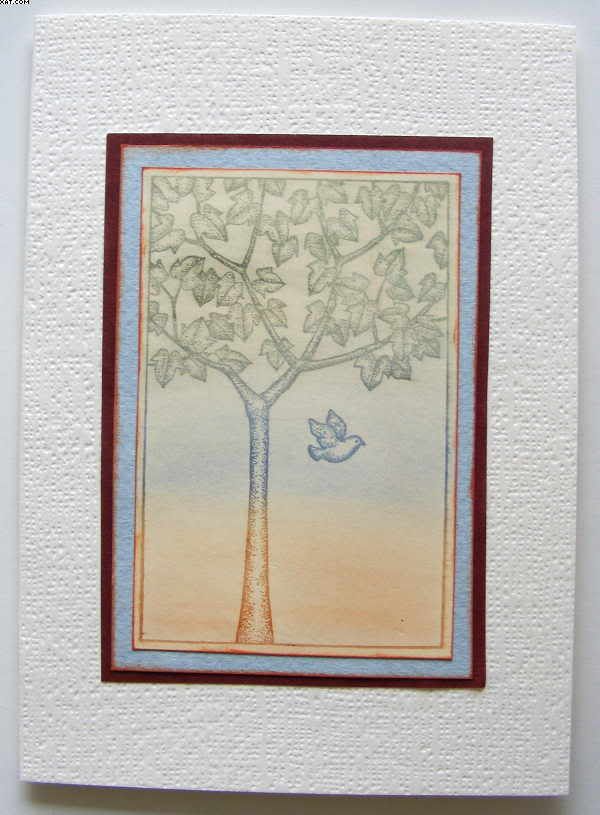
This card was done in response to a challenge to 'Use Your Stash' on UK Stampers Forum. I used a piece of base cardstock in plain cream weave finish and folded to make a card base. The stamp, which I bought from Third Coast stamps (Summer from 4 seasons tree set), had never been used and I have only just mounted it today on EZ Mount. I stamped in Versamark watermark ink on plain cream card and coloured with soft pastel (because I wanted the colours to be dreamy and muted). The pastels were applied with a small piece of cut 'n' dry foam in three blended colours. I edged the mat with sienna fluid chalk ink. This was then matted first on wedgwood blue mottled card (again edged with sienna fluid chalk ink) and finally on matching sienna paper, before applying to the front of the card with double sided tape. Simple but effective I thought.

Pin It

Saturday, August 04, 2007

Dragonfly Destination ATC

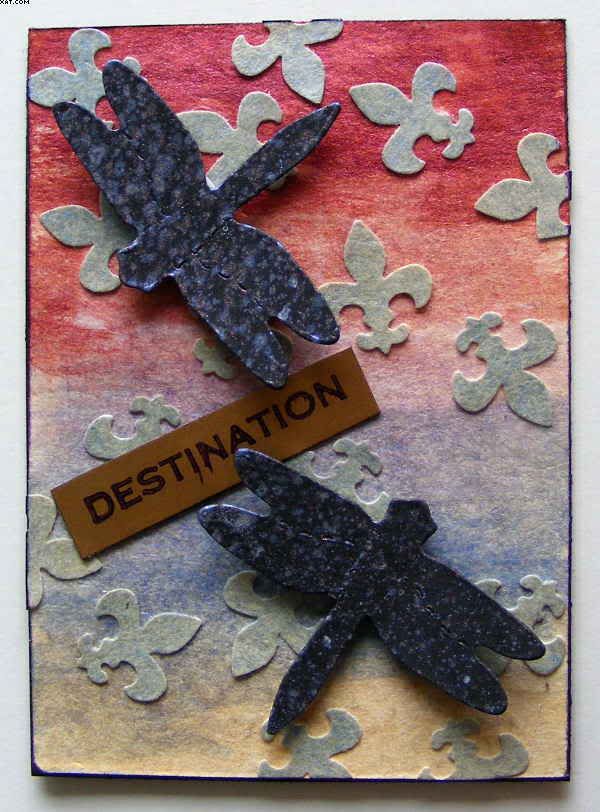
Here's another ATC using Sizzix diecuts of dragonflies which have been spray coloured on card with iridescent inks in blue and pink and applied to the background with foam pads. The background is hand-wash coloured with a range of Twinkling H2O's and blue punched out mini fleur-de-lys have been adhered with glossy accents. The word stamp 'DESTINATION' is from Making Memories and was stamped in purple Stazon on gold card.

Pin It

Acetate ATC


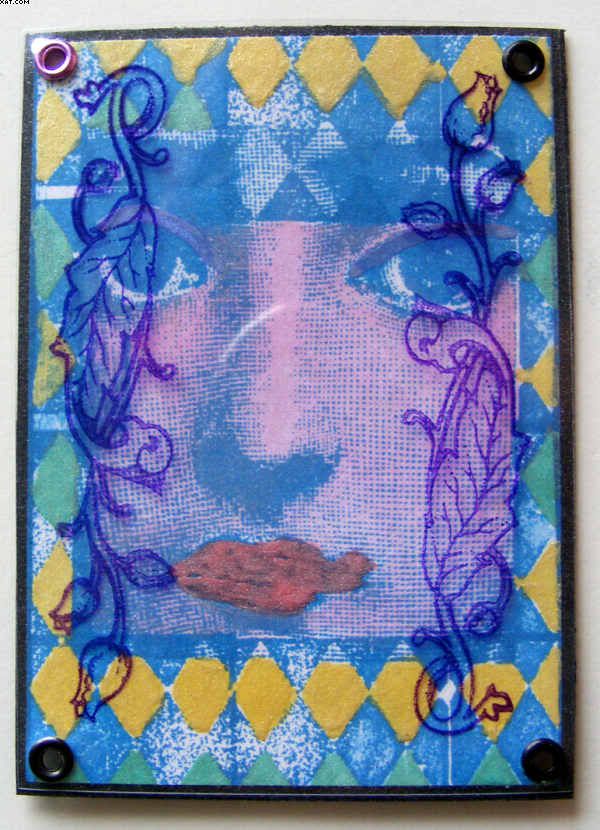
This is another ATC finished off this morning. I have stamped the background with blue Stazon using a harlequin stamp along with a womans face from Time plate by Nonsequitur. I have hand coloured the base with pearlescent watercolours and adhered this to a black piece of card cut to size. I have then stamped a tulip flourish stamp twice onto the reverse of a piece of acetate with purple Stazon and attached this as an overlay with 4 eyelets.

Pin It
Related Posts Plugin for WordPress, Blogger...