>

Friday, January 31, 2014

Happy Chinese New Year 2014


Gong Hei Fat Choi to all, in celebration of the Year of The Horse 2014.  May everyone be blessed with Good Luck and Good Fortune in the year to come ! 

Those born within the years of the horse are said to be recognised as energetic, bright and intelligent. This kind of person is sometimes referred to a "Qianli Ma" - a horse that covers a thousand li a day (one li is equivalent to 500 metres).

It is believed those born in the year of the horse have excellent communication skills and enjoy being in the limelight. In general, it is suggested that they are cheerful, popular, talented and enjoy entertaining. They are associated with success and cannot stand failure.

Sid xx

Pin It

Wednesday, January 29, 2014

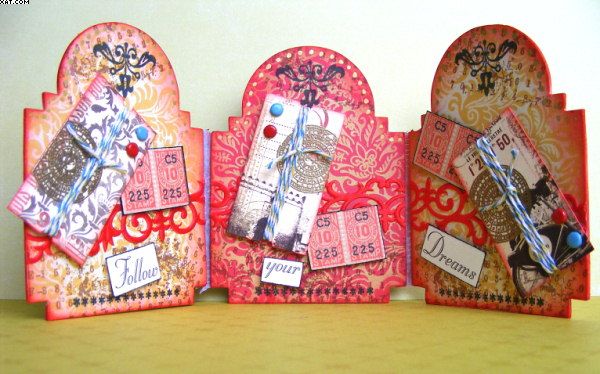
Follow Your Dreams Triptych


I used to like doing the Gothic Arches Challenge but sadly it wrapped up so I had it in my mind to make a triptych ......... and this is it !

I used chipboard and my Sizzix to make three base components with the TH  mini cabinet card movers and shapers die. These were covered with papers from Papermania (capsule collection - sunshine paper pack) also cut out with the die for an accurate fit.


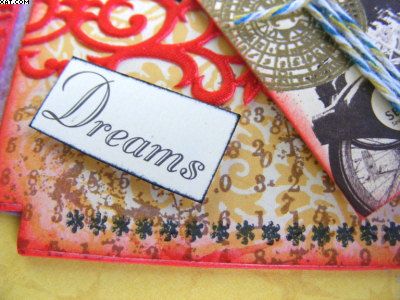
Once stuck in place these were sanded and edged with barn door Distress ink and cut'n'dry foam.  I used a stamp with distressed numbers from PaperArtsy to stamp at the top and bottom of all three panels in sepia Versafine Ink. Followed by a row of stars (bottom) and a swirl (top middle) stamped in Versafine onyx black ink


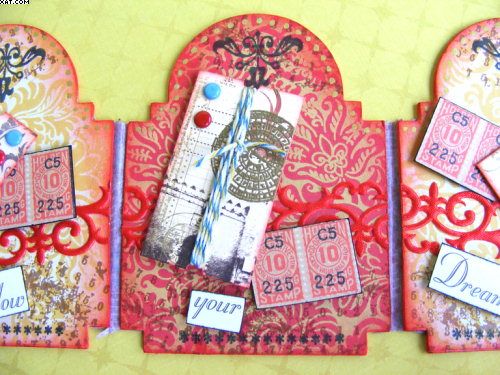
Next I adhered some swirly red satin diecut ribbon across each of the panels.


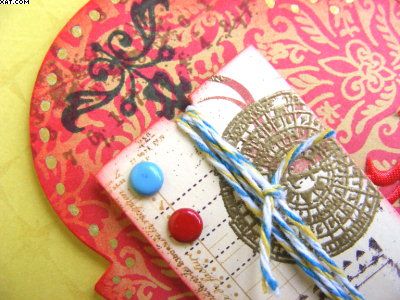
I then stamped three tickets from 7 Gypsies with Versamark Ink and heat embossed with detail gold embossing powder.  Each was edged in more Distress Ink and a length of bakers twine added and tied in a knot at the front.  Then some contrasting coloured brads were added to each ticket as shown.

Some more 7Gypsies stamps were then edged in black and these along with the tickets were mounted on foam pads.


The words came from K & Co and were also edged with black and added on foam pads.

Finishing touches were to add some Posca pen gold dots around the top edge of each arch.  The three panels were then hinged together with some Washi tape at the back.

Sid xx


Pin It

Saturday, January 25, 2014

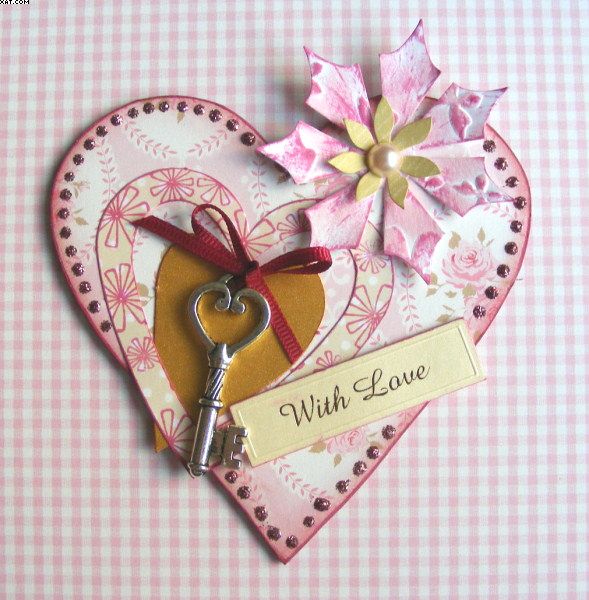
Key to Your Heart


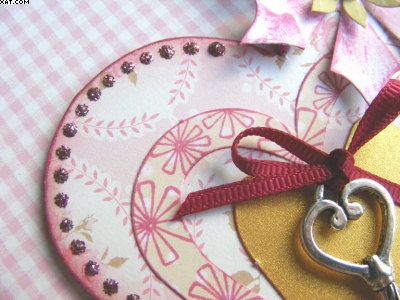
This little chipboard heart is the basis for this 'Key to Your Heart' creation.  I started by covering the heart in paper from the Tilda Kitchen Garden 12 x 12 inch pad.  Once adhered to the heart it was trimmed out, sanded and edged with lilac posies Memento ink.

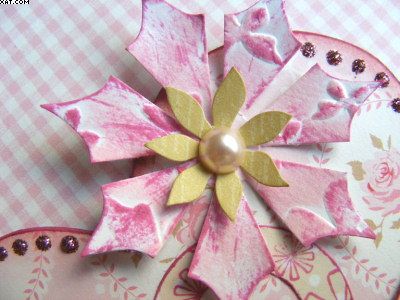
I then used some diecuts to build up the design, an open heart (stamped with more Memento ink - Paper Artsy), a gold heart  and two layered flowers.


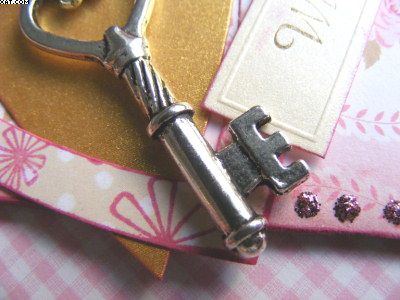
More Memento ink was used to colour tint each piece before assembling as shown.  The metal key was tied through with some fine maroon grosgrain ribbon before sticking in place over the gold heart.


A pale pink pearl was added in the centre of the flower.


Finishing touches were to add a sentiment plate and edge exposed edges of the heart with pink Stickles glitter glue.

This piece will fit the bill for the City Crafter Challenge Blog challenge for this week which is the same as my blog post title too.

Sid xx

Pin It

Sunday, January 19, 2014

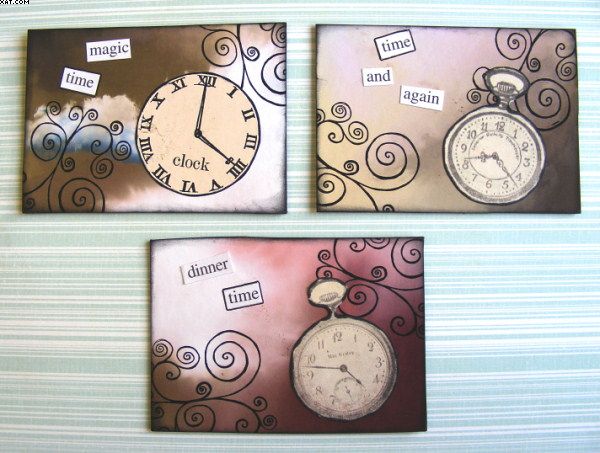
Time ATC's


Here are a set of ATC's I have done as part of a swap.  The subject this month is 'Time'.  The backgrounds are made with distress inks applied on matt paper with a blending tool.

The swirls are stamped in Memento onyx black ink.  Words and images are printed and applied with glue stick.

Sid xx

Pin It

Saturday, January 11, 2014

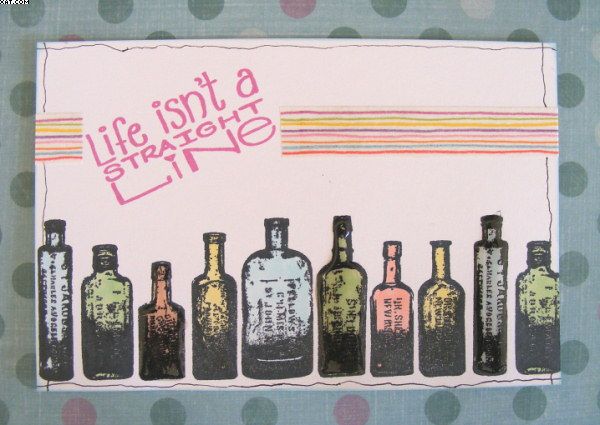
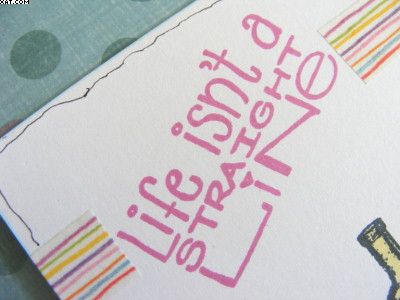
Straight Line .........


This is my January entry into the UK Stampers 6 x 4 inch postcard swap.  If you fancy a go why not go to the Forum, join and enter?

This months theme is 'White Background'  so I went with this.


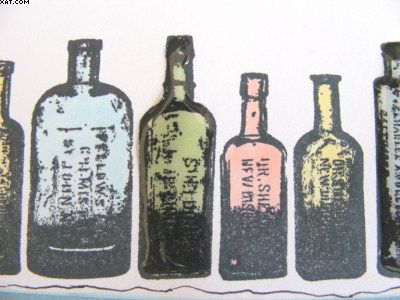
I have used PaperArtsy Stamps with Memento inks and have coloured the bottles with Spectrum Noir alcohol ink pens.


A strip of Washi tape, edging with a black micron pen and Glossy Accents on three of the bottles for a little dimension.  And that's it !!

I have sealed the finished article with acrylic spray sealer as it will travel naked in the post to it's recipient.

Sid xx

Pin It

Tuesday, December 31, 2013

Flight of Fancy


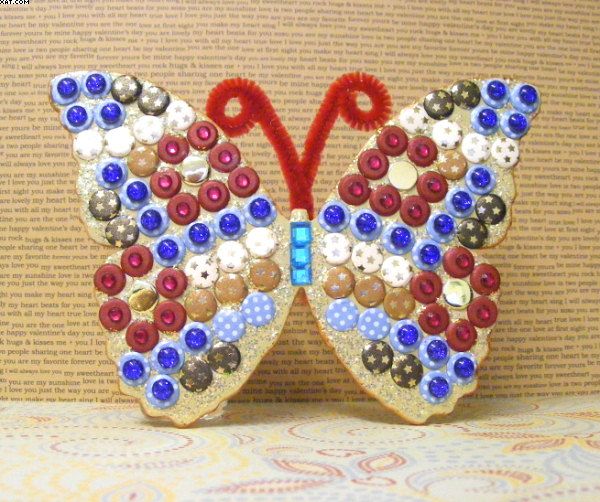
I think we all have loads of what I call 'UFO's' (unfinished objects).  This was one of them I started last Summer.  Now here I am, sat looking out on torrential rain and it's almost dark enough to be night.  So this now has brightened up my day a bit.

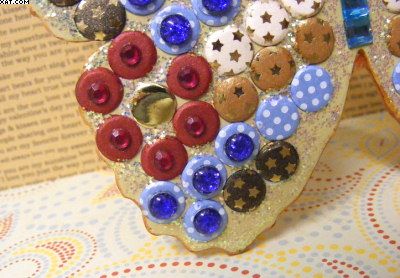
It started off as a chipboard butterfly diecut which I gave a couple of coats of buff acrylic paint.  I then got out the Card Candi and started to build up a sort of mosaic pattern on the wings using a strong thick PVA glue to adhere them.


I then finished off the decoration by added some self adhesive gems to highlight areas on the wings and body and added some Stickles glitter glue between all the Card Candi. Finishing touch was to add a couple of red chenille pipe cleaner antenna.  I will make a box to fit, decorate it and send as a fun birthday card.

Anyway that one UFO finished now to get on with the other 101 !! 

Just one last thing to do before this year ends ........ so here's wishing all my loyal followers and commenters a Super New Year with loads of good health and prosperity.  Thanks and I love you all !

Sid xx

Pin It

Sunday, December 29, 2013

Seriously Awesome


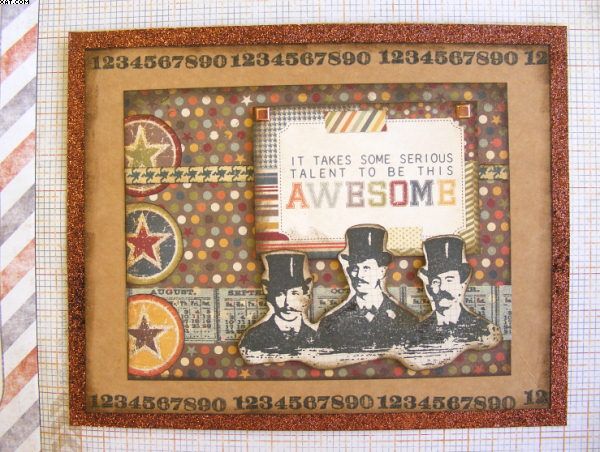
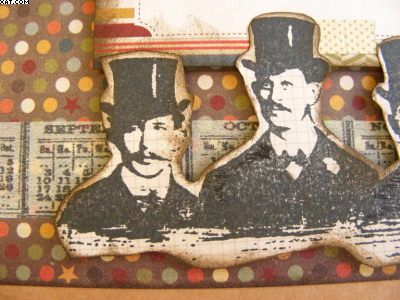
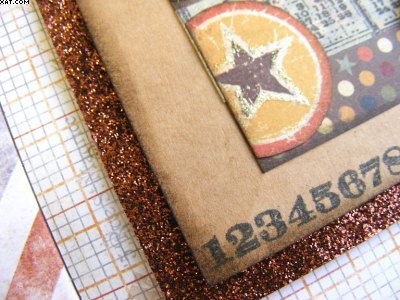
I have a bit of time to spare today so I have made a seriously awesome card.  I have used a piece of Kraft card as the base along with a selection of papers from simplestories 'Awesome' paper pad.

I have trimmed out various images and strips to produce the collage.


Some TH Tissue tape has been used on the background and stamps used were from 7Gypsies (numbers) and Tim Holtz (3 men in top hats).  They were stamped in Memento tuxedo black ink and attached on foam pads.


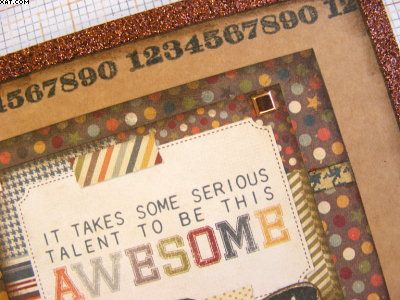
Edging was done with walnut stain Distress Ink and a couple of square copper brads were added on the word plate which was then attached on more foam pads.


Finishing touches were add a little Stickles glitter glue on the stars and to matt onto dark copper glitter paper.

Sid xx

Pin It

Tuesday, December 24, 2013

Sweet Treat


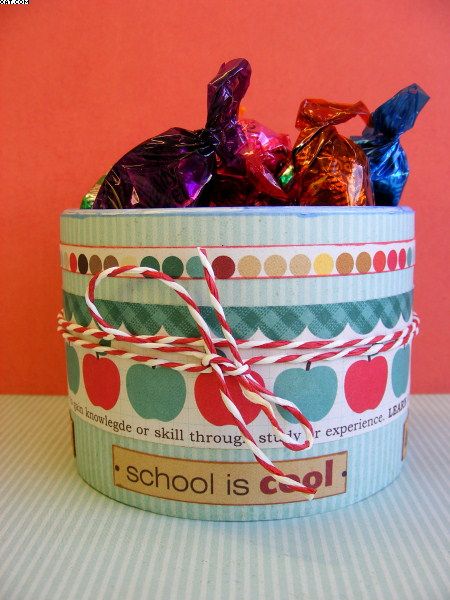
Here we go on this Christmas Eve, so I have decorated a used cotton wool bud container with some American 'Back To School' papers with a little treat of sweets to give to a little girl or boy when they return to a new term back at school in the New Year.


I love to upcycle as using packaging that would normally go to waste gives you a good feeling. Christmas always brings us loads of packaging so why not look at it and try to use it in a creative way?  The twine was actually on a box of Christmas cards so even that is upcycled too.

Sid xx

Pin It

Saturday, December 21, 2013

Festive Home


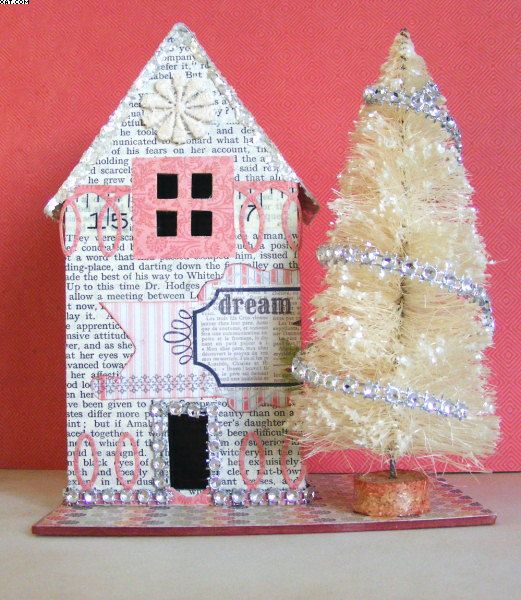
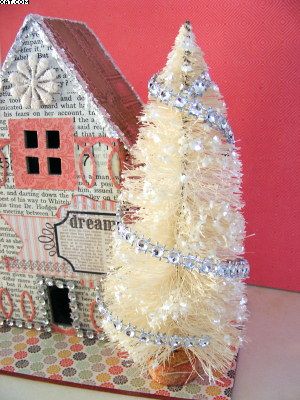
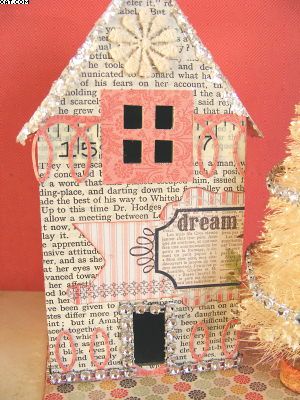
Hello at this busy Festive time, I have not had chance to craft recently and this little house and tree was made ages ago and has a distinctly Festive theme although the colours may not be traditional. 

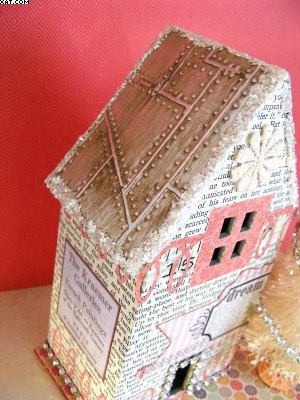
It is made from chipboard, cut to size and covered with decorative papers.The cutouts were made using TH Sizzix movers and shapers which are very versatile dies. All panels were stuck together with Tacky Glue.


The roof is also made from chipboard covered with foil embossed through an embossing folder.  Some Gesso has been added and this has then been gently sanded back to reveal the detail.


The tree is a cheap one bought originally in green but was bleached white in diluted household bleach to remove the green colour.  It has been decorated with bling on a string.


Finishing touches were to add die-cut borders and cutouts with an embroidered round window at the top.  Edges of the roof and the tree were further embellished with cream mica flakes for a bit of twinkle.

Glad it's the shortest day today too, now looking forward to longer days going forward.  Hope you are all sorted ready for the big day !

Sid xx

Pin It

Monday, November 11, 2013

My Happy Box


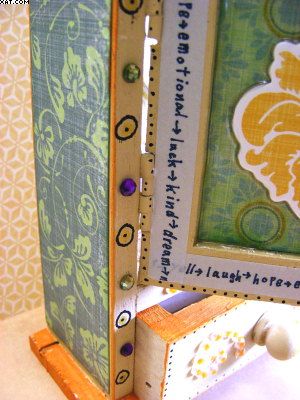
I've been altering a little raw wood key cabinet that I have had for ages.  I started by removing the three key hooks that were on a dowel inside the cabinet.  Then I gave everything a good coat of cream matt acrylic paint.


Once this was dry I set about covering the top & sides, along with the inside and outside of the door and the inside back of the cabinet with a selection of papers from Teresa Collins 'Fabrications'.  Gorgeous colours in these !!

These were measured and trimmed to size allowing a small margin around the outside to allow the painted surface to show through.


I then used some pennant chipboards and a sentiment from the same range of embellishments to make a little stream of them hung on appropriately coloured sari silk and secured with mini pegs,  these were just stuck in place on the inside as they were self adhesive.


A pink glass heart and a little pile of hand made fabric beads were stuck in place on the bottom shelf of the inside too.


The outside and inside of the door was edged with a washi tape strip with positive words on it whilst the outside was embellished with a chipboard 3D design .


The little drawer had a pearly flourish (coloured with alcohol ink in orange) added on both sides of the handle.


Lots of edges were coloured in the same orange alcohol ink as was the top scalloped edge - also a chipboard sticker.

Finishing touches were to add doodled circles, dots with a micron pen and adhesive gems and pearls as can be seen.  I would like to enter this piece in the City Crafter challenge blog for week 185 where the theme is 'Hold It'. This box holds loads of happiness after all !

Sid xx


Pin It
Related Posts Plugin for WordPress, Blogger...