>
Showing posts with label Wooden Pegs. Show all posts

Monday, November 11, 2013

My Happy Box


I've been altering a little raw wood key cabinet that I have had for ages.  I started by removing the three key hooks that were on a dowel inside the cabinet.  Then I gave everything a good coat of cream matt acrylic paint.


Once this was dry I set about covering the top & sides, along with the inside and outside of the door and the inside back of the cabinet with a selection of papers from Teresa Collins 'Fabrications'.  Gorgeous colours in these !!

These were measured and trimmed to size allowing a small margin around the outside to allow the painted surface to show through.


I then used some pennant chipboards and a sentiment from the same range of embellishments to make a little stream of them hung on appropriately coloured sari silk and secured with mini pegs,  these were just stuck in place on the inside as they were self adhesive.


A pink glass heart and a little pile of hand made fabric beads were stuck in place on the bottom shelf of the inside too.


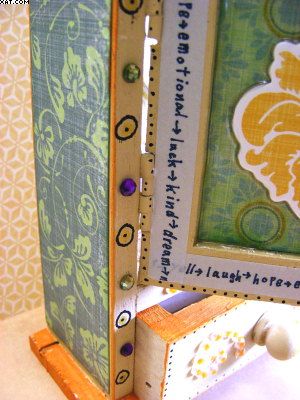
The outside and inside of the door was edged with a washi tape strip with positive words on it whilst the outside was embellished with a chipboard 3D design .


The little drawer had a pearly flourish (coloured with alcohol ink in orange) added on both sides of the handle.


Lots of edges were coloured in the same orange alcohol ink as was the top scalloped edge - also a chipboard sticker.

Finishing touches were to add doodled circles, dots with a micron pen and adhesive gems and pearls as can be seen.  I would like to enter this piece in the City Crafter challenge blog for week 185 where the theme is 'Hold It'. This box holds loads of happiness after all !

Sid xx


Pin It

Thursday, May 14, 2009

Altered Pegs

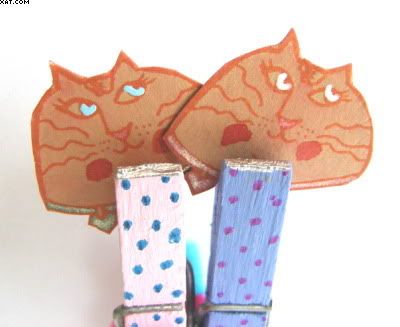
That Hazel (Dansmum), from UK Stampers set a swap to alter a peg or pegs in any way that you like. Inspiration came late in the day so I converted a couple of wooden spring pegs into a sort of set of twin cats. Because they were joined at the hip I entitled the piece 'Siamese Pegs'. No offence is meant in doing so, it's all in the cause of crafting !

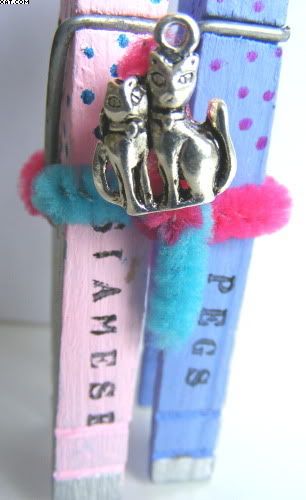
I first dismantled the pegs and painted the them with Sherrils Sorbets in blue and pink (not really my colours at all !) allowing to dry overnight. I then reassembled them and decorated the top halves of the pegs with permanent pen in the opposite colour to the base colour. I then stamped the word 'Siamese' on the front of the pink peg and 'Pegs' on the blue peg in black Stazon.

I then used a blue and a pink pipe cleaner to join the two pegs, twisting to tighten at the back and the front and trimming the ends to a suitable length. The pegs are not stuck together at all. I added a twin cat charm with mini sticky dots to one end of the pipecleaner at the front.

I edged the bottom, top and sides of the pegs with Krylon leafing pen in silver.


I then inked a Third Coast Stamp of a cat with Pumkin Stazon and stamped twice on light brown stout card, cutting out carefully with scissors. I painted with a waterbrush and distress inks and finished the eyes with Sakura souffle pens. The cats heads were simply gripped into the pegs (therefore they can be removed and rearranged as required). The pegs (ahem....cats?), do stand up with a bit of maneuvering and adjustment.


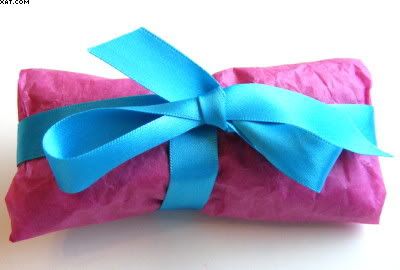
The piece was wrapped in fuschia tissue and tied with a blue satin ribbon.


It was really fun to make and I used things that I would not ordinarily use and it took me out of my safety zone too.


Wonder who will get it?

Pin It
Related Posts Plugin for WordPress, Blogger...