>

Sunday, November 13, 2011

We're All Mad !!


Here is a little 4.5 x 4.5 inch plate which I have made as my entry into 'The Altered Alice' challenge which is Falling Leaves and their true colours.
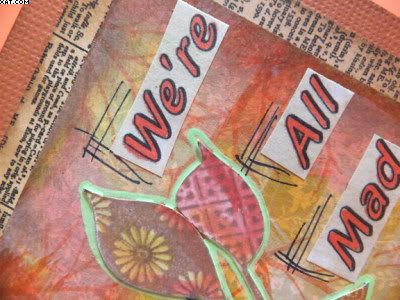


I have used a digi-image of the Cheshire Cat from The Octopode Factory printed and coloured with Marvey Le Plume alcohol brush markers as the central image.  The leaves (Crafty Individuals) are stamped in vintage sepia Versafine ink and coloured with a waterbrush and Distress inks in spiced marmalade, barn door and crushed olive.  All images have been trimmed out.  The words were printed on the computer on copier paper, coloured and cut out. 
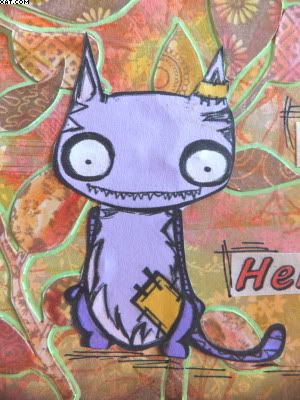


The background is a piece of printed card sploshed with Distress staines in the same colours and taken back with a little picket fence Distress Stain.  I have used a skeleton leaf stamp (Lavinia) to stamp randomly ink spiced marmalade Distress Ink over the background.  All embellishments were then stuck in place as shown. 
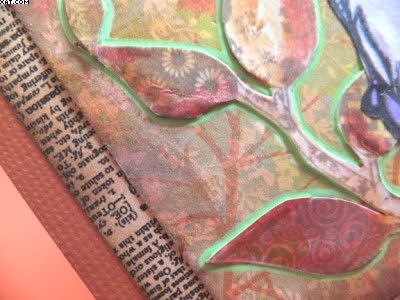


The background was matted on some worded paper and some brown card after edging with vintage photo Distress Ink.  Finishing touches were to apply some green Souffle pen around the leaves and use a black fineliner to accent the shadow under the cat and around the words.

I have used a folding cardboard stand to display made from recycled card and cut out using a sizzix die.

Sid xx

Pin It

Thursday, November 03, 2011

Home Sweet Home


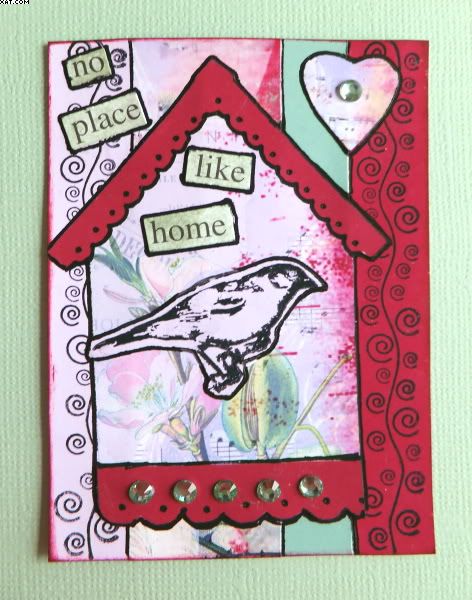
I made this solitary ATC with collaged freeby digi images from Chocolate Baroque.  There is a little stamping (7Gypsies - bird) with the borders and the bird and a little embellishing with the green gems.  Love the colours in this one.

This one also fits the bill for the Simon Says Stamp & Show Challenge theme which this week is 'House'.

Sid xx

Pin It
Monday, October 31, 2011

Plant a Seed


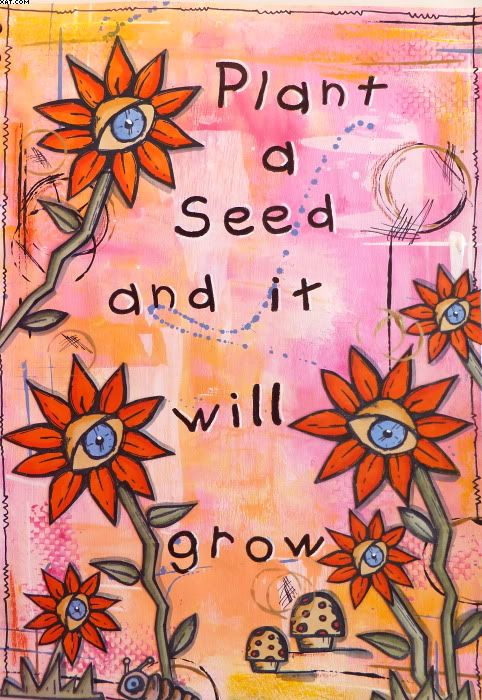
I have been saying for ages that I need to start journalling.  I need to be broken in gently with the handwritten stuff so I decided to go with stamped letters on this my first page.  The journal itself is a cheap A4 one bought from PaperChase and I have pre-coated the first half dozen pages with white gesso although the card itself is quite sturdy.

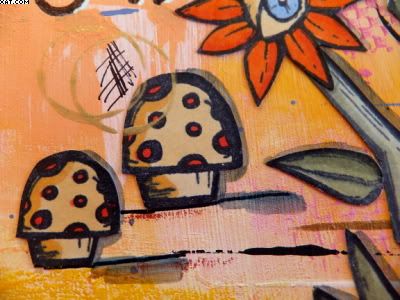
I recently bought a load of garden stamps in rubber from Lily at 'The Octopode Factory' and I have used stamped images of these as the main collaged images on the page.


Also must give thanks to Kate Crane whos' video has inspired me and helped me through some of the background techniques beautifully.  I really did end up with paint everywhere but enjoyed every moment until I had to clean up !!

I used a variety of acrylic paints in pink, yellow, orange, blue, white & black to colour the background.  I used an old credit card, my fingers and a brush to spatter to apply the paints.  I used a Tim Holtz background stamp to apply textural elements in the acrylic and some container lids to produce the circles.


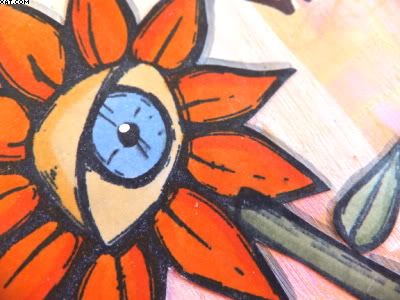
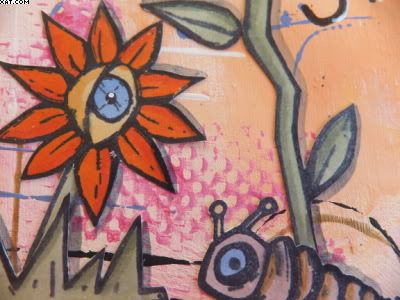
The  Octopode flowers (love the eyes), stems, leaves, mushrooms and caterpillar were stamped on thin card in Archival black ink and coloured with Marvey alcohol brush markers.  The elements were all then cut out and stuck in place with matt medium on the background.  I then went back in and added oil pastels, some edging with charcoal more paint circles and some doodling until happy.


Finally the letters were stamped in Archival black ink and shadowed with some white Posca pen. Definately difficult to know when to stop though................ but stop I did !

That's it, my first page........... but certainly not my last.

Sid xx

Pin It

Sunday, October 30, 2011

The Elixir - of death !


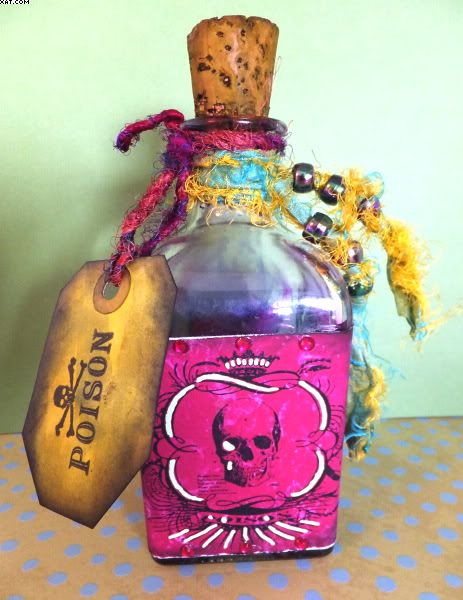
Here is an altered poison bottle just ready for Halloween. The bottle started life as one of those reed air fresheners and I liked the shape for this project.


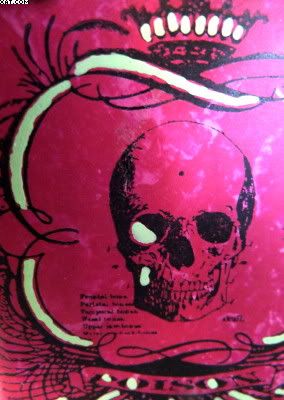
I gave it a good wash and when completely dry liberally coated the inside with splashes of alcohol in in red pepper, denim & raisin added directly from the dispenser and moved around the bottle to mix and obtain a splashed and dripped finish in the bottle. Once happy with the effect I set about doing a spot of embellishing.


I stamped a clear stamp from PinkPaislee onto magenta printed paper with Archival black ink to make a label.  Trimmed this out and then distressed the edge with sandpaper and black soot Distress Ink applied on cut'n'dry foam.  This was further coloured with a lime green souffle pen before sticking in place on the bottle with Glossy Accents. Some magenta crystals were stuck onto the top and bottom of the label.


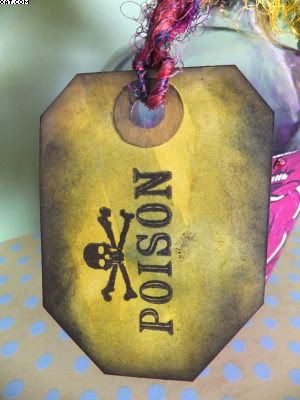
I then made a tag by cutting down a white tag into a sort of coffin shape and colouring with crushed olive and bundled sage Distress Stains.  The tag was dried, edged with black soot Distress ink and stamped with another of the PinkPaislee stamps in Archival black.  The tag was threaded through with some magenta silk woven thread and put aside.


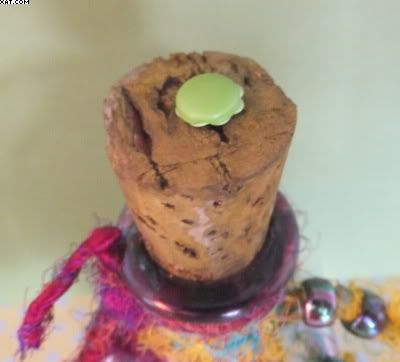
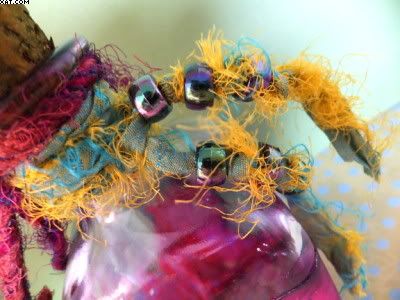
Next I did the cork which I coloured with a few coats of the crushed olive Distress Stain.  I topped this with a lime brad and eyelet stuck into the top of the cork. The fibres (made from silk sari ribbon in yellow and lime green) were threaded with black AB beads, separated by tied knots.  The bottle was then embellished with the tag and the fibres tied round the neck of the bottle.

This one also qualifies for the 'Just For Fun Challenge' !

Fancy a swig??

Sid xx

Pin It
Monday, October 24, 2011

Welcome Home


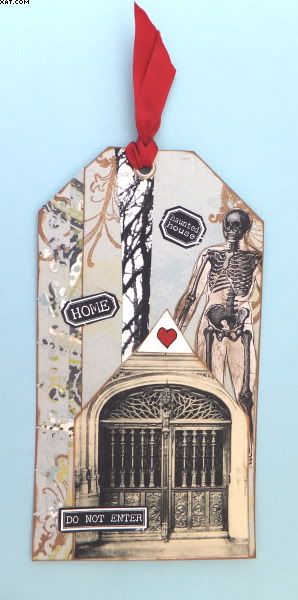
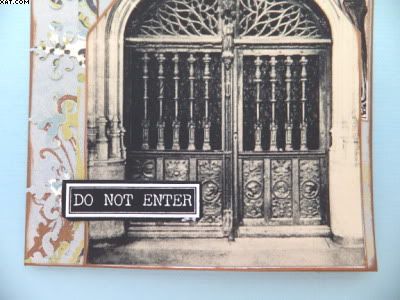
Tag Time !!  I am thinking Halloween again, thinking Welcome Home......not.........


I used digi Art from ARTchix studio in the main with a little swirly stamp in the background inked with brown chalk ink.


The tag base is made from double sided printed cardstock and I have added  the punched out fleur-de-lys border down the left hand edge in the reverse colourway (containing light blue, black & lime).


The digi elements have been trimmed out after printing and collaged up after edging with the brown Versamagic chalk ink.


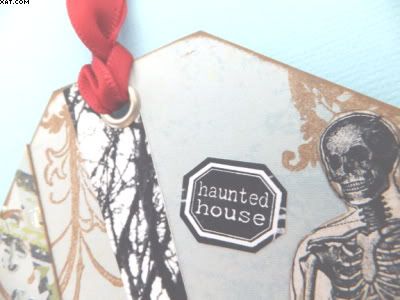
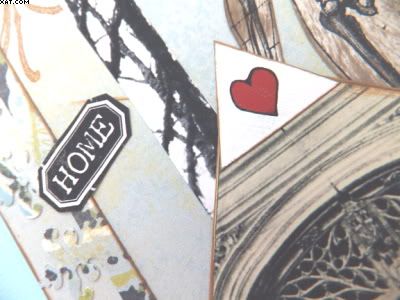
I added the little red heart at the apex of the gothic doors as a contrast and mirrored this by added some red satin ribbon through a silver eyelet applied with the Crop-a-dile.  The whole tag was then edged in more brown chalk ink.

Sid xx

Pin It
Sunday, October 23, 2011

Vintage Shadows


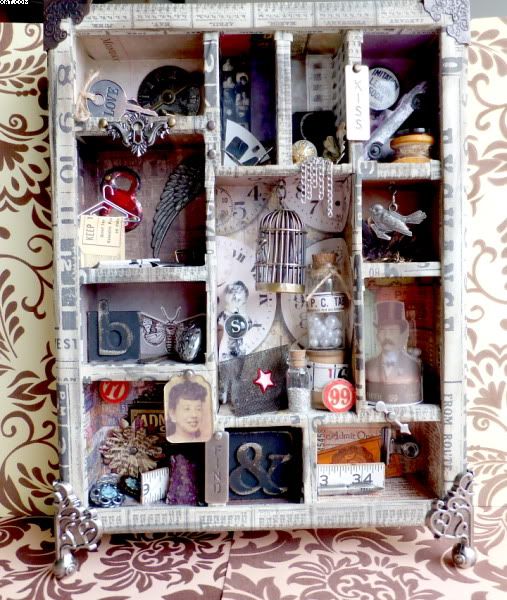
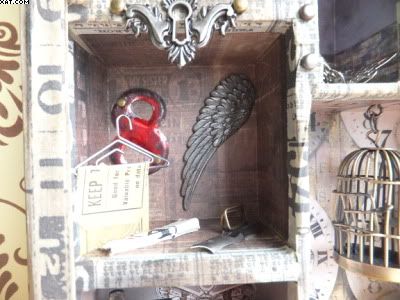
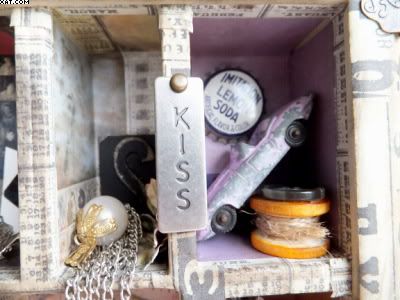
Here is a configurations box I have made using a lot of, but not exclusively, Tim Holtz materials.  It's taken me ages to complete it and I have been going back to it over time and adding things as I went.  It is now complete .......... at least I think it is but may continue to add things to it yet.


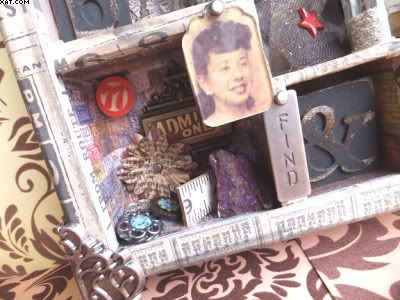
There are alsorts of things in it from birdgages to model cars to keys and cotton reels.  Buttons, charms, metal embellishments, glass bottles are also in there. I have kept everything grungy too by using Distress inks.


Used TH papers to line the compartments and the outside of the box and mica sprays to add a pewter and metallic sheen to the outside.  I didn't use the acetate lid liner as I wanted things to sort of 'Spill Out'.


Used loads of tissue tape to edge all internal and external edges.


Everything has been stuck in place with Claudine Helmuth Matt Medium which does make a fantastically strong glue also.

Sid xx

Pin It
Friday, October 21, 2011

A Stripey Little Number


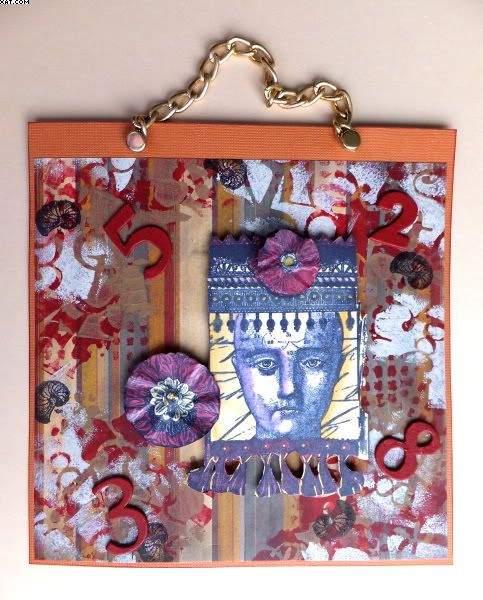
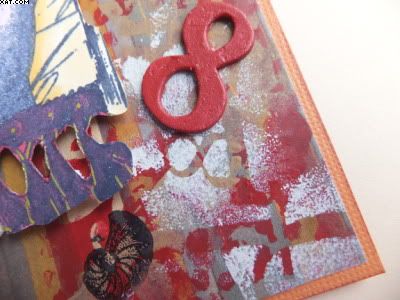
This little square hanging plate started with a piece of 6x6 7Gypsies printed striped paper which I then treated with acrylic paints applied with a make-up sponge in maroon, toffee & mushroom applied through a square mesh and then a numbers stencil to build up colour layers around the edges.  Once happy with the effect I stamped a shell stamp from one of the Lynne Perrella plates from PaperArtsy in Archival black ink, randomly over the painted areas.

I think this one fits the bill for the Simon Says Stamp and Show Challenge which this week is 'Stripes'.


Base complete, I then coloured some Grungeboard numbers with more of the maroon paint and when dry applied in relief as shown with Glossy Accents.


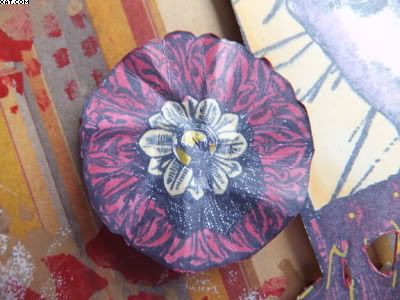
The main image is another Lynne Perrella collage stamp from the same plate, stamped in Archival Ink and coloured in toning colours with Marvey Alcohol brush markers. This was trimmed out and applied on foam pads. The top rosette has been stamped again, coloured and applied on a foam pad.


The larger rosette, again from the plate treated in the same way and applied on foam pads at the side.


Final touches were to matt onto tan textured card and apply a piece of metal chain with two gold brads and edge the matt with maroon chalk ink.

Sid xx

Pin It
Monday, October 17, 2011

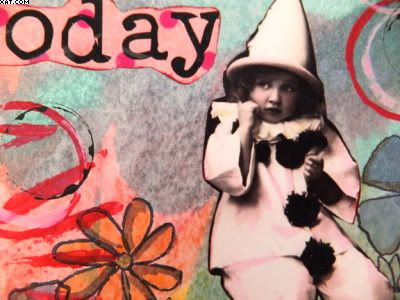
Play Day Clown


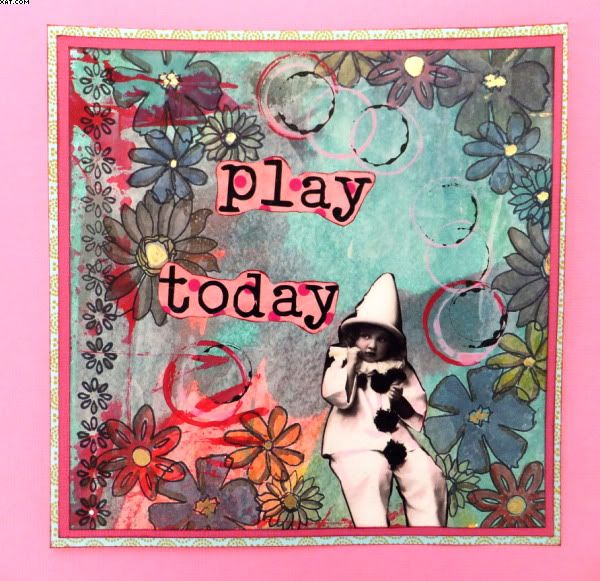
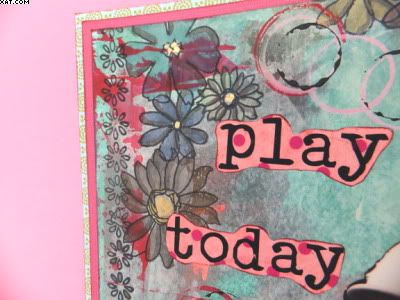
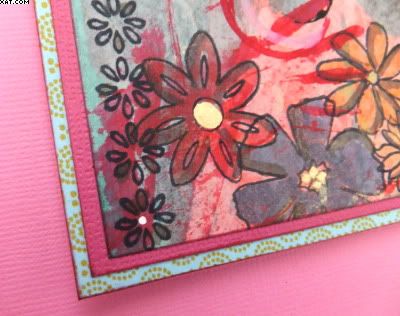
Here is another small 5 1/2 x 5 1/2 inch collaged plate called 'Play Day Clown'.  I prepared the plain base copier paper by painting with Dylusions paint and applying Distress Stains direct to paper.  Once happy I then stamped with Archival black ink and a set of Sizzix flower polymer stamps around the egde of the page and used a flower border down the left side.


The flowers were then coloured with a waterbrush and Distress Inks in various colours.  The ink pads were smooshed onto a craft sheet and the colour picked up with the waterbrush before painting in the flowers.  Shading was added with black soot Distress ink and the waterbrush.


Next the digi images and words (ARTchix Studio) were printed out onto inkjet paper and trimmed out before edging and sticking in place. Some imperfect circles were added using rose, pink & black Dylusions paints applied using different diameter lids as the applicators.


Finally the centres of the flowers were gilded with Krylon gold pen and the artwork mounted on a double matt of pink and pale blue patterned paper.

Really enjoyed making this one !

Sid xx

Pin It
Sunday, October 16, 2011

Vintage Collage


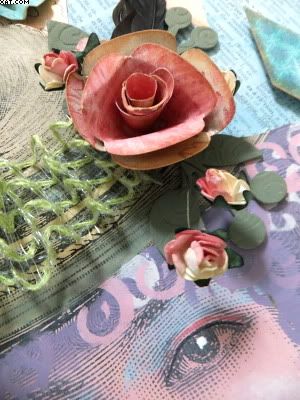
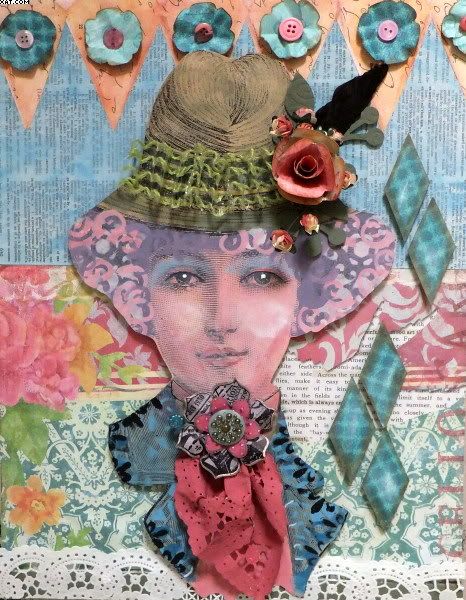
I was lucky enough to have the opportunity to take a Lynne Perrella masterclass on Saturday in Warrington and this is the piece I made.  It's a multi-media vintage collage made using many different materials and techniques,  The main image was supplied but the rest was down to us to decorate and layer as we so desired.  I was wearing a multi-coloured striped shirt and used the colours in this as my colour palette.


The pics are taken without the frame and glass as the reflections are a menace when trying to photograph.  The final image is taken with the frame and it measures 42 x 32cm and is 4cm deep.


Showing the top flower detail and the pennant top.


Details of the hat embellishment made with paper flower, roses, feather and grungeboard leaves. The hatband is made from jute ribbon and applied on red line tape.


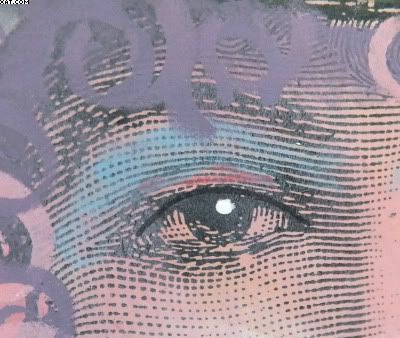
Eye detail coloured with sponges and matt acrylic paints.


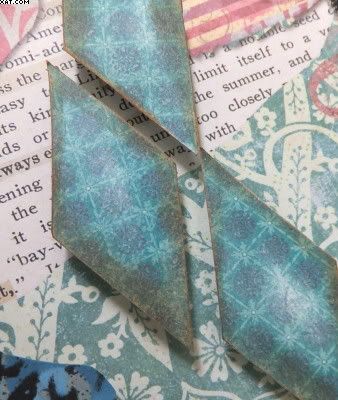
Paper diamonds mounted on foamboard to mirror the pennant shape and to add dimension.


Detail of neck embellishment made from stamped grungeboard, metal foil flower, button and pearls over a painted paper doiley. Finished with a blue pearly hatpin.


The final image above shows the collage in its glass fronted frame which I kept matt black to pull in the black feather.

Sid xx

Pin It
Friday, October 14, 2011

Alice Can - I know she can !!


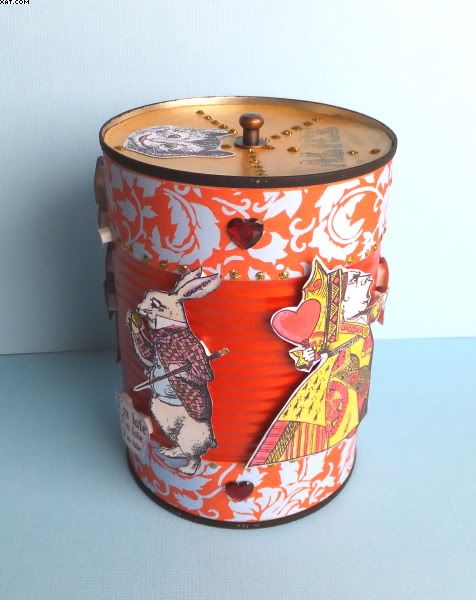
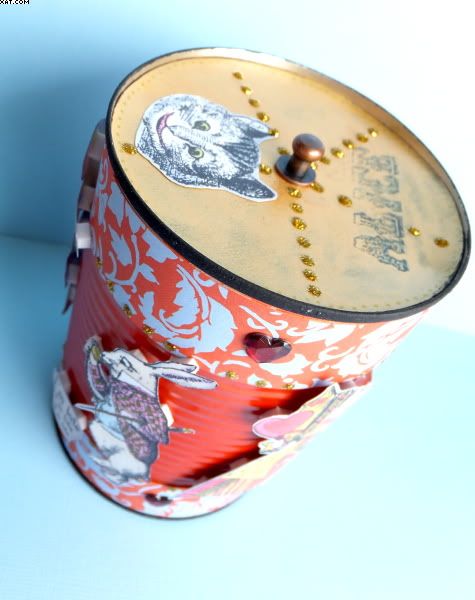
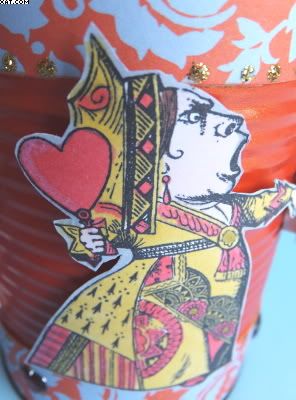
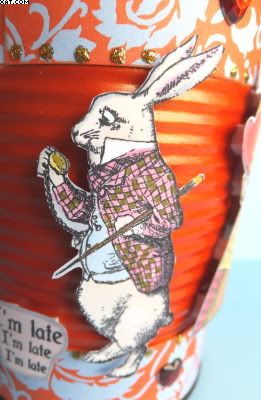
Here we go with an altered bean can !!  I am a great AIW fan and love these stamps from Crafty Secrets so I went ahead and decorated a ring pull can in that style.


The can was prepared by removing the label and painting the central region with a couple of coats of Viva coral Precious Metal Colour. The top and bottom rims were coloured black with Ranger paint dabber. Next, 4 strips of coral and blue printed paper were cut and stuck in place with photo glue at the bottom and top of the painted can.


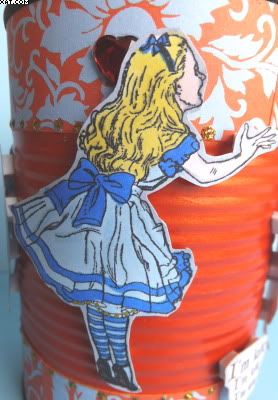
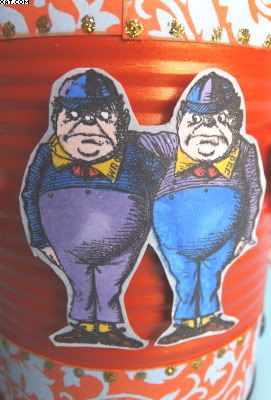
Big bit next, the stamps were chosen and stamped on smooth white card with black soot Distress ink and dried with a heat gun. The images were then coloured with Spectrum Noir alcohol markers in a variety of colours before cutting out and sticking in place on the centre of the can with foam pads.


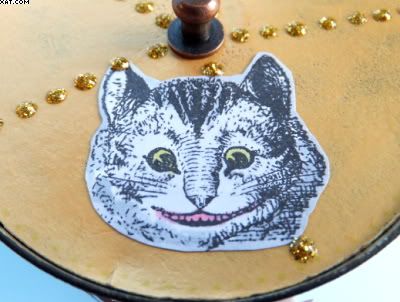
The lid was cut from black stout card with a die and heat embossed with the alice text stamp and detail clear embossing powder. The lid eas then rubbed over with Viva Inka Gold and polished off with a soft cloth revealing the resisted heat embossing. The cheshire cat image was stuck in place with Glossy Accents. A TH hitch fastener was screwed in place in the centre of the lid as a handle.


Red faux heart gems were then stuck in place around the top and bottom bands of the can.


Finally dots of gold Stickles were applied to add some bling.


Thought that this one would fit in with The Just For Fun challenge whose theme this week is Kitchen Finds.

That's it !! My AIW altered can.

Sid xx

Pin It
Related Posts Plugin for WordPress, Blogger...