>
Showing posts with label Sakura Moonlight Pens. Show all posts

Monday, October 15, 2018

Teabag Art .....


Wanted to try some Teabag decoration and I used round teabags this time ......

After drying the bag after use, I carefully slit an aperture in the bag and emptied the contents. I first gave a coat of thinned down white Gesso and then applied matt acrylic paint to make a background.  I then used a honeycomb stencil & stamps with Archival ink and used some pens to highlight sections.

Early days yet and did enjoy doing them although would like to try some with different materials going forward !

Sid xx

Pin It

Wednesday, August 23, 2017

Anty card .....


Another in my mini 3 x 3 inch Thankyou cards .....

Simply made with diecutes, stamps and Sakura pens.

Sid xx

Pin It

Wednesday, July 19, 2017

Watery Postcard ......


Here is a postcard made for a Swap this month over on the UK Stampers Forum Facebook Group. The theme this month is 'Sea & Sand'.

I cut a piece of watercolour paper to 6 x 4 inches and wet this thoroughly, then sprinkled a selection of blue, green and violet Brushos onto the wet surface.  Further spraying was done to dissolve and distribute the colours until happy, when it was dried with a heat gun.

The decoration and sentiment have been stamped with Versamark ink and heat embossed with various embossing powders with a few stamped in Archival black Ink.  Some colouring with Posca pen and Sakura gels added to finish.

The whole thing was reinforced by sticking to white card and the whole card edged with dark blue chalk ink to finish.

If you fancy joining in our monthly Swaps why not click HERE to join the Forum and take part in the Swaps ?

Sid xx

Pin It

Sunday, March 20, 2016

Fun Guys ........


Very corny title I know but I couldn't resist using it.

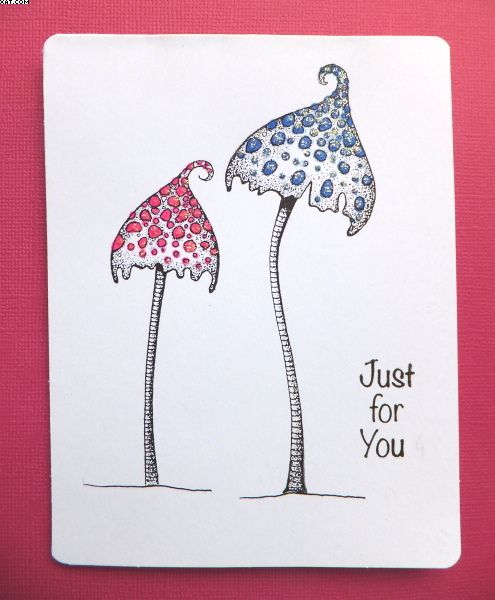
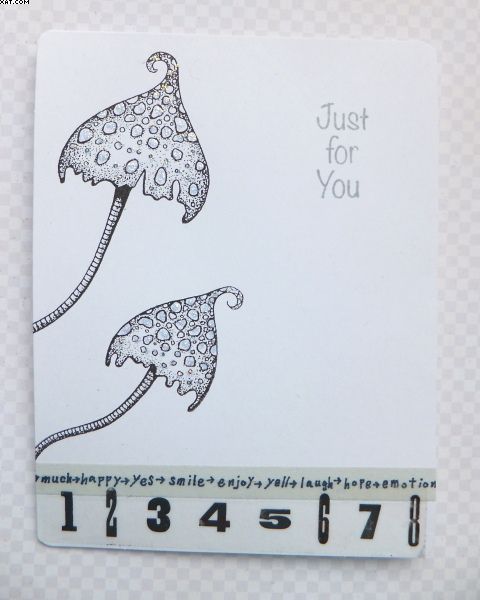
Here are a couple of themed cards I made using the same stamps from Lavinia.  One with colour and the other monochrome.  Both were done in clean and simple style and stamped direct to white card blanks.


On the coloured one I used Versafine onyx black ink for the mushrooms and 'Just For You' sentiment and coloured the spots with Sakura coloured pens, finishing with spots of diamond Stickles glitter glue on top.


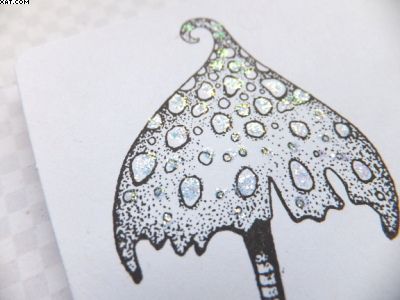
The monochrome one was stamped in more Versafine with the sentiment in Memento dove grey dye ink with more Stickles.  I added two strips of decorative tape at the bottom of the card.


I used a corner chomper to round all card edges to finish.

Sid xx

Pin It

Saturday, August 10, 2013

Birdie Postcard


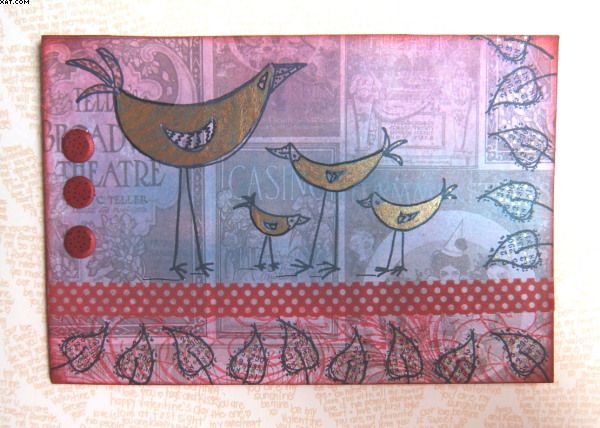
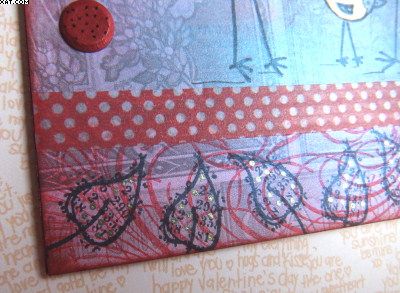
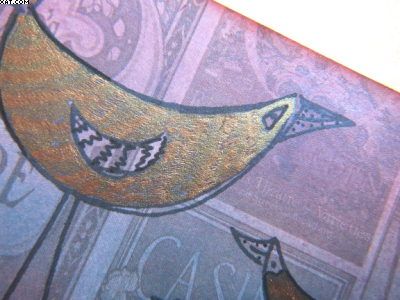
Here is my postcard for this months UK Stampers Forum swap.  The background is printed paper treated with Versamark ink and brushed over with Perfect Pearls in blue and pink to give an iridescent effect (not easy to see in the pic).


I then stamped the base of the card with Adirondack watermelon pigment ink and a swirly stamp.  I then used some Dylusions stamps by Ranger to stamp the leaves and birdies in Memento black ink.


The birdies were infilled with some Sakura jellyroll gold pens. Some further detail was added with a black Pigma micron pen.


A piece of spotty Washi tape was added above the swirls and three card candi minis were added with Glossy Accents on the left.

The finished design was adhered to a piece of stout card cut to 6 x 4 inches which was then edged with fired brick Distress Ink applied with some cut'n'dry foam. It was sprayed with a matte acrylic varnish to protect in transit through the post naked.

Sid xx

Pin It

Sunday, May 23, 2010

Charming !


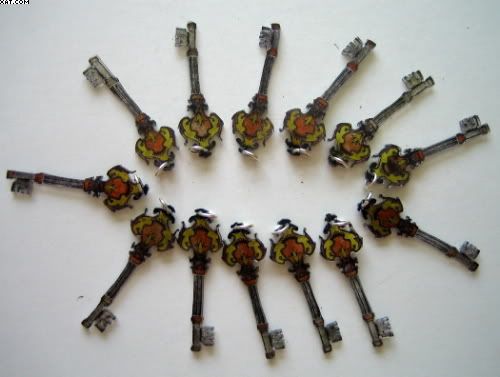
These little key charms were made as part of a swap run over on UK Stampers Forum by the lovely Minxy.  She kindly hosted the swap and each participant (14 in total), made 14 charms which were sent to her.  She had the massive task of fixing all the different charms to a bracelet that she had made before sending back our fab finished works of art.

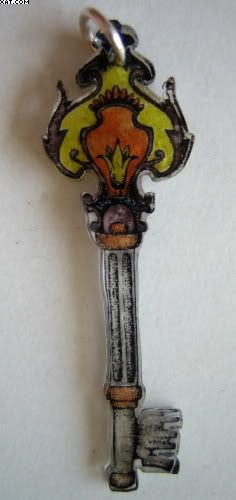
I used a key stamp from Elusive Images and stamped this on opaque shrink plastic with black Stazon.  I then used Sakura Moonlight pens to colour them before punching a hole with the crop-a-dile, cutting out and shrinking them.  I applied a small jump ring to each to finish.


I thought that they would be ideal because they were only 1 inch long and very lightweight too ! Click HERE to see the finished bracelets and all the charms.

Sid xx

Pin It
Related Posts Plugin for WordPress, Blogger...