>
Showing posts with label Mulberry Paper Flower. Show all posts

Monday, May 15, 2017

Lovely Birthday ......


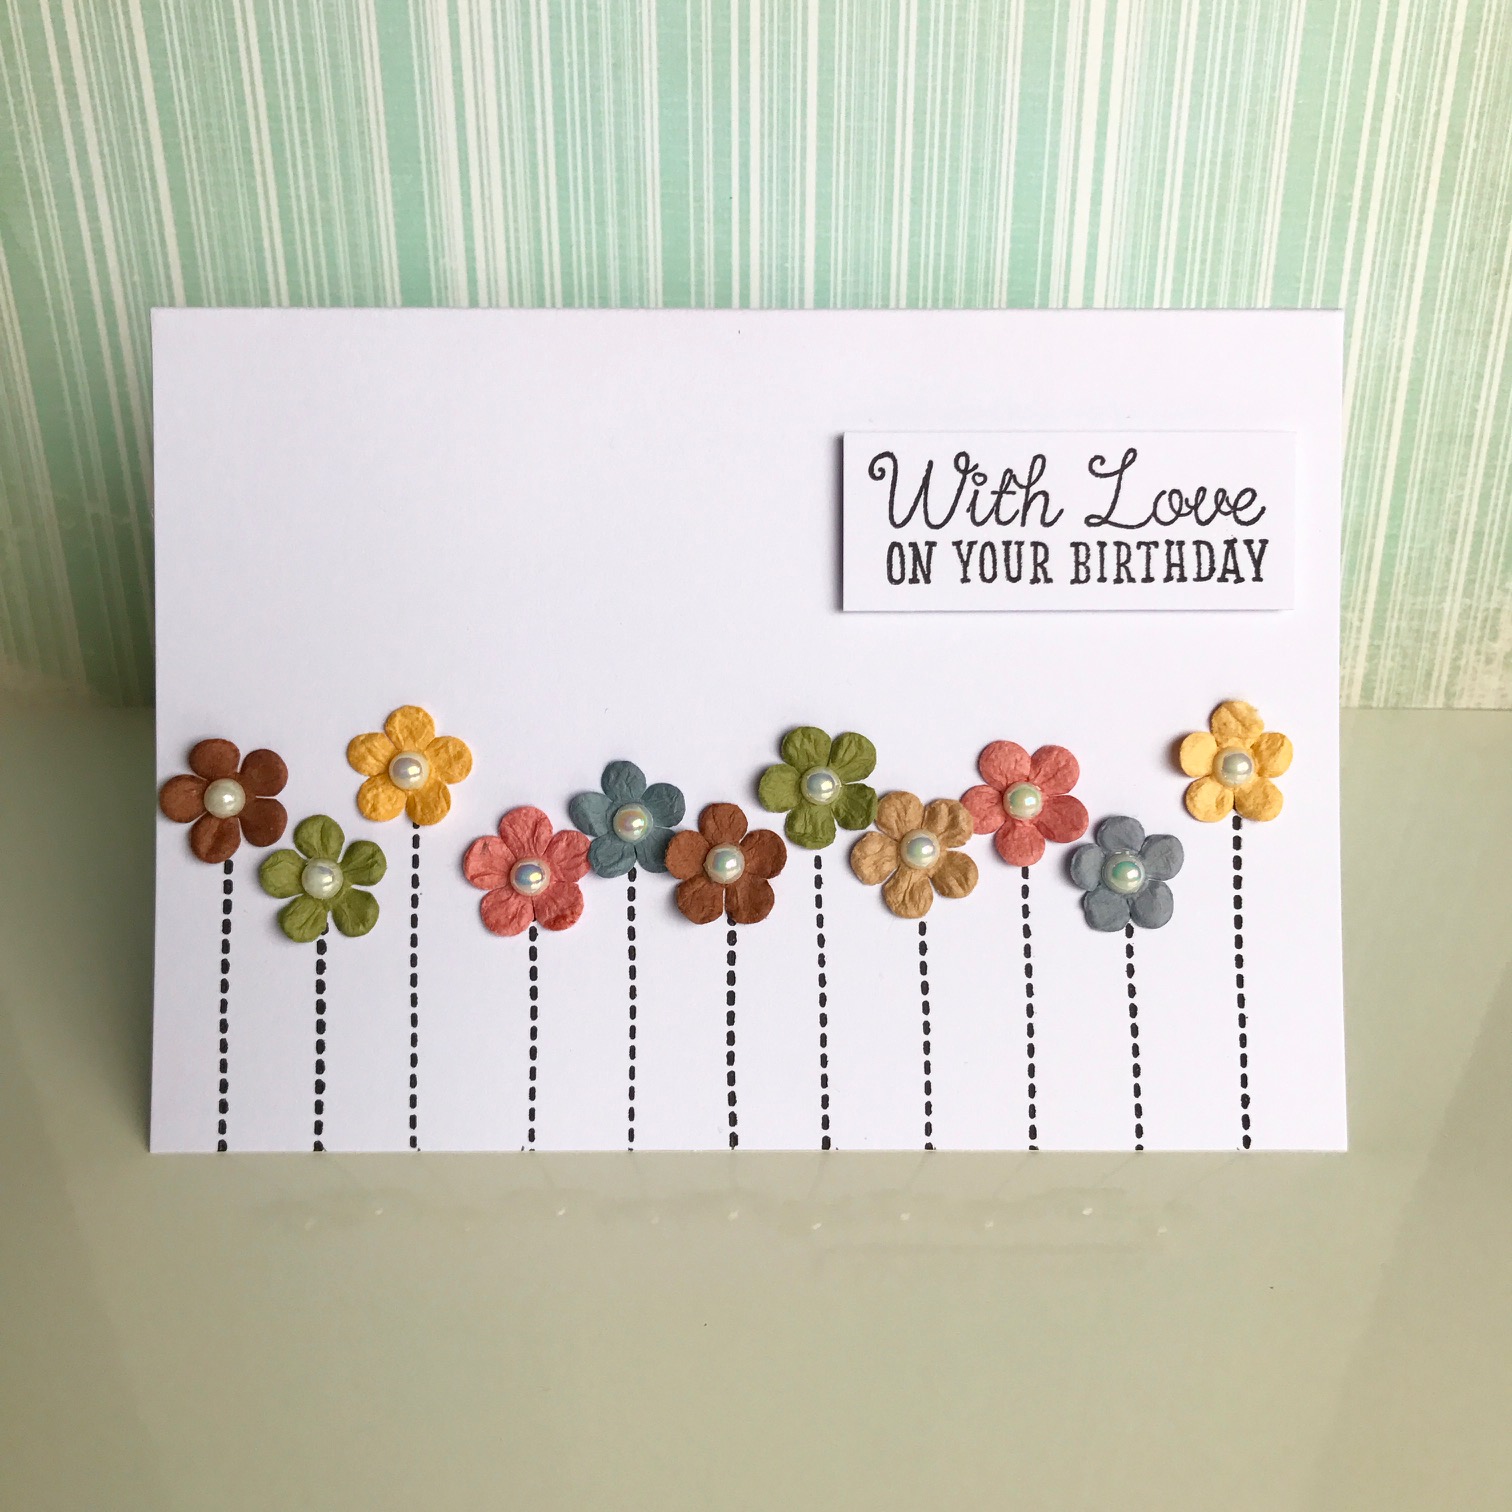
Here is a simple birthday card made in the CAS style.

I started with a 5 x 7 inch white card blank folded tent style.  I then stamped a number of 'stems' with a stitch stamp (PapertreyInk) in black Archival ink as shown.

I then applied a number of pastel coloured mulberry paper flowers from Prima and finished the centres with self adhesive pearls.

The sentiment was stamped in onyx black Versafine ink, trimmed out and applied on foam pads to finish.

Sid xx

Pin It

Wednesday, November 12, 2014

Keep in Touch .......


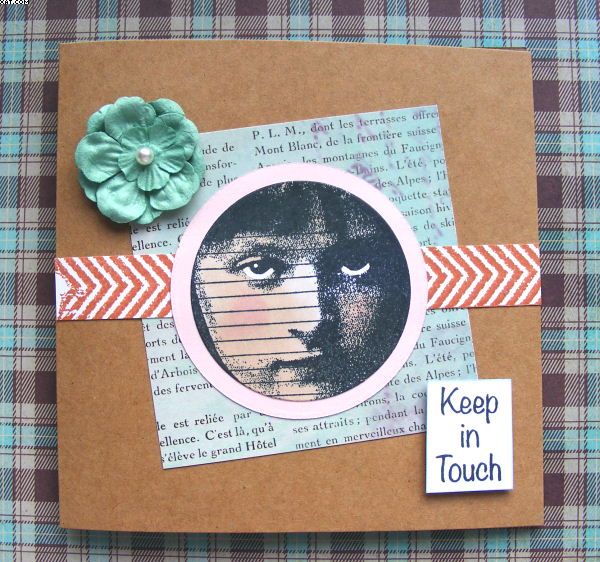
Here is a simple collaged card I have made.  I used a square Kraft card as the base and collaged on a few elements as shown.

I started with a square of printed text paper. The red chevron band was stamped in red dye ink and trimmed.  The stamped image is one from Zetti and she was stamped in Memento black ink and coloured with Copic alcohol ink markers with her eyes highlighted with a white Posca pen.  She was diecut into a circle and matted on another larger diecut circle in pink.


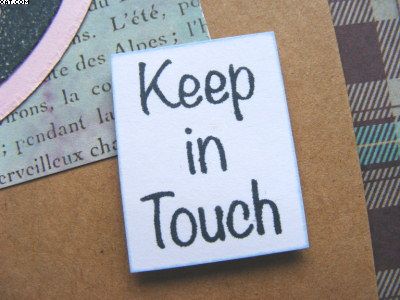
Finishing touches were to add a paper flower with a little pearl centre and the word plate which has been stamped, trimmed and mounted on foam pads.

Maybe she looks a bit stern but I do love the image !

Sid xx

Pin It

Sunday, October 09, 2011

Winged Things !


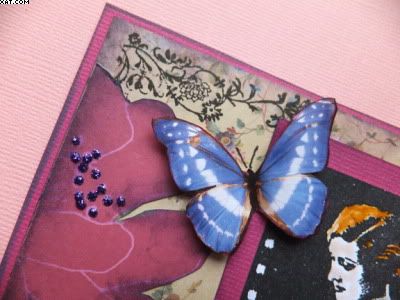
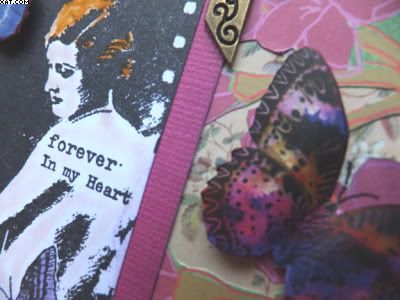
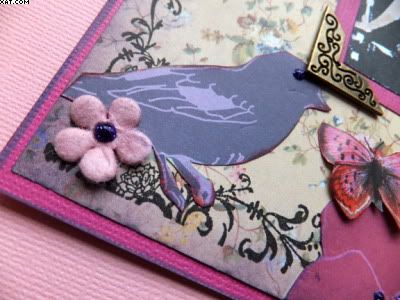
This is a 6 x 6 inch plate I have made in the theme of 'Winged Things' and is my entry into the Crafty Individuals October Challenge over on their blog.

I took a piece of 7 Gypsies floral paper as the background and stamped each corner with a corner stamp from Stampology in Versafine onyx black.  I then cut out some floral elements and a bird from some Dovecraft papers which I edged with dusty concord Distress ink.  These were stuck in place as shown.


Next I made the central element by stamping an old Crafty Individuals stamp onto white card with Versafine.  This was trimmed out, coloured with Marvey Le Plume pens and matted onto some textured purple card.  This was then stuck in place and edged on two corners with metal corners stuck with Glossy Accents.


The butterflies (Crafty Individuals printed 6 x 6 pad) were cut out and edged with maroon chalk ink before shaping and applying on foam pads to add dimension.  The whole sheet was then matted onto purple cardstock and edged in purple chalk ink.


Finishing touches were to add a few pink Prima flowers with Glossy accents and highlight flower stamens and the birds eye with purple Stickles Glitter glue.

Sid xx

Pin It

Monday, March 07, 2011

Cool Cupcake


What a cool cupcake !!  Not of the edible variety and totally calorie free too.  This was made over the weekend as one of our crafty projects at our little crafty retreat in Skipton.  As I always liked blue that was my colour theme.

The whole concept was dreamed up and overseen by the very talented Efemera and many thanks to her  for sharing it.

The base is an empty cotton reel and the stand top is a piece of circular craft board both covered in patterned paper.  The fringe is also made from printed paper punched with a Martha Stewart edge punch.


The cupcake itself is made from a blue silicone cupcake case as its base.  The 'cake' is made from a polystyrene ball cut in half which is covered in a piece of white felt stretched and pinned in place over the half poly ball.  The frill is made from elasticated blue gingham ribbon from The Ribbon Girl.  This was stretched around the half ball and pinned in place into the polystyrene.  A very small amount of polyester fibre was added to the silicone base to fill it and the ball fixed in place with silicone glue applied around the ribbon before easing into the case. Once in position  I stuck a couple of pins through the case into the poly ball until the glue had set !


When the silicone glue had set the cupcake was embellished with a  piece of green satin ribbon, a paper flower, a red bead and a red headed pin to hold all in place on the top.


The finishing touch was to apply some blue Dew Drops from 3D Jean stuck in place with glossy accents.

What a tasty confection !!

Sid xx

Pin It

Monday, September 07, 2009

Upcycled Packaging - Cottonwool Bud Container !!


Everyday we dispose of endless amounts of waste packaging. Everything from food cans, cereal boxes, plastic meat containers to clothing tags. Why not just look in the bin for inspiration. I challenged members of UK Stampers forum to alter a piece /or pieces of packaging of any type and turn it/them into a piece of art.

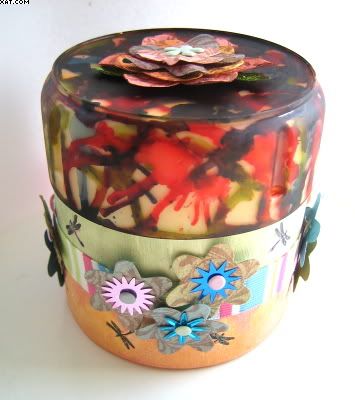
I chose a Johnson & Johnson cottonwool bud container which had a cardboard base and a polythene lid as my piece of art, and here it is.


The body of the container was first gessoed (I applied a couple of coats), and allowed to dry. I used Whispers dye inks in orange and red applied with cut'n'dry foam to the bottom half of the container. I masked this with a Tim Holtz mask of a fence and applied more red ink over this until it looked ok. I used green dye ink to colour the top half of the container by the same method. When happy I sprayed the base with cheap hair laquer to seal the dye inks onto the gesso.

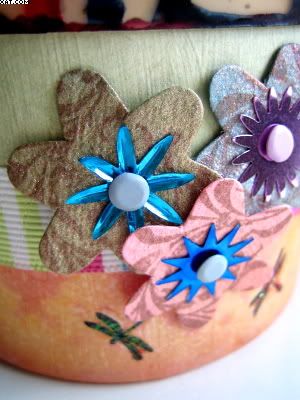
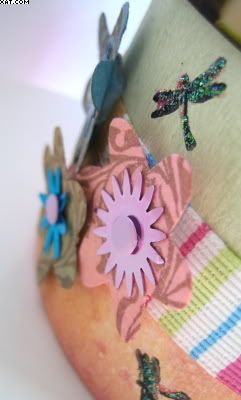
A striped self adhesive ribbon (DCWV) was applied to cover the join between the two colourways. Next a very small dragonfly stamp was inked in black Stazon and stamped along the sides above and below the ribbon in a random fashion. When the ink was dry some pink Stickles glitter glue was applied over each dragonfly image and allowed to dry.


Next I made the flower embellishments. I used die-cut flowers from mulberry paper in green, blue, ecru & pink. I laid these down on a non-stick craft mat and sprayed liberally with mica spray with silver mica. Once dry the flowers were stamped with vintage sepia Versafine ink using a small flourish stamp from Elusive Images (Graphicus). Each flower was then assembled with a pastel brad and shiny sequin, the legs of the brad folded back to hold the flower together. The flowers were then adhered to the box as shown in groups of three with sticky dots to secure.


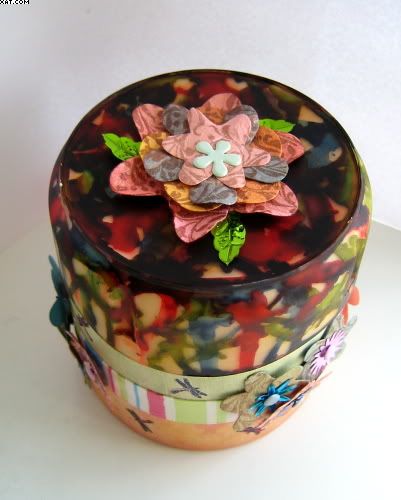
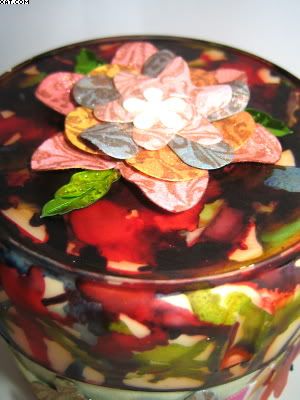
Finally I had the lid to decorate. I took various alcohol inks and dropped them onto the lid top and sides, quickly blowing the ink around with a drinking straw ( the ink can fly, so if you do this protect yourself and the area around you). Once happy with the effect the whole lid was coated on the outside with matt acrylic varnish and allowed to dry. The inside of the lid was given two coats of cream acrylic paint acting as a backdrop to the colours and allowing some of the uninked areas to be highlighted. I think the lid reminds me of Moocroft pottery actually !


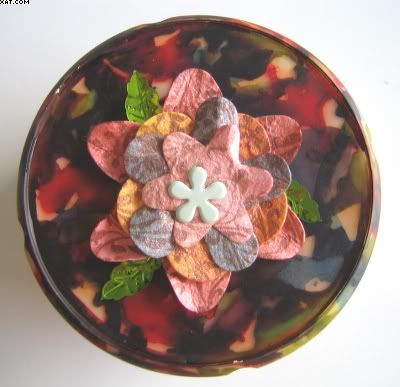
Finally the lid lacked something, I thought of adding a metal knob of some type but ended up making another flower (as described before but with more layers) this time with some sequin leaves and a pastel flower brad.


The last pic shows a top down view of the embellishment on the lid. Very interesting to alter something that would have definately been binned.
Why not try it?

Hope the one receiving it is pleased !

Sid xxx

Pin It

Friday, August 28, 2009

Nature Card


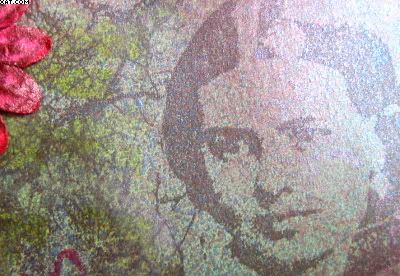
Here is a rather grungy card I have entitled 'Nature'. I am on a spray background kick at the moment so the base card started off pale green. I then mixed some mica sprays in green, blue and copper using Cosmic Shimmer mica pigments and sprayed until the desired effect was achieved (drying between sprayings). The main stamp is from PaperArtsy and was stamped once as a mask and the second time on the sprayed background in vintage sepia Versafine ink. The mask was positioned over the original image and the foliage stamp (unknown) inked in cosmic copper Brilliance ink and stamped a few times over the mask to afford background around the main image but not into it. The image was hand painted with Adirondack inks in lettuce and cranberry applied with a waterbrush. The text (PaperArtsy) was stamped as shown in onyz black Versafine.


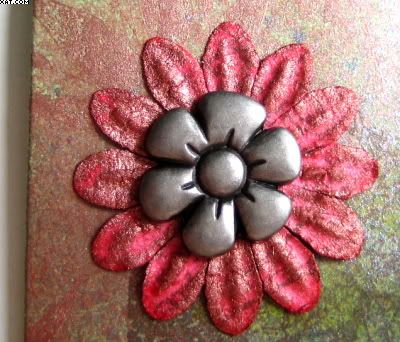
The flower embellishment is a mulberry flower from Hero Arts which I have coloured with dark pink ink and cosmic copper Brilliance. This was stuck in place as shown and a metal flower embellishment from Making Memories was applied in its centre.


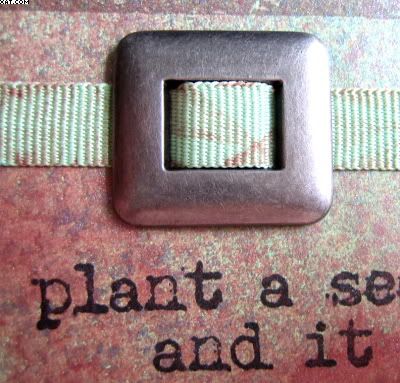
The ribbon of plain light green grosgrain has also been stamped with the Brilliance cosmic copper before threading through a buckle from MM and sticking in place.


The whole card is a bit moody, but I wanted it to be that way. Hope you like it.


Sid xxx

Pin It
Related Posts Plugin for WordPress, Blogger...