>
Showing posts with label Gold Paper. Show all posts

Wednesday, February 07, 2018

Loving Hearts .....


A rather hearty Valentines folding boxcard today .... it's for sale in my Etsy Shop ..... click HERE to have a look !

Remember Valentines Day is 14th February .....

Sid xx

Pin It

Tuesday, June 15, 2010

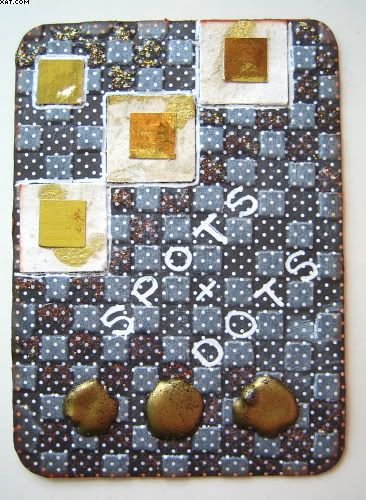
Spots & Dots ATC


This ATC was done to experiment with textures.  I took a piece of black & white printed dotty paper and put it through the Big Shot with a TH embossing folder.....this definately reminded me of a miniature bedquilt..  I then swiped over the raised squares with moonlight white Brilliance inkpad and dried with a heat gun before trimming to size.  This was stuck onto a card blank and the edges rounded with a corner rounder punch.

I then took some  various sized square punches and punched out squares in gold paper and some mulberry paper with gold flecks and applied these with glue as shown.  Then I applied three glue dots and heat embossed these with gold embossing powder.  I used a white opaque pigment pen to outline the squares and write the text.  The ATC was edged in burnt sienna Colorbox chalk ink and some diamond Stickles glitter glue was applied thinly to highlight some of the background squares.

Sid xx

Pin It

Thursday, December 24, 2009

Xmas ATC

This ATC was done as my entry for the open theme for Wednesday Stamper this week. I used a printed clocking-in card as the background which I coloured with Distress inks in shabby shutters and fired brick applied with cut'n'dry foam.

The background cone stamp is from PaperArtsy and was stamped as shown in vintage sepia Versafine ink. The white highlights were then added with a white pigment pen.

The plate was also coloured with the same Distress inks and stamped with black Stazon with a 'Dec 25' PaperArtsy stamp. The plate was trimmed and matted onto gold paper and trimmed again. Some white was added as before and the plate applied with foam pads as shown. The whole ATC was then edged with gold Krylon pen to finish.

Very simple but I liked the almost faded look on this one.

Sid xx

Pin It

Wednesday, December 23, 2009

CJ No. 3 - Chicken Licken


I am taking part in another Circle Journal being run by Efemera over on UK Stampers Forum. Instead of colours as a theme we are just choosing a stamp which everyone has to use as the journal makes its journey round the circle.

Just completed my entry in Chicken Lickens CJ (Tasha) which she has entitled 'Just One Heart'. Her journal pages are loose at the moment and she intends using a Bind It All to bind them on their return. She has made 12 little sleeves out of bookpaper and inside are 12 tags that slide into the sleeves.

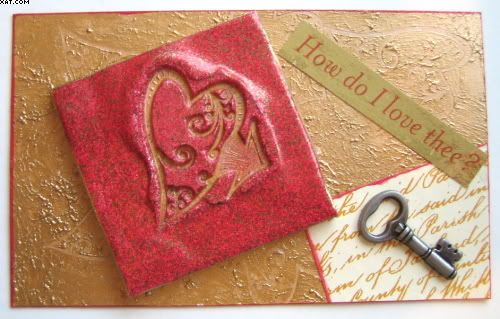
Her chosen stamp is a swirly heart with an arrow. My intended theme was to use a lot of red and gold on my entry.
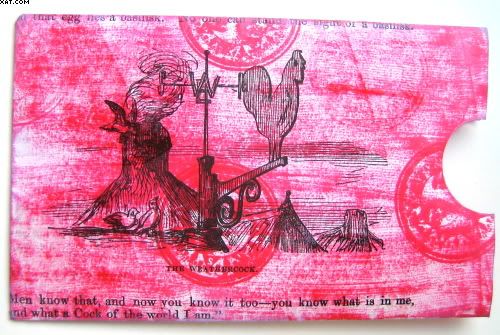
I decorated the sleeve with some Impress red ink applied directly from the pad. I then used a little circular face stamp and randomly stamped this in Versamark and heat embossed with clear embossing powder. I then inked the stamp with the Impress red and stamped again......... its the same on both sides !

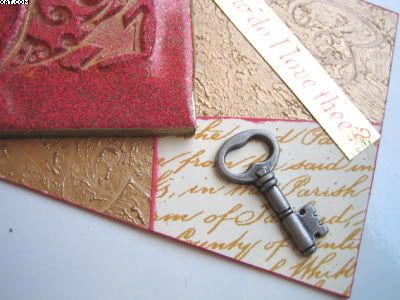
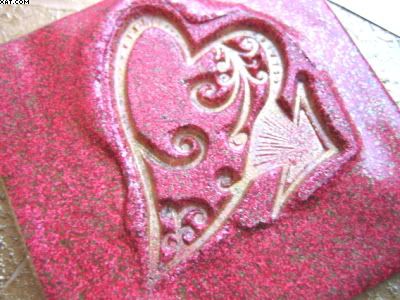
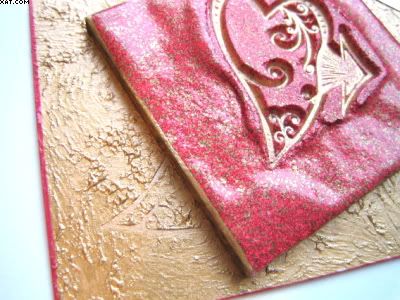
Next I took a 2inch square of stampbord and using Versamark and chinese gold embossing powder, triple heat embossed. I had already inked the heart stamp with gold pigment ink. Once the heat gun was turned off I applied the stamp to the molten EP and allowed to cool before removing the stamp. The effect obtained is shown above. I then edged the square with Krylon gold pen and put it aside.


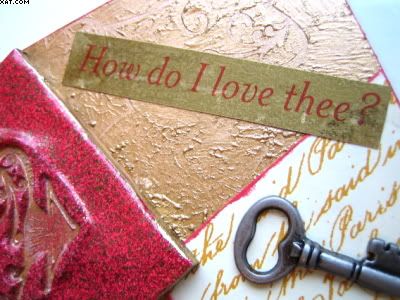
Next came the background. I used a Ranger gold dabber and dabbed on a thick coat of the gold paint and then stamped into it several times with the same heart stamp, leaving an impression (you can just see these). This background was allowed to dry completely. I then used a piece of text printed paper and applied it as shown after edging it with red Versmagic ink.


A metal key was stuck in place with glossy accents as was the Stampboard. I used a clear sticker with the words 'How do I love thee' and applied this to some gold metallic paper, trimmed it and again stuck in place with glossy accents. All edges were finished in the red Versamagic ink and the insert backed with plain red textured card (for my name and sign-in details).


Do hope she likes my entry. I certainly enjoyed making it.

Sid xx

Pin It
Related Posts Plugin for WordPress, Blogger...