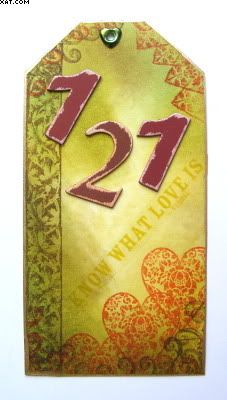
My partners boss is about to go off on maternity leave to have her second child. She already knows that she will be having a boy so I decided to do a little Tag-in-a-Sleeve in advance of the big day ! I don't usually 'do' cute but hey-ho what the heck. Most of the materials are ready made also.
In my effort to be a bit greener, the sleeve was made from a cut down kitchen foil tube as described in an article in the February edition of Craft Stamper Magazine by Jo Capper-Sandon. She describes how to use what would be waste items in your craft projects.
I needed:
- Cardboard tube from kitchen roll
- Card Tag
- Decorative printed papers in various blue designs
- DCWV clear quote stickers 'boy'
- Flourish Stamp (Ilusive Images)
- Colorbox Chalk Ink (Blue Iris)
- Stazon (Ultramarine)
- Adhesive Gems (Blue)
- PVA Glue
- Ribbons & Fibres (Blue)
- Cropadile or hole punch
The roll middle was first cut to the desired length and then flattened to form an open ended sleeve. PVA glue was applied to the inside 1/4 inch of one end of the tube and this was clipped together with a strong crocodile clip until perfectly dry.
Meanwhile I prepared the tag. I chose one of the blue papers and adhered this with PVA glue to one side of the tag and repeated this for the other side. I trimmed the edges around the base tag and re-punched the hole in the top of the tag with the crop-a-dile (easy work!).
Once completely dry I used the small flourish rubber stamp and stamped in Stazon on both sides of the tag as shown. I then applied a few selected clear quote stickers (trimmed to fit) to both sides of the tag in a pleasing arrangement. Burnishing the stickers with the handle of a pair of scissors to ensure no air bubbles were present under them. A blue self adhesive gem was applied to each side of the tag for a little dimension.
I then edged the tag with the blue iris chalk ink pad directly. The fibre and 3mm ribbons were chosen and applied in a simple slip knot through the hole in the tag as seen.
Once the glue on the sleeve had dried I covered the sleeve with decorative paper and ensured that all edges were folded in and well stuck down. I applied more chosen clear quote stickers and again edged the whole sleeve with the chalk ink. The tag was finally slipped into the sleeve to finish.
I think she will like it and I enjoyed making it too. Hope this is of interest :-)
Pin It