>

Tuesday, December 31, 2013

Flight of Fancy


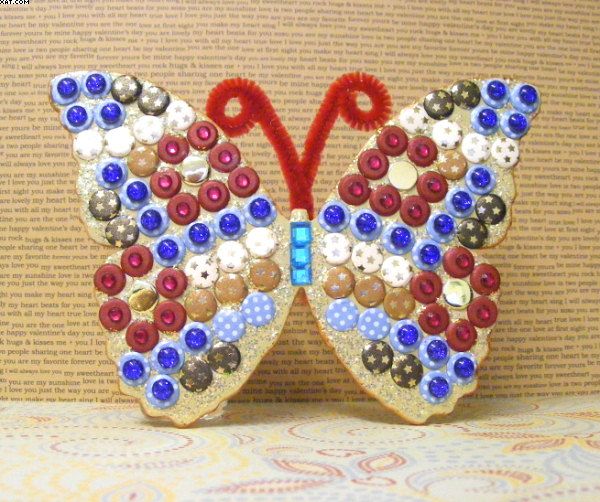
I think we all have loads of what I call 'UFO's' (unfinished objects).  This was one of them I started last Summer.  Now here I am, sat looking out on torrential rain and it's almost dark enough to be night.  So this now has brightened up my day a bit.

It started off as a chipboard butterfly diecut which I gave a couple of coats of buff acrylic paint.  I then got out the Card Candi and started to build up a sort of mosaic pattern on the wings using a strong thick PVA glue to adhere them.
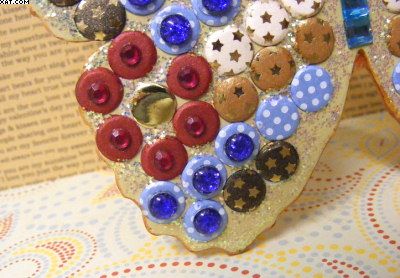


I then finished off the decoration by added some self adhesive gems to highlight areas on the wings and body and added some Stickles glitter glue between all the Card Candi. Finishing touch was to add a couple of red chenille pipe cleaner antenna.  I will make a box to fit, decorate it and send as a fun birthday card.

Anyway that one UFO finished now to get on with the other 101 !! 

Just one last thing to do before this year ends ........ so here's wishing all my loyal followers and commenters a Super New Year with loads of good health and prosperity.  Thanks and I love you all !

Sid xx

Pin It

Sunday, December 29, 2013

Seriously Awesome


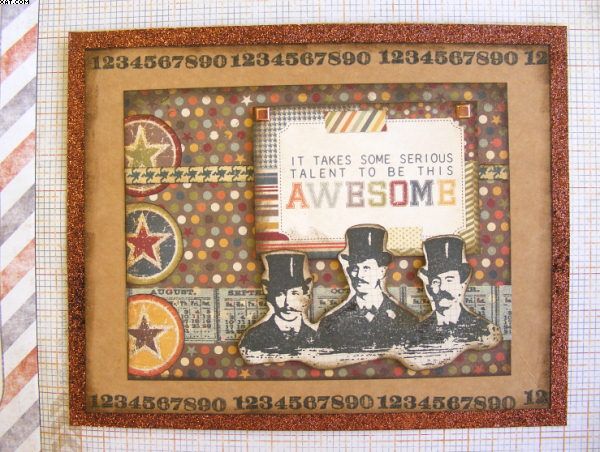
I have a bit of time to spare today so I have made a seriously awesome card.  I have used a piece of Kraft card as the base along with a selection of papers from simplestories 'Awesome' paper pad.

I have trimmed out various images and strips to produce the collage.


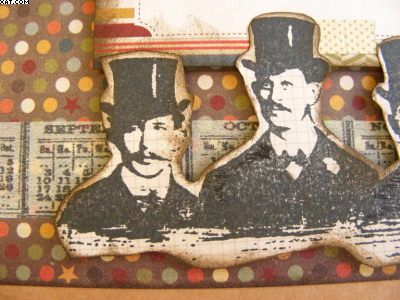
Some TH Tissue tape has been used on the background and stamps used were from 7Gypsies (numbers) and Tim Holtz (3 men in top hats).  They were stamped in Memento tuxedo black ink and attached on foam pads.


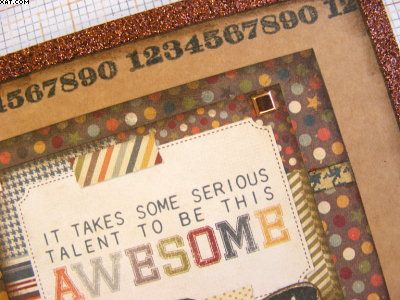
Edging was done with walnut stain Distress Ink and a couple of square copper brads were added on the word plate which was then attached on more foam pads.


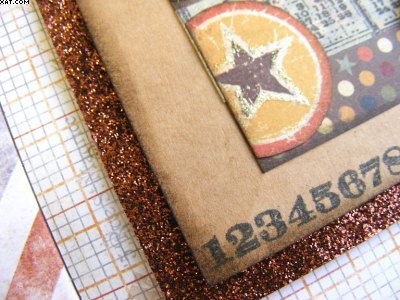
Finishing touches were add a little Stickles glitter glue on the stars and to matt onto dark copper glitter paper.

Sid xx

Pin It

Tuesday, December 24, 2013

Sweet Treat


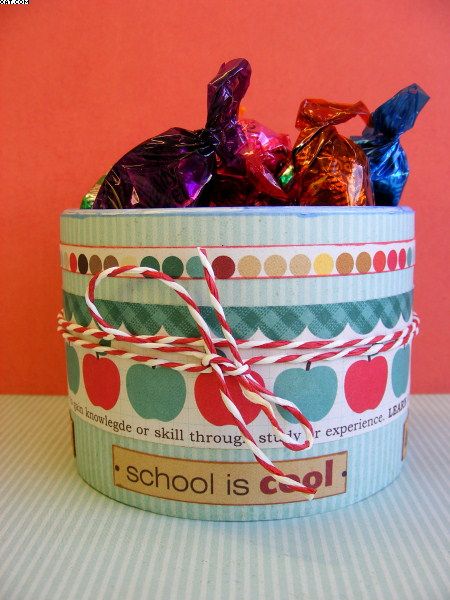
Here we go on this Christmas Eve, so I have decorated a used cotton wool bud container with some American 'Back To School' papers with a little treat of sweets to give to a little girl or boy when they return to a new term back at school in the New Year.


I love to upcycle as using packaging that would normally go to waste gives you a good feeling. Christmas always brings us loads of packaging so why not look at it and try to use it in a creative way?  The twine was actually on a box of Christmas cards so even that is upcycled too.

Sid xx

Pin It

Saturday, December 21, 2013

Festive Home


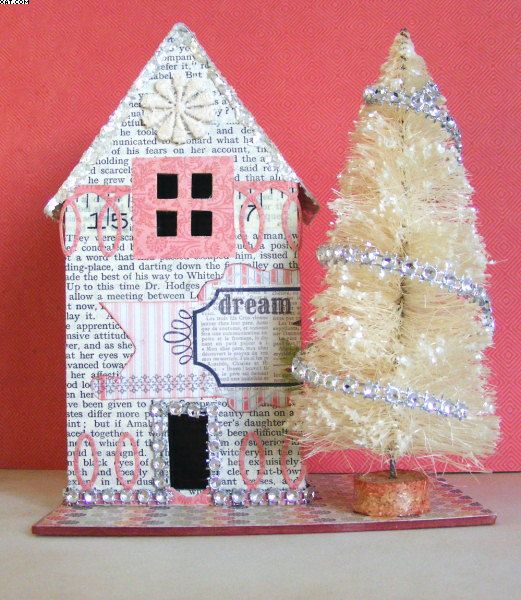
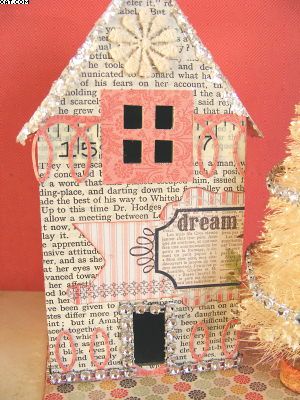
Hello at this busy Festive time, I have not had chance to craft recently and this little house and tree was made ages ago and has a distinctly Festive theme although the colours may not be traditional. 

It is made from chipboard, cut to size and covered with decorative papers.The cutouts were made using TH Sizzix movers and shapers which are very versatile dies. All panels were stuck together with Tacky Glue.


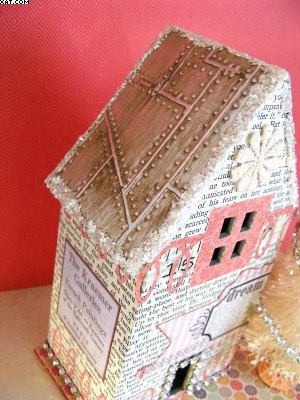
The roof is also made from chipboard covered with foil embossed through an embossing folder.  Some Gesso has been added and this has then been gently sanded back to reveal the detail.


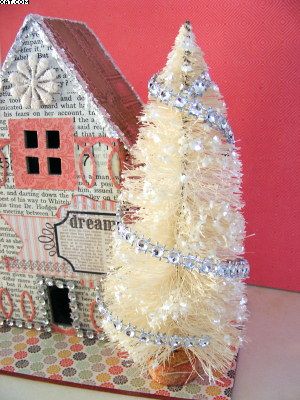
The tree is a cheap one bought originally in green but was bleached white in diluted household bleach to remove the green colour.  It has been decorated with bling on a string.


Finishing touches were to add die-cut borders and cutouts with an embroidered round window at the top.  Edges of the roof and the tree were further embellished with cream mica flakes for a bit of twinkle.

Glad it's the shortest day today too, now looking forward to longer days going forward.  Hope you are all sorted ready for the big day !

Sid xx

Pin It

Monday, November 11, 2013

My Happy Box


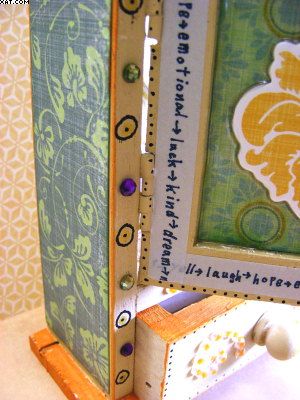
I've been altering a little raw wood key cabinet that I have had for ages.  I started by removing the three key hooks that were on a dowel inside the cabinet.  Then I gave everything a good coat of cream matt acrylic paint.


Once this was dry I set about covering the top & sides, along with the inside and outside of the door and the inside back of the cabinet with a selection of papers from Teresa Collins 'Fabrications'.  Gorgeous colours in these !!

These were measured and trimmed to size allowing a small margin around the outside to allow the painted surface to show through.


I then used some pennant chipboards and a sentiment from the same range of embellishments to make a little stream of them hung on appropriately coloured sari silk and secured with mini pegs,  these were just stuck in place on the inside as they were self adhesive.


A pink glass heart and a little pile of hand made fabric beads were stuck in place on the bottom shelf of the inside too.


The outside and inside of the door was edged with a washi tape strip with positive words on it whilst the outside was embellished with a chipboard 3D design .


The little drawer had a pearly flourish (coloured with alcohol ink in orange) added on both sides of the handle.


Lots of edges were coloured in the same orange alcohol ink as was the top scalloped edge - also a chipboard sticker.

Finishing touches were to add doodled circles, dots with a micron pen and adhesive gems and pearls as can be seen.  I would like to enter this piece in the City Crafter challenge blog for week 185 where the theme is 'Hold It'. This box holds loads of happiness after all !

Sid xx


Pin It

Tuesday, November 05, 2013

Birdy Postcard


Over on UK Stampers Forum this months 'Naked Postcard' swap is an open theme so I have made a birdy themed card using stencils and dye inks. Why not join the forum........ it's free and you can then enter this very popular swap?


I have stamped some numbers and 'going cheap' which I couldn't resist altering to 'cheep' !  Other embellishments are rub-ons.  I have sprayed the card with an acrylic spray sealant to protect it in transit through the post.

Sid xx

Pin It

Sunday, November 03, 2013

Spooky !


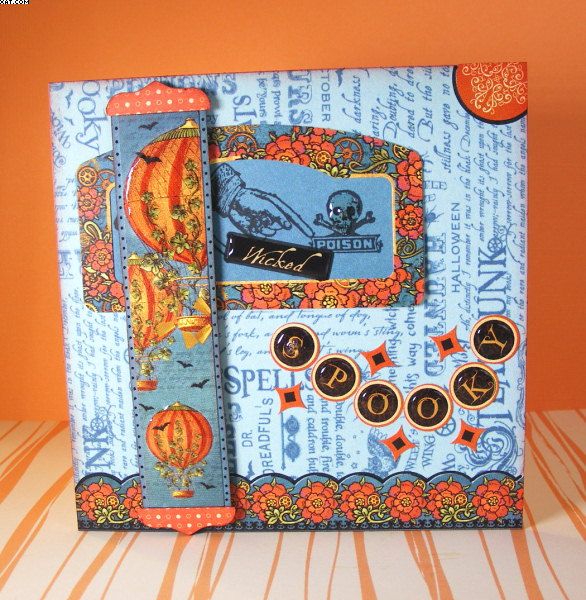
Here is a spooky card made mainly from Graphic 45 papers.


I have used some Tim Holtz stamps with Versafine black ink.  Highlighting with black Posca pen.


Finished off with Distress inked edges and Glossy Accents for a bit of shine.

Sid xx

Pin It
Tuesday, October 22, 2013

A Little Bird ............


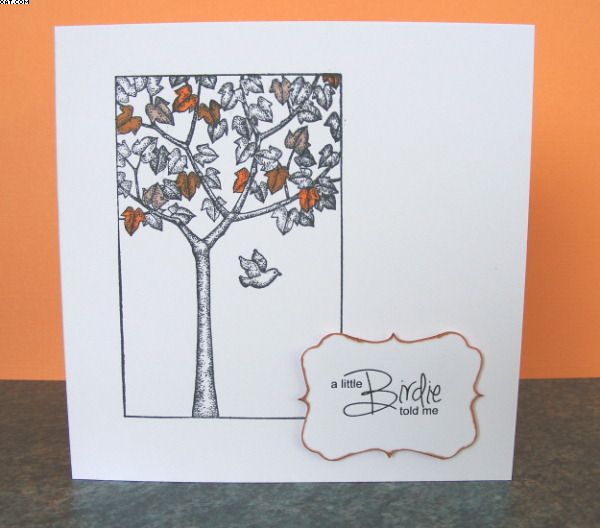
Here is another Clean & Simple card with an Autumn theme.  I started with a 4 x 4 inch white card blank.


I then stamped a rubber stamp of a tree with leaves and a little bird onto the card in Memento tuxedo black ink.  I used Marvey Alcohol brush pens to colour certain of the leaves in oranges and browns.


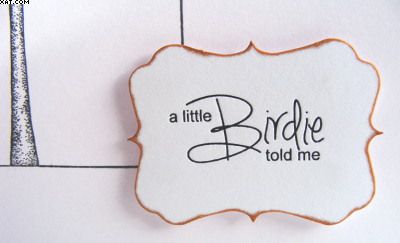
Finishing touch was to edge a sentiment plate with orange ink and mount bottom right on foam pads.

I would like to enter this into the 'Less is More' challenge for week 142.

Sid xx

Pin It
Saturday, October 19, 2013

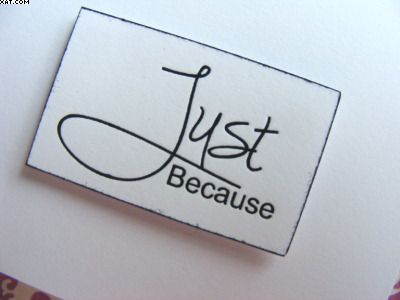
Just Because .....


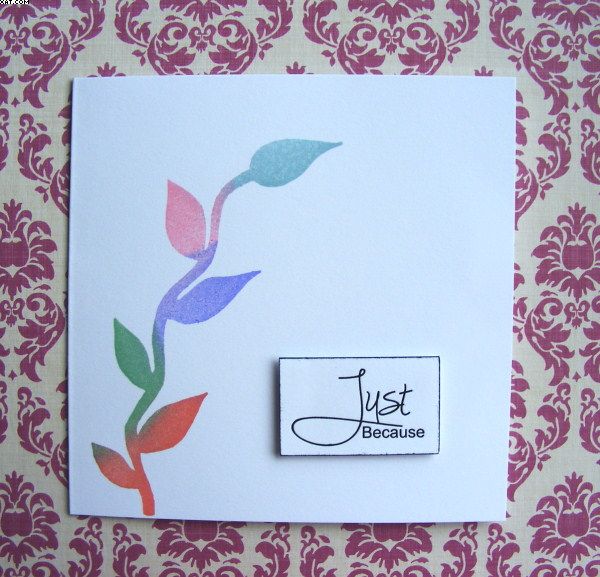
Here is another square CAS card made for a birthday !


Simply stamped with a PaperArtsy vine stamp selectively inked with a rainbow of dye inks.


A printed sentiment plate was added on foam pads to complete.

Sid xx


Pin It
Friday, October 04, 2013

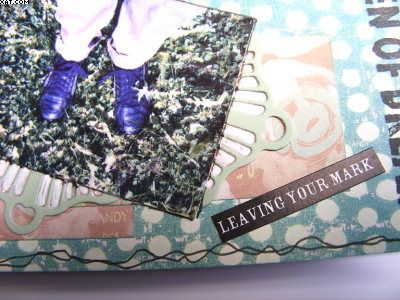
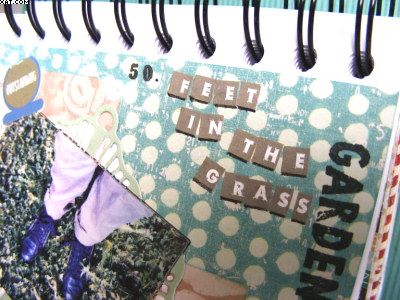
No. 50 Feet In The Grass


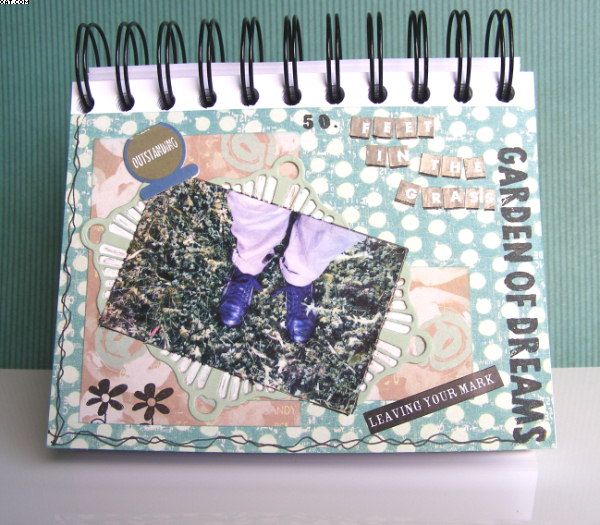
Another weekly entry into my mini easel PhotoBook.  This week it's entitled 'Feet In The Grass'.  The other week I was walking in Sackville Park in Manchester and had my phone with me so I took this quick photo of my feet in the grass.

Actually there wasn't much grass at all and as can be seen, it was mostly weeds and dandelions ...... really needs some gardening TLC I think.  The trainers on my feet are by PRADA and they are honestly the most comfortable pair of shoes I have ever owned and because of this they are rapidly becoming worn out.

Thought it best just to show my feet complete with shoes as I don't think my bare feet are very elegant !


Anyways, I have used 6 x 6 inch printed papers as the background and mats.  The photo (printed on the Pogo) was stuck onto a diecut doiley which had first been cut into useable bits before being stuck in place as shown.  I have also placed a sticker tag at the top left.


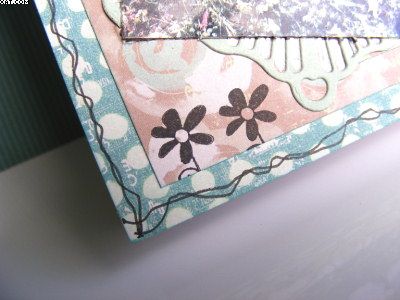
The 'Garden Of Dreams' was stamped with a PaperArtsy stamp in Vesafine onyx black ink and the other letters are also alpha stickers.  I stamped the number 50 too.  Other stickers were used and a flower was stamped also in the same ink a couple of times.


Finishing touches were to freehand draw a couple of edging wavy lines with a black Micron pen.

If you would like to join in click HERE and HERE for more info. 

Sid xx

Pin It
Related Posts Plugin for WordPress, Blogger...