>
Showing posts with label Paper Lace. Show all posts

Tuesday, June 04, 2019

Pearly squares ....


A set of Inchies made for a swap in UK Stampers Forum ....

I punched out the 1 x 1 inch bases from recycled board from cartons and then chose some mushroom fleck card and stamped a flower stamp in Versamark ink which I heat embossed with opal pearl embossing powder.  I then selectively punched out 1 x 1 inch squares from this background and applied to the bases.

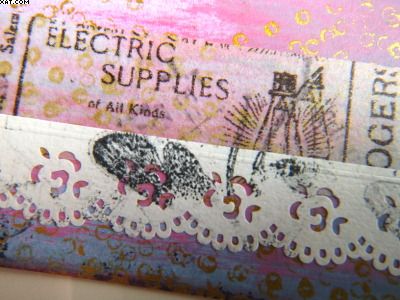
I applied a fine stripe of redline adhesive tape to each and sprinkled with Beadazzles to decorate. A thin strip of black paper lace was then applied next to this as shown.

I coloured some adhesive pearls with grey Copics to match and applied as shown.  Each Inchie was then edged in brown Versamagic Chalk ink to finish.

Click on the link above if you would like to join the Forum and perhaps join our swaps too !

Have a super day !!

Sid xx

Pin It

Sunday, November 02, 2014

Christmas is coming ........


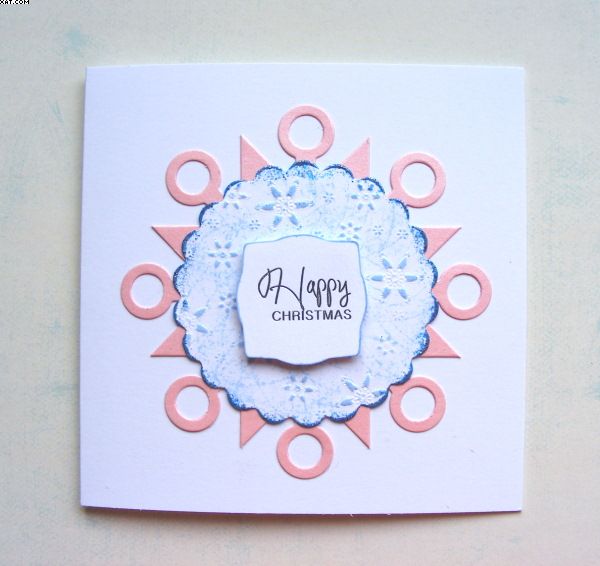
Yes I know it's only the 2nd November but .......... we have been asked to do some Christmas cards using non-traditional colours by the Less Is More Challenge Blog for week 196.

My first card uses diecuts and embossing but no stamping.  I loved the pink and blue theme where I have emphasized the embossed snowflakes with some blue dye ink (Memento).  I have edged the embossed plate with blue glitter embossing powder applied with Versamark and heat embossed with a heat gun.  The underlying diecut is made from pink pearlised card.

The word plate is gold embossed and mounted on foam pads.


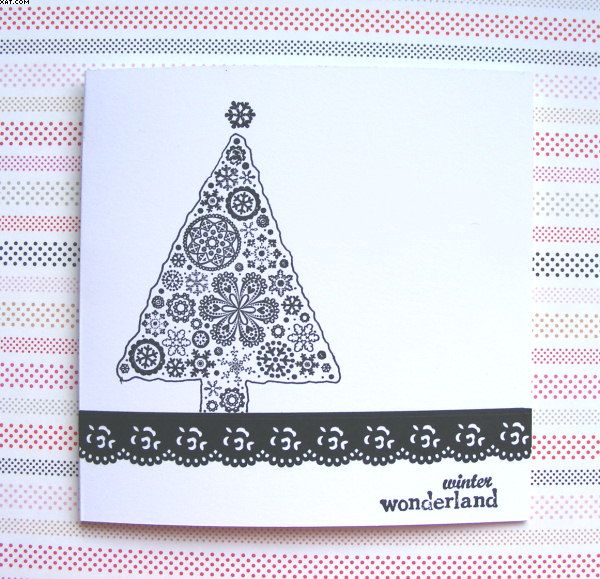
My second card is entirely stamped (apart from a little bit of black paper lace) with Versafine onyx black ink.

I have kept it monochrome for simplicity.

Sid xx

Pin It

Sunday, March 16, 2014

The Romantic Road


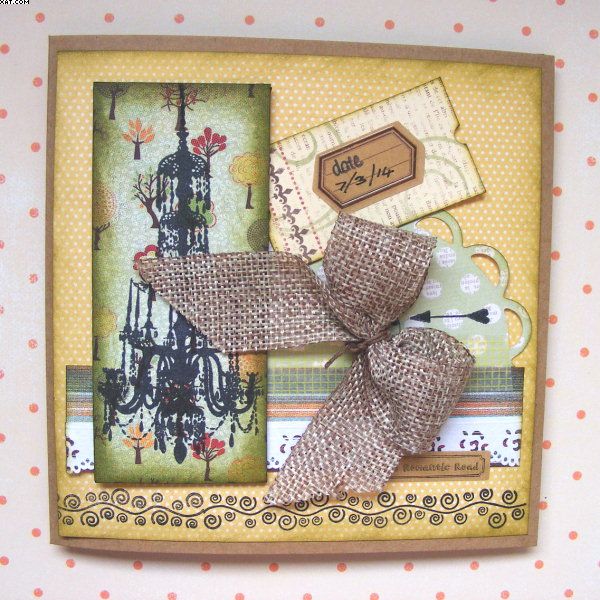
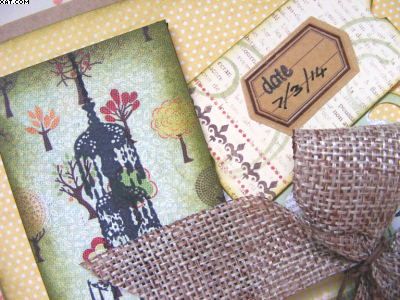
I love to use Kraft card, it possesses such a natural colour which blends well with earthy tones.  This card was made from a 4 x 4 inch base card and I think the colours are lovely.  Papers were selected, cut and applied as shown. Distress inks were used to edge most components.


The main image is Moo sized and is a plate made of card, covered in paper and stamped with a chandelier stamp in Archival black ink.  One layer is a die cut circle with a scalloped edge and some Washi tape was used to hold the horizontal papers together.


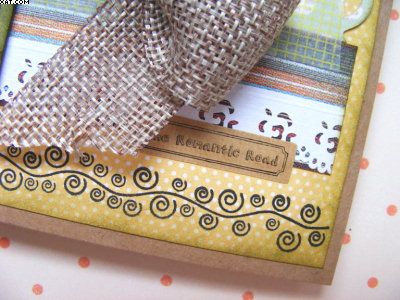
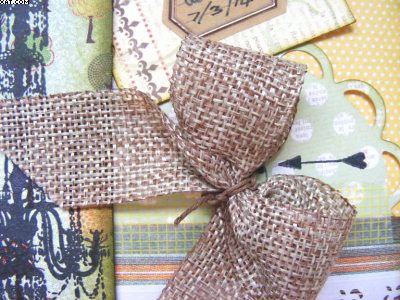
I have used a sticker to record the date, layered over a printed ticket from 7 Gypsies. Some paper lace, more stamping with arrows and swirls stamps was done.


Crowning glory was the bow fashioned from fab hessian ribbon (available at The Ribbon Girl) which was tied at the centre with some brown twine.

Sid xx

Pin It

Wednesday, August 28, 2013

Clearly Oriental


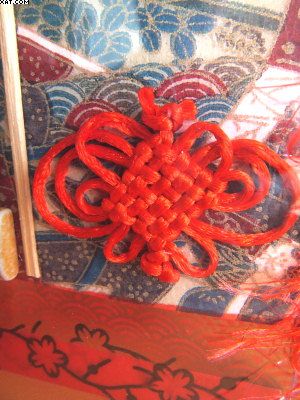
This acetate book was fashioned from acetate up-cycled from packaging I had in my stash.  Three pieces were used and were trimmed to 12 x 16 cm . Inside the book there are two pages of card making for 5 pages in total.  Each of the pages was scored on the left side to allow for a hinge. 


The card was trimmed into approx half pages vertically and these were covered in oriental style fans and guilded papers.  The book can be viewed from the back and the front each with a different visual effect.


The five layers ..... acetate/card/acetate/card/acetate were aligned and trimmed to size with the scored edges on the left.  I then used a crop-a-dile to cut 5 equidistant holes in the hinge and applied gold eyelets to hold the book together. Two red style stones were held in place with some red eyelash fibres threaded through the eyelets which was tied to secure and trimmed.


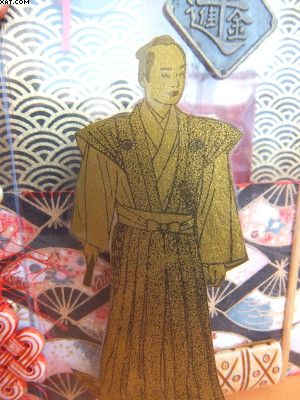
A mandarin stamp was inked in black Stazon and stamped on gold paper which was carefully trimmed out and adhered with Glossy Accents to the inside of the acetate front cover.


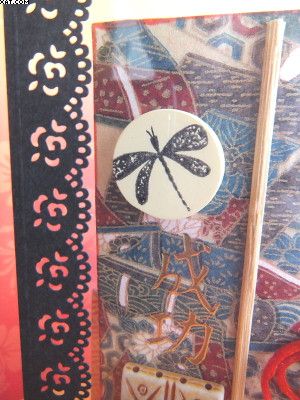
I added numerous other elements including metal embellishments, style stones, Chinese coins, paper lace, wooden sticks, tied threads and ...... wait for it, peel-offs !  Actually they did work quite well on the acetate.  I stamped a stylised dragonfly on a style stone with black Stazon too and stuck this in place on one of the card pages.

Thought I would enter this into the Craft Stamper Take it Make it challenge too !

Very difficult to photograph due to the reflective qualities of the acetate.

Sid xx

Pin It

Sunday, July 21, 2013

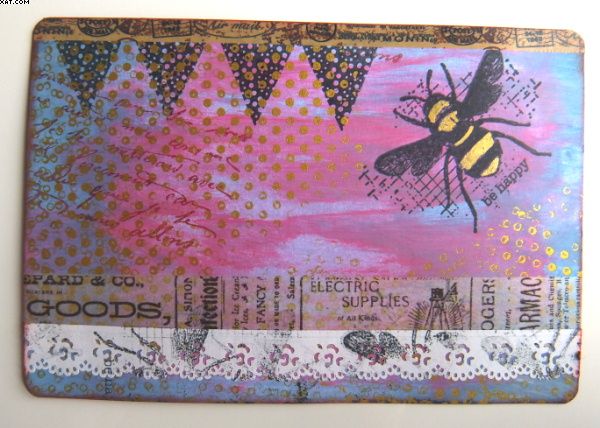
Be Happy Postcard


Here is my entry for a postcard swap over on UK Stampers Forum.  This month it is an open theme and I prepared my background on a 6 x 4 inch piece of white card trimmed to size with a guillotine..

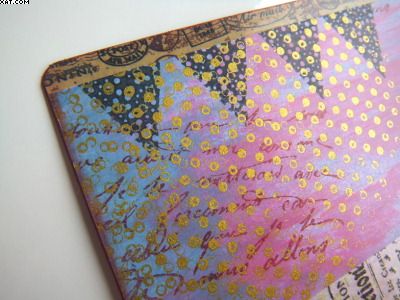
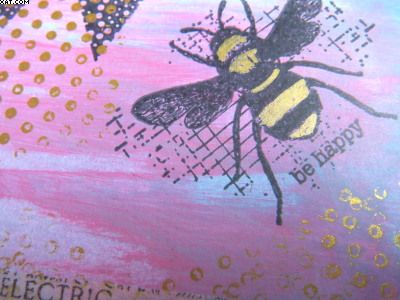
I used acrylic paints and a sponge to apply blue, magenta and cream paints.  Once happy with the effect I then stamped with Stazon Gold ink a dotty overlay.  Over this were stamped the bee image (Pink Paislee) and the pennants (Papertrey Ink) in Memento tuxedo black ink..  Another text stamp (Paper Artsy) was stamped in fired brick Distress ink.


Next a strip of Washi tape was applied at the top and a strip of TH Tissue Tape at the bottom along with some paper lace.  These were lightly stamped over with the bee stamp again with Memento tuxedo black ink..


The bees body was coloured with a gold Posca pen to highlight.


All edges were coloured with more fired brick Distress Ink applied with cut'n'dry foam after the edges of the postcard were rounded with a corner rounder punch.  A light coat of matt acrylic spray sealer was applied to protect it in transit to it's recipient as it has to travel 'naked' through the post.

Sid xx

Pin It

Sunday, January 24, 2010

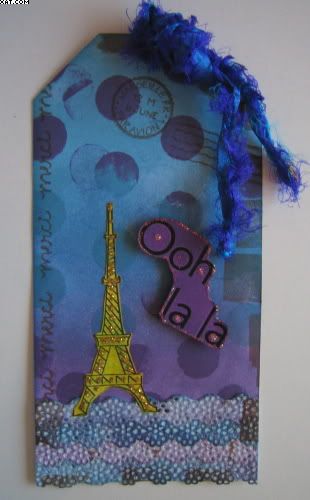
'Rolling Recipe' Tag 1


It is nearly the end of January and this is my first crafty post of the year so far ! Just finally got my finger out and took part in Gails Rolling Recipe tag challenge being run over on UK Stampers Forum.

This weeks challenge was to use these three ingredients:
  1. A Stamped image
  2. Lace
  3. Glitter

I used a white card base tag and coloured this with Distress inks in faded jeans, dusty concord & broken china applied with cut'n'dry foam as shown. The background was then completed with stamping large distress spots applied with a foam stamp and the same Distress inks. The background words and French postmark (Sizzix polymer) were stamped with vintage sepia Versafine ink as was the square stamp (foam).

The 'lace' at the bottom of the tag is actually paper lace coloured with the same Distress inks and applied in layers first on a piece of blue card which was trimmed and stuck to the base of the tag.


The Eiffel Tower stamp was from the same set of polymer stamps and was stamped with onyz black versafine, coloured with mustard seed Distress ink and cut out before applying with Glossy Accents as shown.


The 'Ohh la la' embellishment was made by applying rub-on letters (Making Memories) on a purple card base and trimming to size. This was applied on foam pads to raise it a little.


Finishing touches, and the last ingredient, were added with gold and diamond Stickles glitter glue on the Ohh la la and Eiffel Tower before an eyelet and some silk sari ribbon were added with the crop-a-dile.

Sid xx

Pin It
Related Posts Plugin for WordPress, Blogger...