>
Showing posts with label Adhesive Tape. Show all posts

Wednesday, February 28, 2018

Squaring up ......


Made this 4 x 4 inch decorated square in the theme of February as part of a swap over on UK Stampers Forum Facebook Group.

I started by using a piece of cereal carton as the substrate which I cut to the desired 4 x 4 inches.  I then prepared a Brusho background on Watercolour paper as seen.  Onto this I applied a piece of die-cut decorative trim and adorned this with a couple of purple shiny self adhesive dots.

All other elements are stamped with various stamps using Memento & Archval inks. some further detail has been added using gold and white pigment pens.  The watercolour paper was then adhered to the base and edged with green Versamagic chalk ink to finish !

If you would like to join in our swaps click HERE to go and join us ..... it's free and fun !

Sid xx

Pin It

Saturday, April 23, 2016

Happy Birthday .......


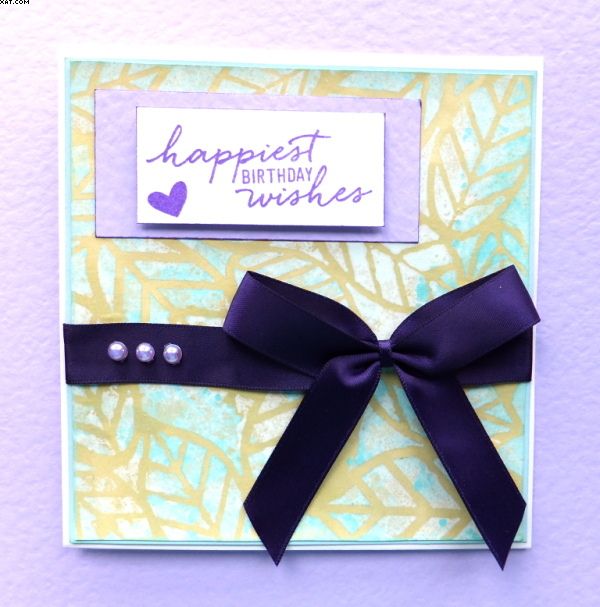
I made this birthday card using a 5 x 5 inch square white card base. I then trimmed a matt from pale green card and stuck a trimmed Gelli plate background I had previously made using acrylic paints and a stencil onto this.


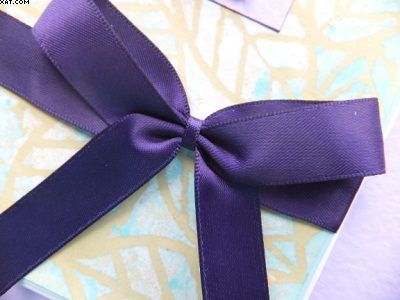
The ribbon was made from purple satin ribbon and adhered over the mat with red line tape.


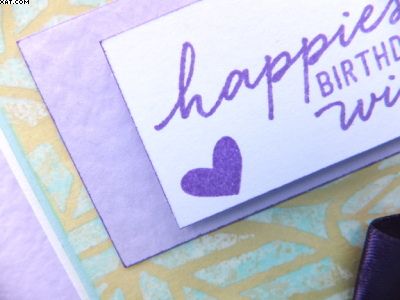
The sentiment and heart (Stampin' Up) were stamped on white card with Memento grape jelly dye ink.  This was trimmed and mounted on foam pads over a piece of mauve hammered card.

3 pearlescent cabochons were added on the ribbon to finish.

Sid xx

Pin It

Sunday, April 17, 2016

Congratulations ..........


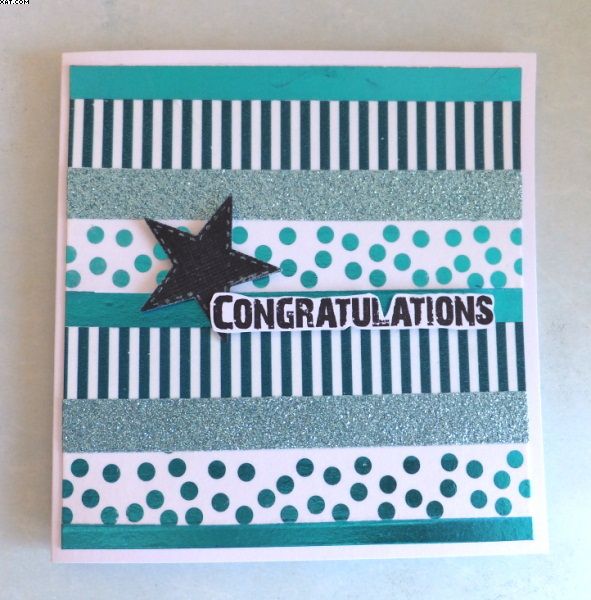
Everyone loves a bit of bling ! This card was made using a range of teal adhesive tapes.  I started with a 6 x 6 inch white card blank. I then cut a smaller matt in more white card.  This was then covered with strips of tape - one thin and metallic, one glitter covered, one striped and a metallic spotty one. This pattern was repeated to cover the entire matt.


The matt was adhered to the card front.  I then diecut a stitched star out of Black Magic blue coloured core card through the Sizzix Big Shot.  I rubbed the black down with fine glass paper to show a little colour through and mounted the star as shown on foam pads.


The sentiment (PaperArtsy) was stamped in black Versafine ink on some white card, trimmed out and also adhered on foam pads to overlap the star.

This fits the bill for the City Crafter Challenge Blogs 'Case Me If You Can' challenge for this week. I have cased CASE #1.  It's also the City Crafters 6th Birthday, so congratulations to the team there !

Sid xx

Pin It

Wednesday, June 25, 2014

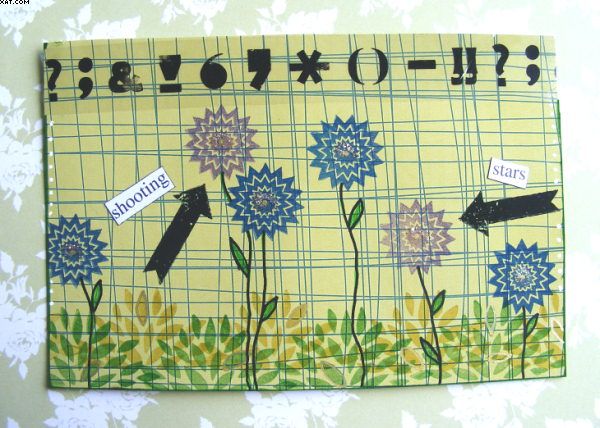
Shooting Stars


This 6 x 4 inch postcard is my entry into the UK Stampers Forum monthly postcard swap.  This months theme requires you to use a star or stars somewhere on it.

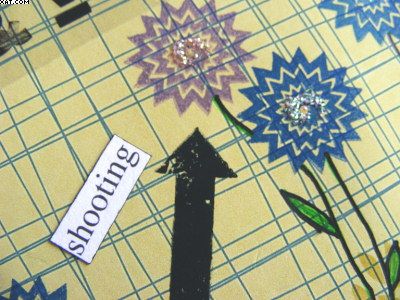
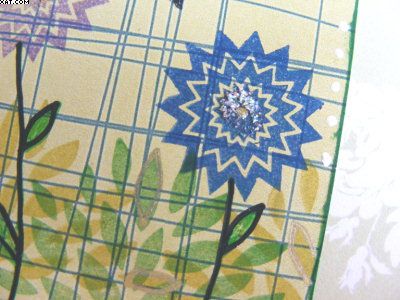
I used a plain white card covered in a printed green paper with criss-cross navy lines.  I have used rubber stamps and dye inks to stamp the base leaves, starry flowers & arrows.  The stems and leaves have been added by hand with pens. A little bit of bling was added with Stickles in the centre of each flower.


The top line of images is actually a piece of clear glossy printed tape.

Finishing touches were to add the words and a little embellishment with Posca pens in white and gold with a spray of matt acrylic lacquer to seal.


These are sent as they are to the recipient ........... why not join us and have a go, it's very popular !

Sid xx

Pin It

Saturday, March 09, 2013

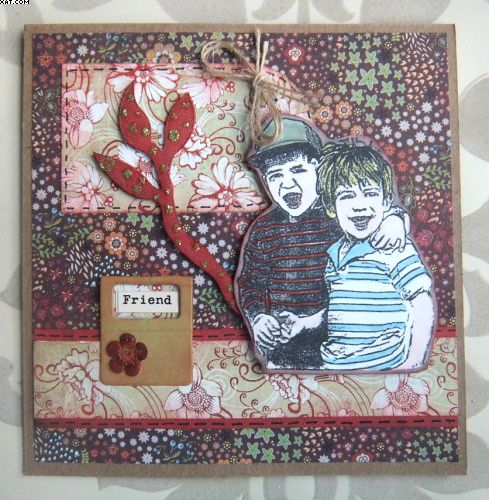
Friends for Life


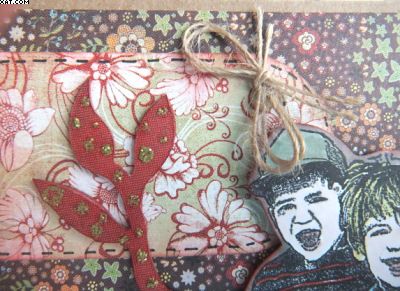
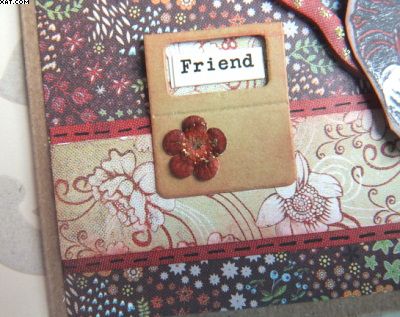
Another card for you today and it is again on a Kraft card base.  The 6 inch papers used this time are from the Mellow collection by Basic Grey.  I started by cutting a base mat and applied this to the card with double sided adhesive. Next I diecut a tag through the Big Shot and cut a strip of matching paper the same width as the base mat.  This strip was then matted again on some maroon paper.  This mat was then decorated with faux stitches applied with a black marker and embellished with a Kraft tab and a paper flower, some crushed olive Distress Stickles and a self adhesive word sticker.  The decorated strip was then applied at the base of the card.

The tag  was edged with fired brick Distress Ink and again edged with faux stitches before adding a small double bow of plain jute string through a hole made in the tag with a pokey tool.  This was then applied as shown.


The main stamp used is by Lost Coast Designs and was stamped on white card with Memento tuxedo black ink.  The little guys were coloured with Copic Markers before trimming out.  The image was then mounted on foam pads and stuck in place.


Finishing touch was to colour a piece of twiggy chipboard with the maroon paper, trim off excess with a craft knife, add some dots of crushed olive Distress Stickles.


Sid xx


Pin It

Related Posts Plugin for WordPress, Blogger...