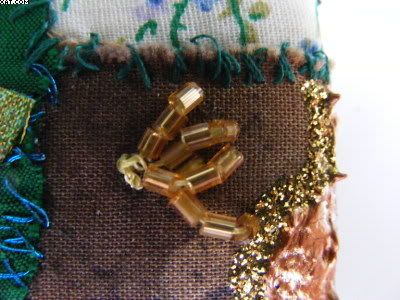
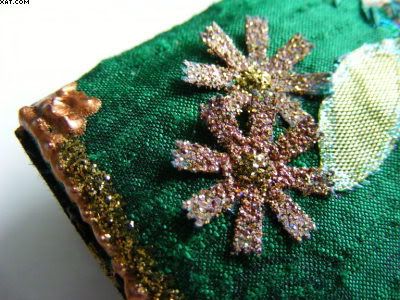
Here is a pic of a Fabric Brooch I made as part of a swap. The swap was a 2-part swap. Part 1 required the swappers to send in six 4 x 4 inch pieces of assorted fabric. These were swapped and they each got back six different pieces not including any of their own.
Part 2 was to make a brooch using all six pieces of fabric which were again randomly swapped ! Quite a challenge really but very interesting and the quality of the workmanship and variety of designs which emerged was fantastic.
Anyway I had the idea that I would use my sewing machine to produce the basic brooch design because I had also bought a load (10 reels) of Guttermann threads to do just this, so I got out the beast to find that I had lost the foot control somewhere. I searched high and low but failed to locate it......... how annoying !! I ended up having to stitch the bits together by hand hence the rather untidy look to the stitches. However, it did the job.

Once the pieces were stitched together I embellished the flat piece of material with a little stamping of a ladies face (barely visible). This was then ironed onto some backing bump using vilene and a steam iron to give the material a little substance. Next this was applied to a piece of mountboard (2.5 x 1.5 inches) again with vilene and the corners wrapped over and stuck flat. A backing piece was made (out of the 6th piece of material) to cover the back of the brooch. Next I added some beading detail by hand.
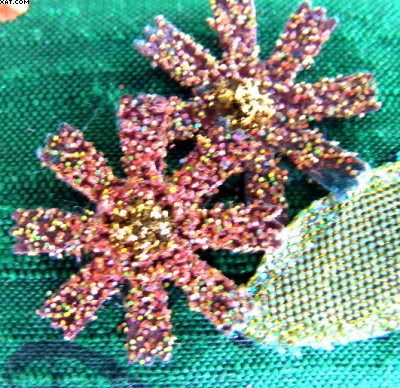
I punched out 2 small flowers and used EP to give them some texture, cut out a leaf and adhered this as shown.

Final embellishment was with gold dimensional paint and glitter glue. I then added a self-adhesive brooch back to complete.
I was a little set back by not being able to machine sew, but heck I managed it in the end !
Hope the recipient likes it though !